This post may contain affiliate links, view our disclosure.
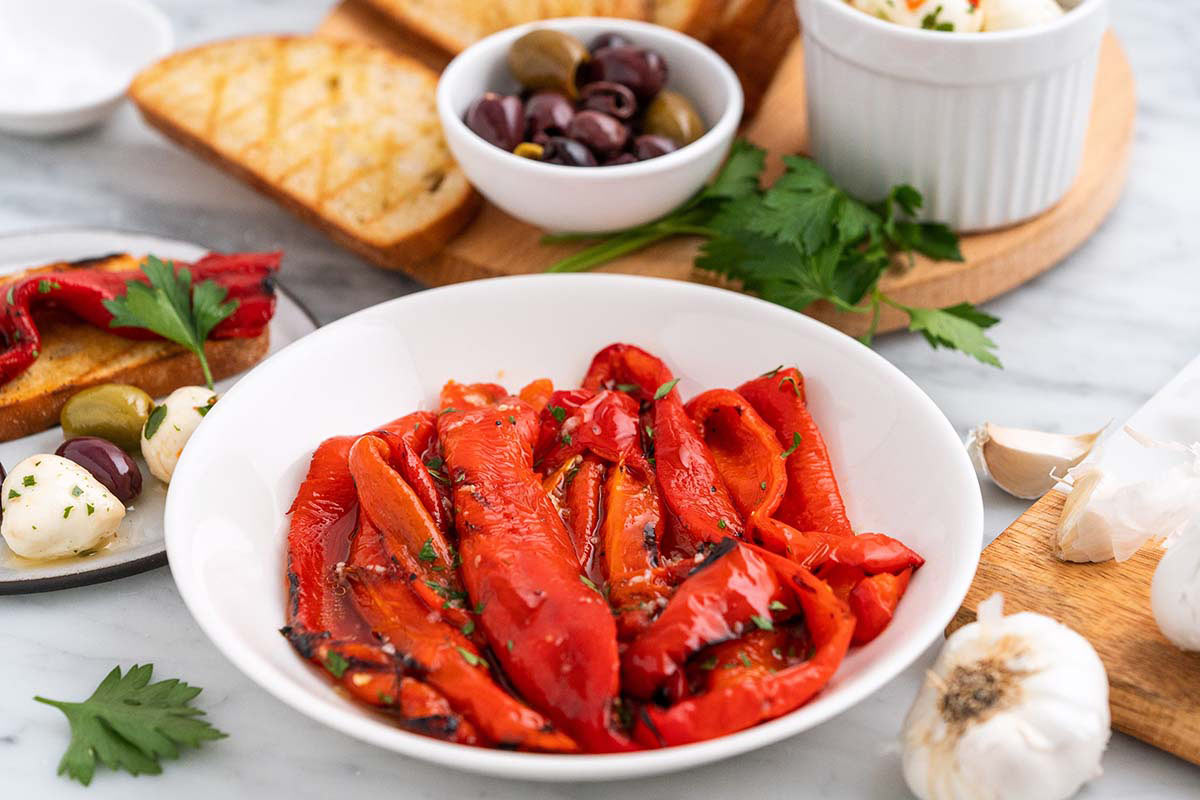
Discover how easy it is to grill peppers! Like roasted red peppers, grilled red peppers are tender, sweet, subtly smoky, and intensely flavorful. You can use them in a variety of different ways, and freeze them to enjoy year round.
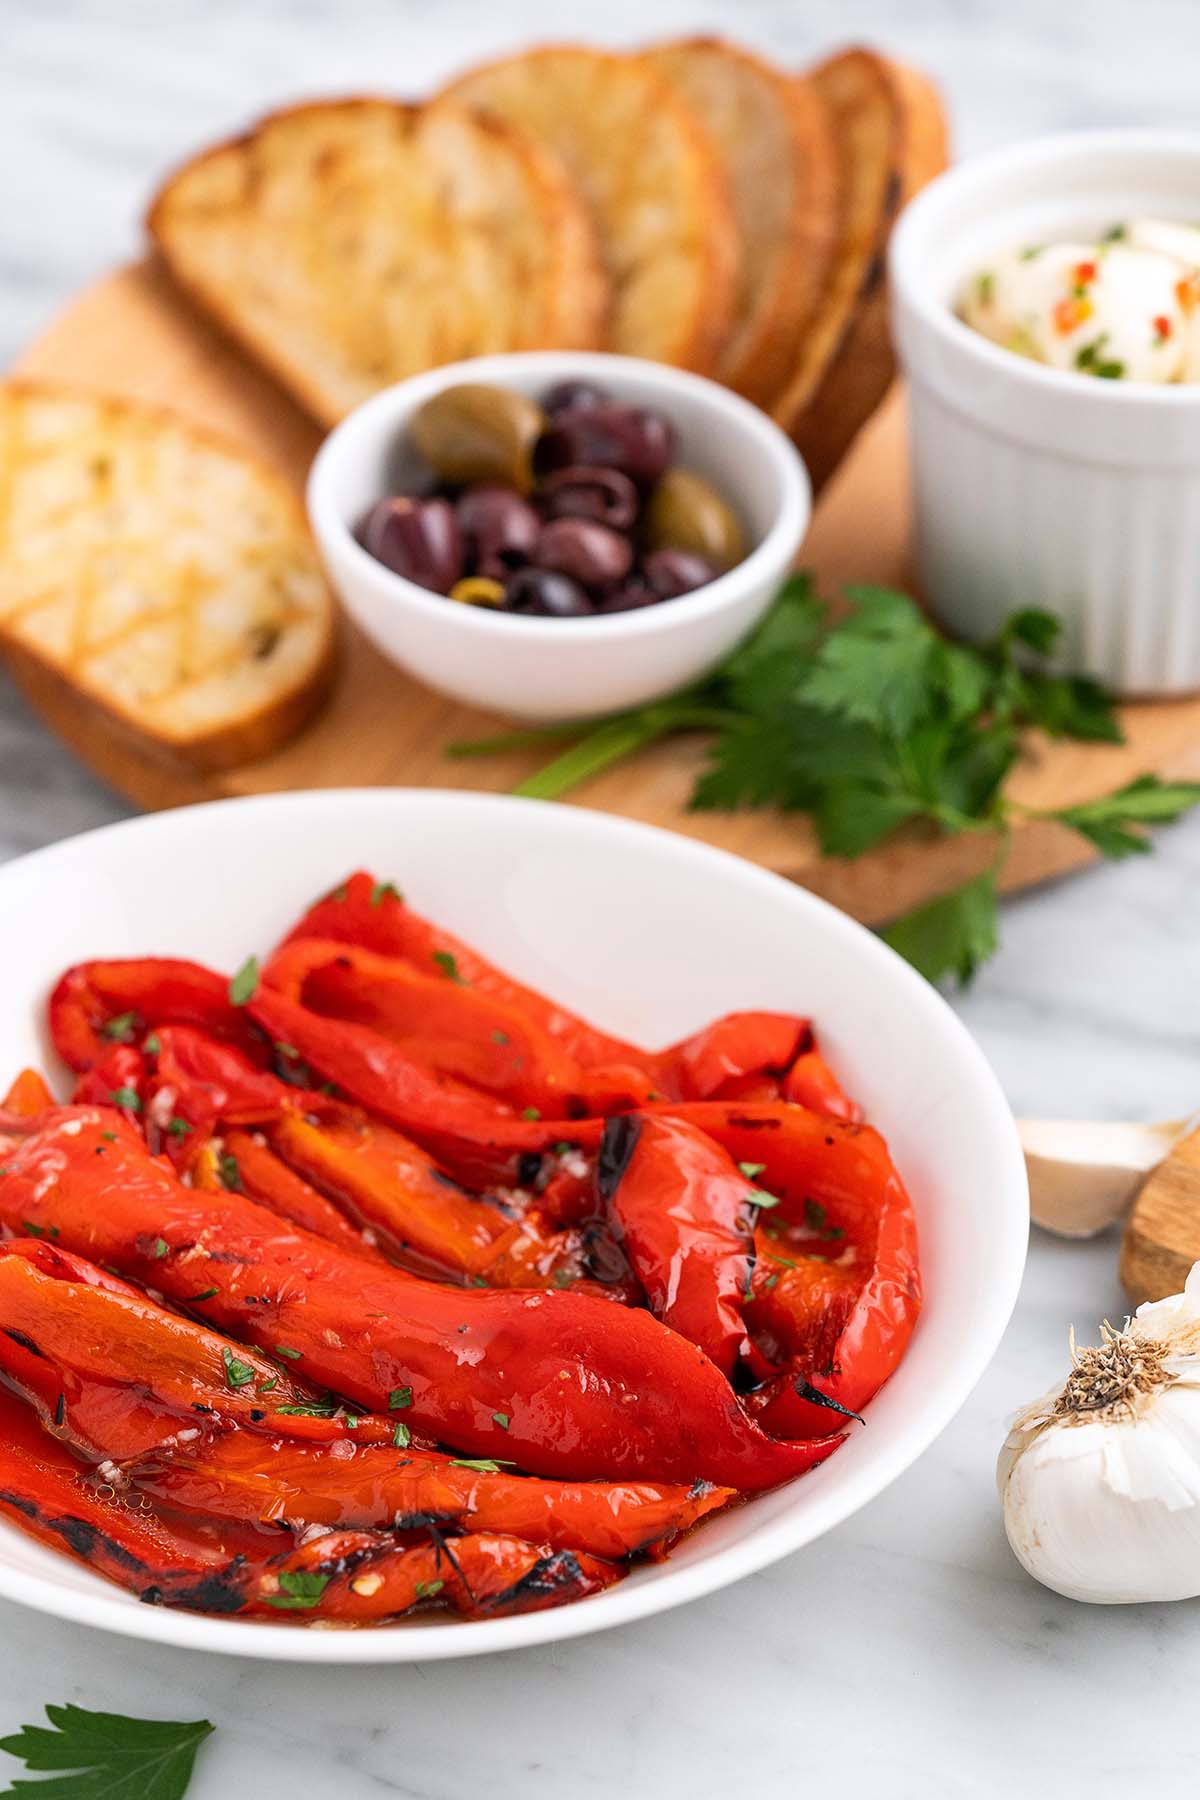
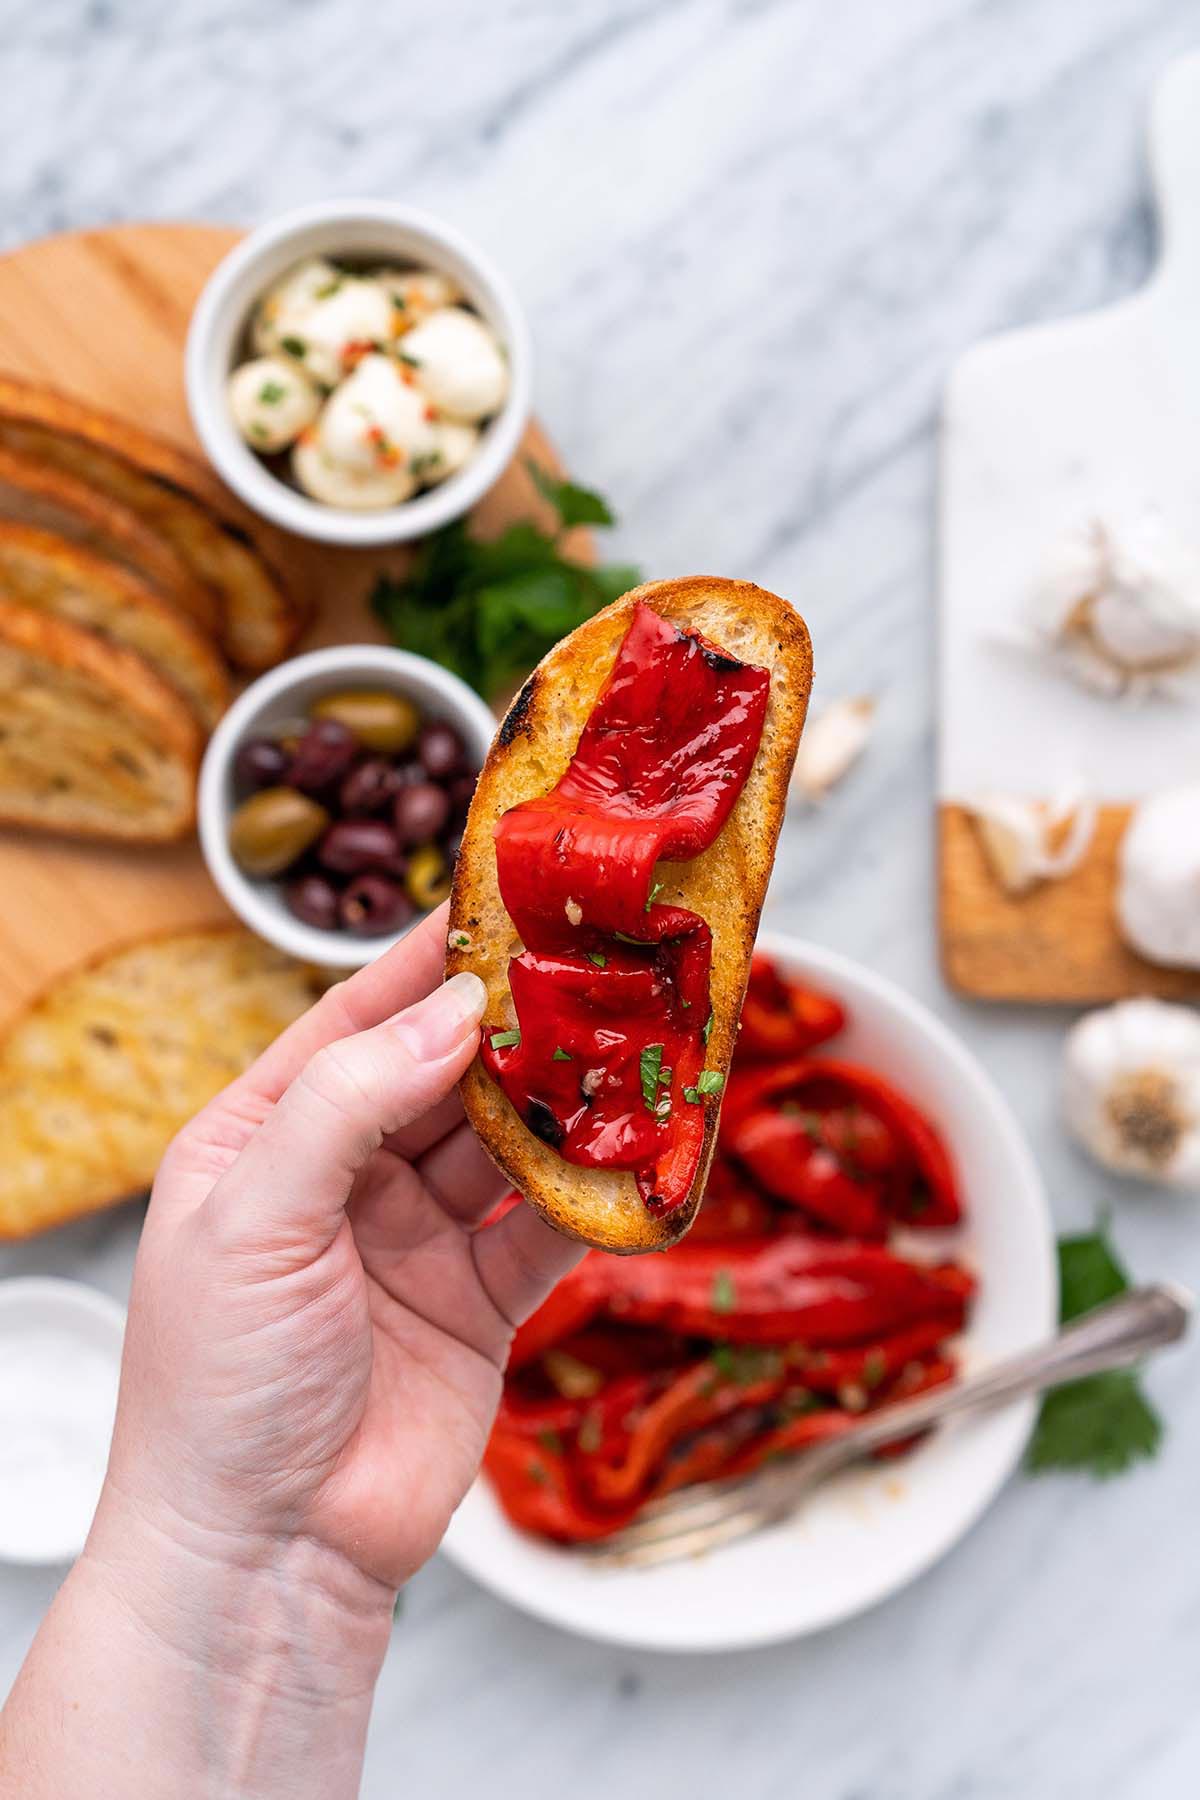
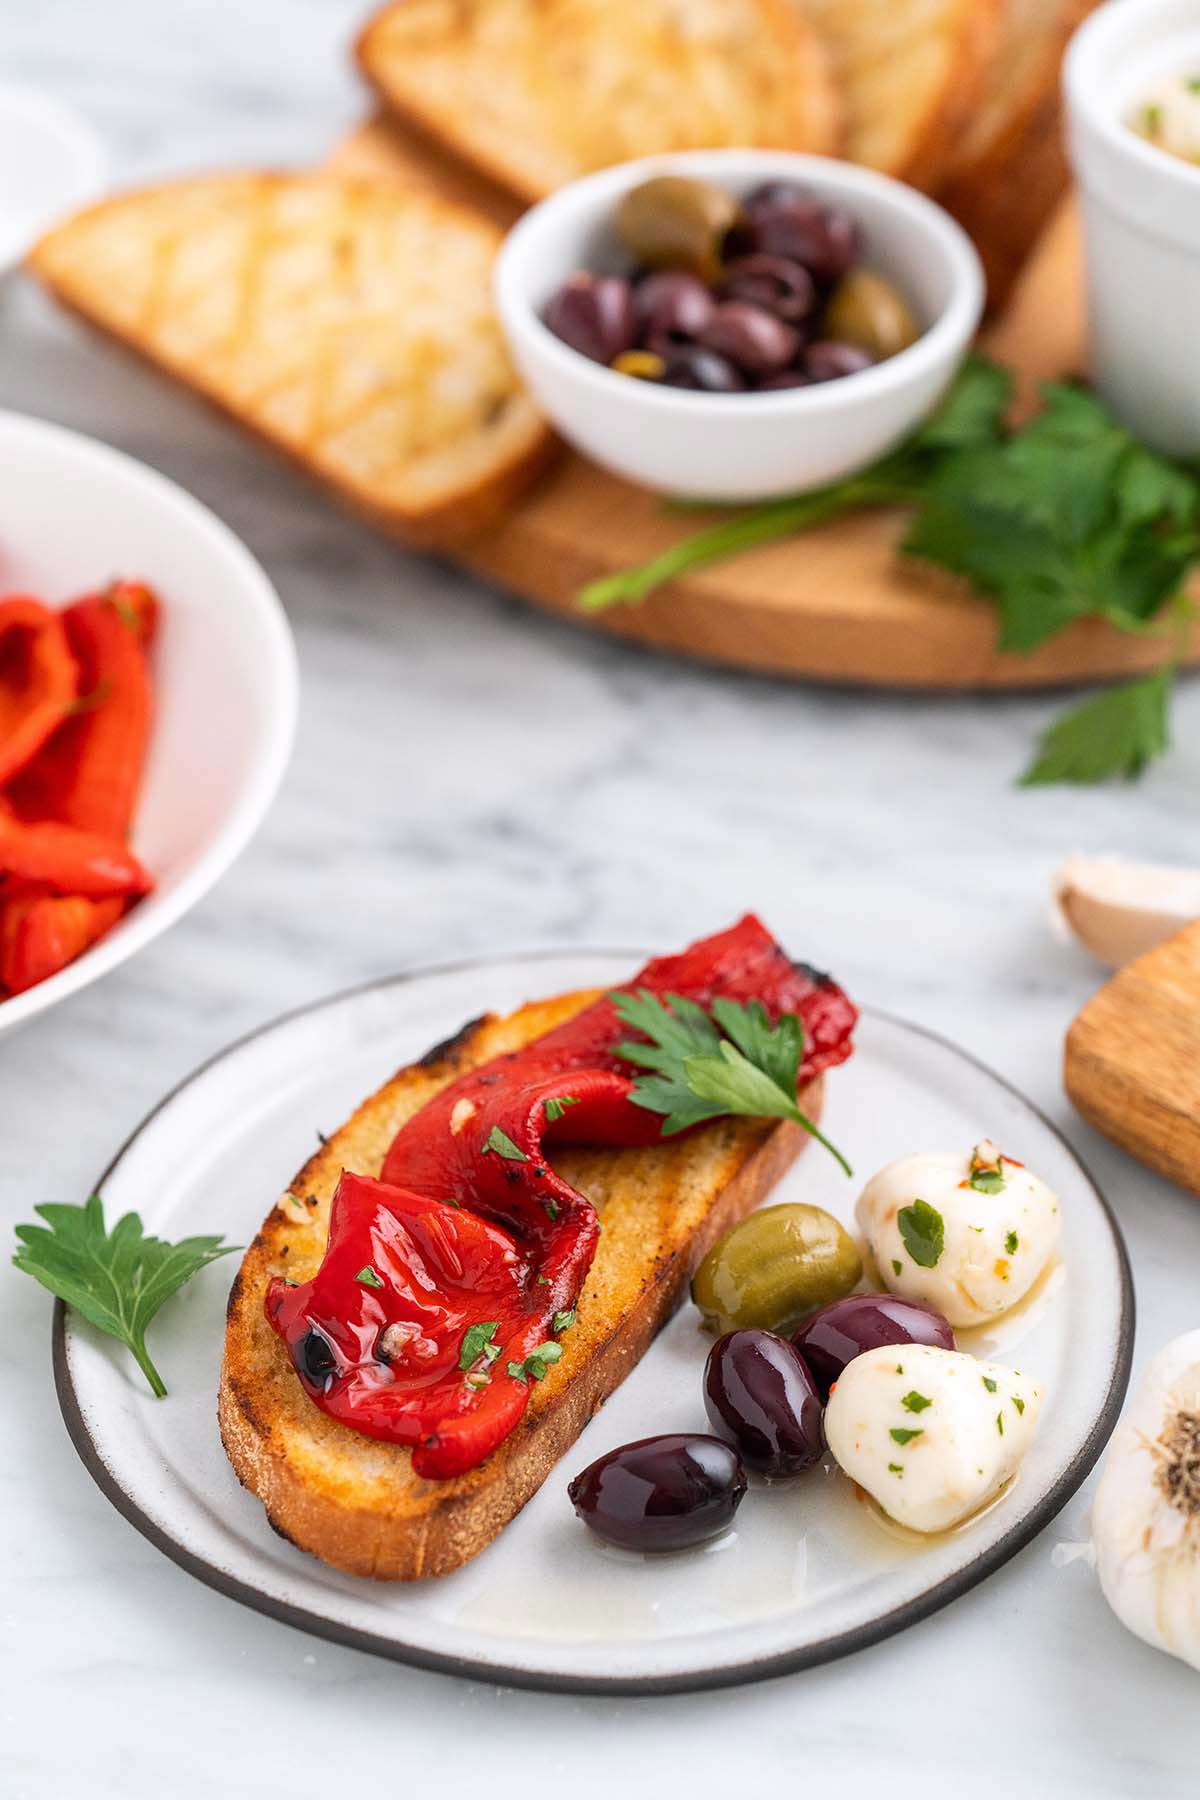
If you like roasted red peppers, you are going to love grilled peppers. Like roasting, grilling peppers brings out their natural sweetness and helps to reduce their spiciness (if you’re using spicy-hot peppers). Additionally, it gives them a slightly smoky charred flavor. It also softens them and loosens their skins so you can easily peel them. The end result is sweet, smoky, tender peppers that make a perfect appetizer, side dish, or enhancement to omelets, salads, sandwiches (like this grinder!), burgers, and pastas.
If you’re used to buying roasted red peppers, try this recipe instead. The peppers are much more flavorful and they’re very easy to make!
Why You’ll Love This Recipe
- Just like roasted peppers, grilled peppers are naturally sweet. Grilling adds a subtle smokiness and intensifies their flavor.
- These are versatile! They’re awesome on their own, as part of a charcuterie board or antipasto platter, or added to sandwiches, wraps, salads, burgers, or pasta recipes.
- If you have a ton of peppers, this is a good way to preserve them for later use. You can grill and freeze them for up to 1 year.
Ingredients
Breaking It Down
Ingredients Explained
In this section I explain the ingredients and give substitution ideas where applicable. For the full recipe (including the ingredient amounts), see the recipe card below.
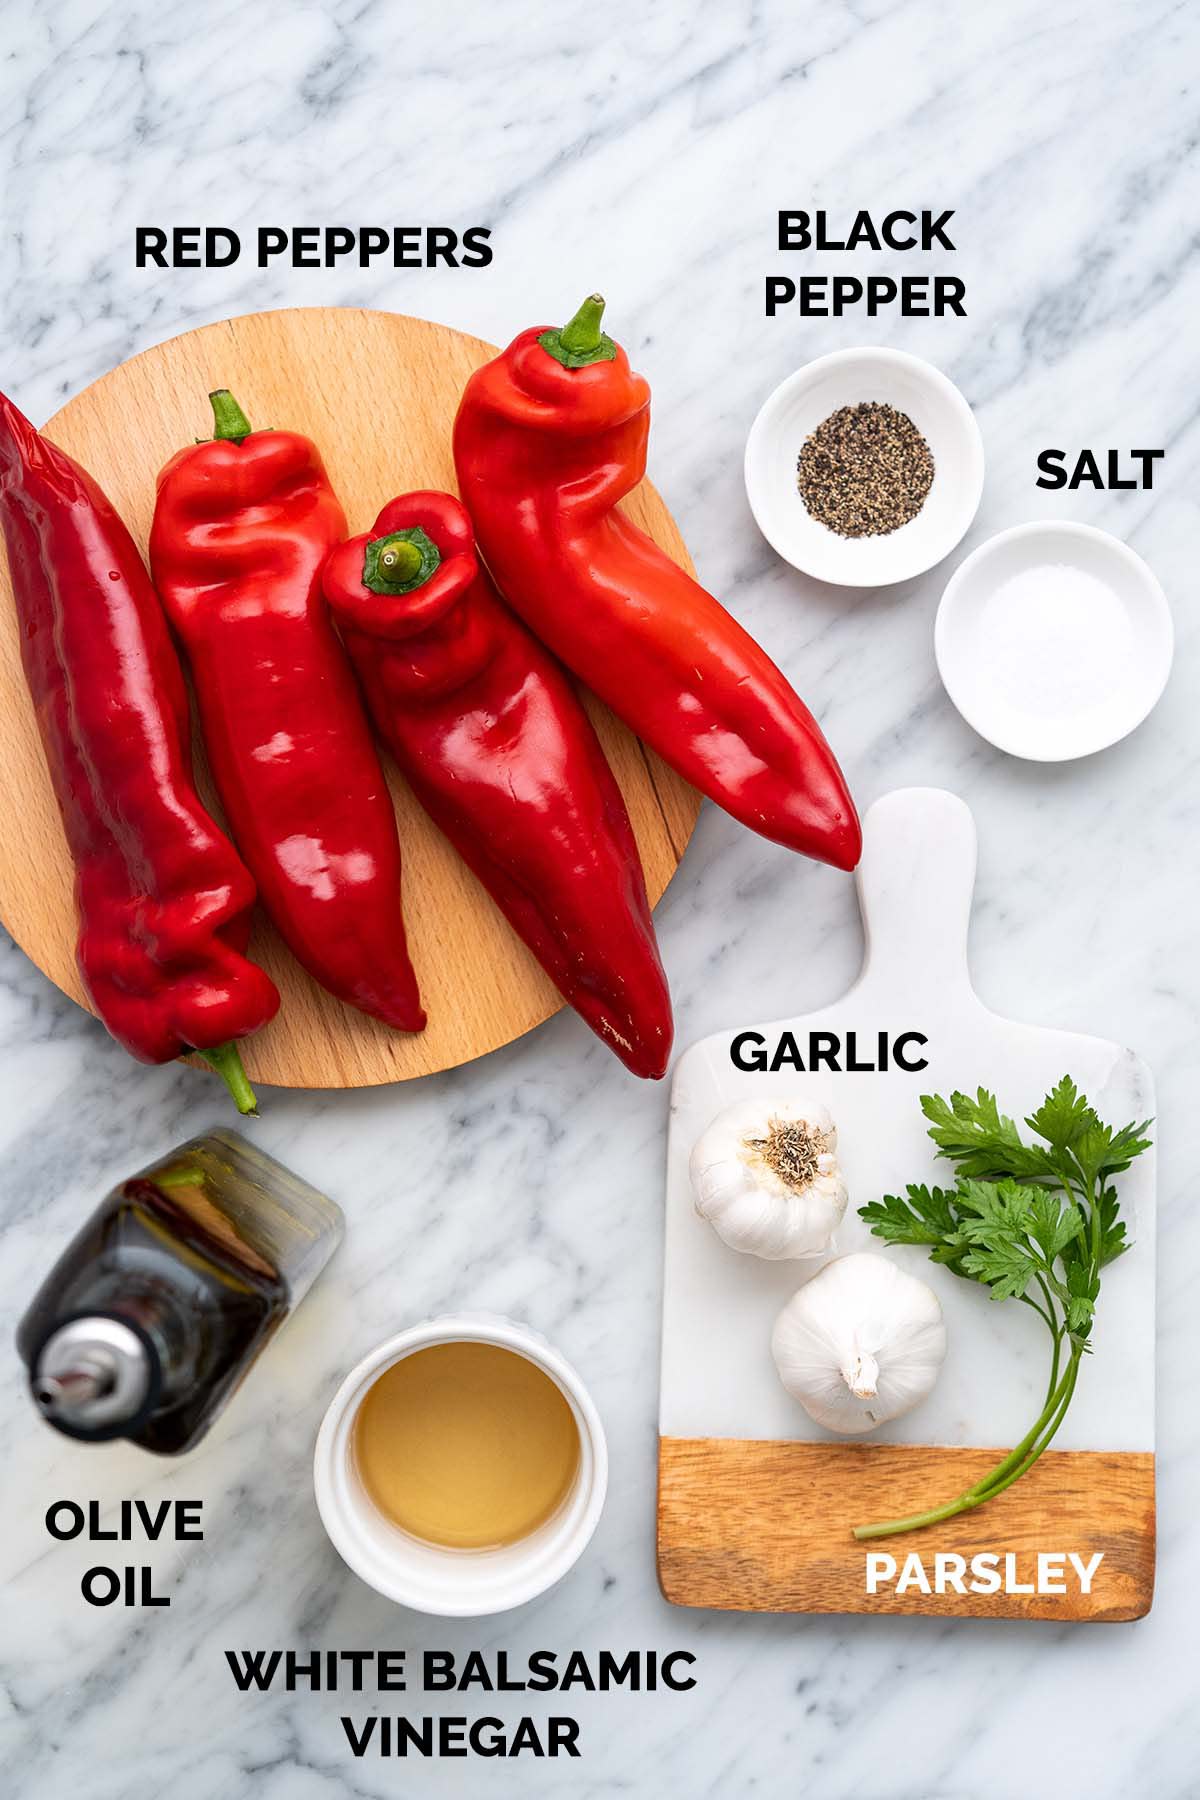
- Large sweet red peppers – The peppers I used were labeled “sweet griller peppers” at the grocery store. They’re also called Red Romano Chile Peppers, Ramiro Peppers, and Sweet Pointed Peppers. If you can’t find them, you can use red bell peppers (or any kind of peppers you like) instead.
- Extra-virgin olive oil – We use oil in the marinade to help make sure the peppers don’t stick to the grill.
- White balsamic vinegar – Or you can use white wine vinegar or red wine vinegar.
- Garlic – The savory flavor and aroma of garlic adds the perfect balance to the sweet, fruity flavor of peppers.
- Salt and pepper – These pantry-staple seasonings add a ton of flavor so the peppers aren’t bland.
- Minced fresh parsley – This optional garnish adds a pop of green color and grassy flavor.
How to Grill Peppers
Prep and Marinate the Peppers

- Cut the peppers in half and remove the seeds.
- Add all ingredients except the parsley to a gallon-size zip-top plastic bag.
- Squeeze out the air, seal the bag, and massage the ingredients into the peppers. Let the peppers marinate while you preheat the grill.
Grill the Peppers

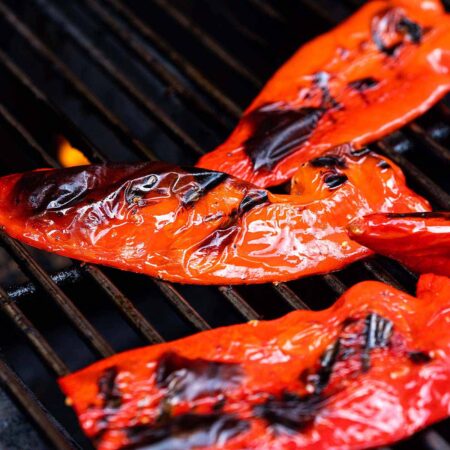
- Preheat the grill to high heat. Place the peppers on the grill skin-side-down (if desired, reserve the marinade to drizzle on top before serving).
- Cook until the peppers are charred on both sides, about 5 to 8 minutes per side, flipping once halfway through. (See the Notes in the recipe card below for instructions on how to roast peppers in the oven.)
How to Peel Peppers After Grilling or Oven Roasting
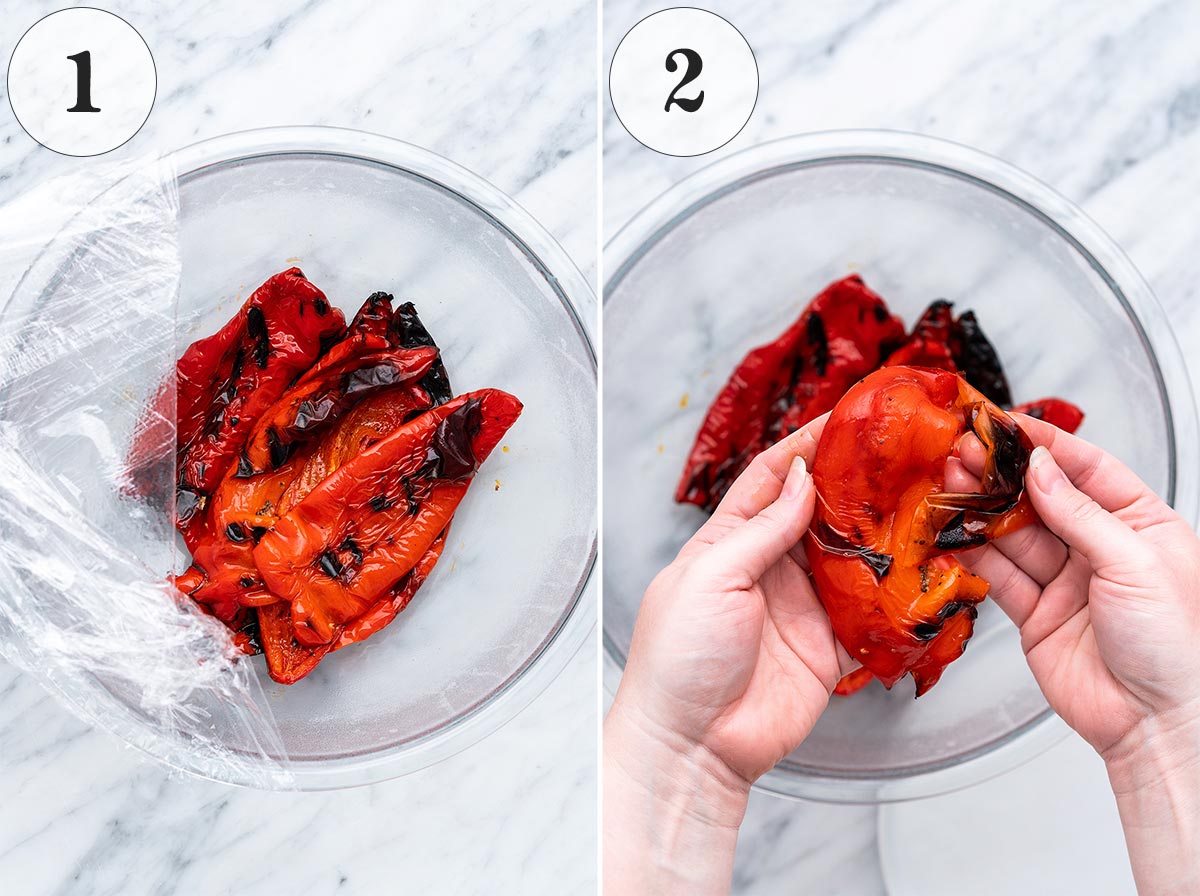
- Once you remove them from the grill, immediately put them into a bowl and cover the bowl with plastic wrap.
- Let the peppers sit for 10 minutes to steam, and then you can easily remove the skin.
Storage
Store grilled peppers for up to 5 days in an airtight container in the fridge or up to 1 year in the freezer.
Tips For the Best Grilled Red Peppers
- Play with this recipe to make it your own! Swap out the red peppers for any kind you like, and switch up the vinegar as well.
- If you use spicy peppers, add a little touch of honey or sugar when you marinate them for balance.
- You aren’t limited to parsley. You can use any type of fresh herb you like as a garnish, such as mint, basil, oregano, marjoram, tarragon, chives, etc.
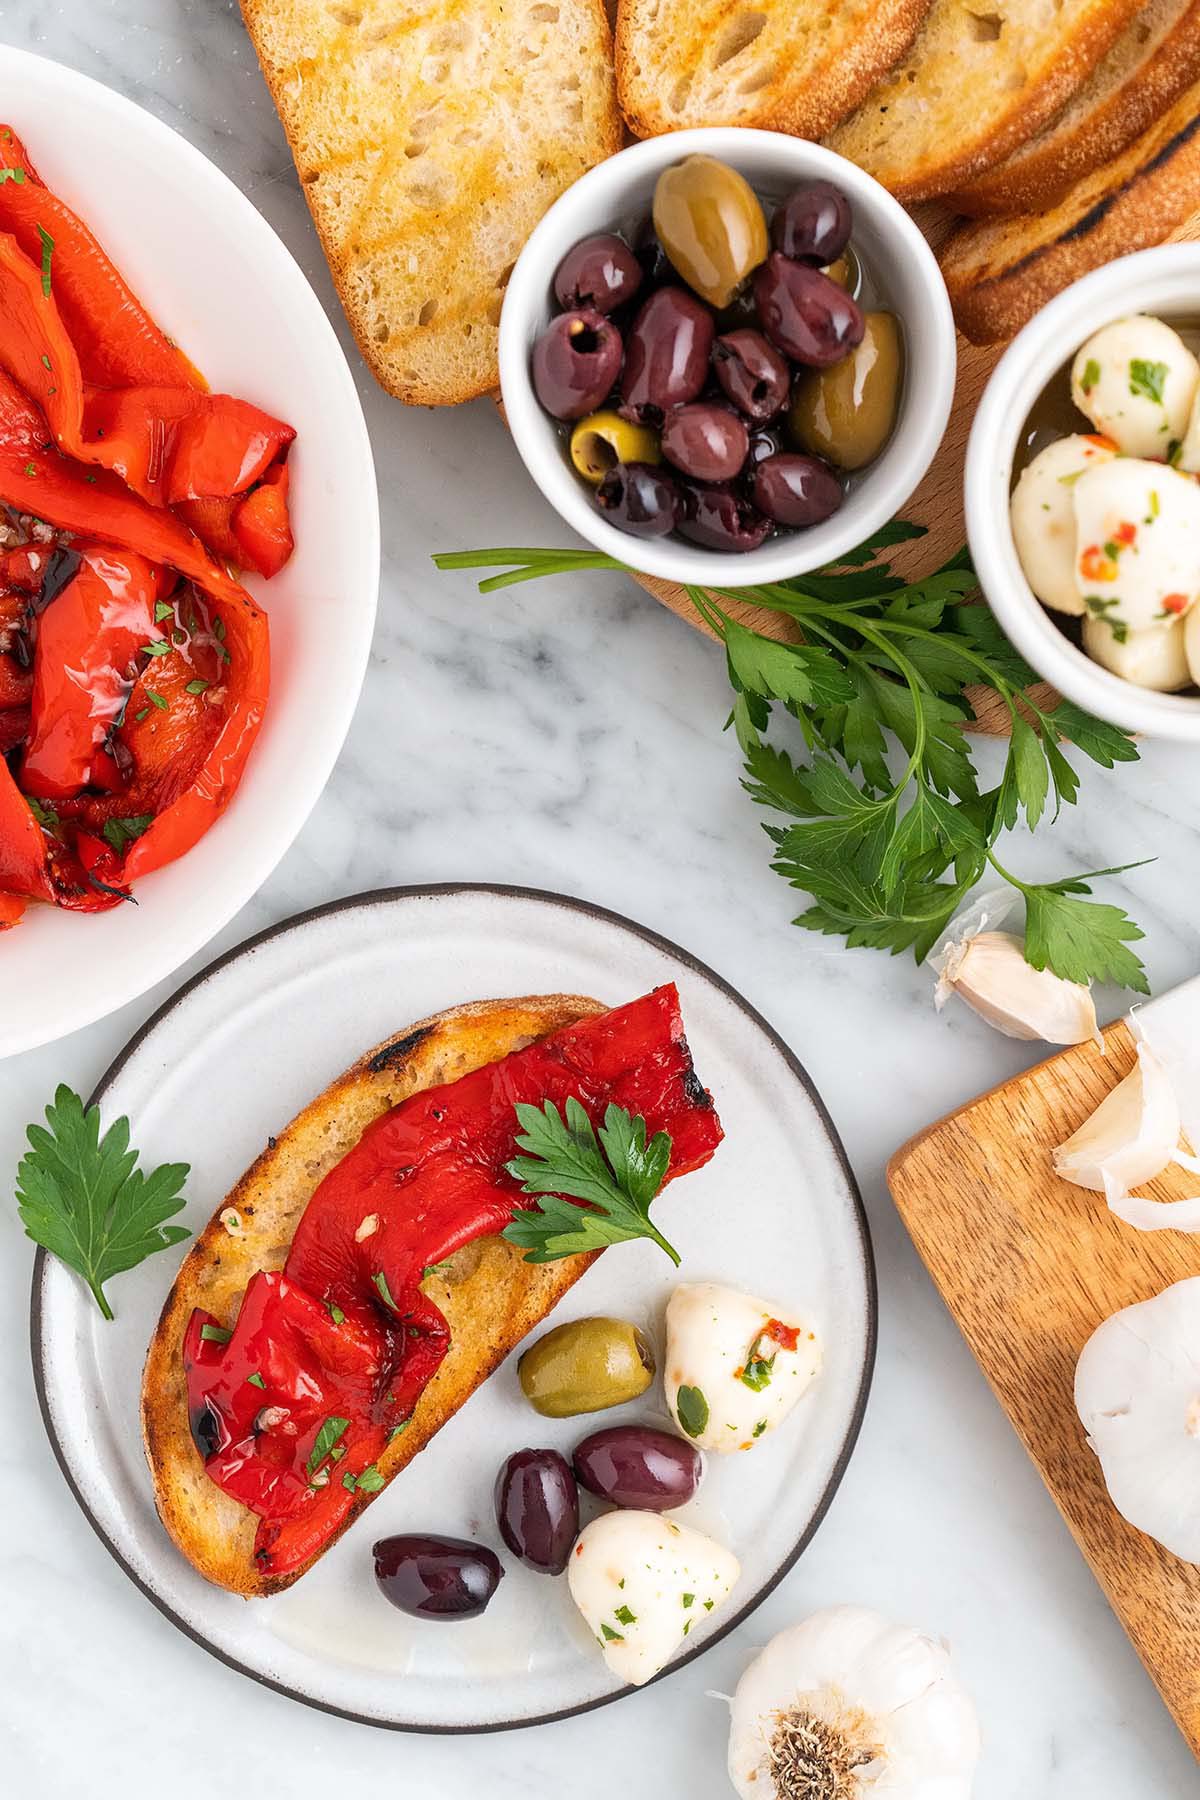
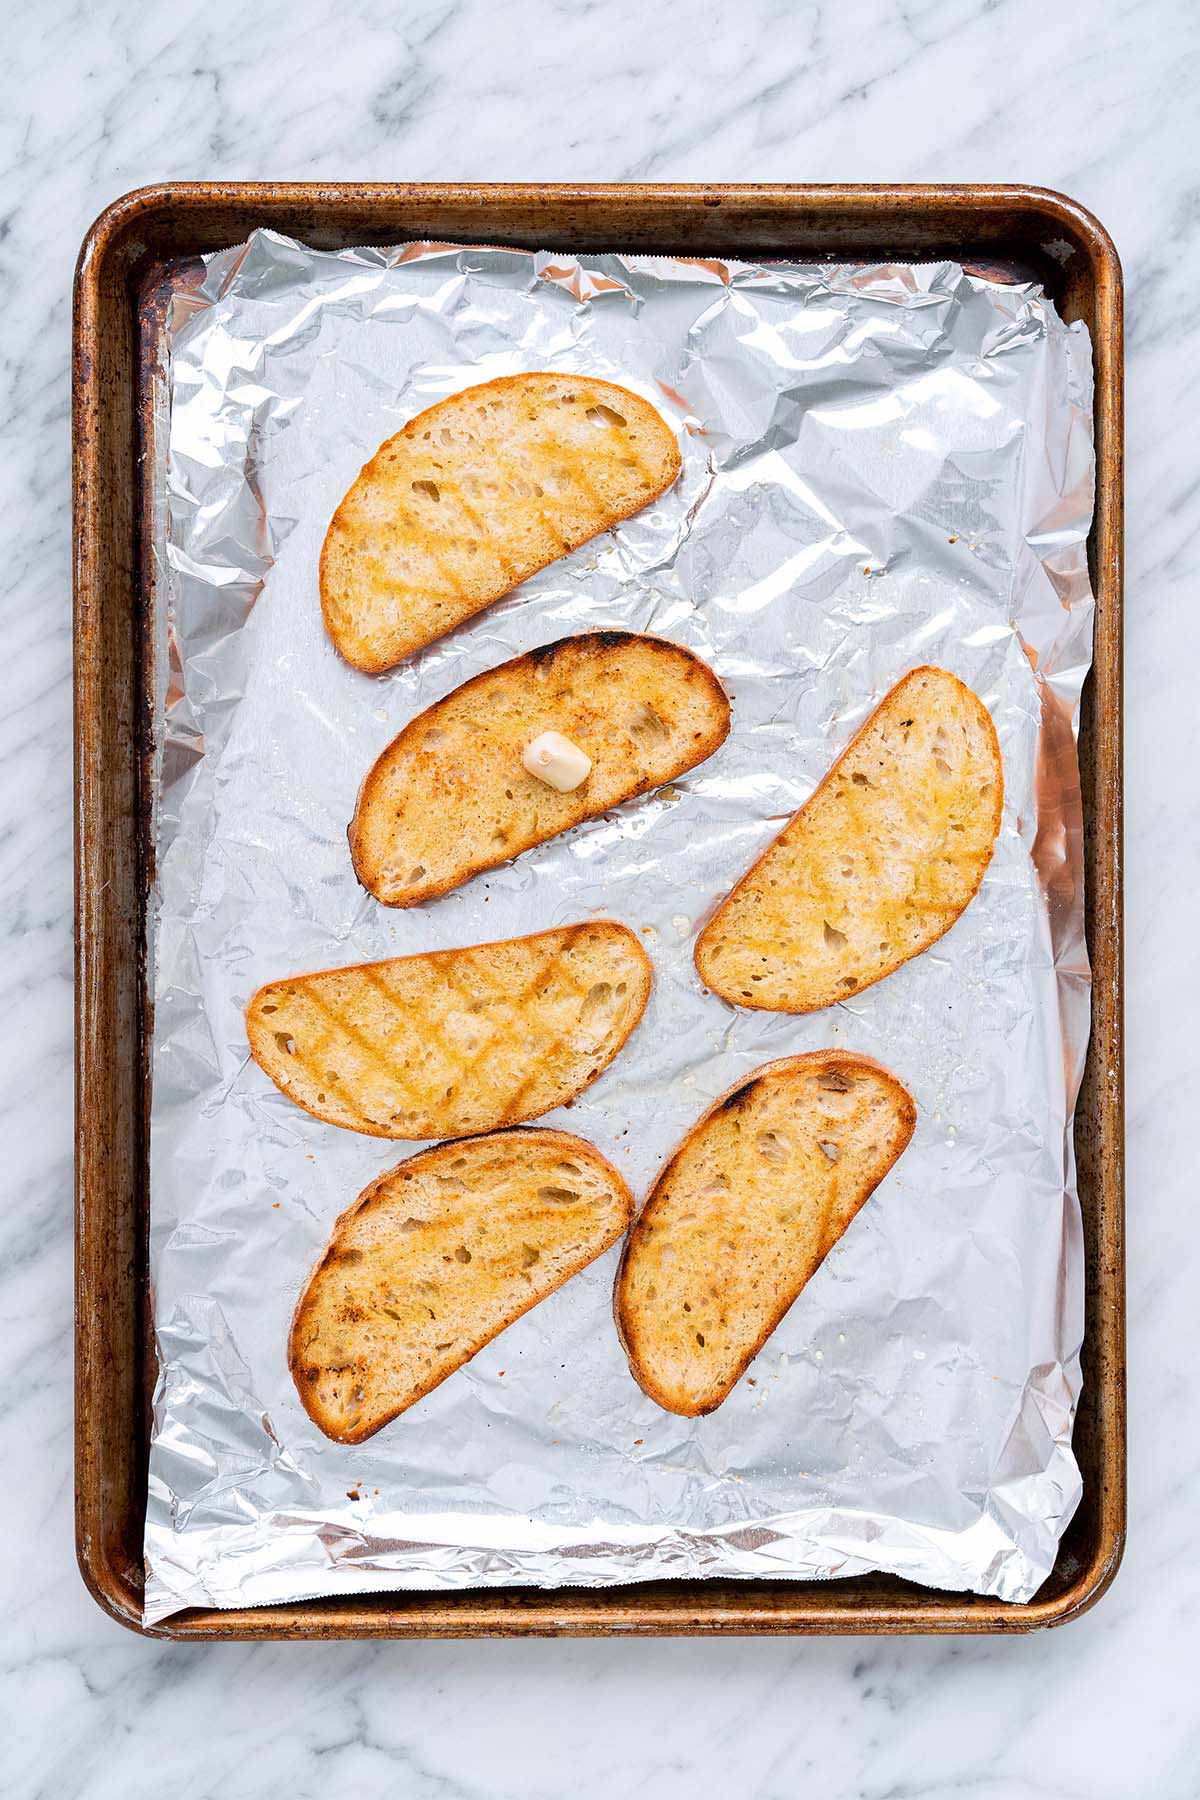
How to Make Garlic Crostini (Garlic Toast)
Time needed: 10 minutes
In just 10 minutes, you can make garlic crostini to serve as an appetizer along with these peppers!
- Slice the Bread
Thinly slice baguette, ciabatta, sourdough, or any type of hearty bread you like.
- Brush with Oil
Brush both sides of each slice of bread with a little olive oil, and sprinkle salt and black pepper on only one side of each.
- Grill or Broil
Grill the bread or broil it in the oven until it’s light golden on both sides, flipping once. (Timing varies, but generally takes less than 1 minute per side.)
- Rub with Garlic
Rub a clove of peeled garlic on one side of each piece of toasted bread.
- Serve
Serve with grilled peppers, diced tomatoes, fresh mozzarella, or whatever you want.

Frequently Asked Questions
You can grill any type of pepper you enjoy eating! A few popular options are bell peppers, poblano peppers, and cubanelle peppers. (TIP: If you want to grill smaller peppers, grill them whole. For larger peppers, cut them in half and remove the seeds before grilling.)
With large peppers, I cut them in half and remove the seeds before grilling. You can leave small peppers whole.
No, you don’t have to peel them, it’s a matter of personal preference. Once peppers are roasted or grilled, the skin can get tough so I like to peel them. And they’re very easy to peel!
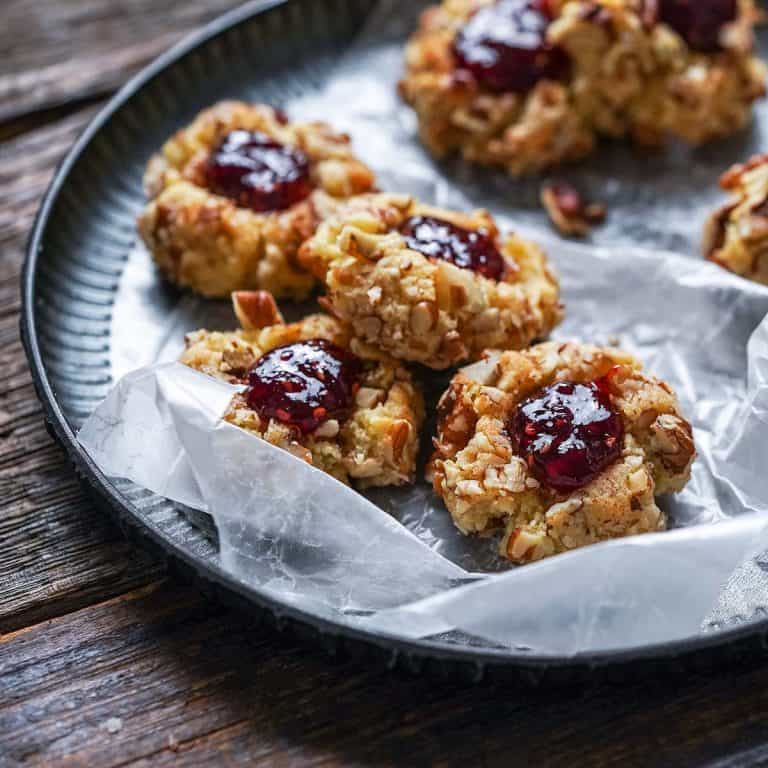
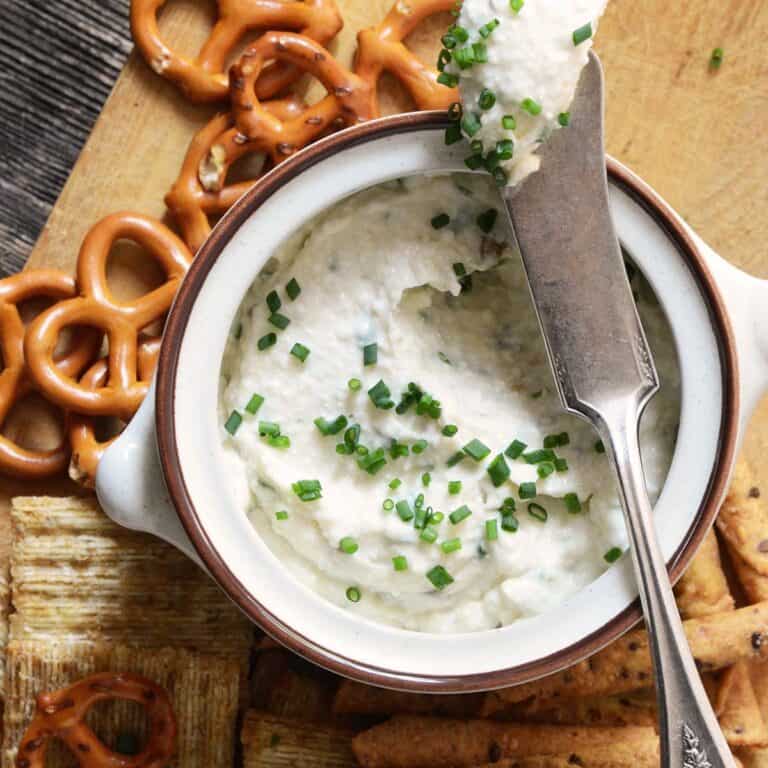
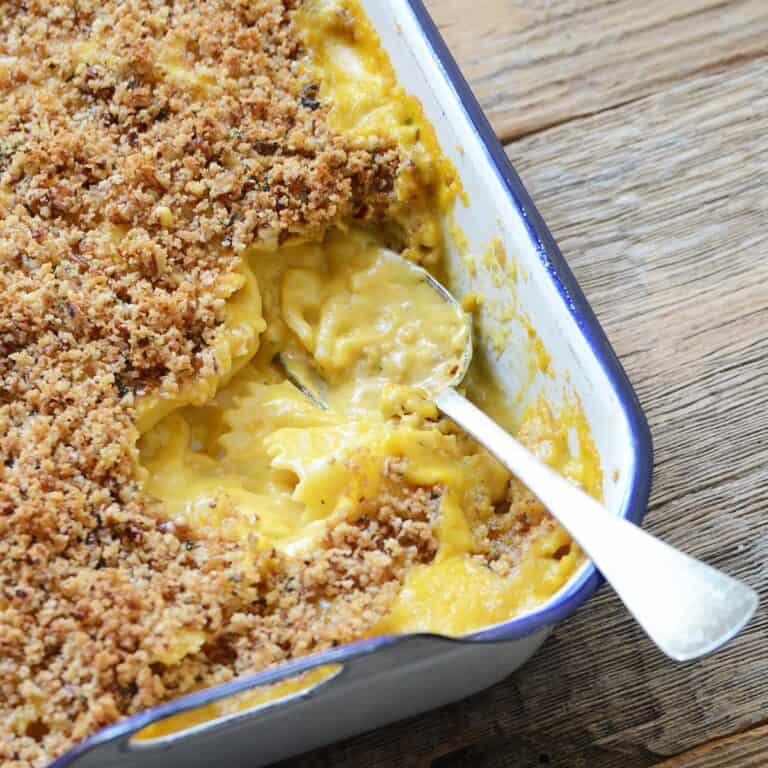
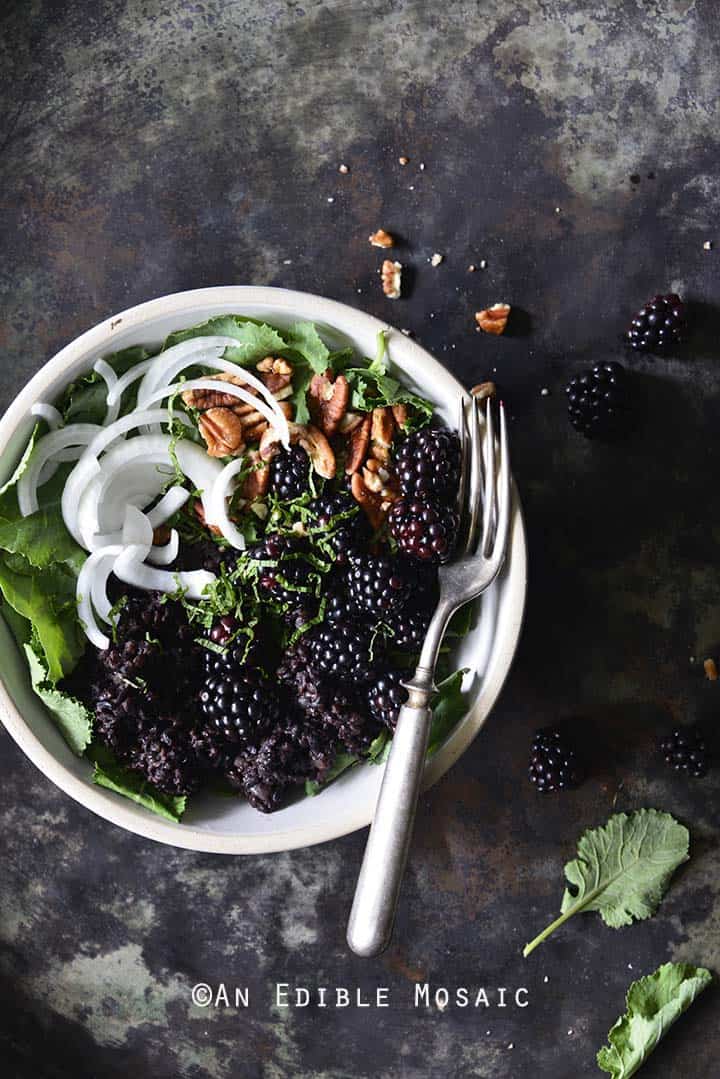
More Easy Appetizer Recipes to Try
Let’s Connect

Did you make this recipe? Please rate it and leave a comment below. You can also tag @anediblemosaic on social media.
To stay up-to-date, follow me on Facebook, Instagram, Pinterest, and Twitter!

Grilled Red Peppers Recipe
Email This Recipe
Get this recipe link emailed straight to your inbox!
Ingredients
- 1 pound large sweet red peppers halved and de-seeded (for me, this was 4 very large peppers; see Notes)
- 4 tablespoons extra-virgin olive oil
- 3 tablespoons white balsamic vinegar or white wine vinegar
- 2 cloves garlic crushed
- 1/2 teaspoon salt
- 1/4 teaspoon black pepper
- 1 teaspoon minced fresh parsley for garnish (optional)
Instructions
- Marinate. Add all ingredients except the parsley to a gallon-size zip-top plastic bag. Squeeze out the air, seal the bag, and massage the ingredients into the peppers. Let the peppers marinate while you preheat the grill (or up to 4 hours).
- Grill. Preheat the grill to high heat. Place the peppers on the grill skin-side-down (reserve the marinade). Cook until the peppers are charred on both sides, about 5 to 8 minutes per side, flipping once halfway through.
- Peel (optional): If you want to peel the charred skin off the peppers before eating, once you remove them from the grill, immediately put them into a bowl and cover the bowl with plastic wrap. Let the peppers sit for 10 minutes, and then you can easily peel off the skin.
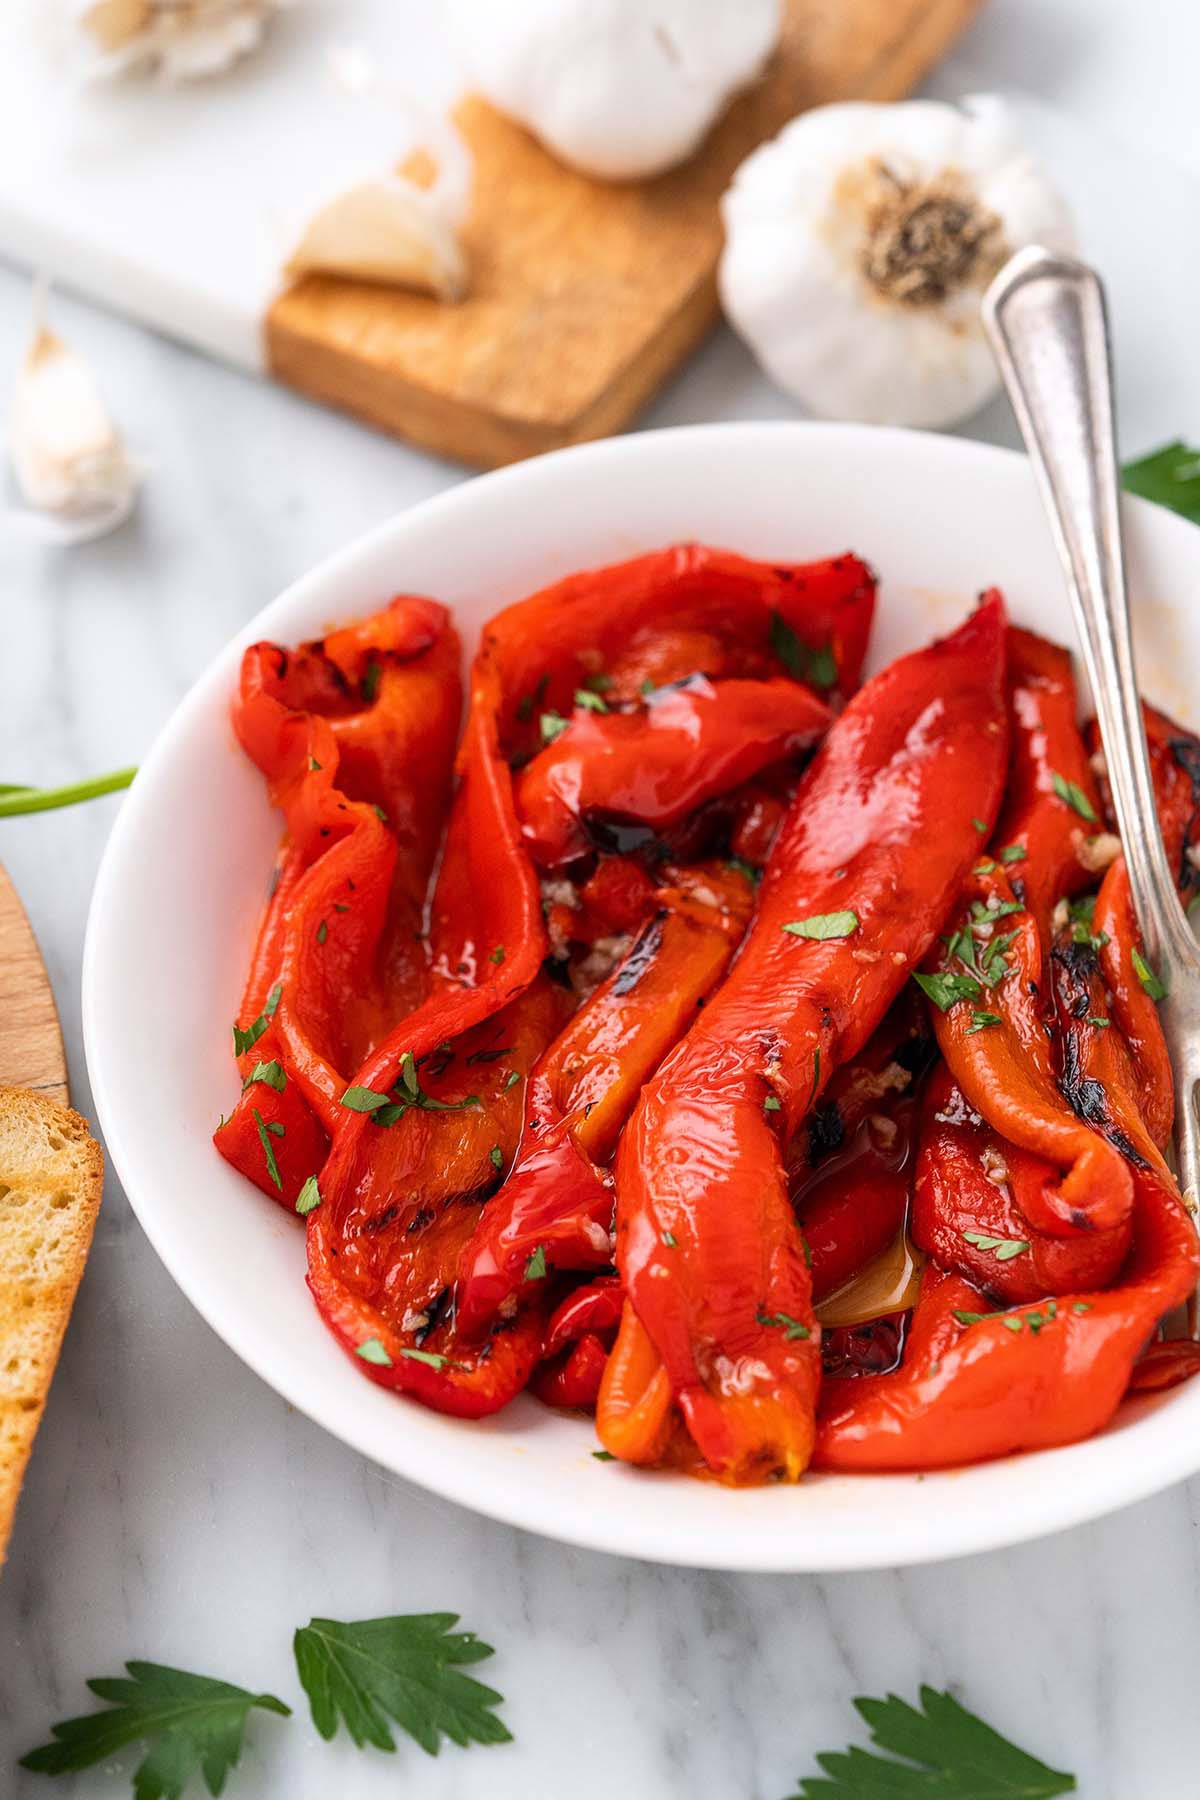
- Serve. Transfer the peeled peppers to a bowl. Drizzle 2 tablespoons of the reserved marinade on top (discard the rest of the marinade or use it as salad dressing), and sprinkle on the parsley.
Video
Notes
- Large Sweet Red Peppers: You can use any type of large sweet red peppers that are available to you. I found peppers labeled “sweet griller peppers” at my grocery store, which worked well. Their flavor and texture reminded me of piquillo peppers.
- Serving Temperature: These are great served warm, cold, or at room temperature.
- Storage: Store grilled peppers for up to 5 days in an airtight container in the fridge or up to 1 year in the freezer.
- Tip for Peeling Peppers: It’s fine if there are still some pieces of skin on the grilled peppers. Don’t rinse the peppers after cooking because it will dilute their delicious charred flavor.
- How to Make Roasted Peppers in the Oven: Preheat the oven to 450F. Prepare the peppers as directed in this recipe and place the pepper halves (skin side up) on a foil-lined baking sheet. Roast the peppers until they’re softened and the skin is blackened in spots, about 15 to 20 minutes (don’t flip them). (IMPORTANT: I don’t recommend broiling peppers if you’ve marinated them in oil, as the oil can catch fire. Just roast them on the middle rack of the oven.)
Nutrition
Nutritional information is automatically calculated and should be used as an approximate.
Share it with me on Instagram and leave a comment to let me know your thoughts!

This post was first published on An Edible Mosaic on September 5, 2022 and updated on May 15, 2026.


I’m the writer, recipe developer, photographer, and food stylist behind this blog. I love finding the human connection through something we all do every day: eat! Food is a common ground that we can all relate to, and our tables tell a story. It’s my goal to inspire you to get in the kitchen, try something new, and find a favorite you didn’t know you had.
Free Bonus