This post may contain affiliate links, view our disclosure.
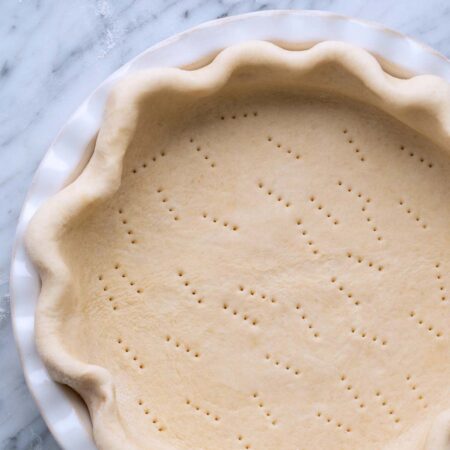
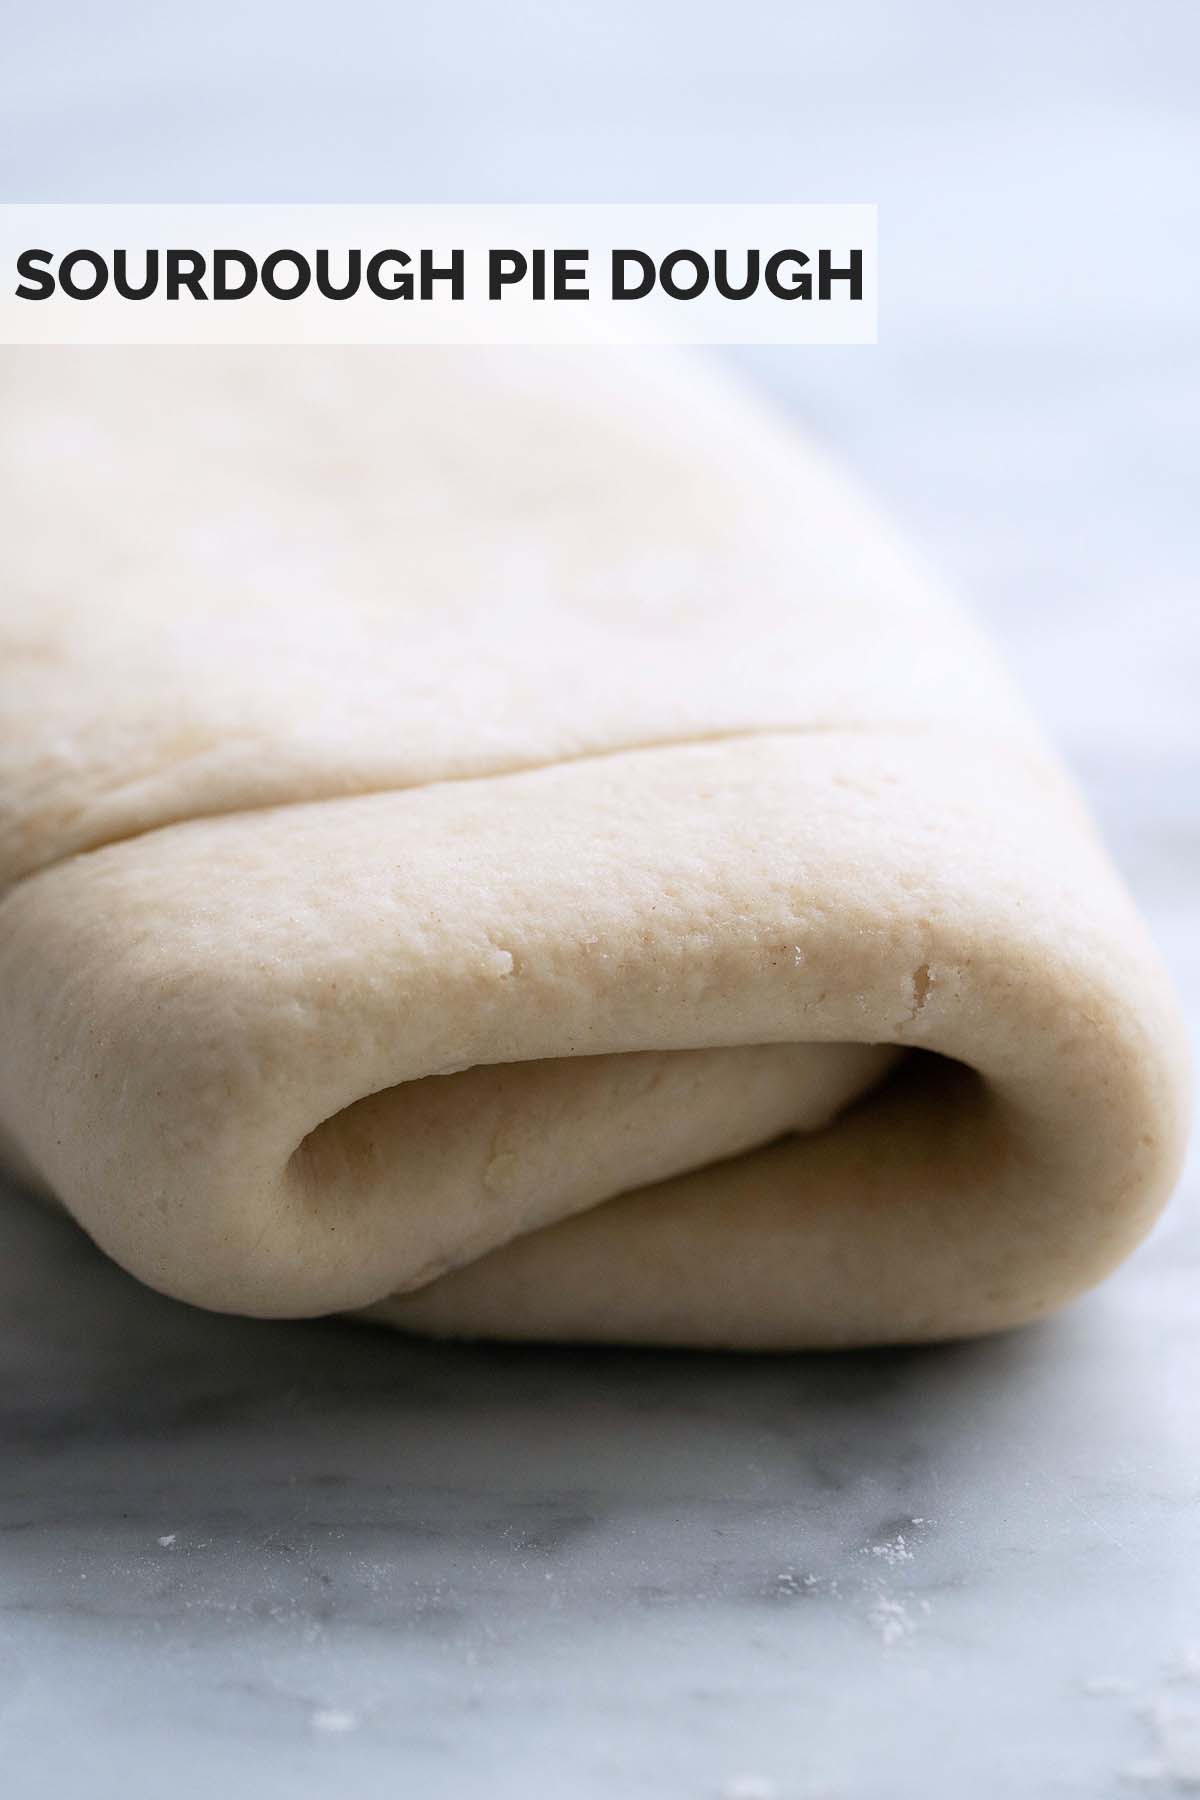
This sourdough pie dough recipe yields a flaky, buttery, laminated crust with complex flavor and a slight tang that’s perfect for making into sweet or savory pies and other pastries.
Since I started sourdough baking back in 2024, I’ve had some surprise outcomes. For starters, I realized that sourdough’s capabilities go way beyond just bread. Almost anything can be remade into a sourdough version of itself (bagels, pasta, crackers, ad infinitum). And secondly, I realized that the sourdough versions will forever ruin you for the regular versions.
Fair warning, friends: only make this pastry crust if you’re okay with regular pastry crust tasting just a little bit bland afterwards.
What Makes This Recipe Special
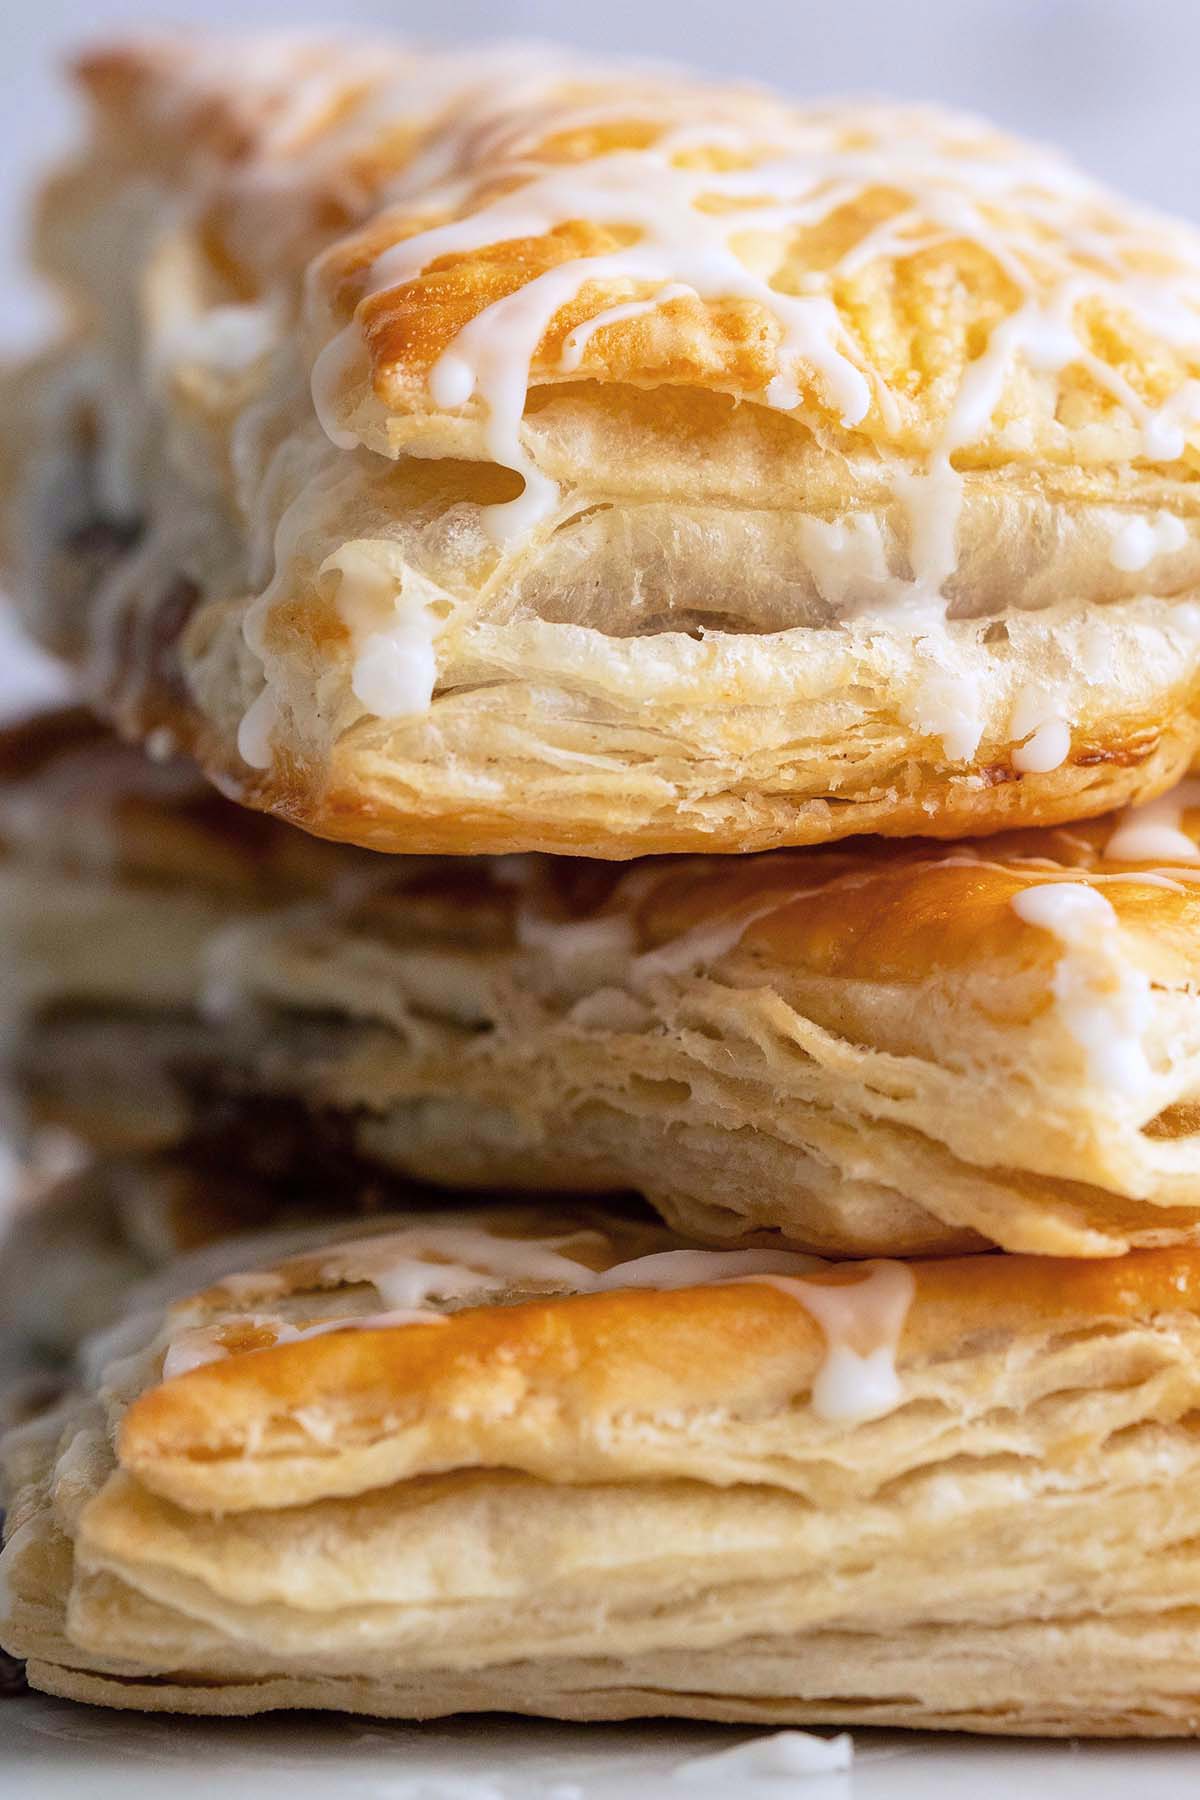
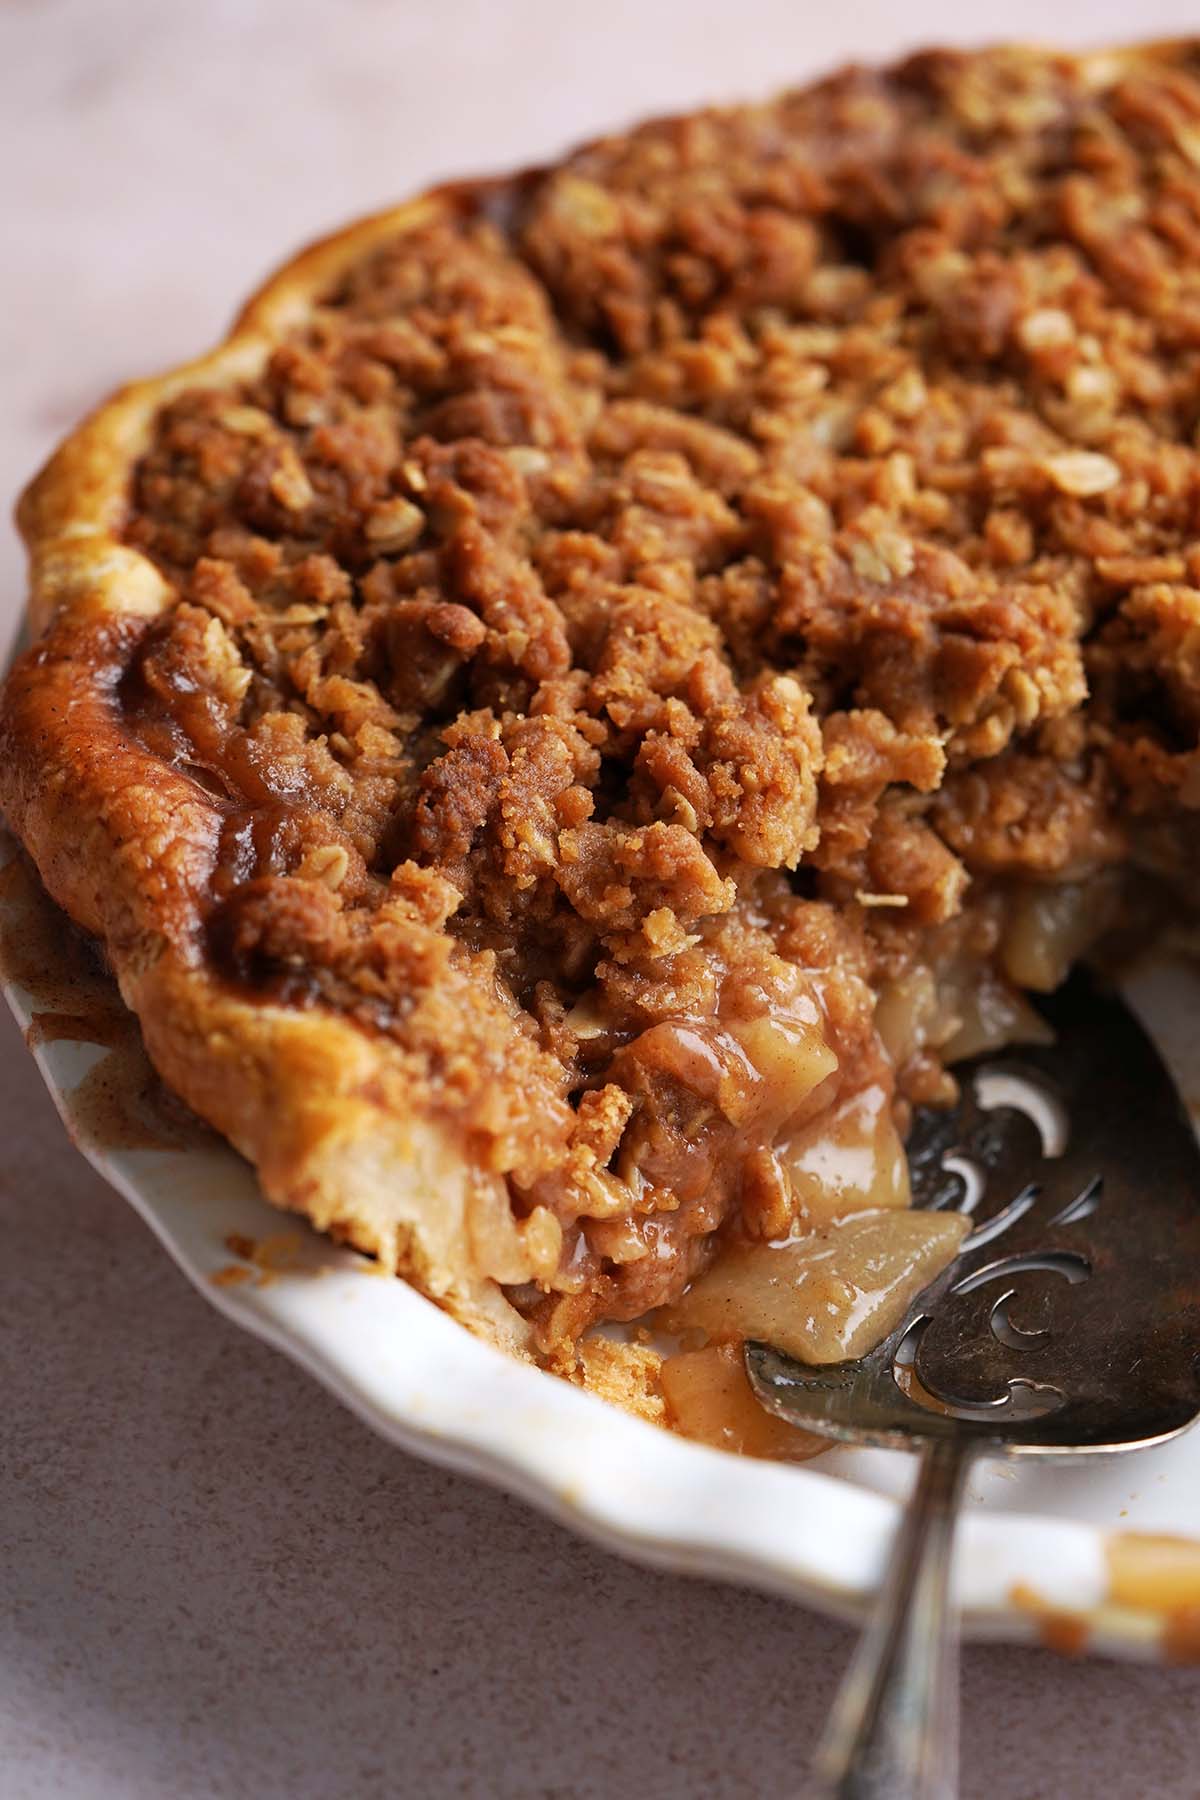
- Use it for sweet or savory pies. Fill this pie crust with whatever you like, sweet or savory. Or make it into hand pies (try chocolate blackberry hand pies), toaster strudel, mini pies (individual steak and ale pie is a personal favorite), tarts (like festive mincemeat tarts), essentially all the pie-related things.
- Lamination. You know how a croissant has those gorgeous, flaky layers upon layers? Le sigh. So does this. In baking, lamination refers to the method of repeatedly rolling and folding dough (either containing large chunks of butter or folded around a block of butter). The result is thin alternating layers of dough and butter that puff into a beautifully flaky pastry when baked.
- It’s everything you love about a classic shortcrust pastry (flaky, buttery, crisp layers), but with the added tang of sourdough. If you’ve ever seen a pie crust recipe that called for adding lemon juice or vinegar, you’ll understand why this works so well. Sourdough’s natural tartness acts as a tenderizer and adds another dimension of flavor.
- This is yet another way to use sourdough starter or discard. I always love reducing kitchen waste. Wasted discard will be a thing of the past if you have a variety of ways to use it!
Ingredients
Breaking It Down
Ingredients Explained
In this section I explain the ingredients and give substitution ideas where applicable. For the full recipe (including the ingredient amounts), see the recipe card below.
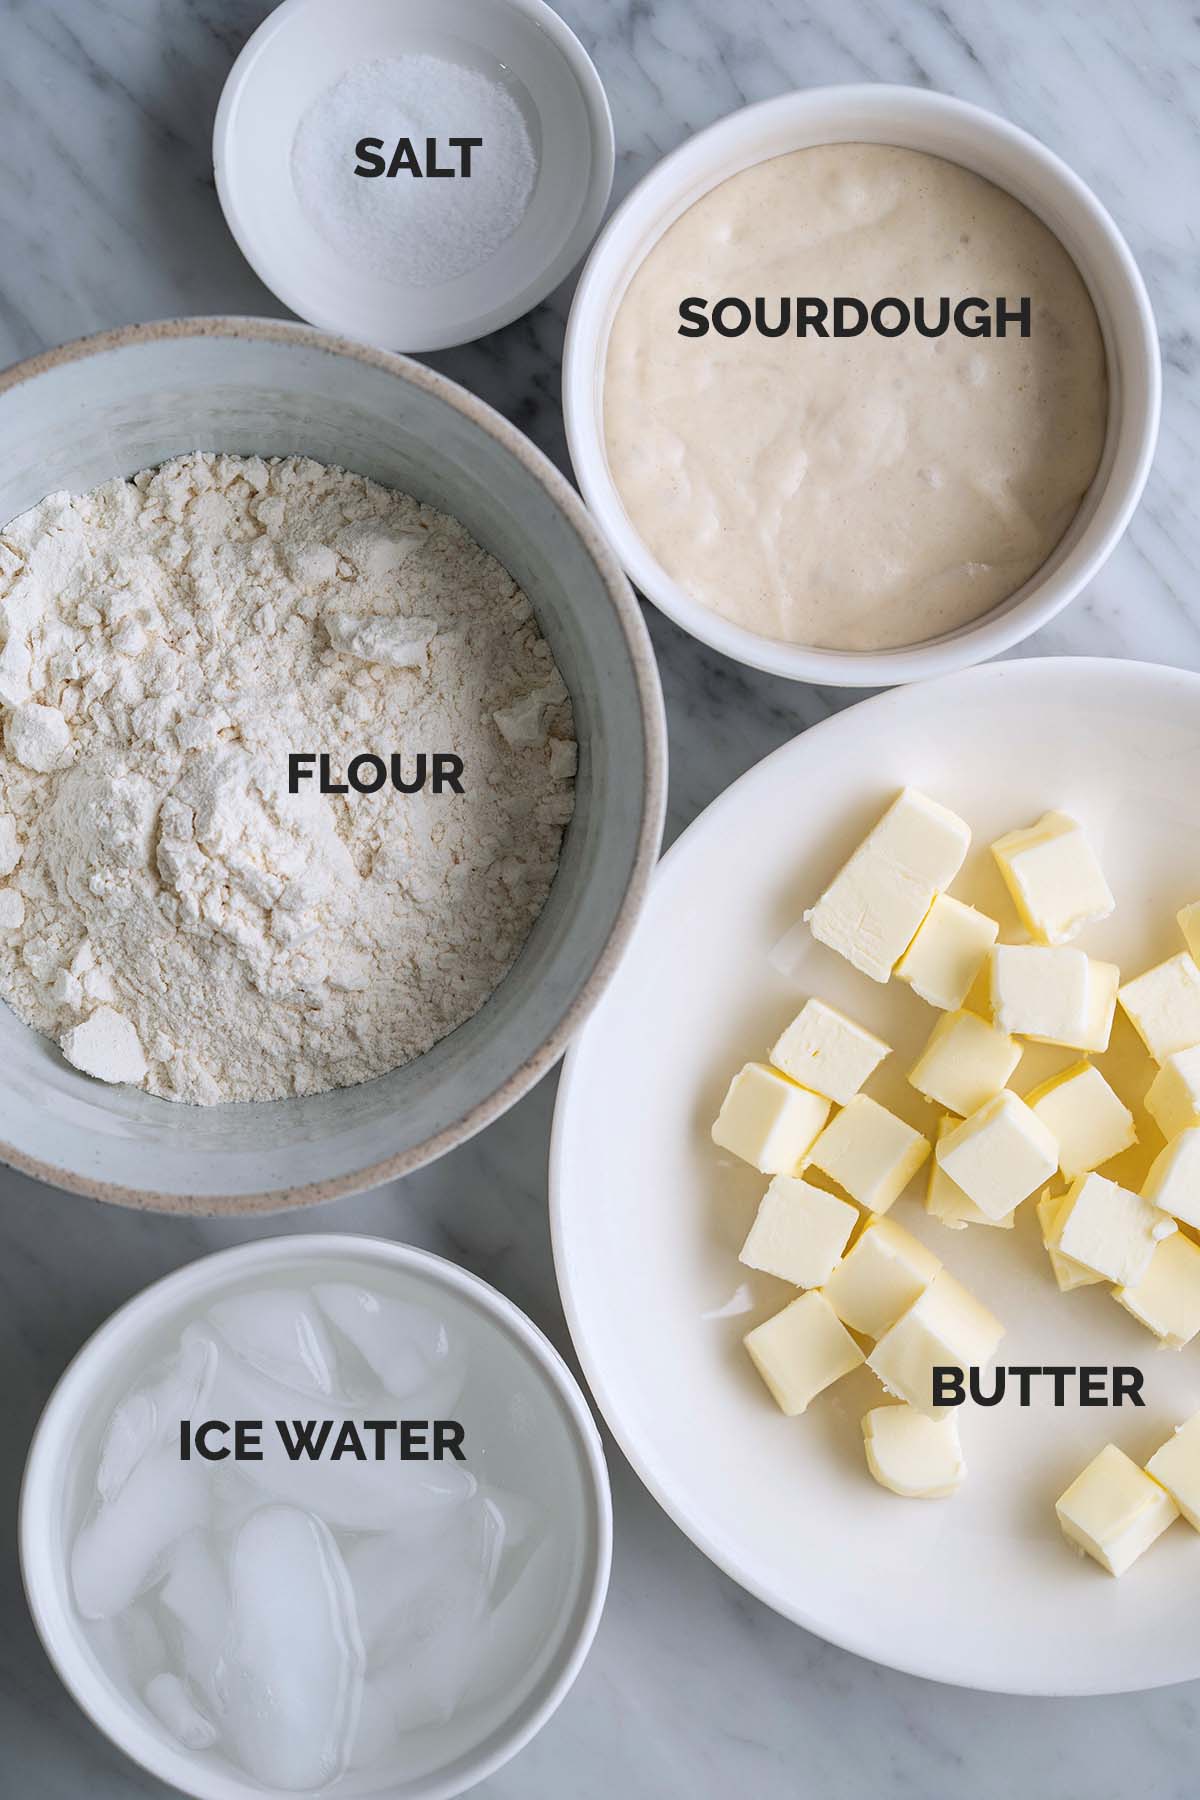
- Flour – Use regular unbleached all-purpose flour. It’s not necessary for this recipe to work, but go for organic if possible (my favorite is King Arthur). Also, for best results, make sure your flour is fresh. (TIP: If your bag of flour has been open a while, its hydration level and flavor will be slightly different than a freshly-opened bag because it can absorb moisture and odors from the air.)
- Salt – A natural flavor enhancer, salt seasons the dough and brings out the rich buttery flavor.
- Unsalted butter – One might say that butter is the star of the show in an all butter pastry crust! Any kind of butter will work, but when possible, I like to use European style butter with a higher butterfat content for the most amazing melt-in-your-mouth crust. A couple of my favorite brands are Vital Farms and Kerrygold. (TIP: Here we use unsalted butter and add salt for two reasons: 1) unsalted butter is typically fresher than its salted counterpart, and 2) it allows us to control the salt level.)
- Sourdough – You can use active sourdough starter or unfed discard here. I prefer discard for its tangier flavor and to help reduce kitchen waste, but either will work. (TIP: Don’t worry about the difference in thickness between starter and discard here. I developed this recipe with a failsafe to account for that; incorporating water a little bit at a time after adding sourdough to hydrate this dough accounts for the natural variation in the thickness of starter versus discard.)
- Water – We want icy cold water so the butter doesn’t melt. I fill a glass with ice, add water, and use that.
Step-by-Step Instructions: How to Make Sourdough Pastry Dough (For the Perfect Flaky, Buttery Crust!)
1: Make the Sourdough Pie Dough and Let it Chill
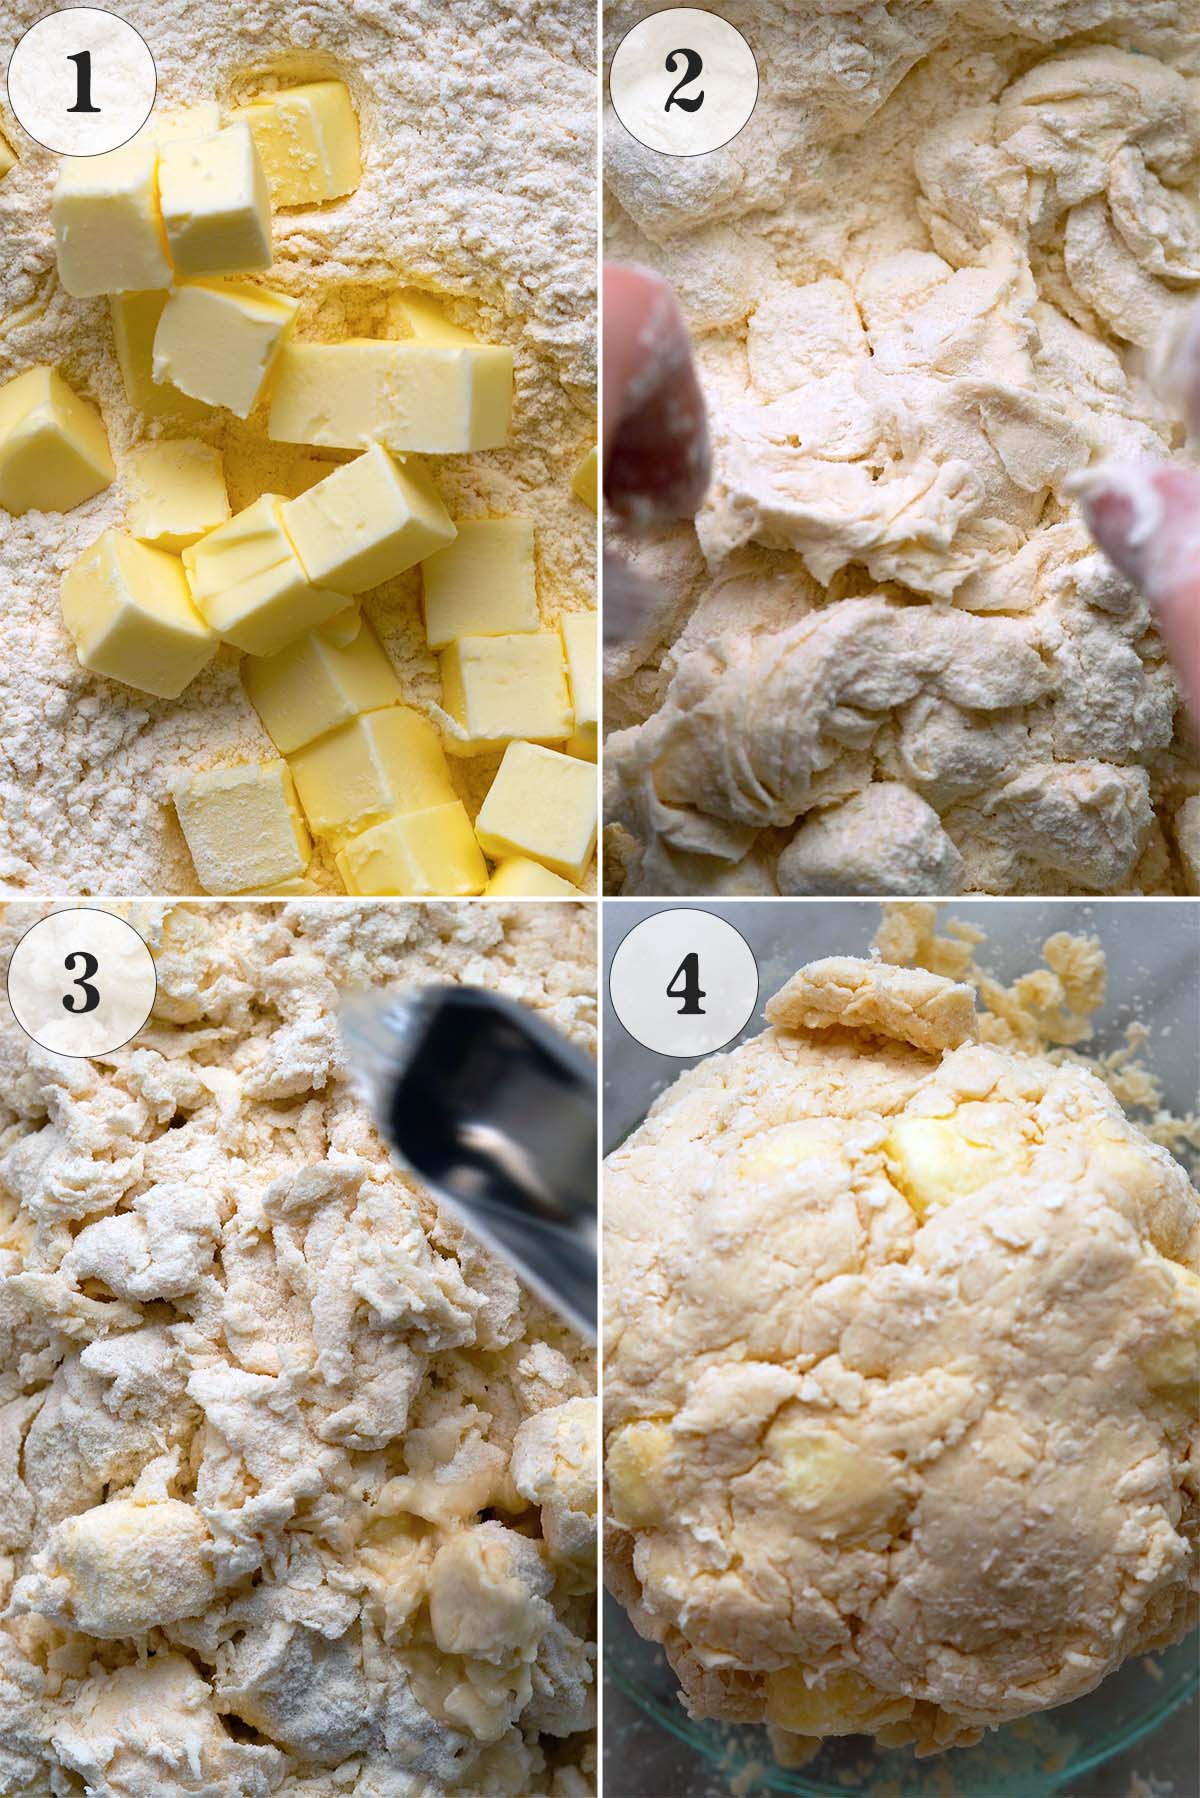
- Add the flour and salt to a large bowl and whisk to combine. Add the butter chunks and toss with your fingertips to coat them in flour.
- Add the discard and work it into the dough with your fingertips until it forms a shaggy dough, trying not to work in the butter if possible. (TIP: When you work the sourdough starter or discard into the dough, for larger clumps of sourdough, it helps to use gravity to incorporate it. Simply grab the sourdough and gently pull it up while shaking. The sourdough will fall down in thinner strands that incorporate more easily into the flour.)
- Once the discard is worked into the dough, add ice-cold water a little at a time just until it comes together; I usually need between 4 to 6 tablespoons, but the exact amount varies based on the weather, your discard, etc.
- This is how the dough looks when it’s ready. (TIP: At this point, the dough should still be a bit dry, but should come together as a ball when pressed.) Turn the dough out onto a piece of plastic wrap, wrap it up, and gently shape it into a disk. Freeze the dough for 20 minutes (or refrigerate for 4 hours).
2: Perform the Letter Folds and Let it Chill
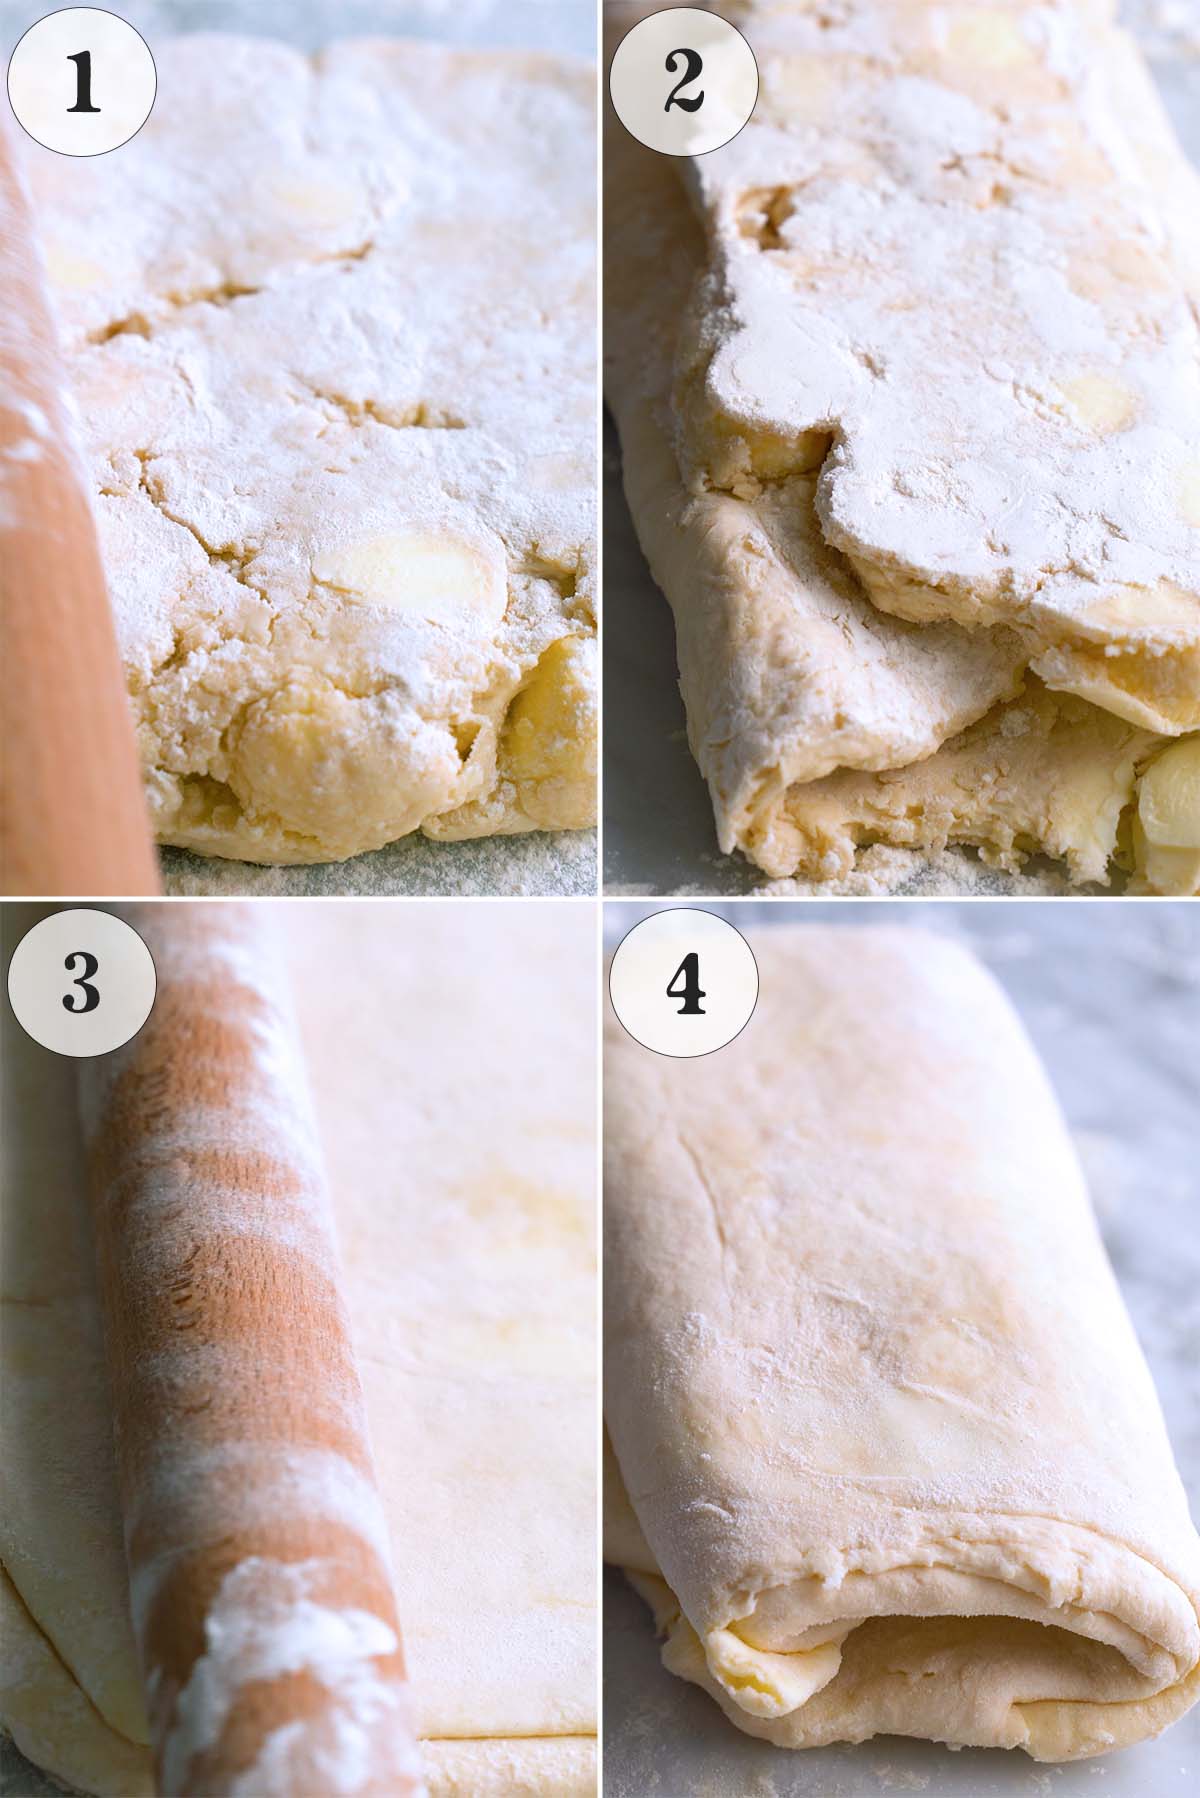
- After your dough is chilled, flour your work surface and roll out the dough to a rectangle about 8 by 12 inches.
- Perform your first letter fold; to do so, fold the bottom 1/3 of the dough up over the middle 1/3, and then fold the top 1/3 down over the middle (like you’d fold a business letter). Roll it out to an 8 by 12-inch rectangle again, and perform another letter fold. Repeat this process 4 more times (for a total of 6 letter folds), adding a dusting of flour on the dough or your work surface at any point if needed. (TIP: At any point during the letter fold process, if the butter starts to soften too much and the dough becomes difficult to roll out, simply wrap it in plastic wrap and pop it into the fridge to chill briefly before continuing.)
- This is how the dough looks when you’re rolling it out for the fifth time (right before the sixth and final letter fold).
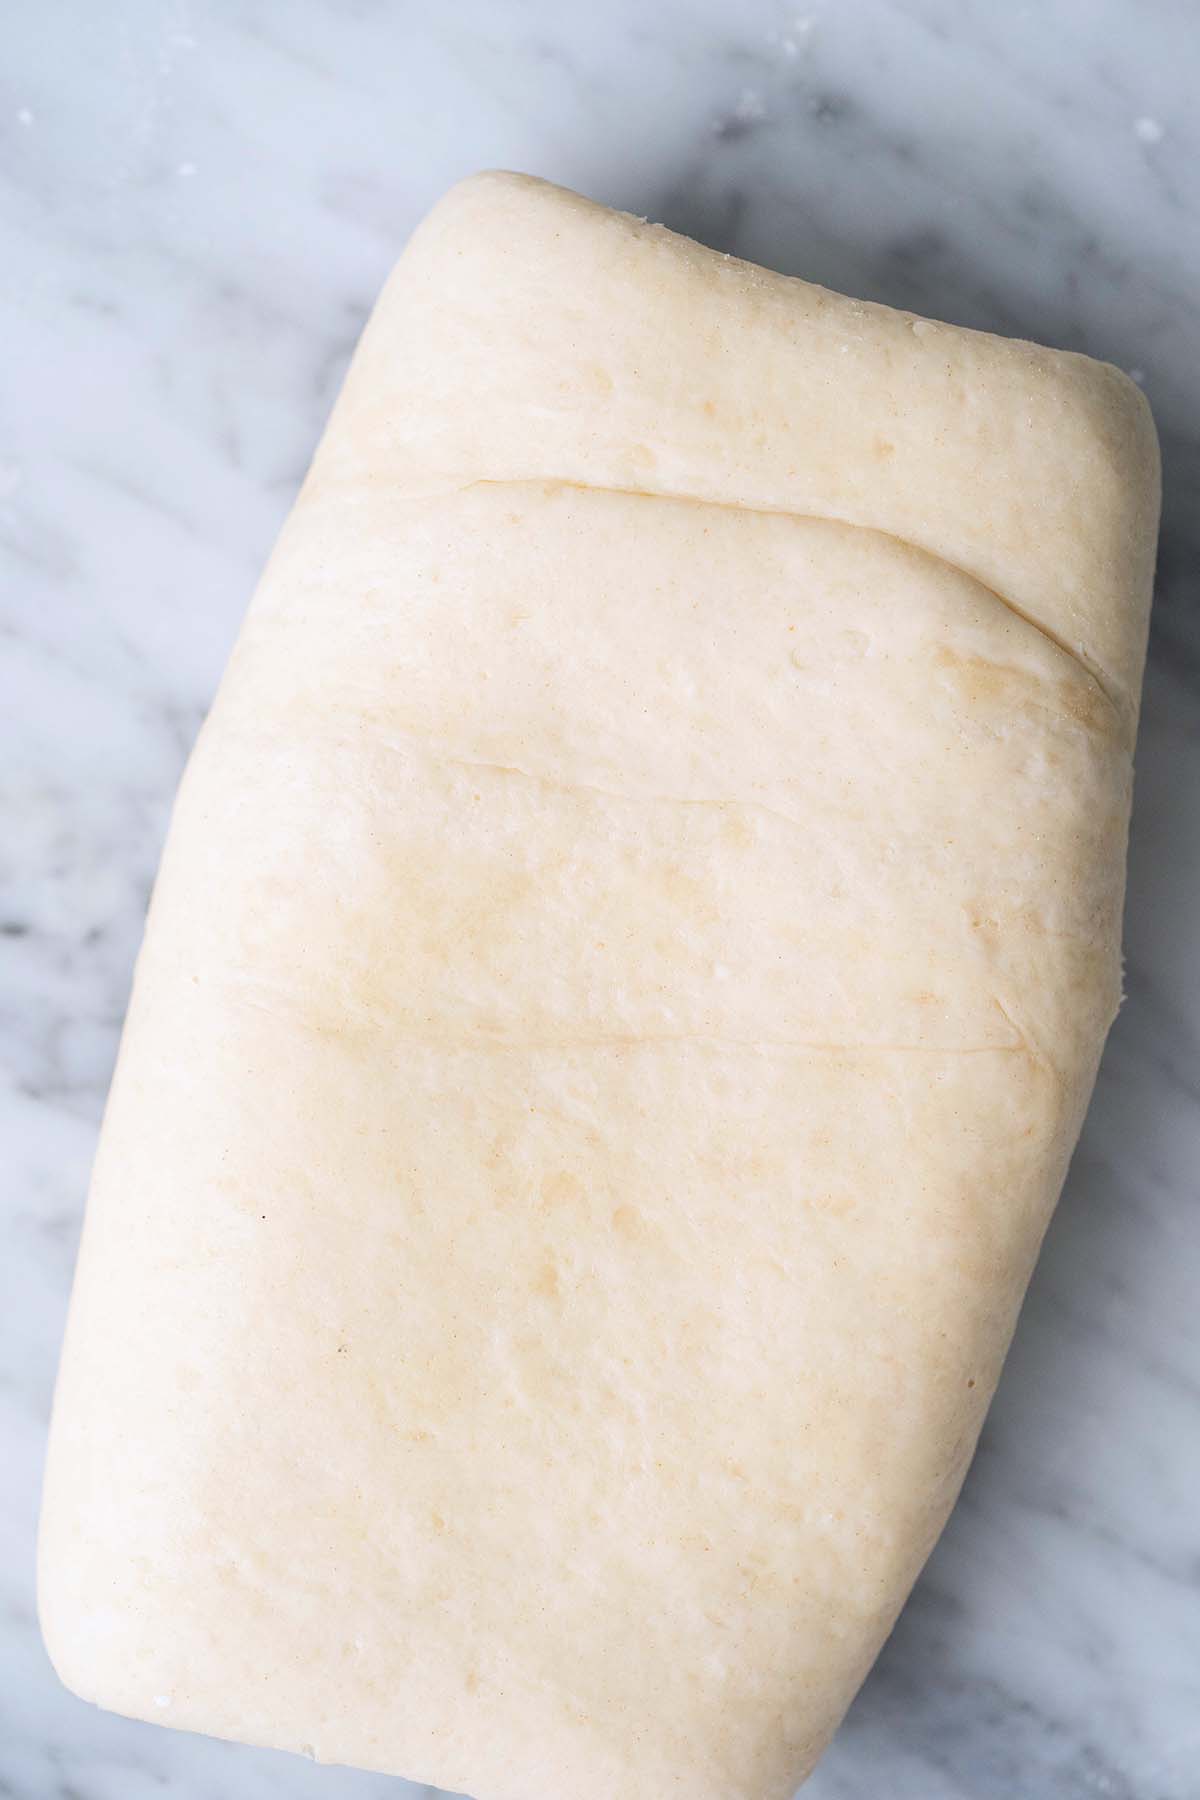
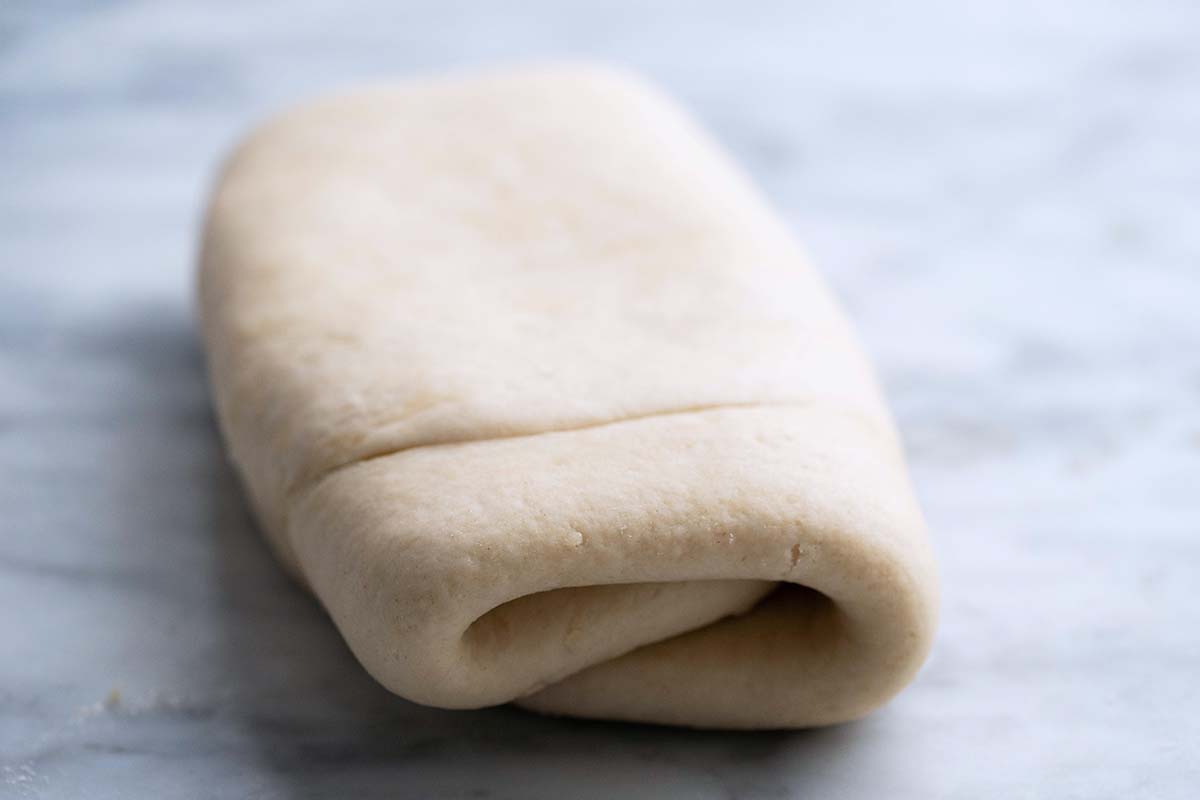
- This is how the dough looks after the sixth letter fold. Wrap the dough in plastic wrap and freeze for 10 minutes (or refrigerate for 2 hours).
3: Final Roll Out
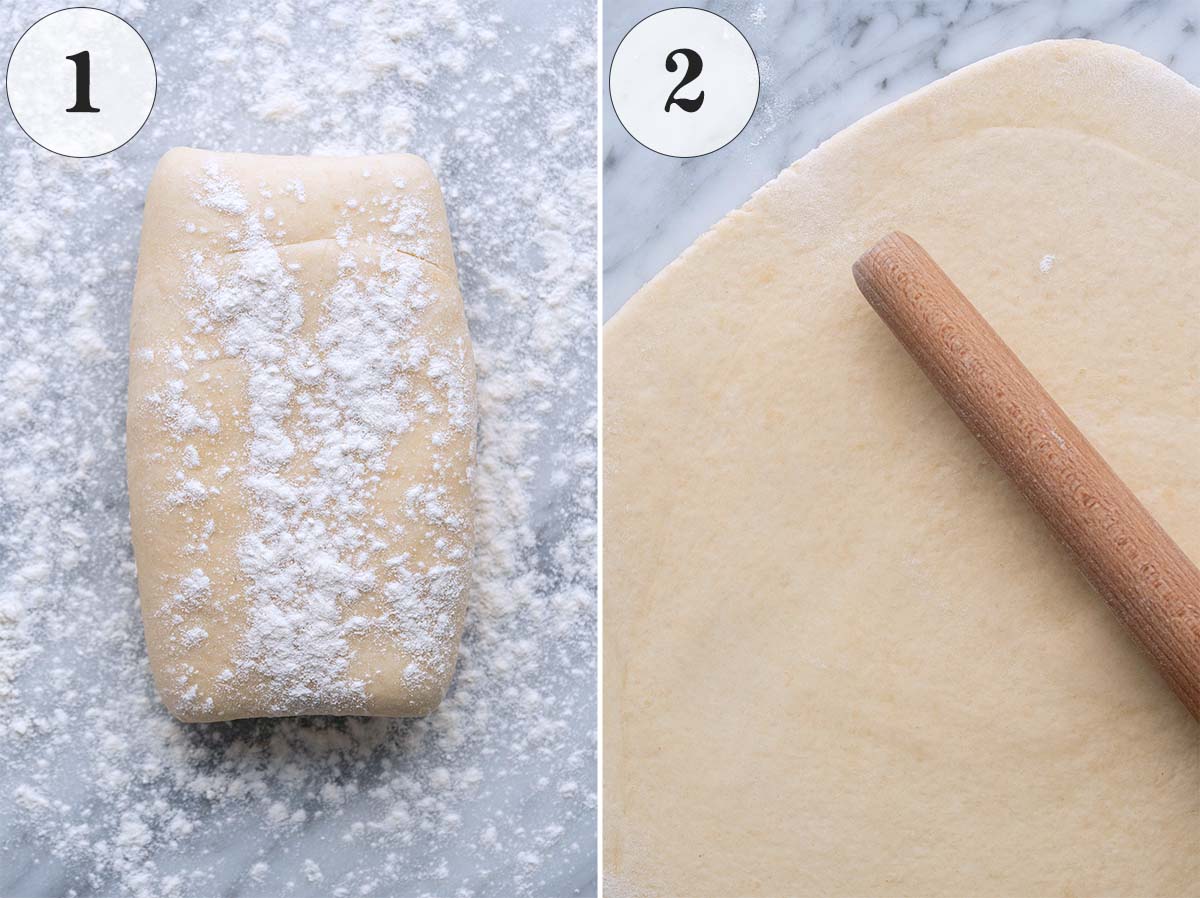
- Place the chilled dough onto a floured work surface and lightly flour the top of the dough.
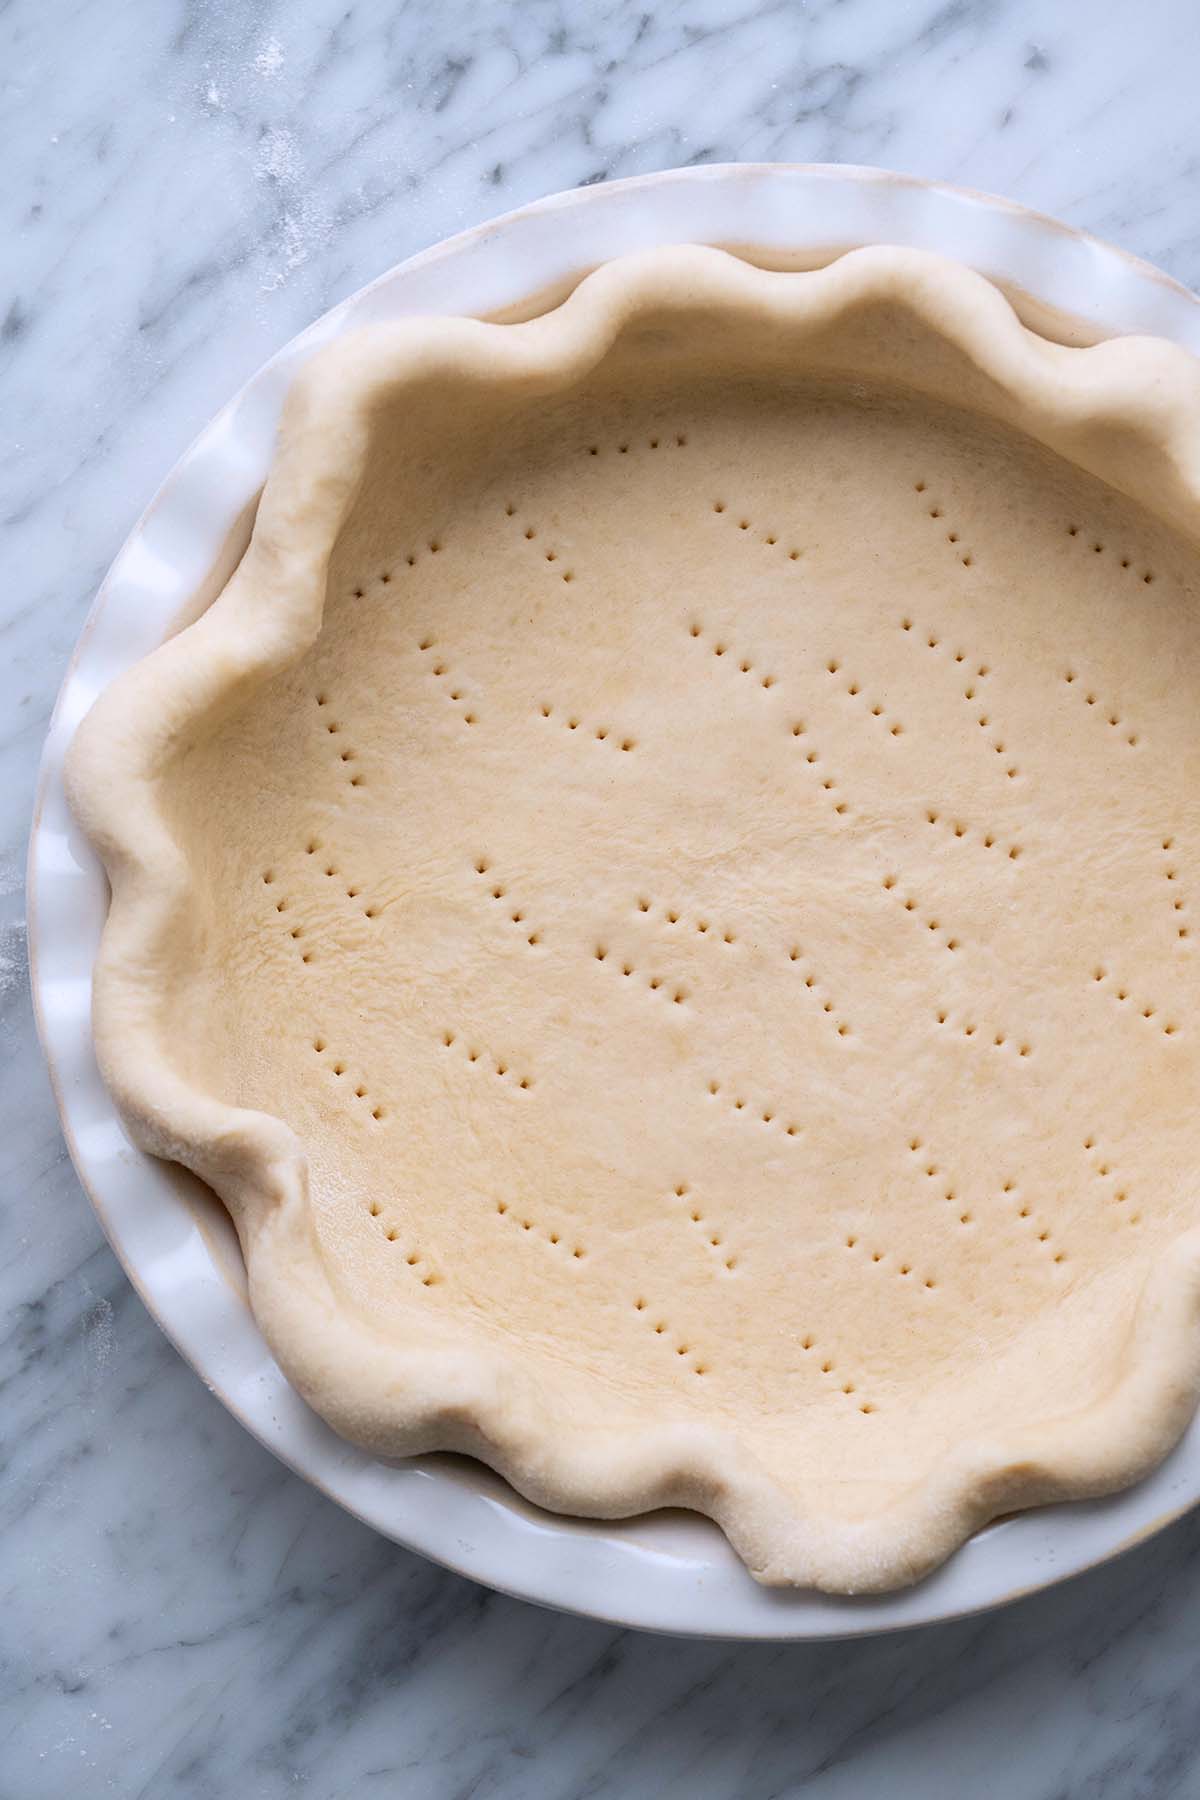
- Working from the center out, roll the dough out to whatever size you need for the recipe you’re baking. At this point, continue on with the pie, hand pie, tart, etc. recipe that you’re using.
Storage and Make Ahead
Wrap this dough well and then pop it into a zip-top plastic bag and store it in the fridge for up to 2 days.
I don’t recommend storing this dough for longer than that for a couple reasons. For starters, it will continue to ferment the entire time, and after the second day it can be a bit too tangy. Also, by the third day it will likely start to oxidize and turn an unappetizing grey color.
Tips For the Best Sourdough Pie Crust
I promise you, it’s easier than you might think to get the perfect sourdough crust! Here are my best tips:
- Start with less water and add more as needed.
- Using large, cold chunks of butter to make this dough is imperative for the lovely flaky layers of this crust. I cut each 1/2 stick of butter into 16 equal chunks.
- When you work the sourdough starter or discard into the dough, for larger clumps of sourdough, it helps to use gravity to incorporate it. Simply grab the sourdough and gently pull it up while shaking. The sourdough will fall down in thinner strands that incorporate more easily into the flour.
- Just like regular pie dough, don’t overwork this dough. We aren’t trying to develop the gluten here; we want a crisp, flaky crust, not a cake-y or gluey crust.
- For more tips on how to make a fabulous pie crust, check out my pie crust guide.
Frequently Asked Questions
Absolutely! Instead of using water to hydrate flour to make dough, you can use active sourdough starter or unfed discard. There are two tricks to it: 1) using the right ratio of discard to flour (we still need some water!), and 2) working the sourdough properly into the flour (I mostly use gravity to incorporate the sourdough; you can see how I do it in action in the video in the recipe card below).
No. The difference lies in whether it’s been baked yet or not. Before baking it’s called pie dough, and after baking it’s called pie crust.
Nope. Here we mostly use starter to hydrate the flour and turn it into dough. However, I don’t recommend using all starter and skipping the water for multiple reasons:
1. You run the risk of your crust being overly tangy.
2. Your pastry can go from beautifully crisp and flaky to a bit more cake-y, which completely defeats the purpose IMHO.
3. Using a little bit of water accounts for the natural variation in the thickness of sourdough starter versus discard. (TIP: When making pie dough, I always recommend starting with less water, working it into the dough, and only adding more as necessary.)
More Delicious Ways to Use Sourdough Starter or Discard
- Sourdough Naan
- Brown Butter Sourdough Chocolate Chip Cookies
- Sourdough Detroit Style Pizza
- Crispy Outside, Chewy Inside Sourdough Waffles
Let’s Connect

Did you make this recipe? Please rate it and leave a comment below. You can also tag @anediblemosaic on social media.
To stay up-to-date, follow me on Facebook, Instagram, Pinterest, and Twitter!
Sourdough Pie Crust Recipe
Email This Recipe
Get this recipe link emailed straight to your inbox!
Ingredients
- 1 1/4 cups all-purpose flour (plus more for rolling out the dough)
- 1/2 teaspoon salt
- 1/2 cup unsalted butter (chilled and cut into chunks; see Notes)
- 1/2 cup sourdough starter or discard (1/2 cup is about 128 grams; see Notes)
- Ice water (as needed)
Instructions
Make the Dough:
- Add the flour and salt to a large bowl and whisk to combine. Add the butter chunks and toss with your fingertips to coat them in flour. Add the discard and work it into the dough with your fingertips until it forms a shaggy dough, trying not to work in the butter if possible. (TIP: When you work the sourdough starter or discard into the dough, for larger clumps of sourdough, it helps to use gravity to incorporate it. Simply grab the sourdough and gently pull it up while shaking. The sourdough will fall down in thinner strands that incorporate more easily into the flour.)Once the discard is worked into the dough, add ice-cold water a little at a time just until it comes together; I usually need between 4 to 6 tablespoons, but the exact amount varies based on the weather, your discard, etc. (TIP: At this point, the dough should still be a bit dry, but should come together as a ball when pressed.)
Chill the Dough (1st Chill):
- Turn the dough out onto a piece of plastic wrap, wrap it up, and gently shape it into a disk. Freeze the dough for 20 minutes (or refrigerate for 4 hours).
Perform the Letter Folds:
- After your dough is chilled, flour your work surface and roll out the dough to a rectangle about 8 by 12 inches. Perform your first letter fold; to do so, fold the bottom 1/3 of the dough up over the middle 1/3, and then fold the top 1/3 down over the middle (like you’d fold a business letter).Roll it out to an 8 by 12-inch rectangle again, and perform another letter fold. Repeat this process 4 more times (for a total of 6 letter folds), adding a dusting of flour on the dough or your work surface at any point if needed. (TIP: At any point during the letter fold process, if the butter starts to soften too much and the dough becomes difficult to roll out, simply wrap it in plastic wrap and pop it into the fridge to chill briefly before continuing.)
Chill the Dough (2nd Chill):
- Wrap the dough in plastic wrap and freeze for 10 minutes (or refrigerate for 2 hours).
Prep For Baking and Final Roll Out:
- Preheat the oven to the temperature specified in the recipe you're baking.Place the chilled dough onto a floured work surface and lightly flour the top of the dough. Working from the center out, roll the dough out to whatever size you need for the recipe you're baking.At this point, continue on with the pie, hand pie, tart, etc. recipe that you're using.
Notes
- Butter Chunks: I cut each 1/2 stick of butter into 16 equal chunks.
- Sourdough Starter Versus Discard: Don’t worry about the difference in thickness between starter and discard here. I developed this recipe with a failsafe to account for that; incorporating water a little bit at a time after adding sourdough to hydrate this dough accounts for the natural variation in the thickness of starter versus discard.
- Chilling the Dough: You want your dough fully chilled; 30 minutes is the bare minimum (and that’s if you kept everything as cold as possible), but an hour or two is great if you have the time. If you leave it in the fridge longer and it’s hard to roll out, let it sit at room temperature for about 10 minutes.
- Storage and Make Ahead: Wrap this dough well and then pop it into a zip-top plastic bag and store it in the fridge for up to 2 days. I don’t recommend storing this dough for longer than that for a couple reasons. For starters, it will continue to ferment the entire time, and after the second day it can be a bit too tangy. Also, by the third day it will likely start to oxidize and turn an unappetizing grey color.
- Nutrition Information: The nutritional information given is for the full recipe.
- Recipe Yield: This recipe makes enough dough for one standard 9-inch round single-crust pie. (A single crust pie only has a top or bottom crust. A double crust pie has both a bottom and top crust.)
Nutrition
Nutritional information is automatically calculated and should be used as an approximate.
Share it with me on Instagram and leave a comment to let me know your thoughts!


I’m the writer, recipe developer, photographer, and food stylist behind this blog. I love finding the human connection through something we all do every day: eat! Food is a common ground that we can all relate to, and our tables tell a story. It’s my goal to inspire you to get in the kitchen, try something new, and find a favorite you didn’t know you had.
Free Bonus