This post may contain affiliate links, view our disclosure.
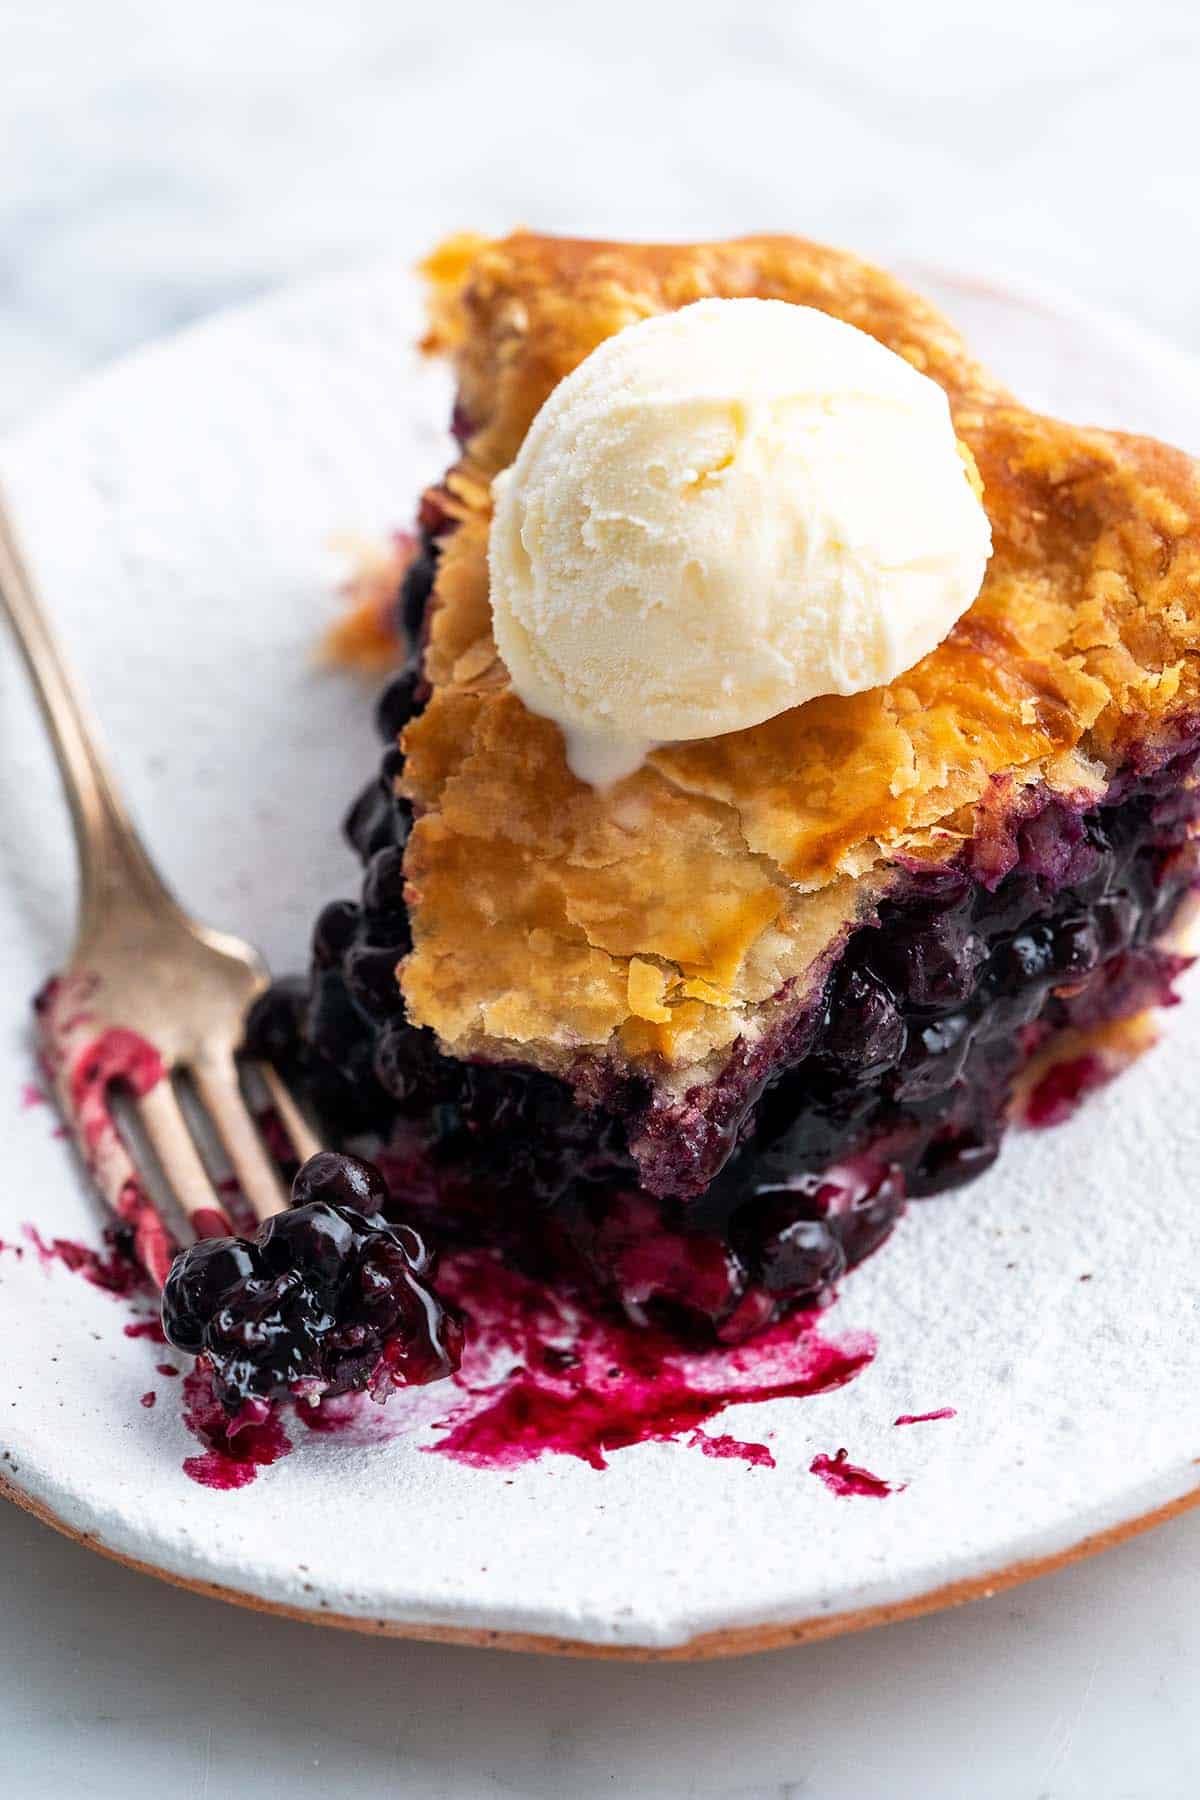
This recipe shows how easy it is to make a crisp, flaky all butter pie crust by hand with four simple ingredients that you probably already have on hand. Also known as shortcrust pastry dough and pâte brisée, you can use this standard recipe for both sweet and savory pies, tarts, galettes, hand pies, and more.
I started experimenting over 12 years ago in pursuit of the perfect pie dough. Before that, to me making pie was a daunting task, so for some reason that made me decide I wanted to master it. (I can’t believe it’s been over a decade, where did the time go?!) At that time, I was still living in my hometown (shoutout to Buffalo, New York!). Since then I’ve lived in Kuwait, the Washington DC metro area, and now back to my law school alma mater’s hometown in Florida. I’ve worked on this recipe in each place I’ve lived. This makes it special to me, and is also helpful for the learning process because the climate is so drastically different in each of these places!
Two pies into my experimenting, a friend ate an entire piece without a word. Then she immediately asked for another slice, saying she actually just wanted more of the crust because for her the pastry makes the pie! It made me giggle. I would have been offended, except I knew her adoration for flaky, buttery pastry. I happily obliged her.
Pie dough is one of those things that’s not hard to master. However, I get new insight through trial and error just about every time I make it, and it’s been a bit different in every climate I’ve lived in. This makes it an ever-evolving process. In my testing, I’ve come up with a foolproof method that yields golden, buttery, crispy layers that are so flaky you’d almost think the dough is laminated like a rough puff pastry or something – but it’s not!
There are two main tricks: 1) add minimal water (and make sure it’s icy cold!), and 2) work the butter into the dough correctly, which I’m going to show you exactly how to do. This dough recipe has been my go-to for years for both sweet and savory pies. Recently, I realized it’s high time I shared it in its own post so I have a place to talk about the nuances of what I’ve learned.
Before we dive in, I want to say this post isn’t for everyone. It’s long and has a lot of information! If pie making holds zero interest for you, you’ll want to skip it entirely or share it with the baker in your life. (Or maybe take a peek at my desserts page to find something that sounds good to you!) However, if you’re anything like me and the idea of being able to make a truly great pie makes you happy, I wrote this for you. I’m by no means an expert, but I’ve been at it a while and I want to share my best tips to help you on your journey to the perfect pie. (And please share your best pie-making tips with me in the comments as well!) Grab a cup of coffee, and let’s get into it.
A Word of Encouragement
If you’re intimidated to make your own pie crust, I fully understand. I was too! But don’t be. Yes, it can be a bit fiddly until you learn how to handle it, but surprisingly, it’s pretty quick and easy. And you don’t need to be a professional baker to make an absolutely killer pie crust! Like anything else, the more you practice, the more you’ll see progress and that’s motivation to keep at it.
Here I’m sharing my best tips and tricks. Additionally, I walk you through the entire process with a step-by-step photo guide and a video of me making it. So really, it’s kind of like I’m there in the kitchen with you. You got this! Happy baking, friend.

What is Shortcrust Pastry?
Called pâte brisée in French (which literally translates to “broken pastry” because gluten formation is inhibited), shortcrust pastry is similar to standard American pie dough. It contains flour, salt, fat, and water, and yields a crisp, flaky crust. However, there are a few differences.
For starters, pâte brisée always uses all butter as the fat. On the other hand, American pie dough doesn’t necessarily use all or even any butter. American pie crusts might use butter, shortening, lard (interestingly, lard is a traditional ingredient in British pies), tallow, or a combination of different types of fat. (My personal preference in terms of rich flavor and flaky texture is an all butter crust.)
Additionally, I’ve noticed that after baking, traditional French shortcrust is a touch different than American all-butter pie crust. The French version is more tender and uniform, while the American version is more crisp and flaky. Although they’re made from the same ingredients (except possibly the type of fat used), the difference in results is due in large part to the technique. Specifically, how the fat is incorporated into the flour.
Given my love for lamination, my recipe veers heavily towards the American side of the spectrum. And although I love a good laminated buttery pastry, I typically don’t want to take the time to laminate dough. Think of this recipe as an even simpler version of rough puff, which in itself is a simplified version of puff pastry. You won’t get the same lamination as you would if you’re making puff pastry or rough puff. However, you’ll still end up with crispy, flaky, buttery layers without all the work and time of puff pastry!

Different Types of Short Crust Pastry Dough
There are several variations of shortcrust, which I wanted to share because this information provides more insight as to how different ingredients affect the dough and resulting crust.
- Pâte brisée – Contains flour, salt, butter, and water. Also referred to as shortcrust, this is relatively close to a classic flaky, tender pie crust that’s typically used to make a lot of American pies.
- Pâte à foncer – This type of shortcrust pastry is enriched with egg. It contains flour, salt, butter, water, and egg. As a result, the dough is a bit more forgiving to work with (it’s less prone to tearing when you’re rolling it out). Additionally, the crust is firmer and less flaky.
- Pâte sucrée – Made of flour, salt, butter, water, egg, and sugar (frequently powdered sugar). This type of crust is sweet and buttery with flavor reminiscent of a sugar cookie, but with a firm, dry texture that’s not prone to crumbling.
- Pâté sablée – This dough type contains the same ingredients as pâte sucrée, but in different ratios. Also, instead of powdered sugar, pâté sablée typically uses granulated white sugar. It’s higher in butter and lightly sweetened. The resulting crust is sandy and crumbly, similar to shortbread but a bit sturdier due to the addition of egg.
Classic All Butter Pie Dough Ingredients
Breaking It Down
Ingredients Explained
In this section I explain the ingredients and give substitution ideas where applicable. For the full recipe (including the ingredient amounts), see the recipe card below.
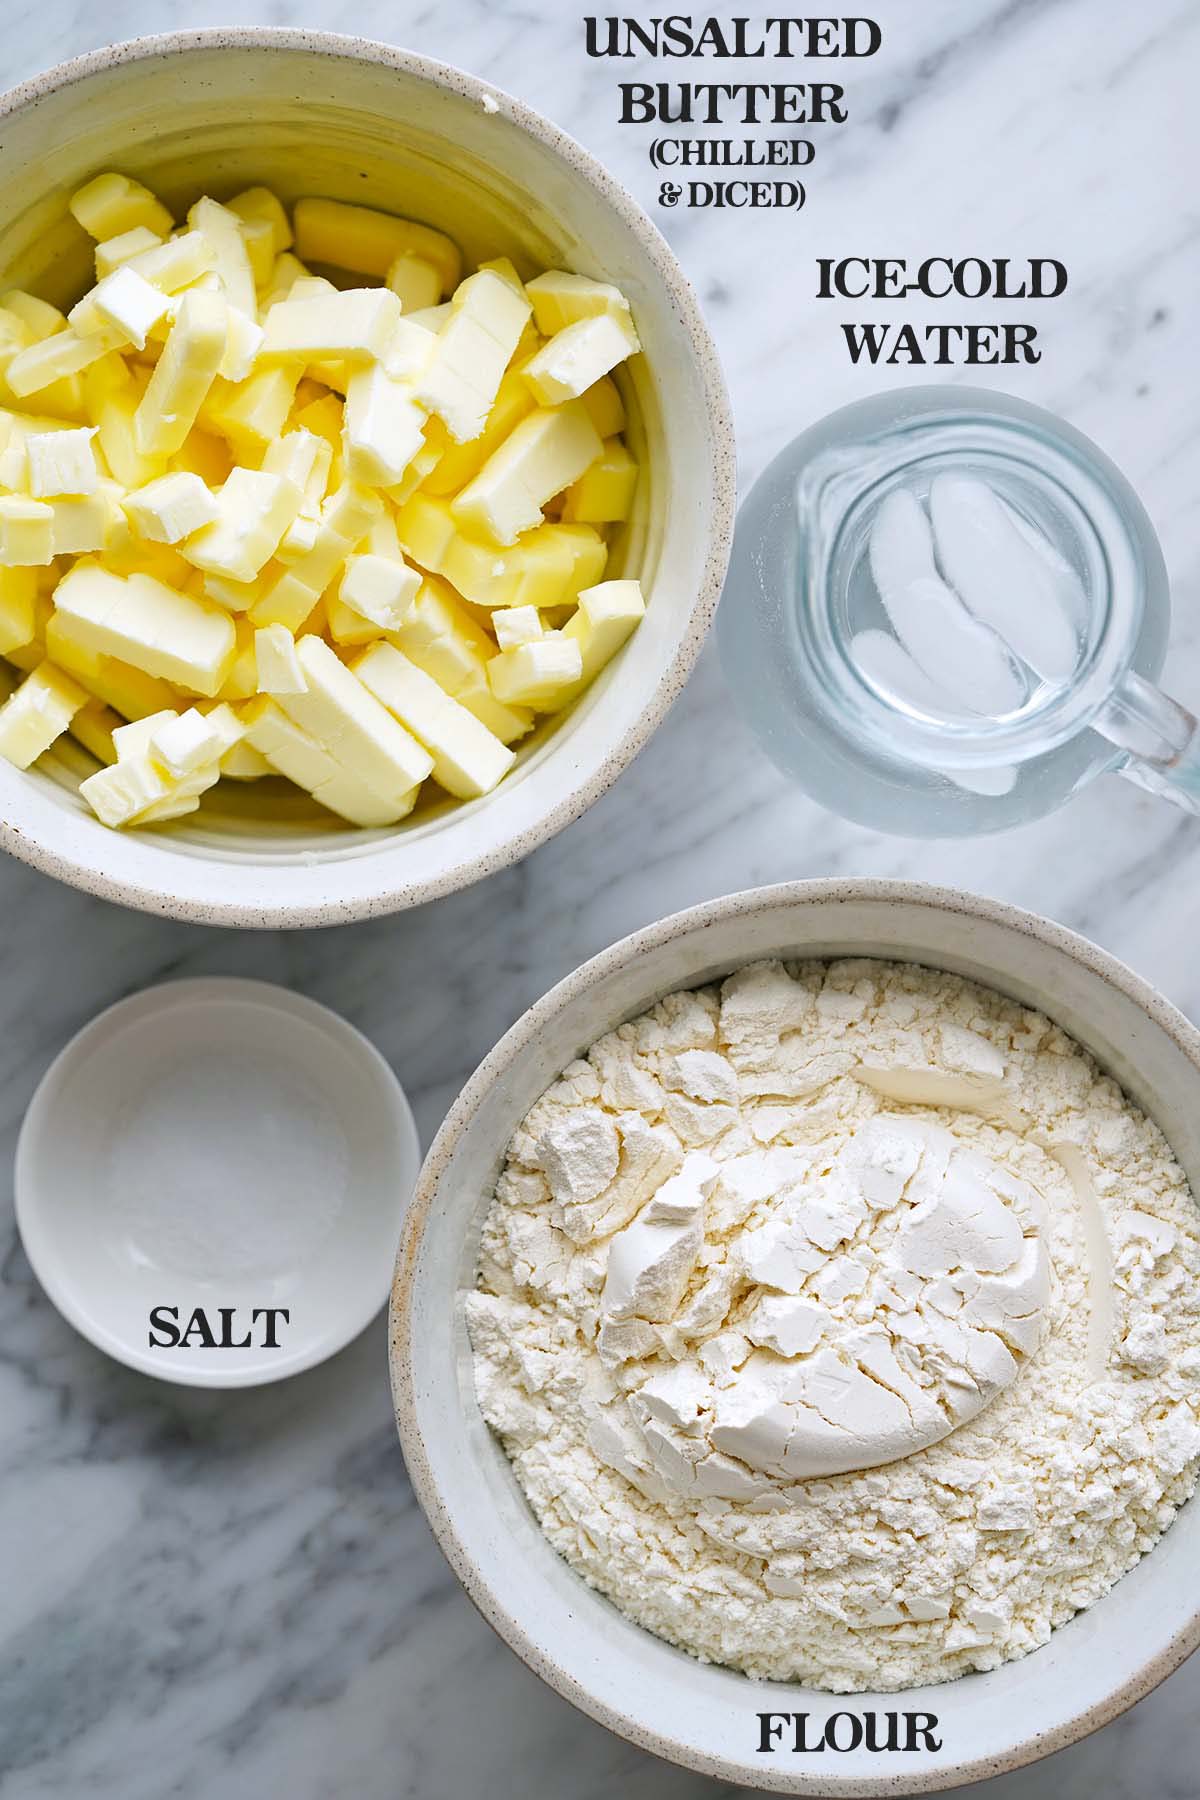
- Flour – Use regular unbleached all-purpose flour. It’s not necessary for this recipe to work, but go for organic if possible (my favorite is King Arthur). Also, for best results, make sure your flour is fresh. (TIP: If your bag of flour has been open a while, its hydration level and flavor will be slightly different than a freshly-opened bag because it can absorb moisture and odors from the air.)
- Salt – A natural flavor enhancer, salt seasons the dough and brings out the rich buttery flavor.
- Unsalted butter – One might say that butter is the star of the show in an all butter pastry crust! Any kind of butter will work, but when possible, I like to use European style butter with a higher butterfat content for the most amazing melt-in-your-mouth crust. A couple of my favorite brands are Vital Farms and Kerrygold. (TIP: Here we use unsalted butter and add salt for two reasons: 1) unsalted butter is typically fresher than its salted counterpart, and 2) it allows us to control the salt level.)
- Water – We want icy cold water so the butter doesn’t melt. I fill a glass with ice, add water, and use that.

How to Make Flaky All Butter Pie Crust
These step-by-step instructions walk you through making dough for one standard double-crust 9-inch pie.
1: Make and Chill the Dough
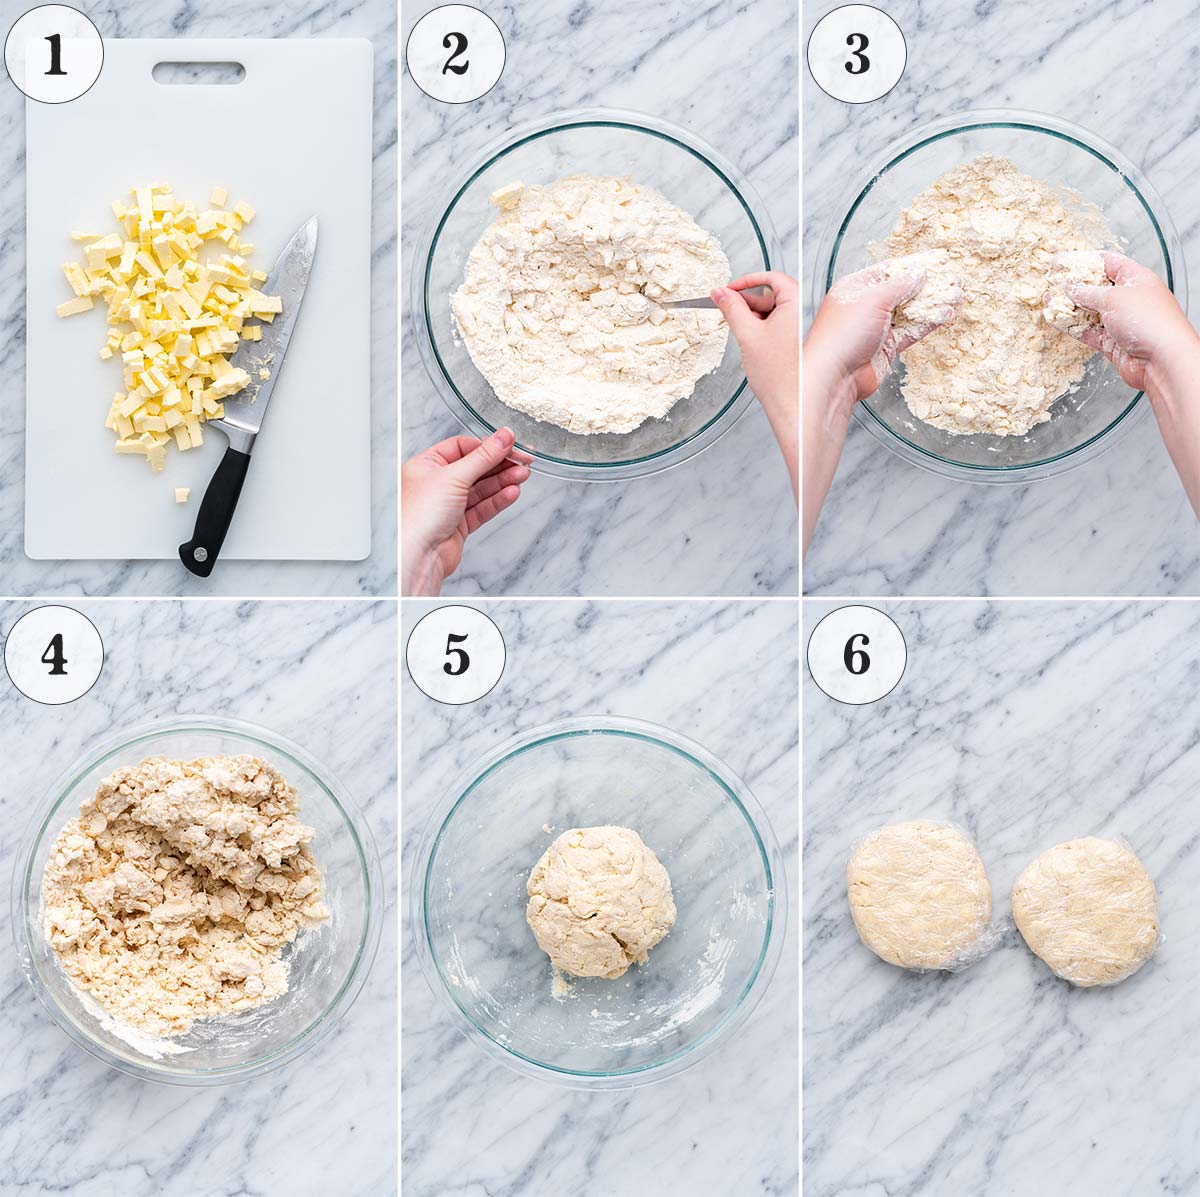
- Prep the ingredients. Make sure the butter is chilled before you dice it. (TIP: Measure out all the other ingredients first, and then dice the butter right before you’re ready to start so it stays cold.)
- Combine the flour and salt and toss in the butter. Add the flour and salt to a large bowl and whisk to combine. Add the chilled, diced butter, and toss it around so the butter is fully coated in flour.
- Incorporate the butter. Instead of using a pastry cutter or 2 butter knives, we’re going to work the butter into the flour with our fingertips. Be careful not to overwork it; the mixture should look crumbly with some larger pieces of butter remaining. (TIP: Think of steamrolling the butter between your thumbs and fingertips to flatten it.)
- Add the water. Gradually add the water while working the dough with your hands. The dough will look shaggy like this when it’s almost ready to form a ball. In this photo, it just needs a splash more water and a little more working to come together. (TIP: Add the water a little at a time; you might not need the full amount or you might need a little bit more. For a tender, flaky crust, the goal is to add just enough water so it forms a ball of dough. Too much water can cause gluten development and lead to a tougher, chewier crust.)
- Form a ball. Once the dough comes together as a ball, you want to handle it minimally. (TIP: It’s okay if the dough ball is a bit crumbly. Over time, you’ll get a feel for how the dough should look and feel when you’re adding water.)
- Divide, wrap, and chill. Because this recipe makes enough for 1 double crust pie (i.e., a pie with crust on the bottom and top), divide the dough into 2 equal portions. Gently shape the dough halves into balls, slightly flatten the balls into disks, and wrap each disk in plastic wrap. Transfer the dough to the fridge to chill for at least 30 minutes or until fully chilled (or up to 3 days).
2: Roll Out the Dough For the Bottom Crust

- Work with 1 disk of dough at a time and leave the other in the fridge for now so the butter stays cold. Flour your work surface. (TIP: A marble countertop or marble pastry slab is ideal so the butter stays cold.) Put your dough down on the floured surface, and flour the top of the dough disk.
- Roll it out to a circle about 12 inches in diameter for the bottom of a 9-inch pie crust.

3: Transfer the Dough to a Pie Pan
- Fold the dough in half and then in half again, and then put it in a pie plate.
- Unfold the dough, gently nudging it into the bottom and up the sides of the pie plate.
- Use a fork to poke a few holes in the bottom.
- Add the pie filling, and pop the pie into the fridge while you roll out the top crust.
4: Roll Out the Dough For the Top Crust
Roll out the remaining disk of dough the same way you rolled out the first (except roll it out to a circle around 10 to 11 inches in diameter instead of 12).
5: Crimp the Crust and Brush with Egg Wash

Tuck the dough along the outer edge underneath itself to form the crust (if there’s a lot of extra dough, you can trim it off first). You can crimp along the outside of the dough by gently pressing down with a fork in a decorative way, or use your fingers to flute it and create a scalloped or ruffled look. Whisk together an egg with a splash of water and lightly brush it on the dough.
6: Bake
Bake the pie as your pie recipe directs, and get ready for one heck of a crust!

Just For Fun: Bakers’ Lingo
Just for fun, here are a few baking terms related to pie making:
- Cut in – Refers to how we incorporate fat into flour when making pie dough. You can use a pastry cutter, two butter knives, a fork, or your fingers (clean hands are your best tool in the kitchen!).
- Crimp – The general word for pinching or pressing the outer edge of pie dough together. For a double crust, crimping seals the top and bottom crust together. For a single crust, crimping helps reduce shrinkage. You can crimp a pie without any special tools; it’s common to use a fork to press it down, or your thumb and fingers to create a ruffled look.
- Dock – Docking is when you poke holes in pie dough (or pizza dough, for that matter) before baking. This allows steam to escape as it bakes, and helps the crust bake flat instead of puffing up.
- Enriched – An enriched dough adds things such as egg and sugar. Enriching changes the texture in addition to the flavor, resulting in a more soft, tender pastry instead of crisp and flaky.
- Flute – Fluting is the specific type of crimping where you use your thumb and fingers or knuckles to create a wavy, ruffly crust.
- Lamination – Think croissants. Puff pastry is a laminated dough that’s created by wrapping dough around a large piece of butter, rolling it out, folding it up (frequently using a “letter fold”, which is exactly how you’d fold a letter in thirds), chilling, and repeating ad infinitum. (Well not really forever, but it can feel like that! It’s typically folded/rolled 4 to 6 times, with a wait period of 30 to 60 minutes between each roll.)
- Shrinkage – This is when the pie crust contracts and pulls away from the pan while baking.
If you have a fun bakers term, please feel free to share it in the comments below!

What Size Pie Can I Make With This Amount of Dough?
This recipe makes enough dough for one standard 9-inch round double-crust pie. (A double crust pie has both a bottom and top crust.) You can also use it to make:
- Two standard 9-inch round single crust pies (like pumpkin pie or pecan pie).
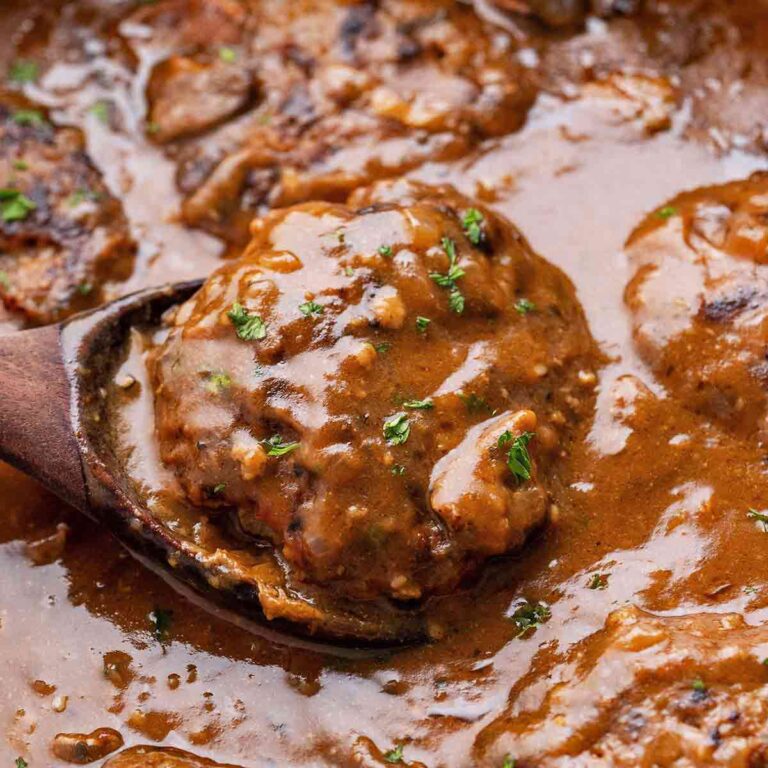
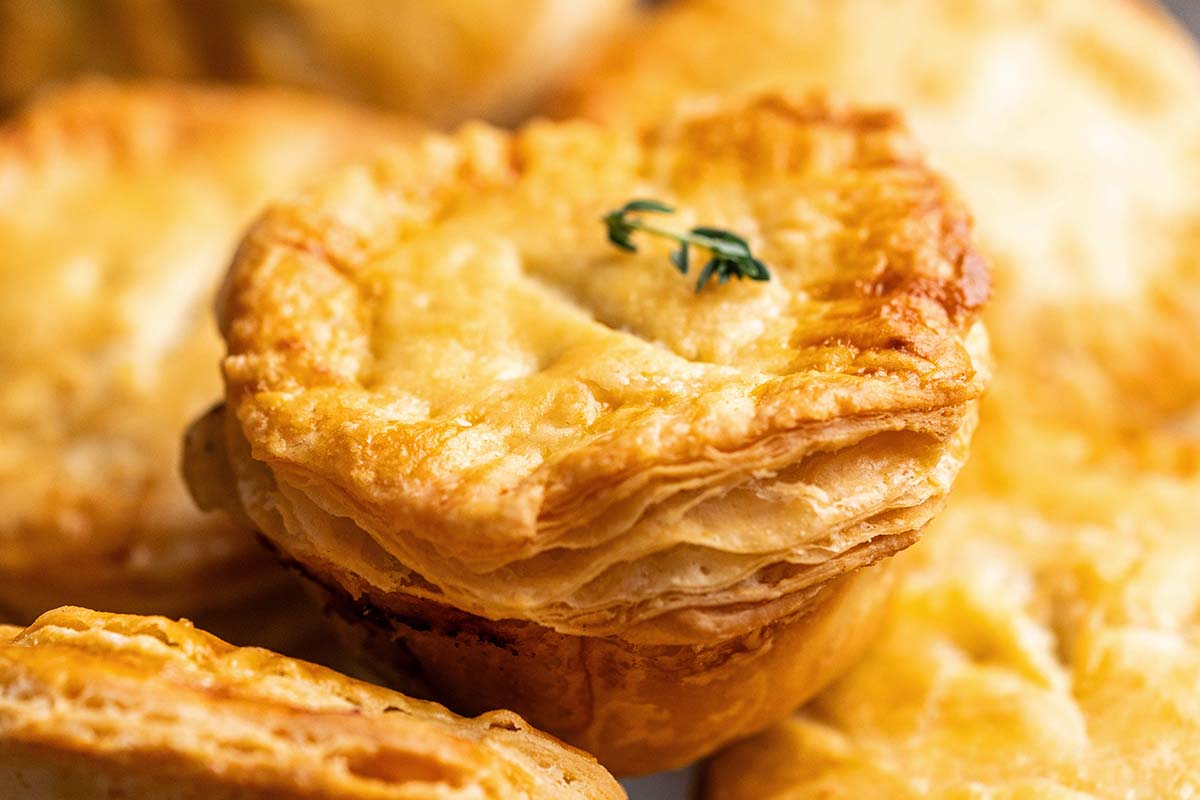
- Eight mini double crust pies made in a standard-sized muffin tin (like these individual steak and ale pies).
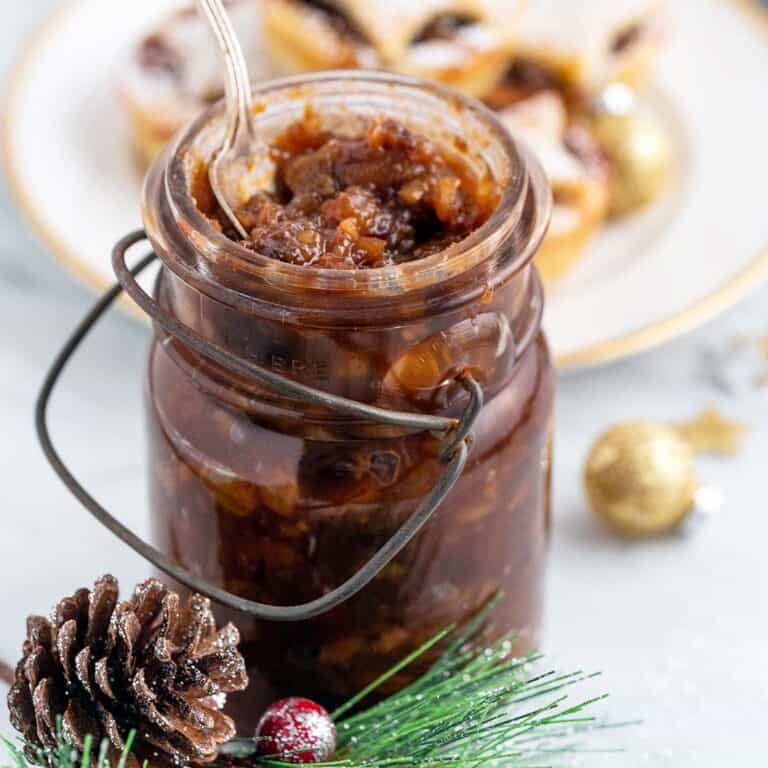
- Sixteen tarts made in a standard-sized muffin tin (see this mincemeat tarts recipe).
- One single-crust deep dish pie in a 9 by 13-inch casserole dish.
- One single-crust slab pie in a jelly roll pan (10 by 15-inches with 1-inch sides).
Storage and Make-Ahead Tips
You can keep the wrapped dough disks in the fridge for 2 to 3 days. (Personally, I like to use it within 2 days because I’ve noticed that it can start to turn gray-ish in color by day 3. It still tastes fine, but it looks a bit off-putting.)
For longer storage, you can wrap the dough disks in plastic wrap and then foil and freeze them for up to 3 months. Thaw overnight in the fridge before using.

My Best Tips For Easy Homemade Pie Crust
- Keep everything cold. The butter, the water, your countertop (that’s where a marble countertop or marble pastry slab comes in handy), your kitchen (of course you don’t have to, but I typically turn the thermostat down a degree or two when I make pie crust, which is especially helpful because I live in Florida), and even your hands if possible. To achieve the right flaky texture, the butter should be cold not only when baking, but also when we’re incorporating it into the flour. Through trial and error, I’ve found that my pies come out flakier in colder weather!
- Ingredients matter. With just four ingredients, it’s no surprise that ingredient quality matters here. For the absolute best flavor and texture, I recommend good quality European-style butter with a high butterfat content, and a fresh bag of unbleached (organic if possible) all-purpose flour. Without these, you’ll still get a great crust, but these take it to the next level!
- The exact amount of water you’ll need varies. In my experience, this is just a universal truth of pie making. I’ve come to accept it, and I don’t trust people who tell me they have a pie dough recipe that always uses the same amount of water, lol! (The variation is due to several factors, a few of which are out of the baker’s control, that all relate to the flour’s hydration. A few of these variables include temperature, humidity, flour type, flour age, butterfat content in your butter, how you work the butter into the flour, etc.) But don’t worry, it doesn’t take long before you get a feel for how much water your dough needs without adding too much.
- Add minimal water. When making pie dough, it’s important to only add as much water as you need so that it comes together. Too much water activates the gluten too much, and can lead to a sticky dough that’s hard to deal with and a tough, leathery crust. Always add the water a little at a time.
- Don’t skip chilling the dough. This does a few things: 1) it re-chills the butter so it’s nice and cold when it goes into the hot oven, 2) it hydrates the flour so it’s more uniform, and 3) it allows the gluten to relax so the dough is easier to roll out and you get less shrinkage while baking. You want your dough fully chilled; 30 minutes is the bare minimum (and that’s if you kept everything as cold as possible), but an hour or two is great if you have the time. If you leave it in the fridge longer and it’s hard to roll out, let it sit at room temperature for about 10 minutes.
- When it’s time to bake, make sure your oven is preheated before adding the pie. A hot oven is as crucial to a flaky pie crust as cold butter is. This is because intense heat causes cold butter to create steam pockets so that the dough puffs, creating crisp layers. If your oven isn’t hot enough, the butter will melt too slowly and you’ll end up with a gummy crust instead. Just no. We’ve worked way too hard on the crust up to this point to allow that to happen, friends!
Frequently Asked Questions
No. They use different techniques to incorporate the fat (frequently butter) into the flour. As a result, the textures are different. When making shortcrust, butter is cut with a pastry cutter or rubbed with your fingertips into the flour until there are small pieces of butter remaining. For puff pastry, a slab of butter is wrapped in a piece of dough to lock the butter in. Then it’s rolled out, folded up, chilled, and rolled out again. This time-consuming process is repeated multiple times to create lamination (i.e., thin flaky layers like in a croissant).
Before baking it’s called dough and after baking it’s called crust.
A pie shell refers to the dough after it’s rolled out and shaped in a pie pan, but before it’s baked.

Recipes Using Pie Dough
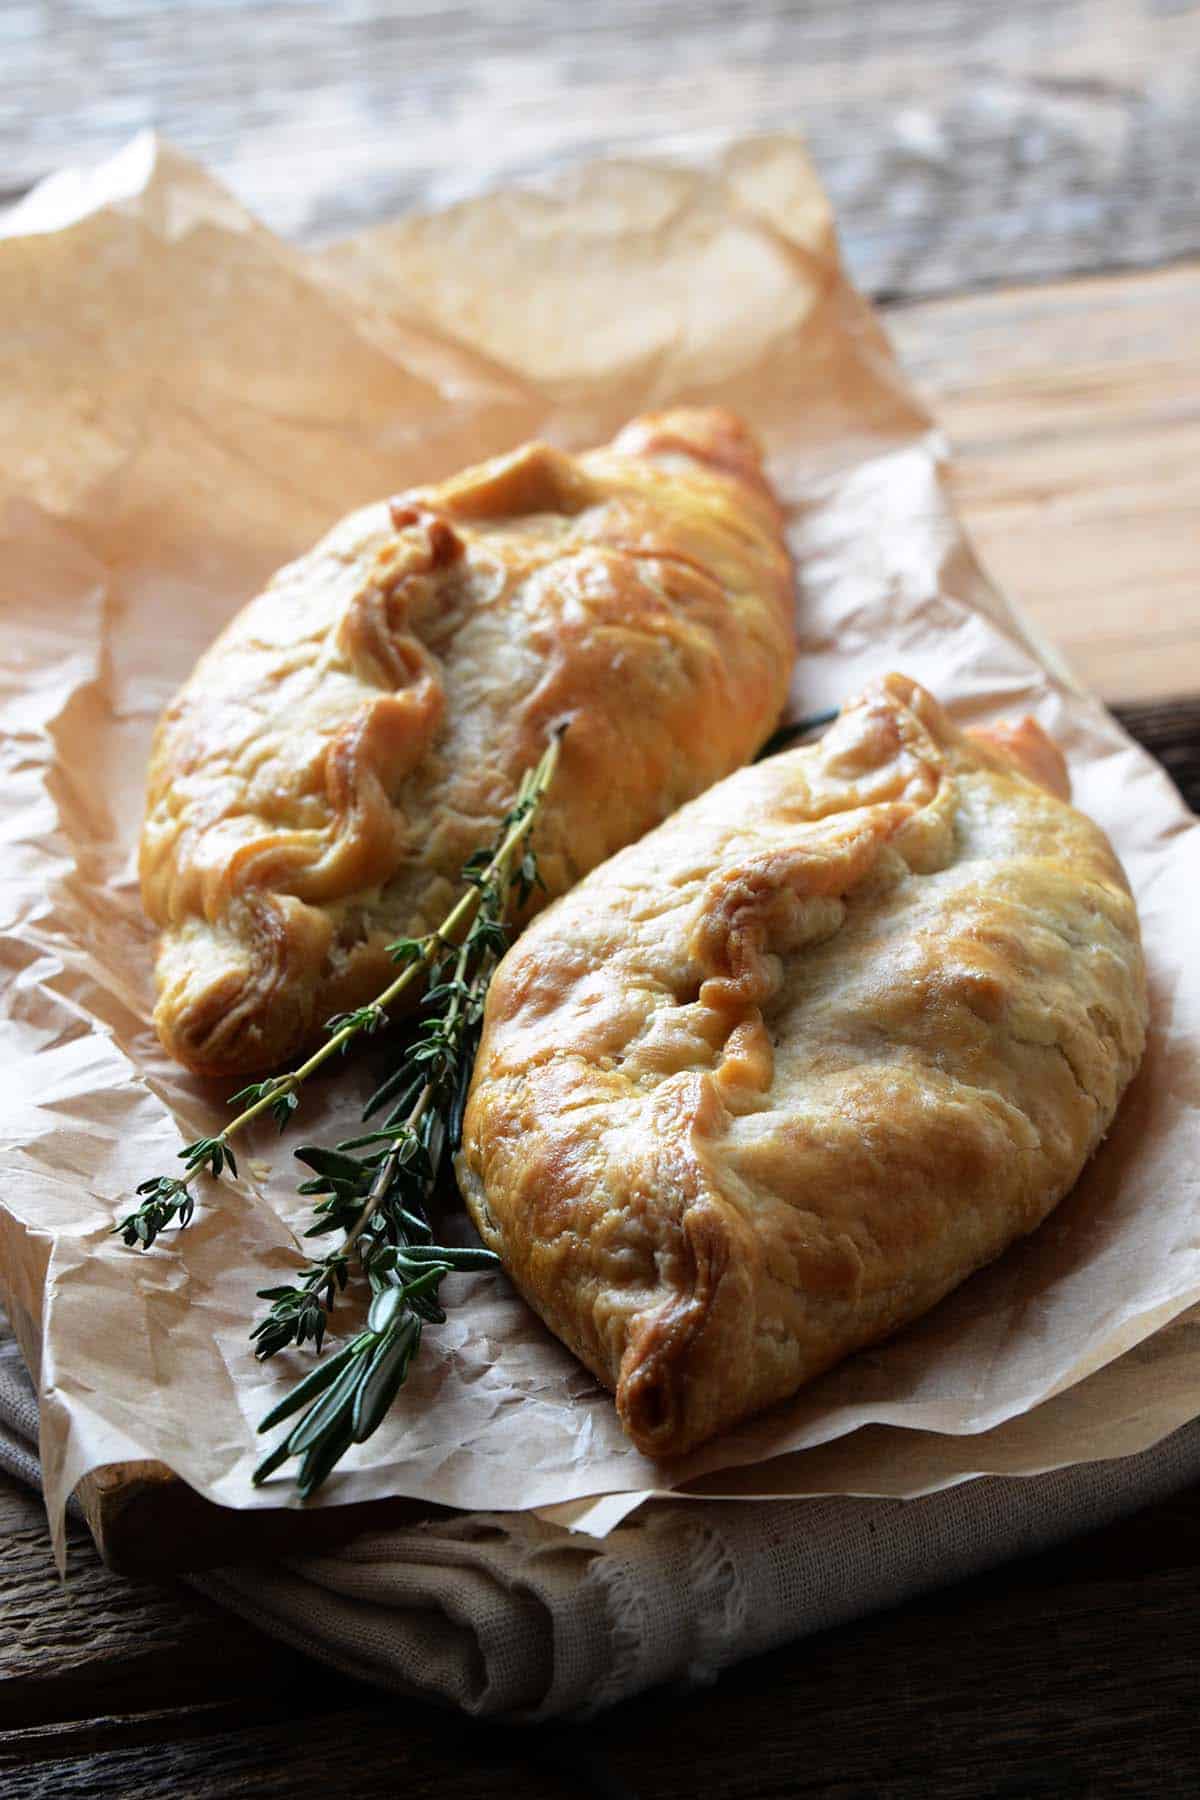
I wasn’t kidding when I said this recipe is my go-to for both sweet and savory pies and tarts. There are a ton of things you can make with it, even if you’re not a dessert person! Throughout this post I’ve included photos of recipes using pie crust, and here are a few more ideas for inspiration:
- Mincemeat Tarts
- Nana’s Pineapple Delight (aka Pineapple Bars)
- Individual Steak and Ale Pies
- Apple Hand Pies
- Christmas Pop Tarts
Let’s Connect

Did you make this recipe? Please rate it and leave a comment below. You can also tag @anediblemosaic on social media.
To stay up-to-date, follow me on Facebook, Instagram, Pinterest, and Twitter!

Easy Flaky All Butter Pie Crust Recipe
Email This Recipe
Get this recipe link emailed straight to your inbox!
Ingredients
- 2 1/2 cups unbleached all-purpose flour see Notes
- 3/4 teaspoon salt
- 1 cup unsalted butter chilled and diced
- 3/4 cup ice-cold water plus more as needed
Instructions
- Prep the ingredients. Make sure the butter is chilled before you dice it. (TIP: Measure out all the other ingredients first, and then dice the butter right before you're ready to start so it stays cold.)
- Combine the flour and salt. Add the flour and salt to a large bowl and whisk to combine.
- Toss in the butter. Add the chilled, diced butter, and toss it around so the butter is fully coated in flour.
- Incorporate the butter. Instead of using a pastry cutter or 2 butter knives, we're going to work the butter into the flour with our fingertips. Be careful not to overwork it; the mixture should look crumbly with some larger pieces of butter remaining. (TIP: Think of steamrolling the butter between your thumbs and fingertips to flatten it.)
- Add the water. Gradually add the water while working the dough with your hands. The dough will look shaggy when it’s almost ready to form a ball, and at that point, it just needs a splash more water and a little more working to come together. (TIP: Add the water a little at a time; you might not need the full amount or you might need a little bit more. See Notes below.) Once it comes together, you want to handle the dough minimally. (TIP: It’s okay if the dough ball is a bit crumbly. Over time, you’ll get a feel for how the dough should look and feel when you’re adding water.)
- Divide, wrap, and chill. Because this recipe makes enough for 1 double crust pie (i.e., a pie with crust on the bottom and top), divide the dough into 2 equal portions. Gently shape the dough halves into balls, slightly flatten the balls into disks, and wrap each disk in plastic wrap. Transfer the dough to the fridge to chill for at least 30 minutes or until fully chilled (or up to 3 days); see Notes below.
- Roll out the dough for the bottom crust. Work with 1 disk of dough at a time and leave the other in the fridge for now so the butter stays cold. Flour your work surface. (TIP: A marble countertop or marble pastry slab is ideal so the butter stays cold.) Put your dough down on the floured surface, flour the top of the dough disk, and roll it out to a circle about 12 inches in diameter for the bottom of a 9-inch pie crust.
- Transfer the dough to a pie pan. Fold the dough in half and then in half again, and then put it in a pie plate. Unfold the dough, gently nudging it into the bottom and up the sides of the pie plate. Use a fork to poke a few holes in the bottom. Add the pie filling, and pop the pie into the fridge while you roll out the top crust.
- Roll out the dough for the top crust. Roll out the remaining disk of dough the same way you rolled out the first (except roll it out to a circle around 10 to 11 inches in diameter instead of 12).
- Crimp or flute the crust and brush with egg wash. Tuck the dough along the outer edge underneath itself to form the crust (if there's a lot of extra dough, you can trim it off first). You can crimp along the outside of the dough by gently pressing down with a fork in a decorative way, or use your fingers to flute it and create a scalloped or ruffled look. Whisk together an egg with a splash of water and lightly brush it on the dough.
- Bake. Bake the pie as your pie recipe directs, and get ready for one heck of a crust!
Video
Notes
- Keep Everything Cold: The butter, the water, your countertop (that’s where a marble countertop or marble pastry slab comes in handy), your kitchen (of course you don’t have to, but I typically turn the thermostat down a degree or two when I make pie crust, which is especially helpful because I live in Florida), and even your hands if possible. To achieve the right flaky texture, the butter should be cold not only when baking, but also when we’re incorporating it into the flour. Through trial and error, I’ve found that my pies come out flakier in colder weather!
- Flour: Use regular all-purpose flour. Make sure it’s unbleached and go for organic if possible (my favorite is King Arthur). Also, for best results, make sure your flour is fresh. If your bag of flour has been open a while, its hydration level and flavor will be slightly different than a freshly-opened bag because it can absorb moisture and odors from the air.
- Water: For a tender, flaky crust, the goal here is to add just enough water so it forms dough. Too much water can cause gluten development and lead to a tougher, chewier crust.
- Chilling the Dough: You want your dough fully chilled; 30 minutes is the bare minimum (and that’s if you kept everything as cold as possible), but an hour or two is great if you have the time. If you leave it in the fridge longer and it’s hard to roll out, let it sit at room temperature for about 10 minutes.
- Storage and Make Ahead: You can keep the wrapped dough disks in the fridge for 2 to 3 days. (Personally, I like to use it within 2 days because I’ve noticed that it can start to turn gray-ish in color by day 3. It still tastes fine, but it looks a bit off-putting.) For longer storage, you can wrap the dough disks in plastic wrap and then foil and freeze them for up to 3 months. Thaw overnight in the fridge before using.
- Nutrition Information: The nutritional information given is for the full recipe.
- Two standard 9-inch round single crust pies (like pumpkin pie or pecan pie).
- Eight mini double crust pies made in a standard-sized muffin tin (like these individual steak and ale pies).
- Sixteen tarts made in a standard-sized muffin tin (see this mincemeat tarts recipe).
- One single-crust deep dish pie in a 9 by 13-inch casserole dish.
- One single-crust slab pie in a jelly roll pan (10 by 15-inches with 1-inch sides).
Nutrition
Nutritional information is automatically calculated and should be used as an approximate.
Share it with me on Instagram and leave a comment to let me know your thoughts!


I’m the writer, recipe developer, photographer, and food stylist behind this blog. I love finding the human connection through something we all do every day: eat! Food is a common ground that we can all relate to, and our tables tell a story. It’s my goal to inspire you to get in the kitchen, try something new, and find a favorite you didn’t know you had.
Free Bonus