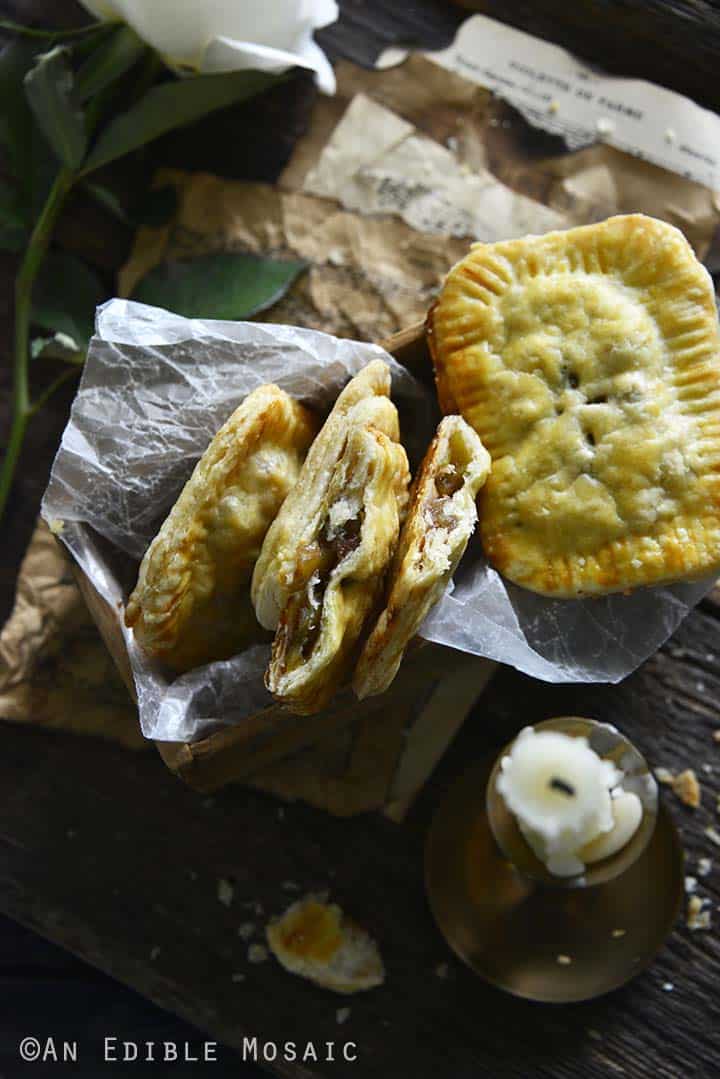
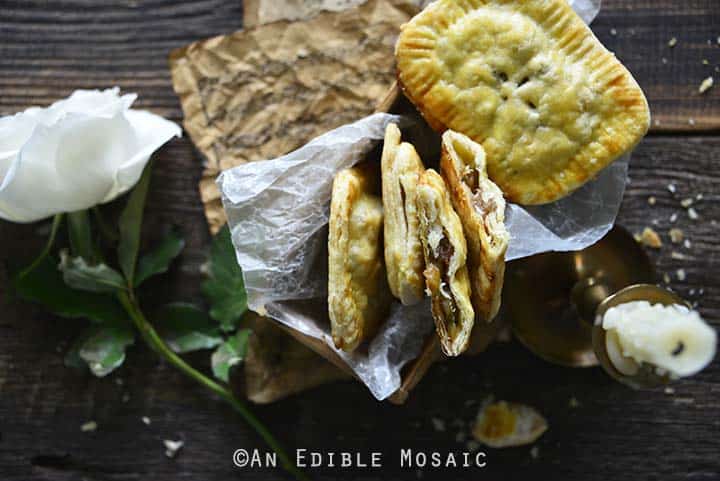
With a flaky, buttery crust and sweet spiced apple filling, these Apple Hand Pies are the perfect portable fall dessert recipe.
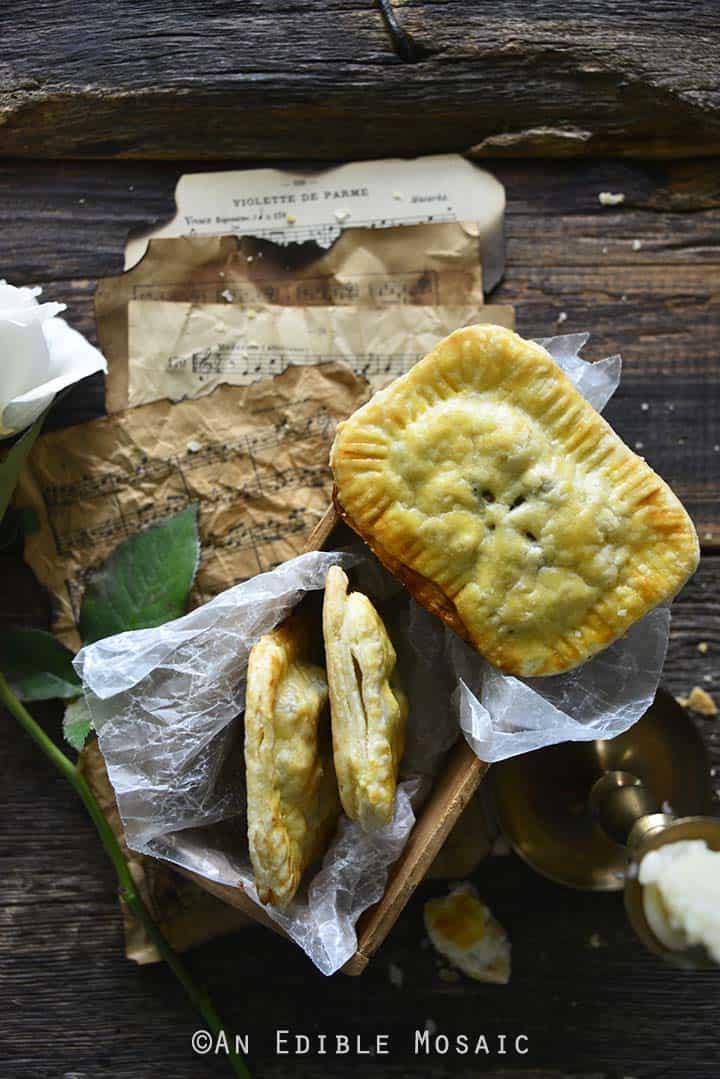
Hand pies are one of those things that take us back to being a kid.
They’re fun to eat, portable, and individually portioned.
These Apple Hand Pies are perfect for popping in a brown bag for a lunchtime treat, or for grabbing in the morning along with a cup of coffee as you walk out the door. Or pack them and take them on a picnic.
In addition to being a good snack, they make a great fall dessert for the holidays or anytime.
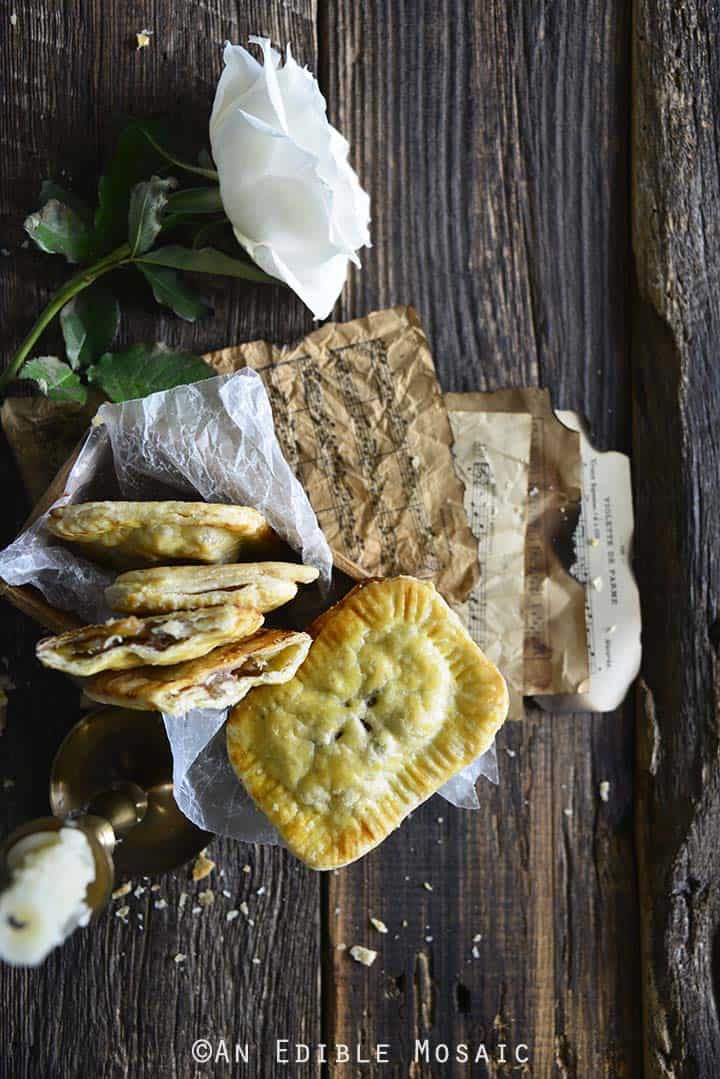
And they’re a hit with both kids and adults! No one can resist a buttery, flaky crust with a sweet cinnamon apple filling. These Apple Hand Pies are filled with juicy sweet apples inside and encased in a delicious all-butter pie crust outside.
Just like a regular apple pie, this fills the house with a sweet fall aroma as it bakes. But unlike regular pie, you can pack these Apple Hand Pies and enjoy them anywhere, no fork needed.
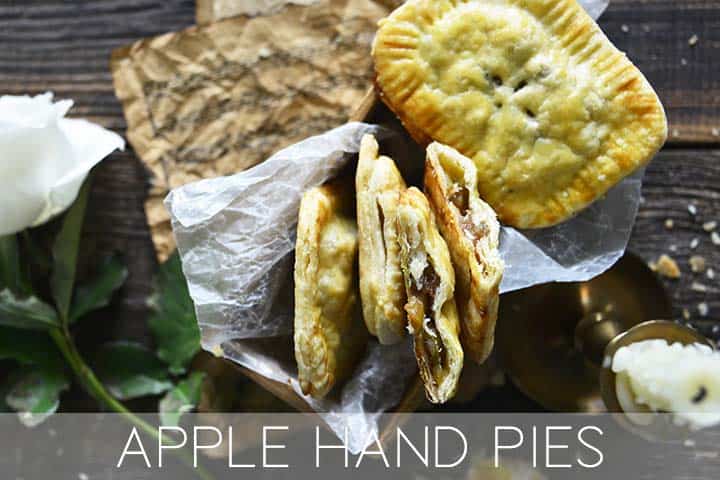
The Best Apple Hand Pies Recipe
This recipe takes less time than making a regular apple pie, but it packs all the same flavors. It requires minimal ingredients, and you'll see that making pie crust at home is easier than you think.
And this Apple Hand Pies Recipe is a fun one to make with kids!
Ingredients in Apple Hand Pies
Apple Filling:
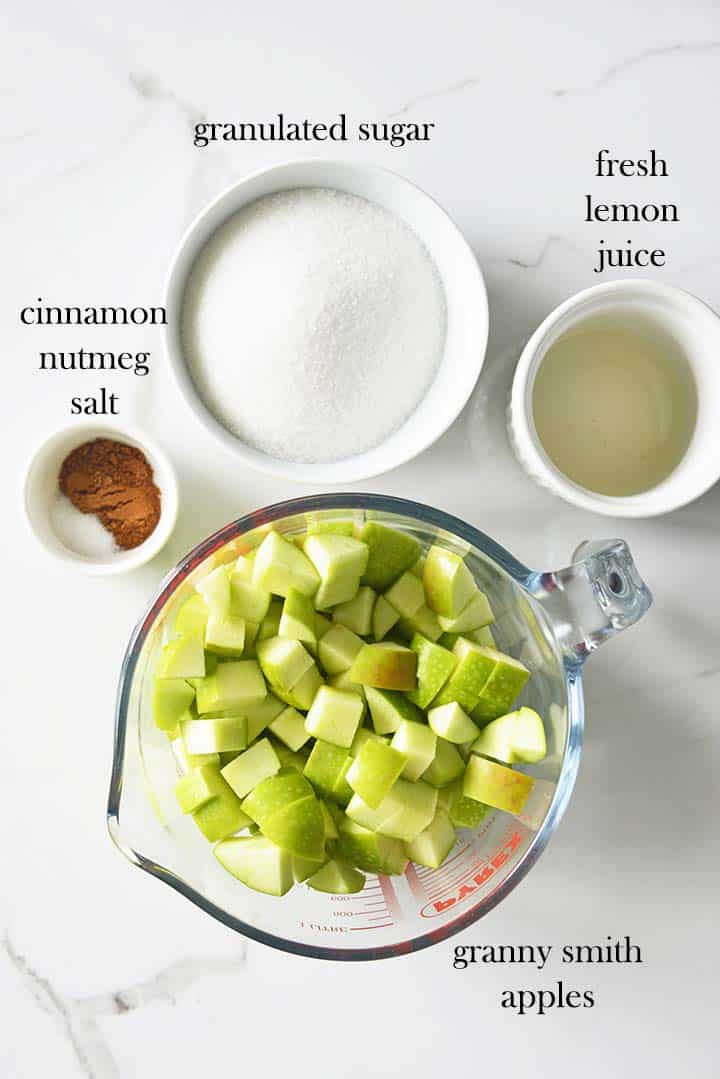
- Granny Smith apples
- Granulated sugar
- Fresh lemon juice
- Cinnamon
- Nutmeg
- Salt
Pie Dough:
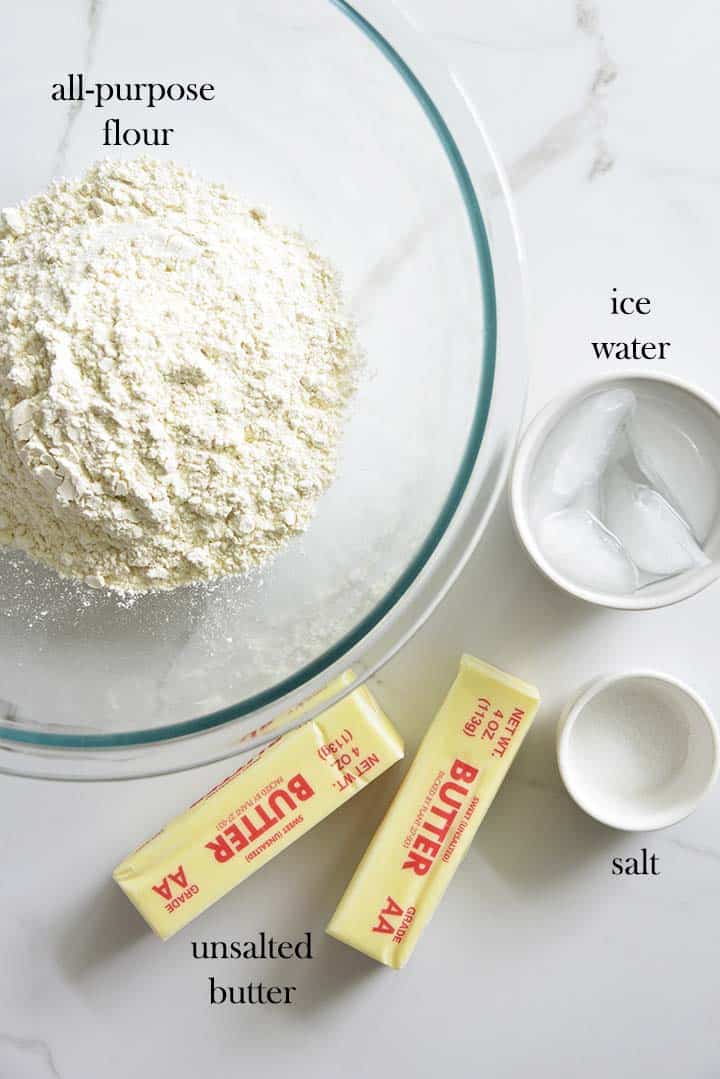
- All-purpose flour
- Salt
- Unsalted butter
- Ice water
How to Make Hand Pies From Scratch
This process involves making the apple filling, making the pie dough, and then assembling and baking the hand pies.
How to Make Apple Filling for Hand Pies:
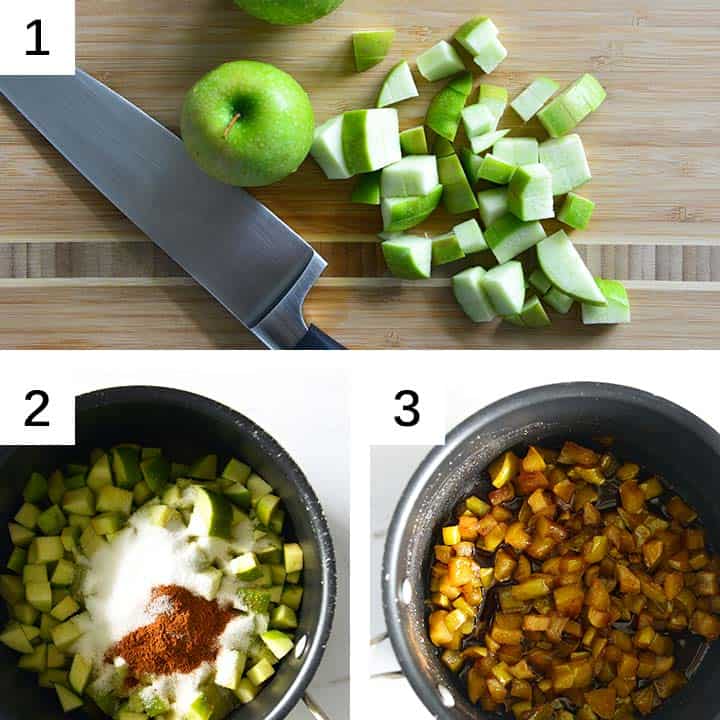
- Wash and chop the apples. I like to use Granny Smith apples and I leave the skin on to make Apple Hand Pies.
- Measure out the rest of the ingredients for the apple filling. Add the ingredients for the apple filling to a saucepan.
- Cover the saucepan and cook until the apples are tender.
How to Make Pie Dough:
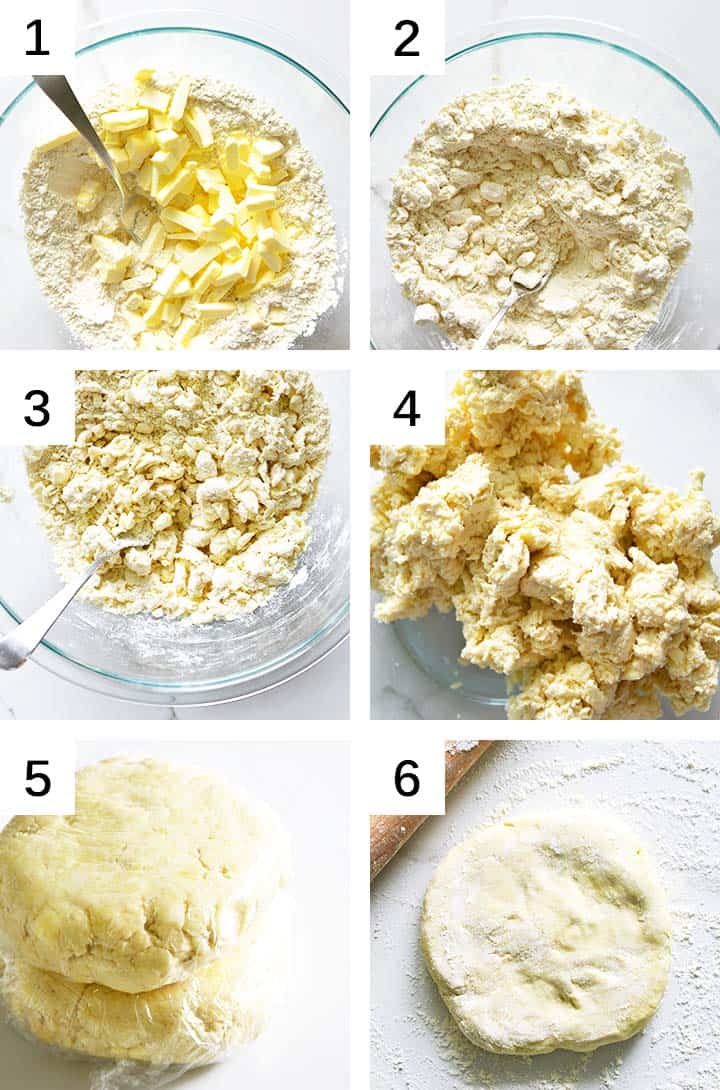
- Whisk together the flour and the salt, and then add the diced chilled butter.
- Cut in the butter with a pastry cutter or a fork until it looks crumbly with some pieces of butter the size of peas.
- Add water 1 tablespoon at a time, working the dough together with your fingertips just until it comes together.
- The dough is done when it looks like this. It will still look crumbly, but it should hold together when you squeeze it.
- Gather the dough together into 2 balls and flatten each into a disk. Wrap them in plastic wrap and refrigerate until chilled, about 30 minutes.
- Roll out each disk of dough out on a floured surface.
Pro Tip: This is my go-to recipe for shortcrust pastry (pie dough). You can use your favorite recipe or store-bought dough in a time crunch.
How to Make Apple Hand Pies:
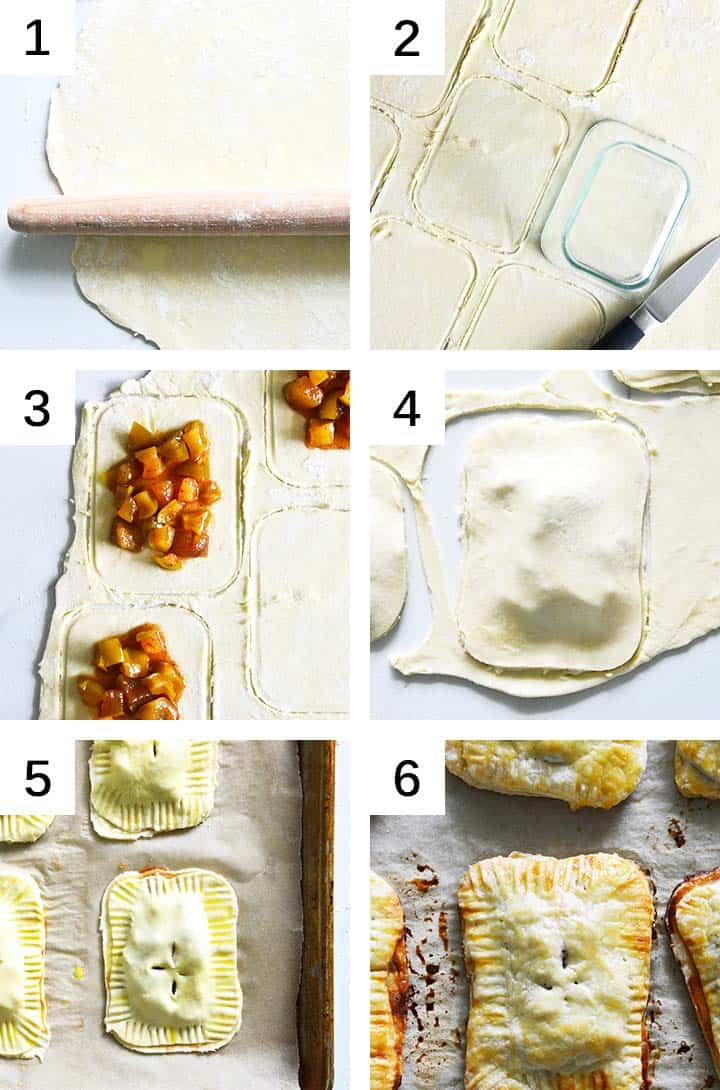
- This dough is fairly easy to work with and should roll out nicely. For this recipe, roll each disk of dough out on a floured surface to a circle about 12 to 14 inches in diameter.
- Stamp out the dough in rectangles or circles (or any shape you like).
- Place apple filling in the center of each piece of dough. Leave a rim of about ¼ inch around the outside so you can seal the pies.
- Lightly wet your finger with water and run it on the dough along the outside of the apple filling to help the other piece of dough stick on top. Place another piece of dough on top.
- Transfer the pies to a large baking tray lined with parchment paper. Crimp the outside of the dough with a fork. Lightly brush the top of each pie with eggwash. Use a paring knife to make a couple small slits in the top of each pie so steam can escape.
- Bake the pies until they’re golden and flaky.

Apple Hand Pies FAQ
How Do I Stop My Hand Pie From Leaking?
There are two things I do to help stop hand pies from leaking in this Apple Hand Pie recipe:
- Lightly wet your finger with water and run it on the dough along the outside of the apple filling, and place another piece of dough on top.
- Crimp the outside of each hand pie with a fork.
But even so, your hand pies might still seep a little bit of liquid. Because of this I like to cook the hand pies on parchment paper for easy clean-up!
Do You Cook Apples Before Putting Them in a Pie?
This varies by recipe. However, for this recipe, the apple filling is cooked for about 10 minutes before being made into hand pies.
Should You Refrigerate Hand Pies?
You don’t need to refrigerate hand pies. Store any leftover Apple Hand Pies layered between wax paper in a glass container at room temperature for up to 3 days.
You can re-crisp them in a 350F oven before eating if desired.
More Hand Pie Recipes to Try
Let's Connect

Did you make this recipe? Please rate it and leave a comment below. You can also tag @anediblemosaic on social media.
To stay up-to-date, follow me on Facebook, Instagram, Pinterest, and Twitter!

Apple Hand Pies Recipe
Ingredients
Apple Filling:
- 1 ¼ pounds Granny Smith apples I used 6 small-ish apples
- ⅔ cup granulated sugar
- 1 tablespoon lemon juice
- 1 teaspoon ground cinnamon
- ¼ teaspoon ground nutmeg
- ¼ teaspoon salt
Pie Dough:
- 2 ½ cups all-purpose flour
- ¾ teaspoon salt
- 1 cup unsalted butter chilled and diced small
- 6 tablespoons ice water plus more as needed
Other:
- 1 egg yolk beat with 1 tablespoon water, for brushing on top
Instructions
For the Apple Filling:
- Wash the apples, and chop them into ¼-inch pieces. You can peel them if you want, but there’s no need to.
- Add the chopped apple, sugar, lemon juice, cinnamon, nutmeg, and salt to a medium saucepan. Cover the saucepan and cook over medium heat until the apples are tender, and 10 minutes, stirring occasionally.
- Cool to room temperature.
For the Pie Dough:
- Whisk together the flour and salt in a large bowl and then cut in the butter with a pastry cutter or a fork until it looks crumbly with some pieces of butter the size of peas.
- Add ice water 1 tablespoon at a time, working the dough together with your fingertips just until it comes together.
- Gather the dough together into 2 balls and flatten each into a disk. Wrap them in plastic wrap and refrigerate until chilled, about 30 minutes.
To Assemble and Bake the Hand Pies:
- Place 1 disk of dough onto a floured work surface. Working from the center out, roll the dough out to a circle about 12 to 14 inches in diameter.
- Use a stamp (I used a rectangular glass container that was 4 ½ inches by 3 ½ inches) to stamp out the dough. Gather the scraps of dough, re-roll them, and repeat until the dough is gone (you should get about 12 circles from each disk of dough for a total of 24 circles from this recipe). You can chill the dough scraps at any point if it becomes too difficult to re-roll them out, or sprinkle on a little flour.
- Place 1 ½ tablespoons of apple filling in the center of each piece of dough. Leave a rim of about ¼ inch around the outside so you can seal the pies.
- Lightly wet your finger with water and run it on the dough along the outside of the apple filling to help the other piece of dough stick on top. Place another piece of dough on top. Continue this way until all the pies are formed. You should get 24 pies total.
- Use a thin metal spatula to lift up each pie and arrange them on a large baking tray lined with parchment paper or a silpat liner.
- Crimp the outside of the dough with a fork.
- Lightly brush the top of each pie with the egg yolk/water mixture.
- Use a paring knife to make a couple small slits in the top of each pie so steam can escape.
- Bake the pies until they’re golden and flaky, about 25 to 30 minutes at 375F, rotating the tray once halfway through.
Faith's Tips
- Storage and Reheating: Store any leftover pies layered between wax paper in a glass container at room temperature for up to 3 days. You can re-crisp them in a 350F oven before eating if desired.
- Stamping Out the Dough: You can use any shape you want to stamp out the dough. There are 2 things to note: 1) you may need slightly more or less filling, and 2) you might need to adjust the bake time.
Nutrition

This post was first published on An Edible Mosaic on November 19, 2020. I updated it with more information on November 11, 2021.




Betsy says
Oh, damn! I need one of those right now!