

This post may contain affiliate links, view our disclosure.
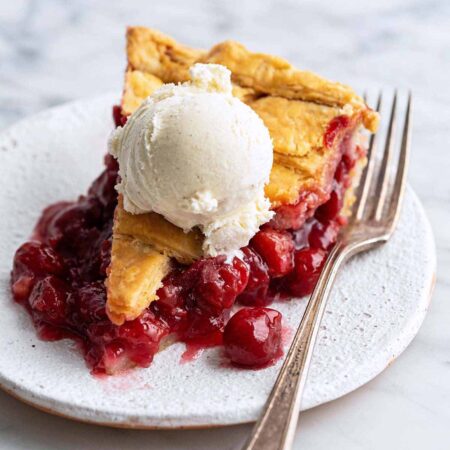
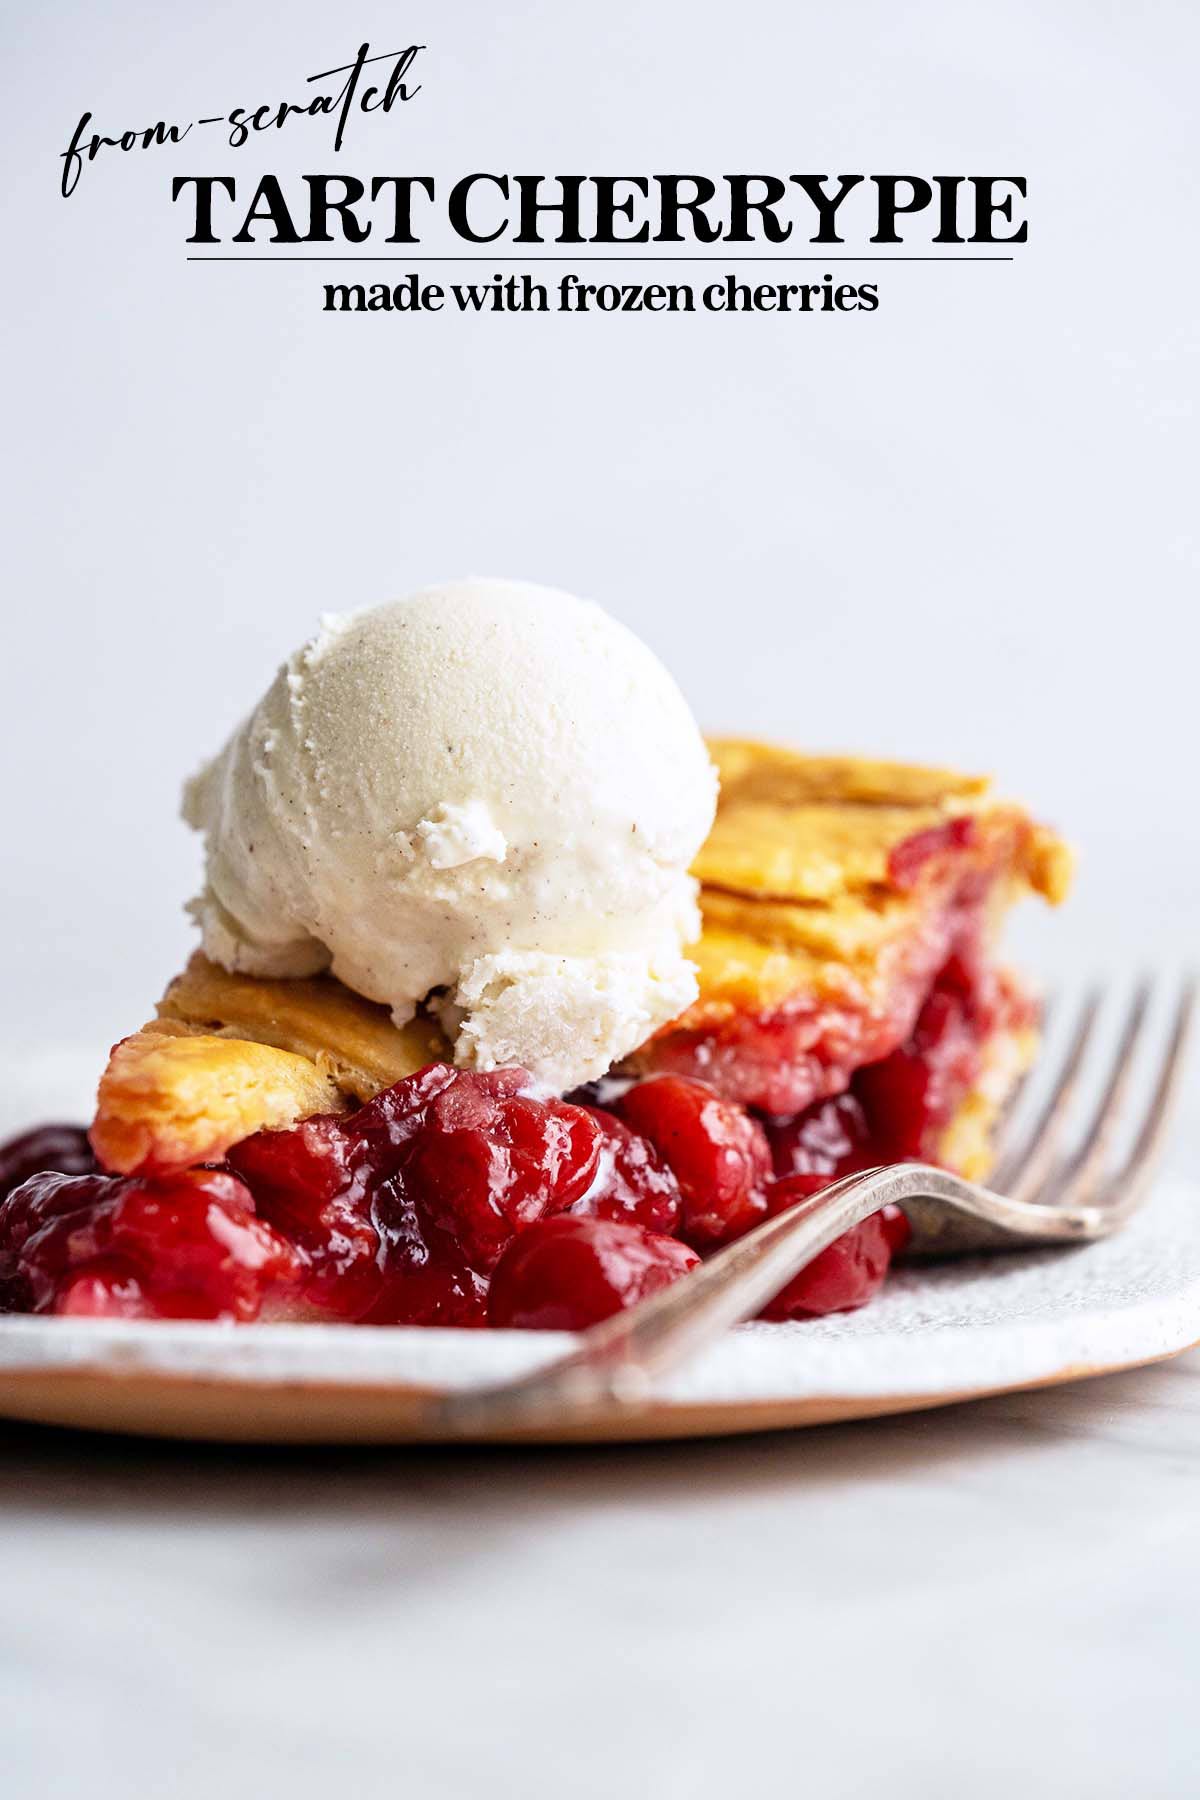
This tart cherry pie recipe features a rich, luscious homemade filling made with frozen sour cherries and a flaky all-butter crust. It’s a great year-round pie, whether you’re baking for a summer barbecue, Thanksgiving dinner, or Christmas party.
I’ve been wanting to share my tart cherry pie recipe for a long time now.
Pies in general, and cherry pie in particular, is nostalgic for me. My dad, who’s been gone for over four years now, used to absolutely love pie. He was a simple soul; one of his biggest pleasures was a slice of pie and a hot cup of coffee at a local diner. And he loved cherries! Any time he had an ice cream sundae he’d give the cherry on top to my mother. We all thought he hated cherries until one day I asked him and he said “No, I love cherries! I always give my cherry to your mother because I know she loves them too.” Isn’t it funny the way love shows up? That was my father, always putting people he loved ahead of himself.
This pie is dedicated to my dad, just in time for Thanksgiving, his favorite holiday. ❤️
If you’re debating what kind of pie to make this holiday season, I highly recommend cherry. It’s a classic favorite pie flavor, but a little more unexpected than say pumpkin pie or pecan pie at the holidays. Of course this pie works well year-round, especially because we use frozen cherries to make the filling!
Why You’ll Love Sour Cherry Pie
- Classic cherry pie flavor. If you’re particular about your cherry pie, this is the recipe for you. I’ve had some oddly flavorless cherry pies in my day, but not so here! We start with sour cherries, which makes all the difference in the world over sweet cherries. Also, we add a couple simple pantry ingredients that really intensify the flavor. And then that luscious filling is baked in an easy-to-make (I promise!), flaky, buttery crust. Bliss.
- If you’re looking for the perfect cherry pie filling, you found it. I’m going to give it to you straight here; this is a process. In order to get velvety-smooth pie filling with just the right consistency that isn’t gloopy and gluey, it takes time. The filling has the perfect amount of thickener (aka cornstarch), so don’t be tempted to add more (your filling will not thank you!). Simply put, the other component of the recipe is time; let the filling chill in the fridge overnight before baking the pie and you’ll be rewarded with perfect filling, and in turn a perfect cherry pie.
Ingredients
Breaking It Down
Ingredients Explained
In this section I explain the ingredients and give substitution ideas where applicable. For the full recipe (including the ingredient amounts), see the recipe card below.
Tart Cherry Pie Filling Ingredients (Using Frozen Cherries)
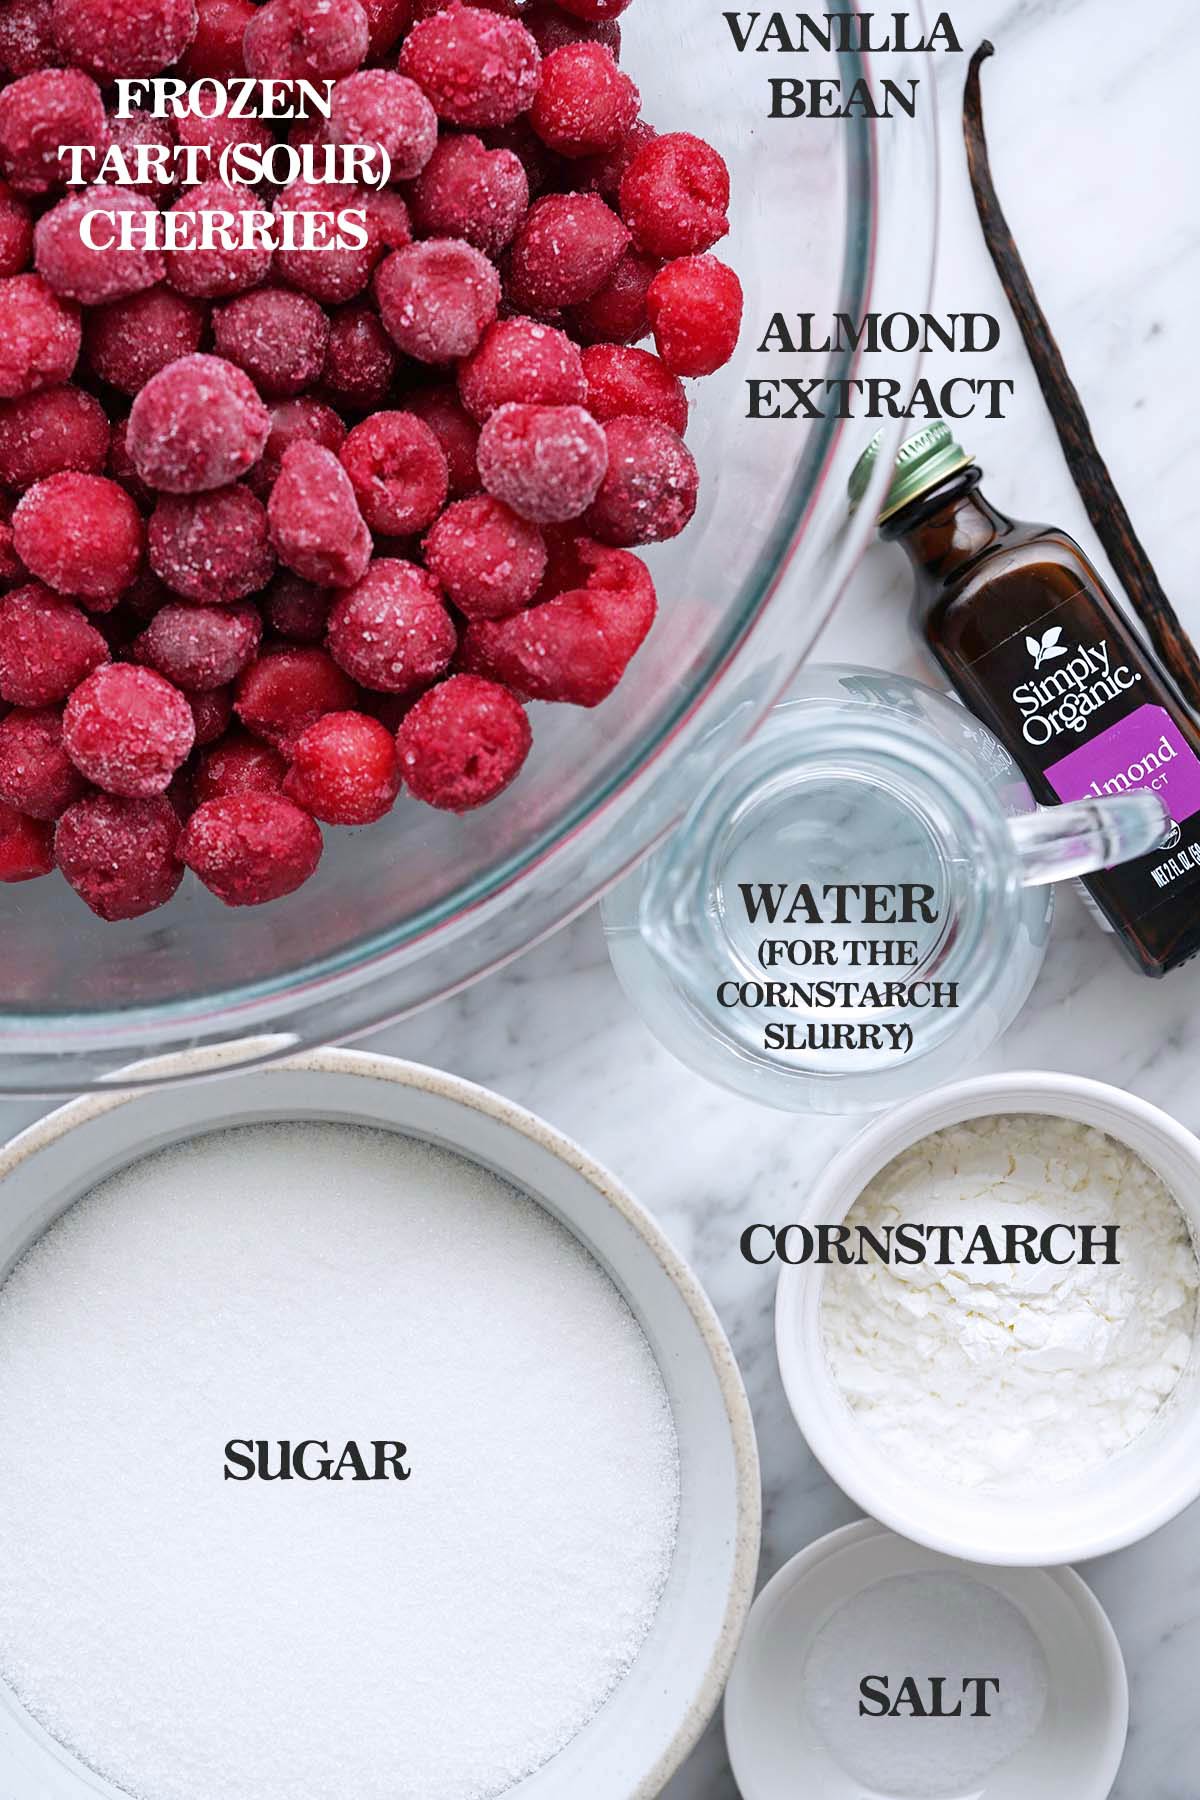
- Frozen tart cherries – Don’t thaw the cherries for this recipe. This is because we don’t add any water. Instead, the liquid that the cherries release cook down into a flavorful pie filling that we thicken with a cornstarch slurry at the end of the cooking process.
- Vanilla bean – If you don’t have a vanilla bean on hand, you can use 2 teaspoons of vanilla bean paste or 2 teaspoons of vanilla extract (added at the same time as the almond extract).
- Sugar – Use regular granulated white sugar here. It not only sweetens the sour cherries, but also helps create the right thick, syrupy pie filling consistency.
- Salt – Salt is a natural flavor enhancer that makes the cherry flavor more intense.
- Cornstarch – Dissolved in 3/4 cup cold water to form a slurry.
- Almond extract – This is my secret ingredient for the best cherry pie filling! If you’ve ever had store-bought cherry pie filling (or a less-than-stellar slice of cherry pie) that tasted a little flat and wondered what you could add to make it taste better, almond extract is the answer. A little goes a long way because almond extract is strong, but it makes all the difference. It creates depth and pulls out the cherry flavor.
All-Butter Pie Crust Ingredients
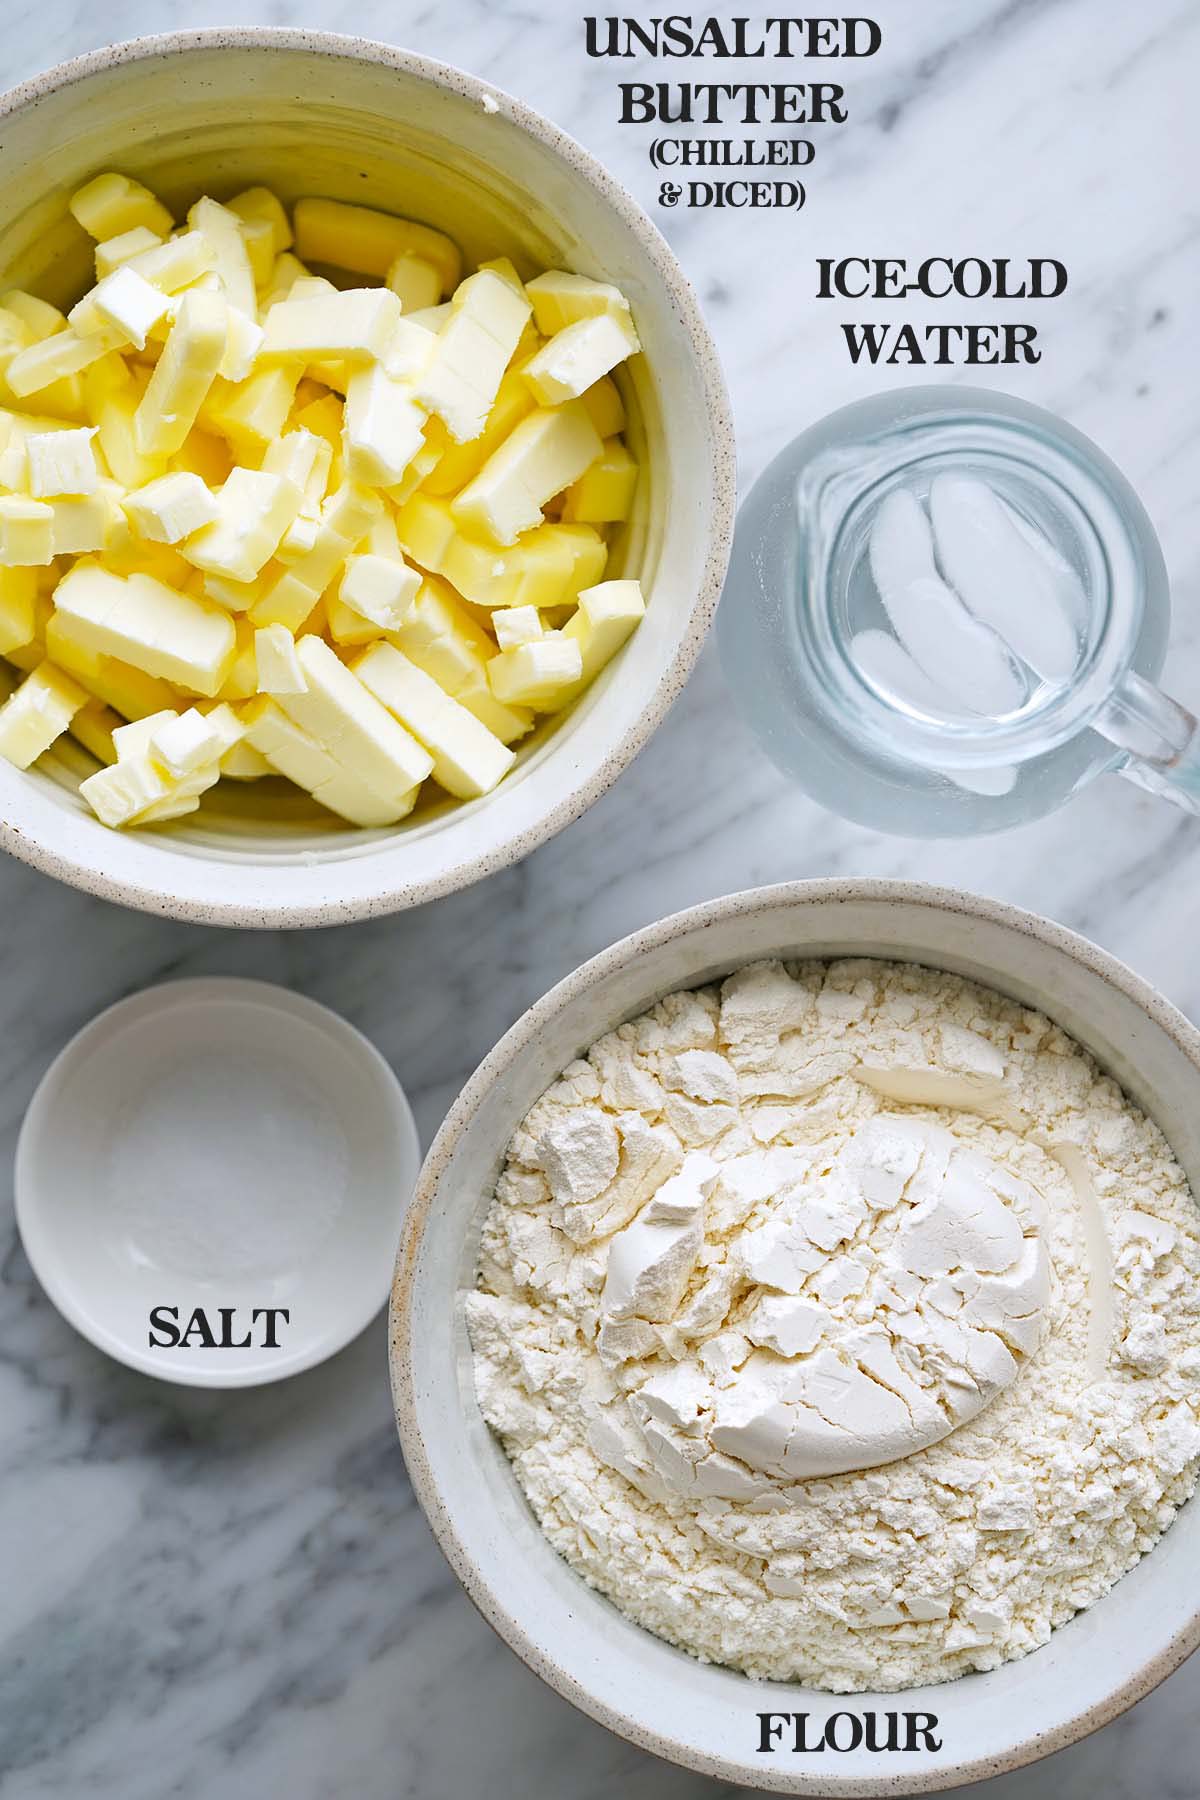
- All-purpose flour – The base of our pie dough.
- Salt – To season the dough so the crust isn’t bland.
- Unsalted butter – You want chilled, diced butter. I like to use unsalted butter and add salt because 1) unsalted butter is fresher, and 2) it gives you control of how much salt you add.
- Water – We want the water icy cold so it doesn’t melt the butter bits in the dough. As the pie bakes, the cold butter pieces create steam and result in a crisp, flaky crust.
Egg Wash Ingredients
- Egg + water – This is brushed on the crust before baking to help it turn a beautiful golden brown and give it a glossy shine.
Step-by-Step Instructions
This recipe isn’t hard, it’s just time-consuming because we’re making both the filling and the dough from scratch and both items require chilling. I recommend reading the full recipe before starting so that you know what to expect and can plan ahead.
Step 1: Make and Cool the Cherry Pie Filling
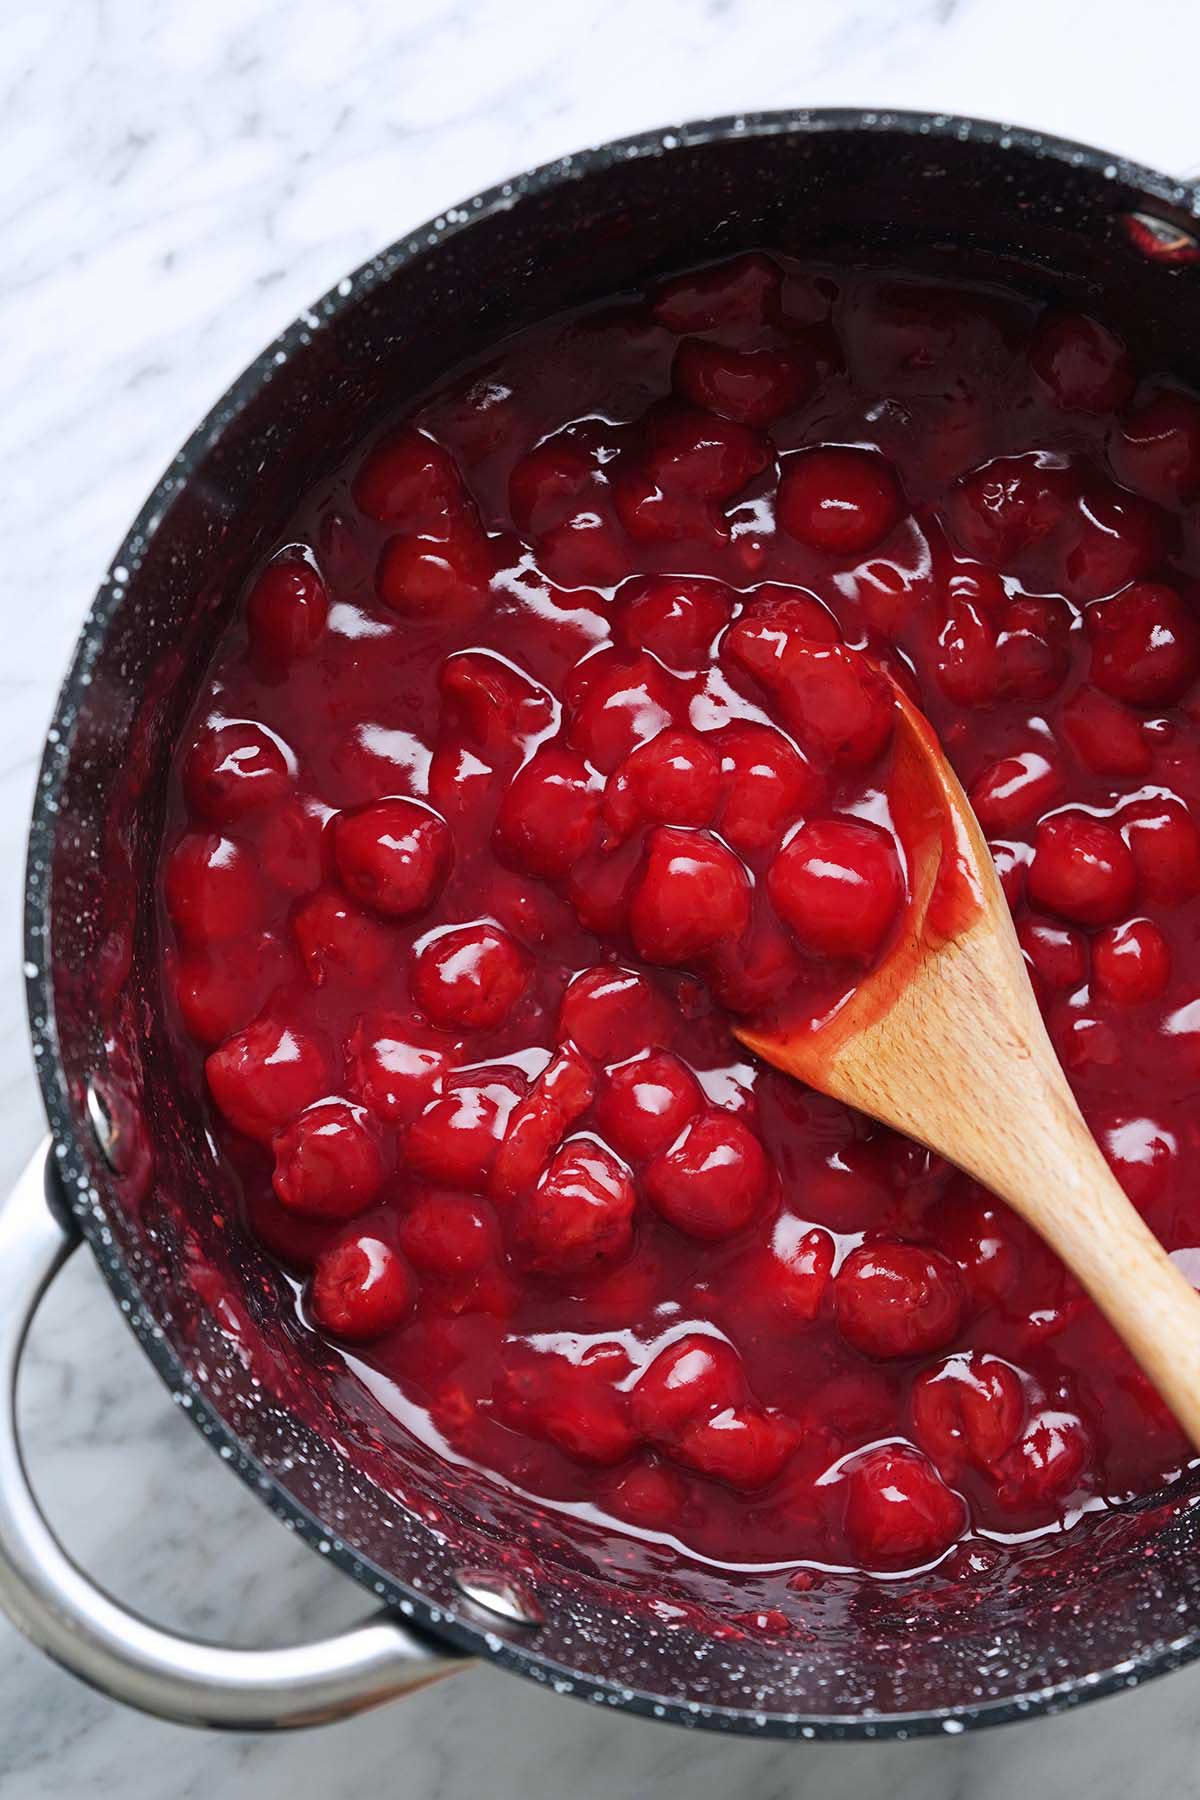
- Cook the filling. Add the frozen cherries, vanilla (scrapings and bean), sugar, and salt to a 5-quart pot over medium heat, and stir to coat the cherries in sugar. Cover the pot and cook until the sugar is fully dissolved and the cherries are at a simmer, about 10 to 12 minutes, stirring occasionally. Stir in the cornstarch slurry, and cook until thickened, about 1 to 3 minutes, stirring constantly. Remove from the heat and stir in the almond extract.
- Cool and then chill the filling. Cool to room temperature (about 3 to 4 hours), and then refrigerate to chill (12 to 24 hours). (TIP: After chilling overnight, the filling will have thickened to the perfect consistency.) Remove and discard the vanilla bean.
Step 2: Make the Pie Dough

- Whisk together the flour and salt in a large bowl. Cut in the butter with a fork, a pastry cutter, 2 butter knives, or your fingertips. It should look crumbly, with some pieces of butter the size of small peas.
- Drizzle the water in a little at a time, mixing as you go.
- I usually start mixing with a fork and then switch to my hands (clean hands are the best tool here!).
- Add just enough water so it comes together to form a ball of dough (you may need more or less water).
Step 3: Chill the Pie Dough
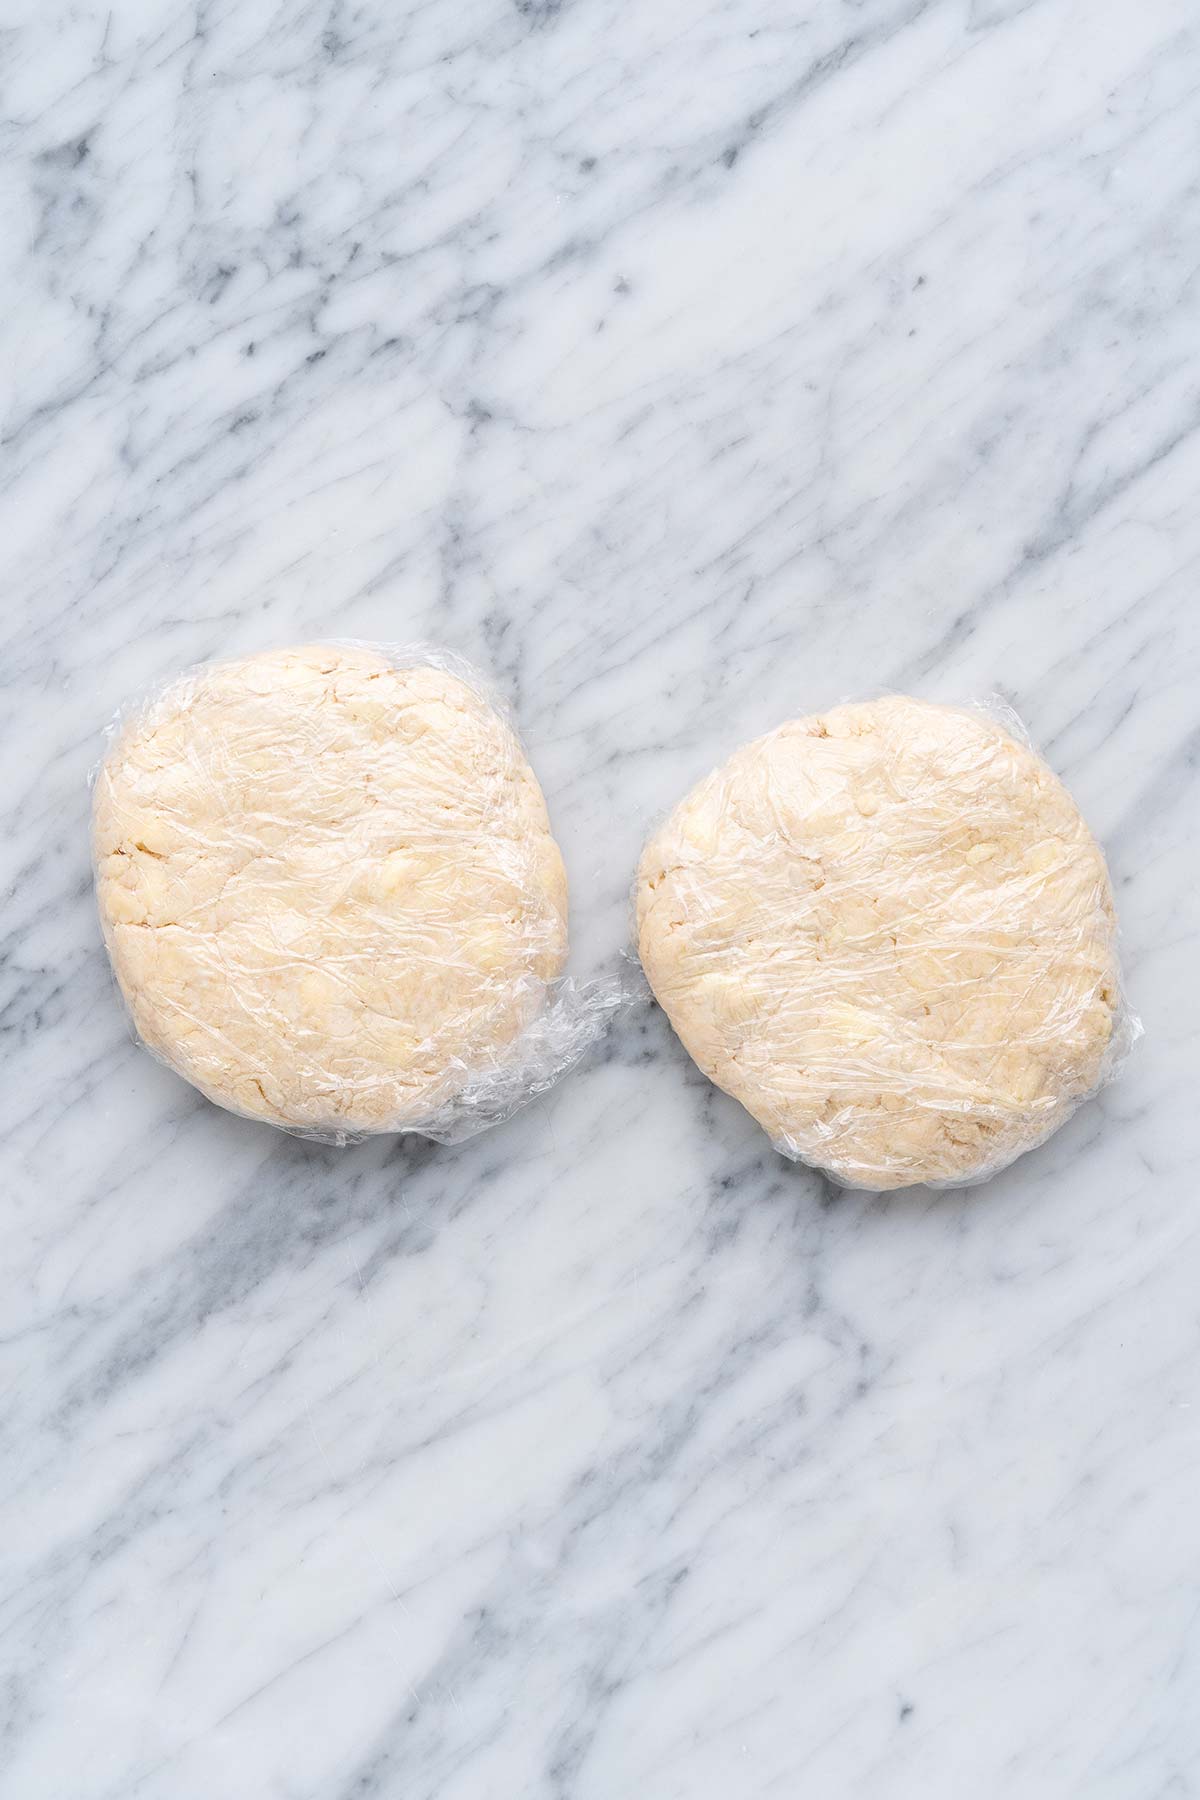
Divide the dough into 2 equal parts. Roll each into a ball, flatten each ball slightly into a disk, wrap them in plastic wrap, and refrigerate until chilled, about 30 minutes.
Step 4: Assemble the Pie
1: Prep
Preheat the oven to 425F. Position a rack in the center of the oven to bake the pie on. Get out a standard 9-inch pie pan. If you don’t have a pie drip catcher, put a piece of aluminum foil under the pie plate to catch any drips as it bakes.
2: Roll Out the First Disk of Dough (For the Bottom Crust)
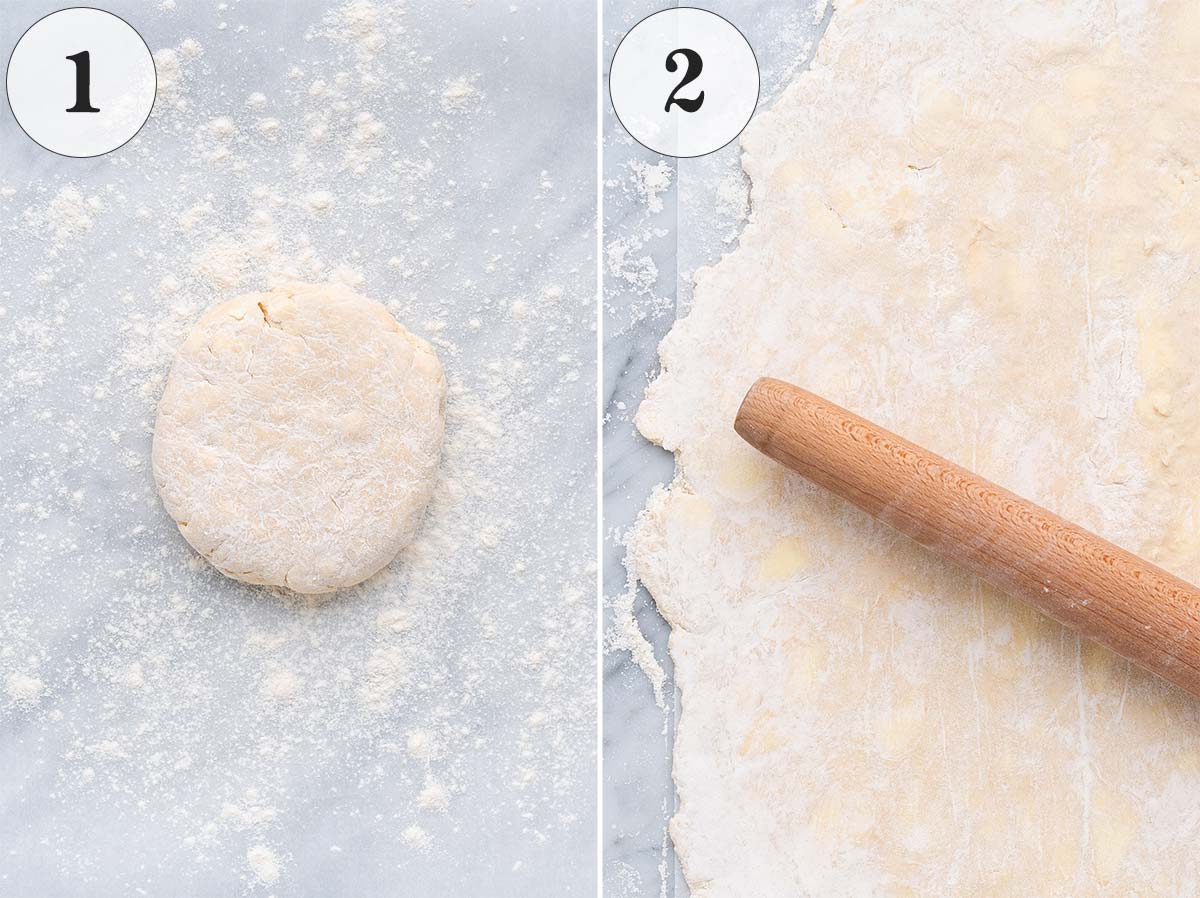
- Place 1 disk of dough onto a floured work surface.
- Working from the center out, roll the dough out to a circle about 11 to 12 inches in diameter. Fold the dough over onto itself, pick it up, and transfer it to a pie plate. Unfold the dough and push it into the bottom and up the sides of the pie plate. Use a fork to poke several holes in the bottom of the pie crust.
3: Add the Filling
Transfer the cooled cherry filling into the pie crust and spread it out evenly. Pop this into the fridge while you roll out the second disk of dough.
4: Roll Out the Second Disk of Dough (For the Top Crust; Lattice or Regular)
Roll out the second disk of dough to a circle about 10 inches in diameter the same way you rolled out the first disk of dough.
To make a regular crust top, place the circle of dough onto the cherry filling. Tuck the outside of the dough under, and use your fingers or a fork to flute the edges. Cut 6 to 8 slits in the top of the crust.
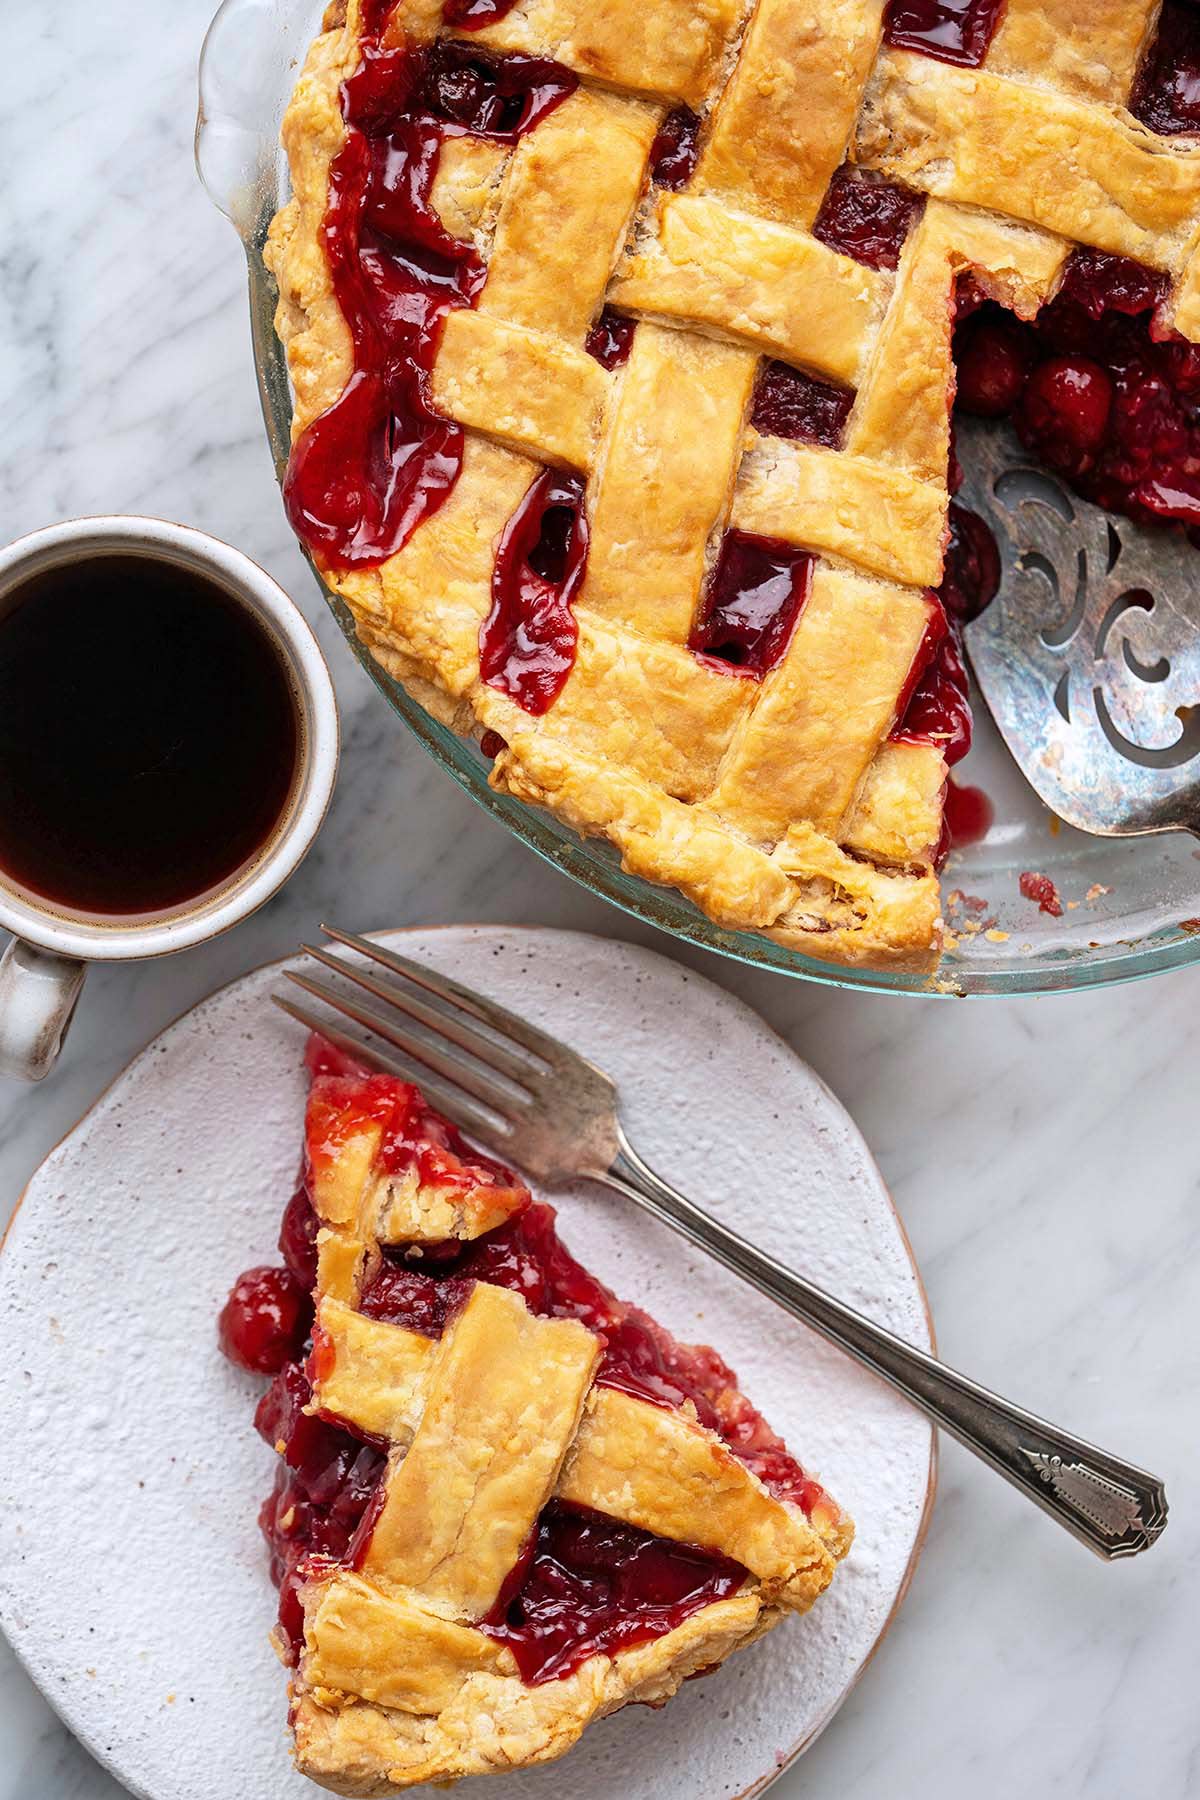
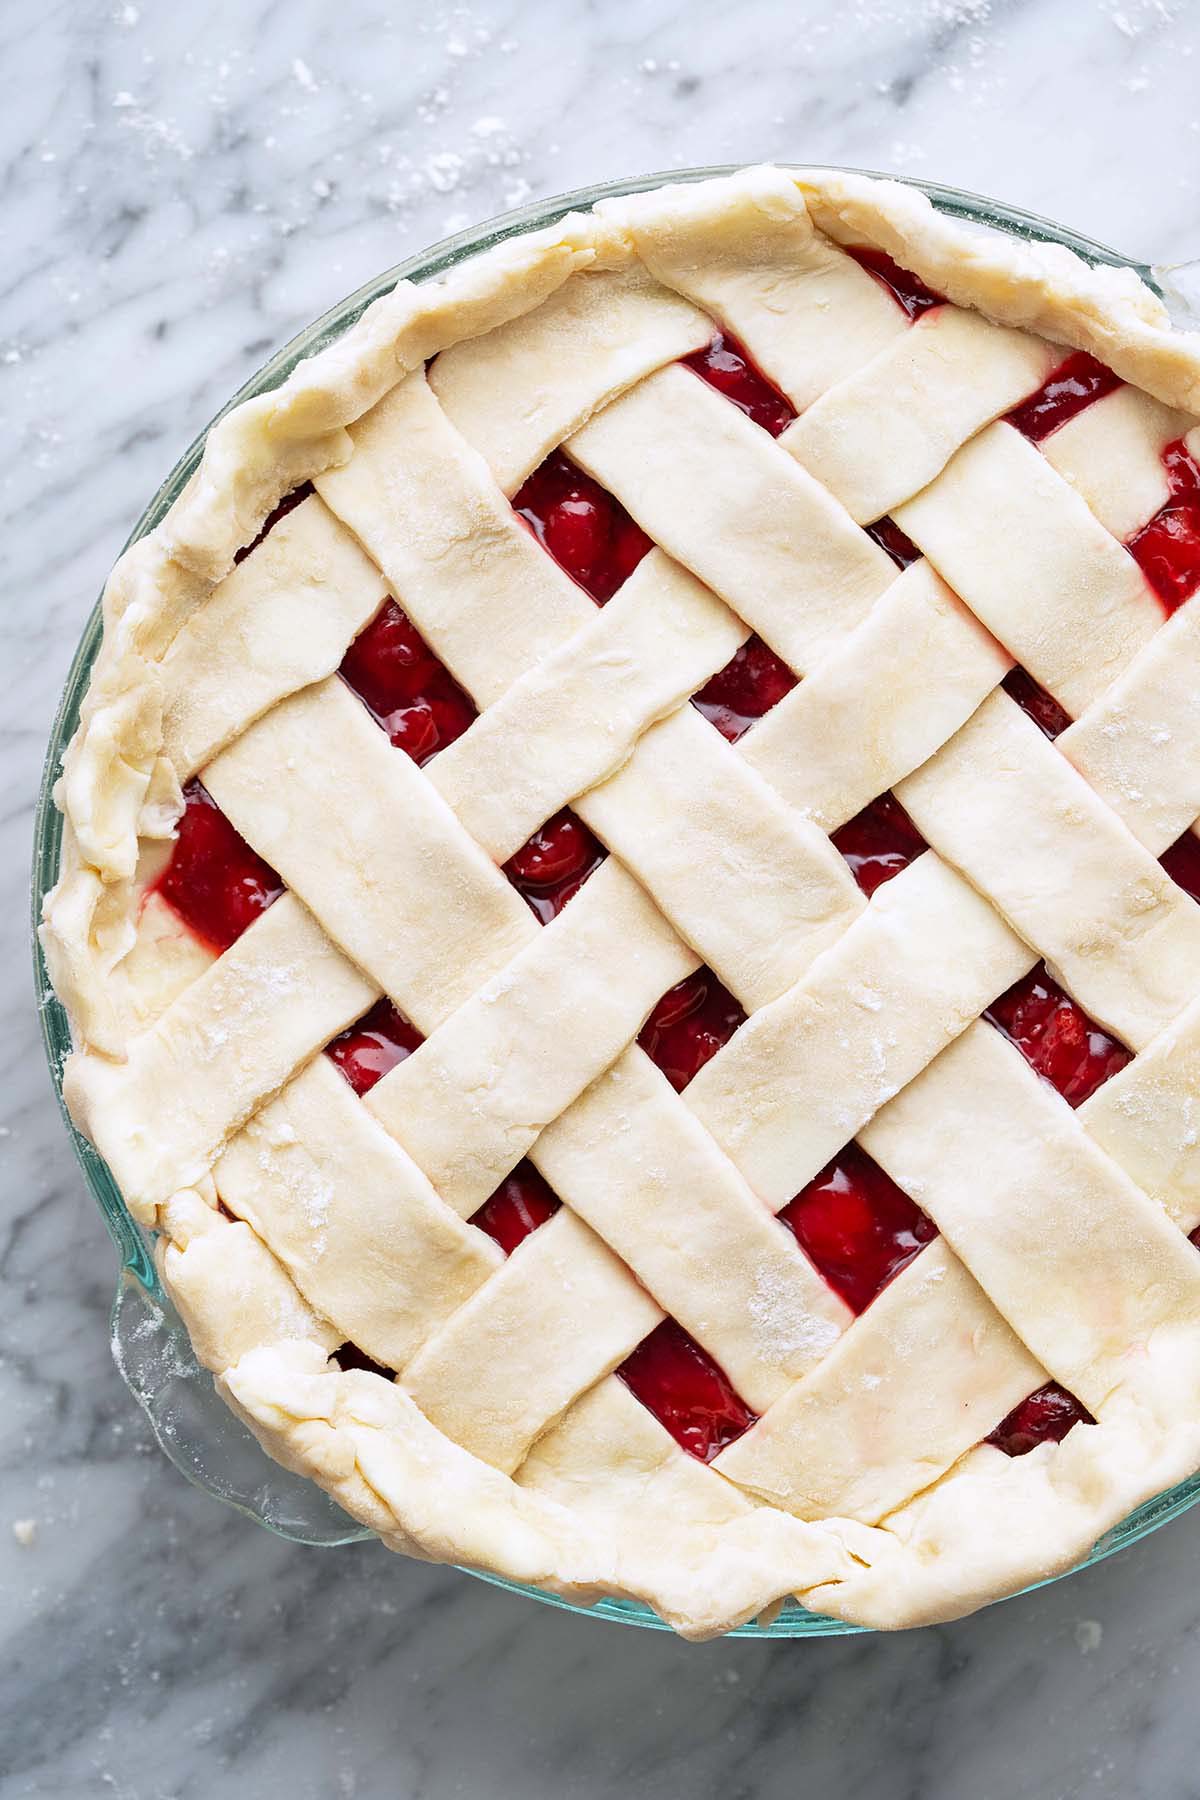
To make a lattice crust top (a classic look for cherry pie!), cut the dough into strips about 1 inch wide. Lay 4 to 6 strips on top of the pie spaced evenly apart. Starting at the center, fold back every other strip and place a strip across so it looks like it was weaved in, continuing until the lattice is completed. Trim off the excess dough from the strips and tuck the strips under, crimping the edges if desired.
5: Egg Wash
For the egg wash, whisk together the egg and water. Lightly brush it on the dough.
Step 5: Bake the Pie
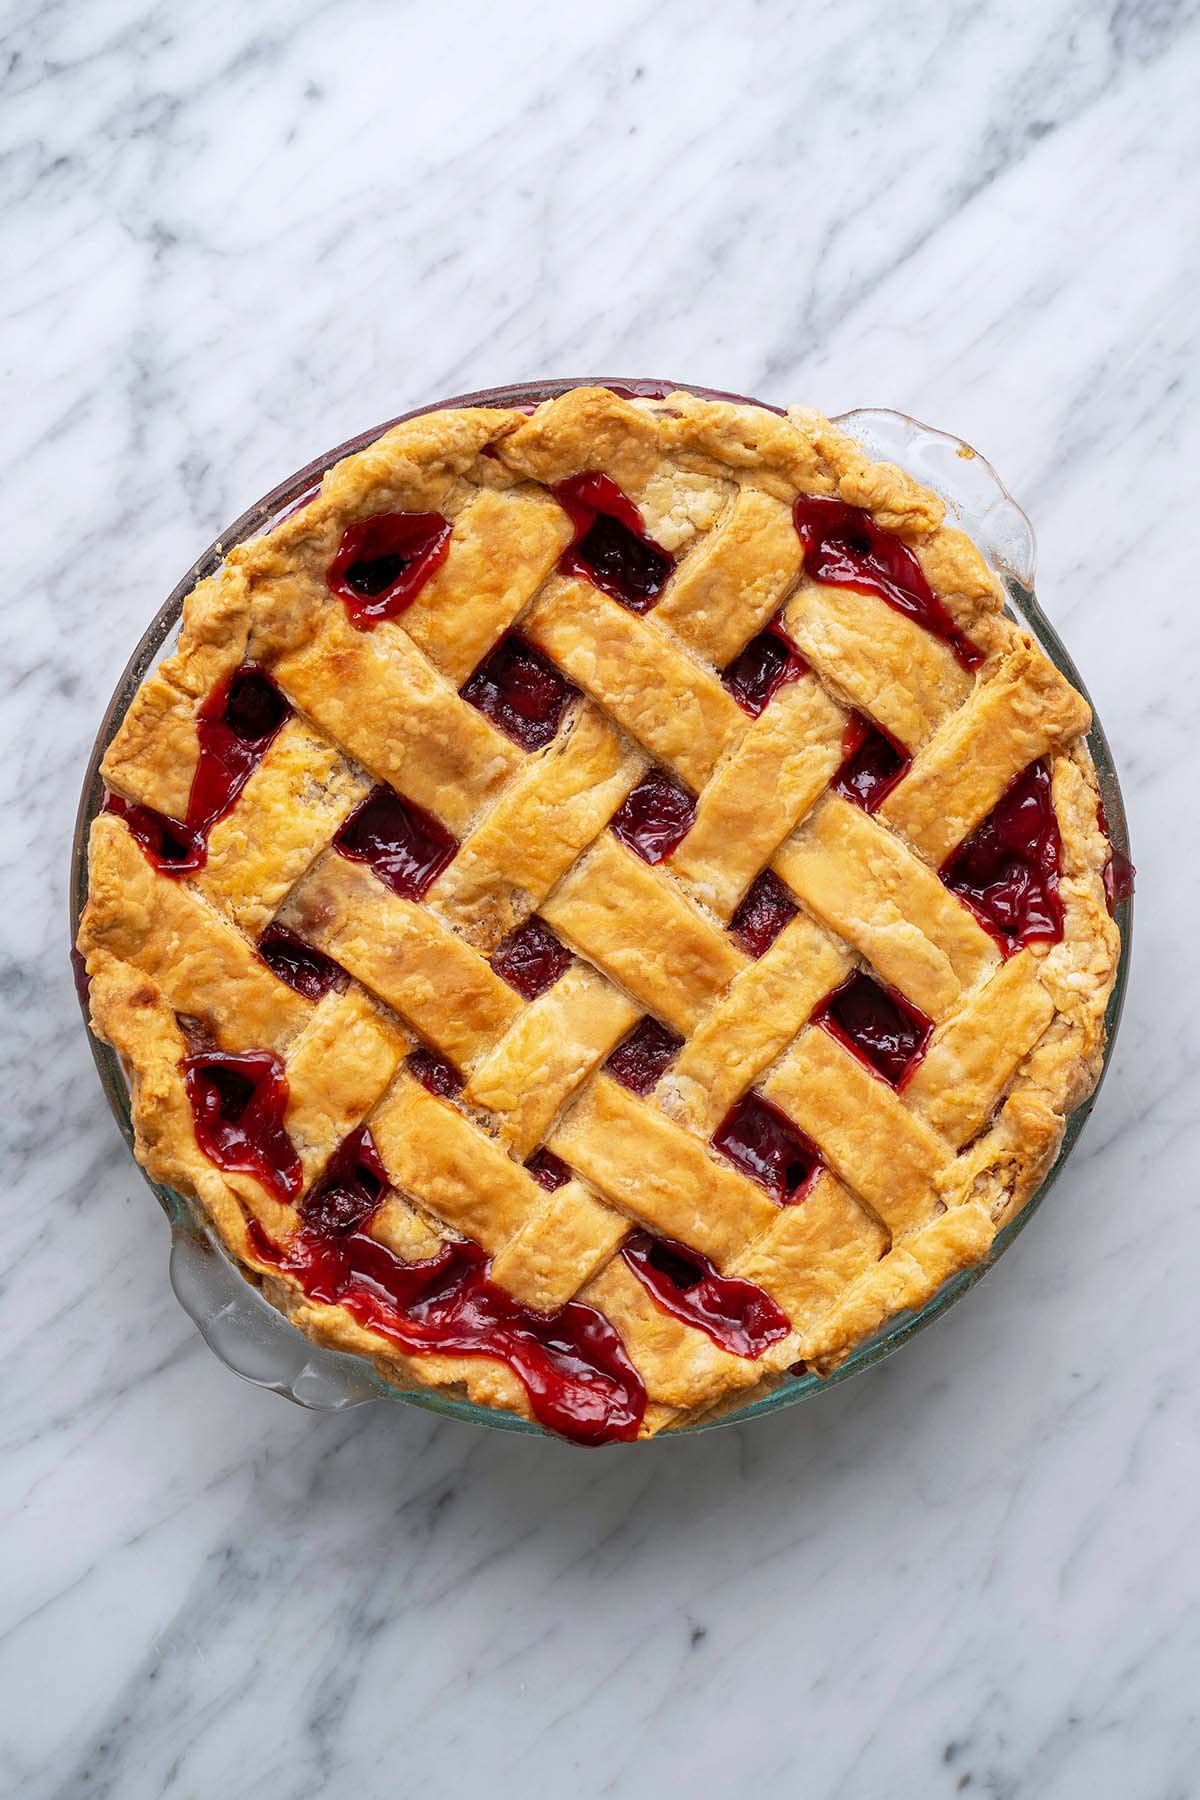
Bake at 400F for 20 minutes, then reduce the heat to 375F and bake until the pie is done, about another 40 to 60 minutes. The pie is done when the top crust is golden brown and the filling is bubbling in the center. If you’re using a glass pie plate, you can check the bottom to make sure the bottom crust is golden and doesn’t look raw. (TIP: At the 1-hour mark, check the pie every 10 minutes; if the top is starting to brown too quickly, cover it with foil and continue baking until done.)
Step 6: Cool
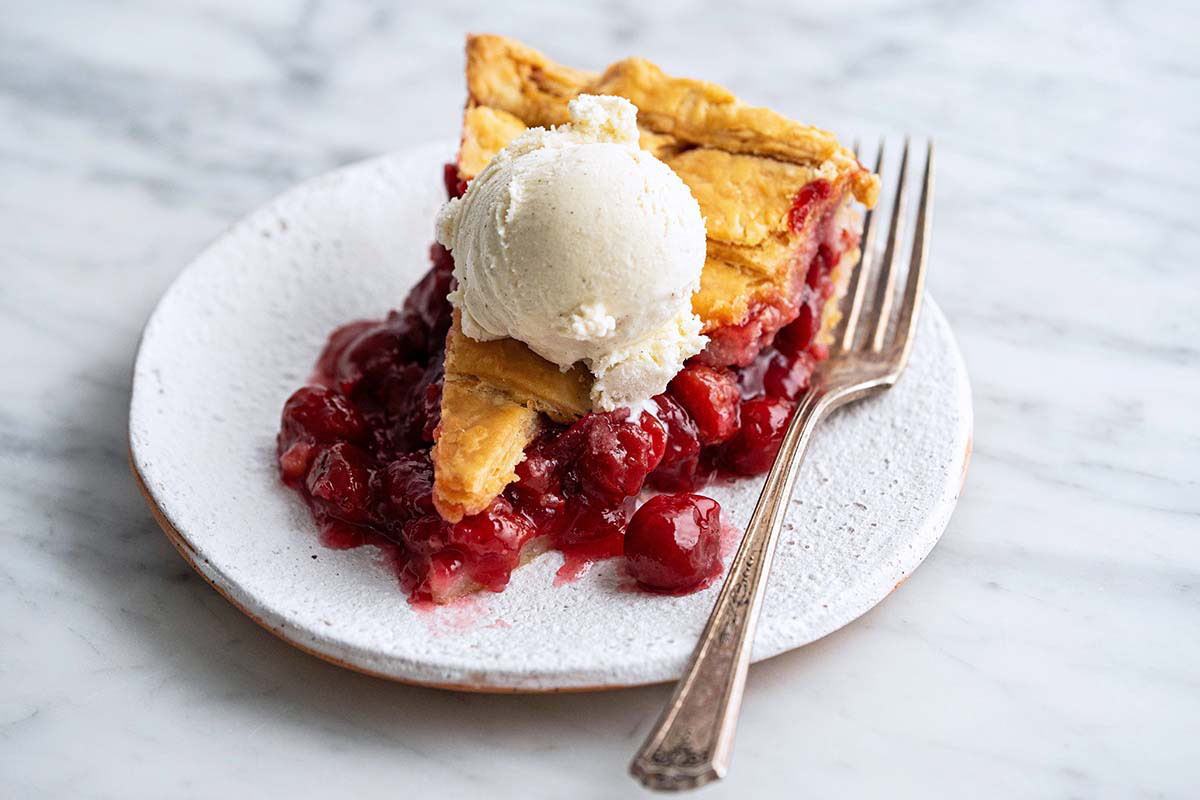
To allow the filling to properly set, let the pie cool until it’s at least lukewarm (about 3 to 4 hours) before slicing.
Storage and Reheating Tips
After baking, cool the pie to room temperature. After that, you can store it at room temperature for up to 2 days, in the fridge for up to 1 week, or in the freezer for up to 2 months.
After the first day, I like to reheat pie before serving. To reheat a slice of cherry pie, put it on a baking tray in a preheated 350F oven until warm, about 10 to 15 minutes (depending on whether it was chilled or not). Check it around the 10 minute mark and cover it loosely with foil if the top is starting to brown too much but the filling isn’t warm yet.
My Best Tips For Tart Cherry Pie
- Don’t swap out the sour cherries for their sweet counterpart. Tart cherries give this pie its classic intense cherry flavor.
- Stick with cornstarch as the thickener for your filling. It results in a clear, glossy filling that doesn’t mute the fruit’s flavor. Using flour creates a duller, more opaque filling that can have a starchiness flavor that competes with the flavor of the fruit.
- Plan ahead. The filling needs to cool to room temperature, and then chill in the fridge overnight. This lets the flavors blend, but more importantly, it allows the filling to thicken to the perfect consistency.
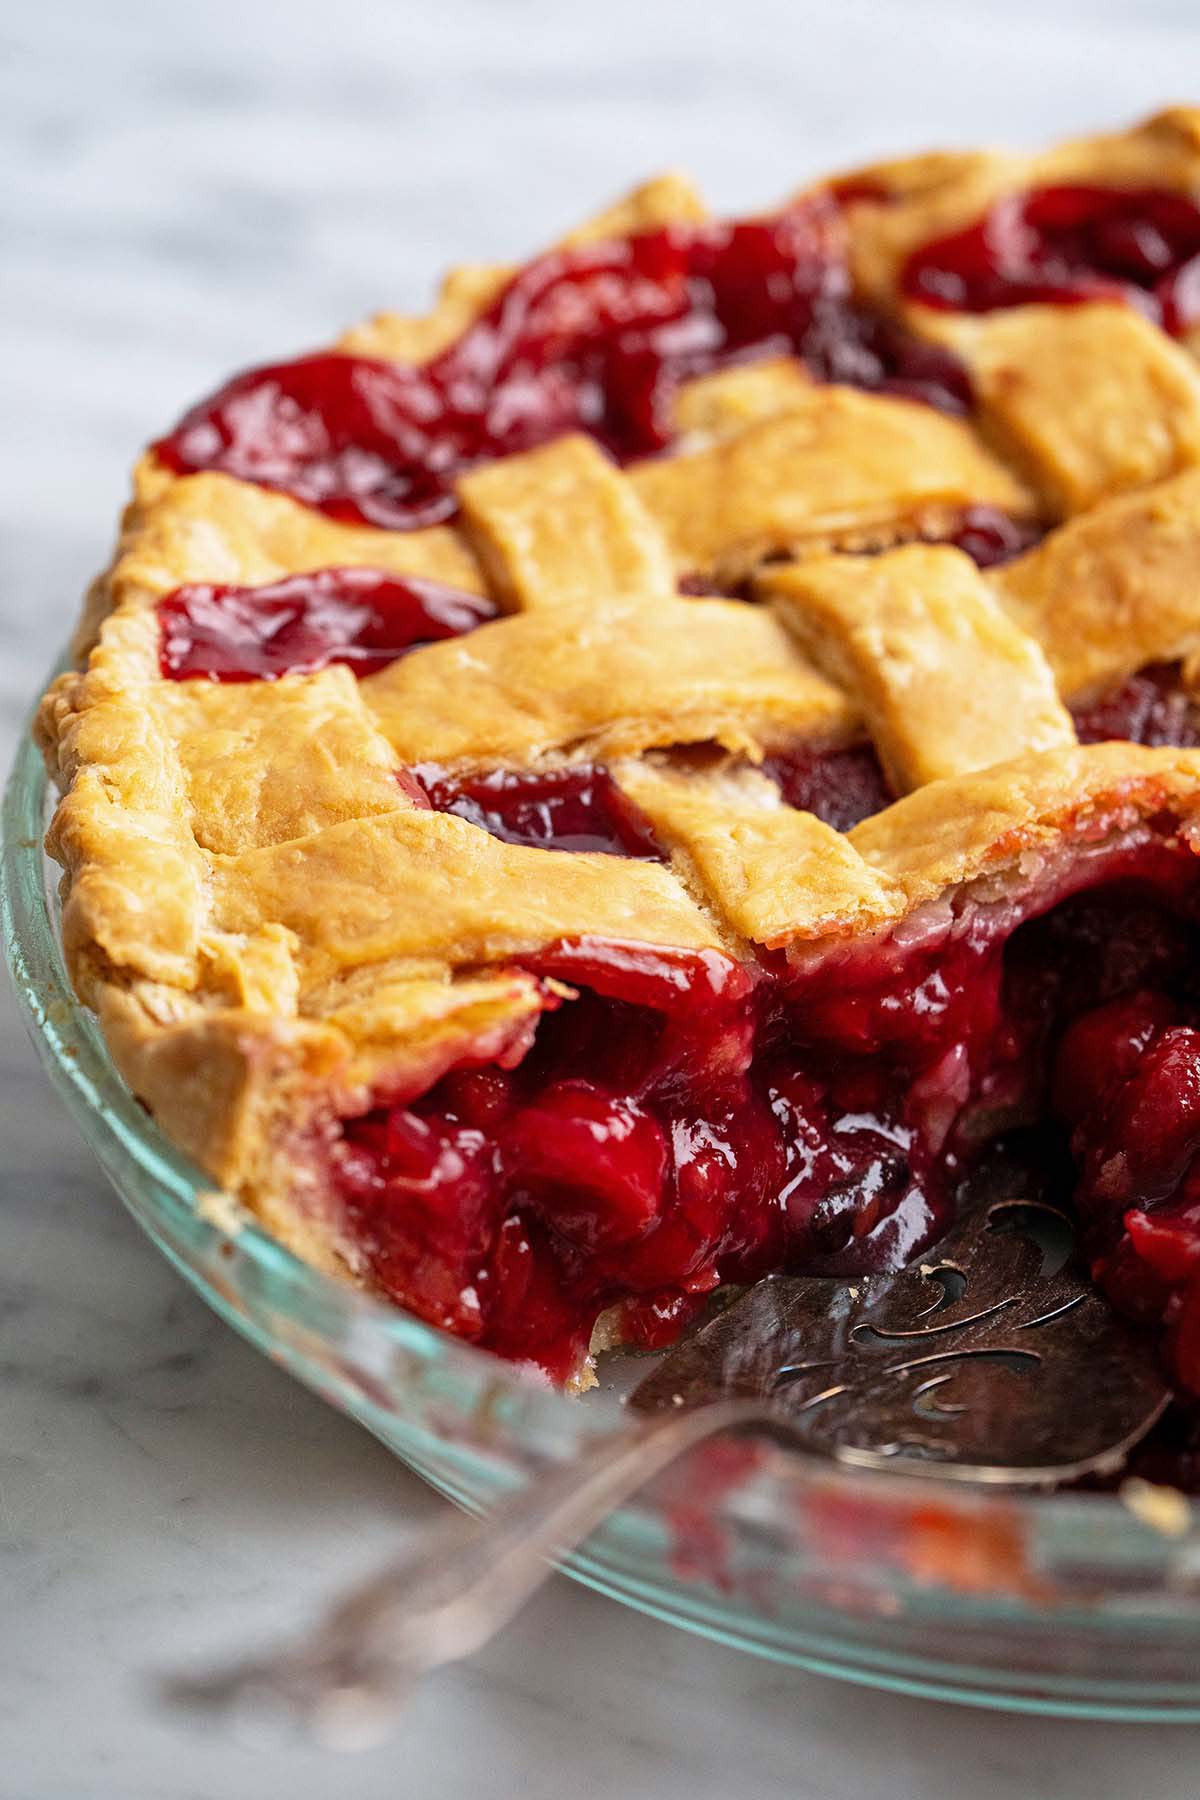
- Use a glass pie plate if possible. This allows you to check the pie for doneness from the bottom as well as the top (the bottom crust should be golden too). No soggy bottoms here!
- Reheat it right. Yes, 30 to 45 seconds in the microwave will warm the filling, but it will likely turn the crust rubbery! If you want to reheat pie so the crust is crispy, I recommend reheating it in a 350F oven until warm.
Frequently Asked Questions
Yes! The terms “sour cherries” and “tart cherries” are generally used interchangeably. I talk in more detail about sour cherries in my tart cherry pie filling recipe post.
Don’t be put off by the name, sour cherry pie isn’t sour! Although you might not want to eat tart cherries as-is, they make one heck of a pie.
Tart cherry pie is sweet and syrupy with a hint of tangy tartness for balance and deep notes of cherry. Classic cherry flavor shines through in a multidimensional way that you won’t get if you use sweet cherries.
Some recipes call for pre-baking the bottom pie crust (aka “blind baking”) before adding the filling and baking the assembled pie. This is done to prevent a soggy bottom, typically for pies that don’t bake very long (such as custard pies). In general, fruit pies (including this cherry pie) bake longer and don’t require blind baking.
For starters, it’s crucial to use sour cherries instead of sweet. And then it’s a trifecta of simple ingredients that take pie filling over the top: 1) vanilla (whether it’s a vanilla bean, vanilla bean paste, or vanilla extract), 2) salt, and 3) almond extract. Together, these three ingredients will make your cherry pie filling incredibly flavorful!
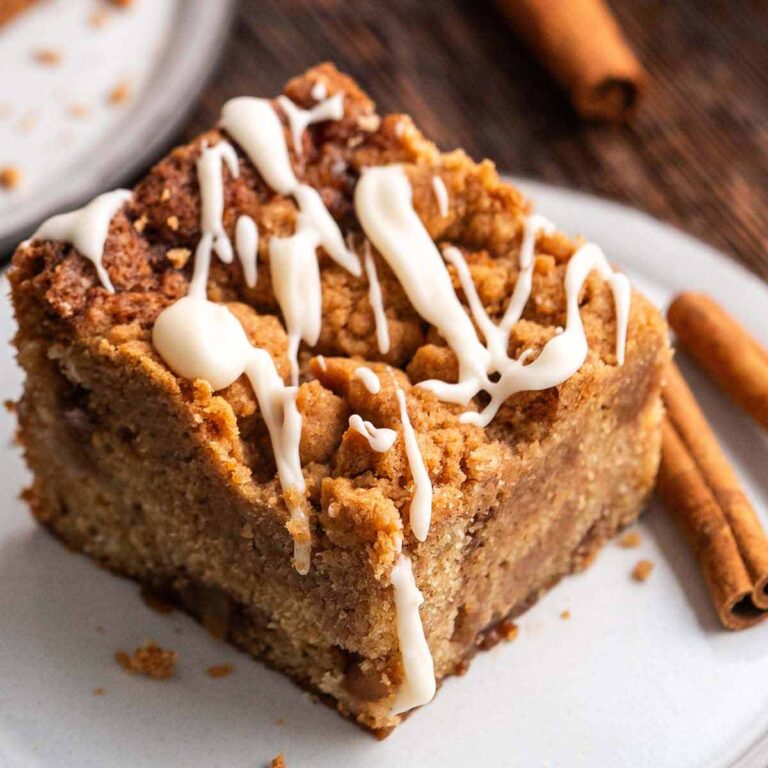
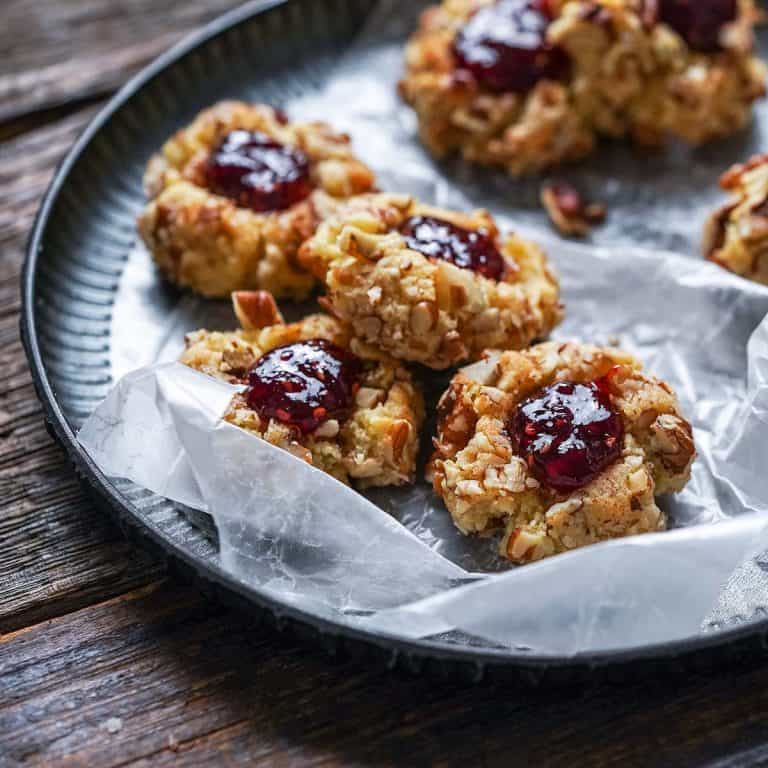
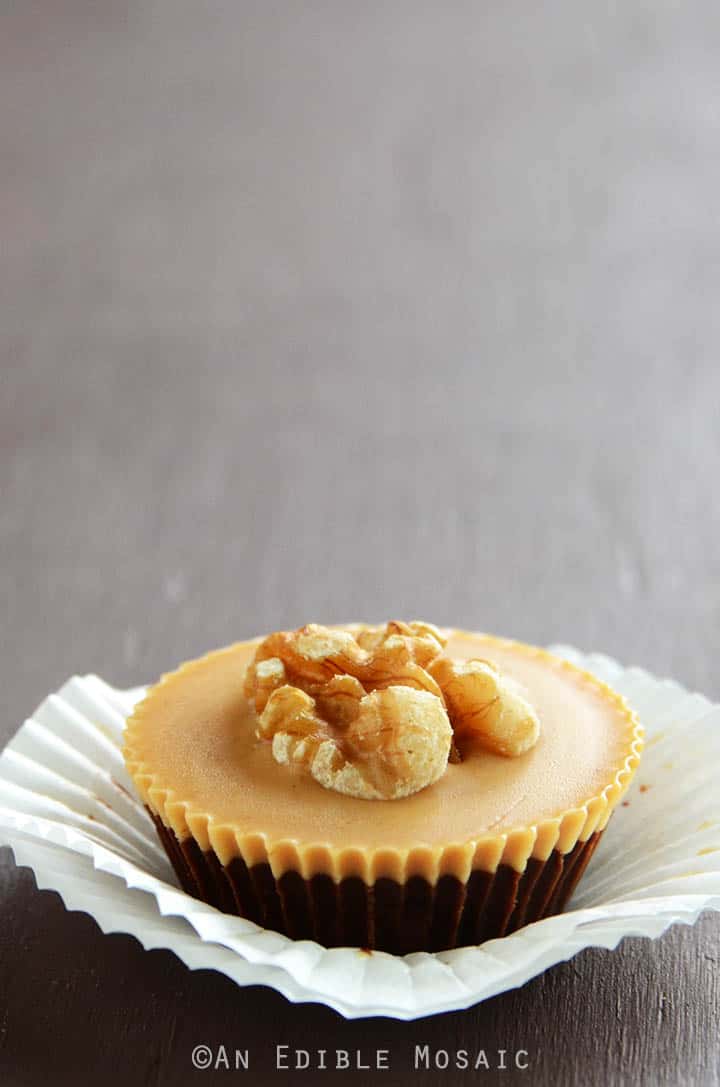
More Pies to Try This Holiday Season (And Year-Round!)
Let’s Connect

Did you make this recipe? Please rate it and leave a comment below. You can also tag @anediblemosaic on social media.
To stay up-to-date, follow me on Facebook, Instagram, Pinterest, and Twitter!

Tart Cherry Pie Made With Frozen Cherries
Email This Recipe
Get this recipe link emailed straight to your inbox!
Equipment
- Standard 9-inch pie pan (see Notes)
Ingredients
Tart Cherry Filling:
- 8 cups frozen tart cherries
- 1 vanilla bean split open lengthwise and seeds scraped out (add the seeds and the bean)
- 2 cups granulated white sugar
- 1/2 teaspoon salt
- 6 tablespoons cornstarch dissolved in 3/4 cup cold water to form a slurry (see Notes)
- 1 teaspoon almond extract
Butter Crust:
- 2 1/2 cups all-purpose flour
- 3/4 teaspoon salt
- 1 cup unsalted butter chilled and diced
- 3/4 cup ice-cold water plus more as needed
Egg Wash:
- 1 egg lightly beaten
- 1 tablespoon water
Instructions
Make the Tart Cherry Filling:
- Cook the filling. Add the frozen cherries, vanilla (scrapings and bean), sugar, and salt to a 5-quart pot over medium heat, and stir to coat the cherries in sugar. Cover the pot and cook until the sugar is fully dissolved and the cherries are at a simmer, about 10 to 12 minutes, stirring occasionally. Stir in the cornstarch slurry, and cook until thickened, about 1 to 3 minutes, stirring constantly. Remove from the heat and stir in the almond extract.
- Cool (3-4 hours at room temperature) and then chill the filling (12-24 hours in the fridge). Cool to room temperature (about 3 to 4 hours), and then refrigerate to chill (12 to 24 hours). (TIP: After chilling overnight, the filling will have thickened to the perfect consistency. See Notes below.) Remove and discard the vanilla bean.
Make and Chill the Pie Dough:
- Make the dough. Whisk together the flour and salt in a large bowl. Cut in the butter with a fork, a pastry cutter, 2 butter knives, or your fingertips. It should look crumbly, with some pieces of butter the size of small peas. Drizzle the water in a little at a time, mixing as you go (you can use a fork to mix, but mixing with your fingertips works best here). Add just enough water so it comes together to form a ball of dough (you may need more or less water).
- Chill the dough (at least 30 minutes or up to 3 days in the fridge). Divide the dough into 2 equal parts. Roll each into a ball, flatten each ball slightly into a disk, wrap them in plastic wrap, and refrigerate until chilled, about 30 minutes.
Assemble the Pie:
- Prep. Preheat the oven to 425F. Position a rack in the center of the oven to bake the pie on. Get out a standard 9-inch pie pan. If you don't have a pie drip catcher, put a piece of aluminum foil under the pie plate to catch any drips as it bakes.
- Roll out the first disk of dough (bottom crust). Place 1 disk of dough onto a floured work surface. Working from the center out, roll the dough out to a circle about 11 to 12 inches in diameter. Fold the dough over onto itself, pick it up, and transfer it to a pie plate. Unfold the dough and push it into the bottom and up the sides of the pie plate. Use a fork to poke several holes in the bottom of the pie crust.
- Add the filling. Transfer the cooled cherry filling into the pie crust and spread it out evenly. Pop this into the fridge while you roll out the second disk of dough.
- Roll out the second disk of dough (top crust; lattice or regular). Roll out the second disk of dough to a circle about 10 inches in diameter the same way you rolled out the first disk of dough. To make a regular crust top, place the circle of dough onto the cherry filling. Tuck the outside of the dough under, and use your fingers or a fork to flute the edges. Cut 6 to 8 slits in the top of the crust. To make a lattice crust top, cut the dough into strips about 1 inch wide. Lay 4 to 6 strips on top of the pie spaced evenly apart. Starting at the center, fold back every other strip and place a strip across so it looks like it was weaved in, continuing until the lattice is completed. Trim off the excess dough from the strips and tuck the strips under, crimping the edges if desired.
- Egg wash. For the egg wash, whisk together the egg and water. Lightly brush it on the dough.
Bake the Pie:
- Bake at 400F for 20 minutes, then reduce the heat to 375F and bake until the pie is done, about another 40 to 60 minutes. The pie is done when the top crust is golden brown and the filling is bubbling in the center. If you’re using a glass pie plate, you can check the bottom to make sure the bottom crust is golden and doesn’t look raw. (TIP: At the 1-hour mark, check the pie every 10 minutes; if the top is starting to brown too quickly, cover it with foil and continue baking until done.)
Cool:
- To allow the filling to properly set, let the pie cool until it’s at least lukewarm (about 3 to 4 hours) before slicing.
Notes
- Pie Pan: Use a glass pie plate if possible. This allows you to check the pie for doneness from the bottom as well as the top (the bottom crust should be golden too). No soggy bottoms here!
- Cherry Pie Filling: This makes about 1 liter of cherry pie filling. We use the whole amount for this pie.
- Don’t Add More Cornstarch to Make the Filling Thicker: It will thicken perfectly as it chills in the fridge overnight (12 to 24 hours). If you add more cornstarch, yes the filling will be thicker, but you run the risk of the filling turning gluey, especially because we’re baking it into pie (which thickens the filling even more).
- Recipe Yield, Serving Size, and Nutritional Information: This recipe makes one 9-inch pie, which is enough for 8 large slices, or up to 12 smaller slices. The nutritional information is based on it making 8 servings.
- Storage:
- Filling: Cool to room temperature, and then store homemade cherry pie filling in an airtight container in the fridge for up to 5 days or in the freezer for up to 6 months. After freezing, thaw to room temperature before using it to make pie.
- Pie: After baking, cool the pie to room temperature. After that, you can store it at room temperature for up to 2 days, in the fridge for up to 1 week, or in the freezer for up to 2 months.
- Reheating Pie: Skip the microwave (which can turn the crust rubbery), and reheat a slice of pie on a baking tray or other oven-safe dish in a 350F oven until warm. You’ll be rewarded with crispy crust!
Nutrition
Nutritional information is automatically calculated and should be used as an approximate.
Share it with me on Instagram and leave a comment to let me know your thoughts!


I’m the writer, recipe developer, photographer, and food stylist behind this blog. I love finding the human connection through something we all do every day: eat! Food is a common ground that we can all relate to, and our tables tell a story. It’s my goal to inspire you to get in the kitchen, try something new, and find a favorite you didn’t know you had.
Free Bonus


First off I’m normally not a fan of cherry pie but my family is, so I made this and wow! I’m now a fan of this tart cherry pie. I found frozen tart cherries at Dot’s market in Dayton, OH. My second time I only had 2 cups of tart cherries left, so I made a blend with 4 c strawberries, 2 c rhubarb and 2 c tart cherries (all from frozen). It is absolutely delicious! Take away: the tart cherries are delicious and don’t be afraid to experiment with the fruit you’ve got.
Where do you purchase the tart/sour cherries?
Terry, I get them from a local store called Gordon. To find them in your area, I would do a Google search using the “Shopping” tab on Google. I think they’re also available for shipping in the US from the following brands: Northwest Wild Foods, Farm to People, and Frank Farms.