This post may contain affiliate links, view our disclosure.
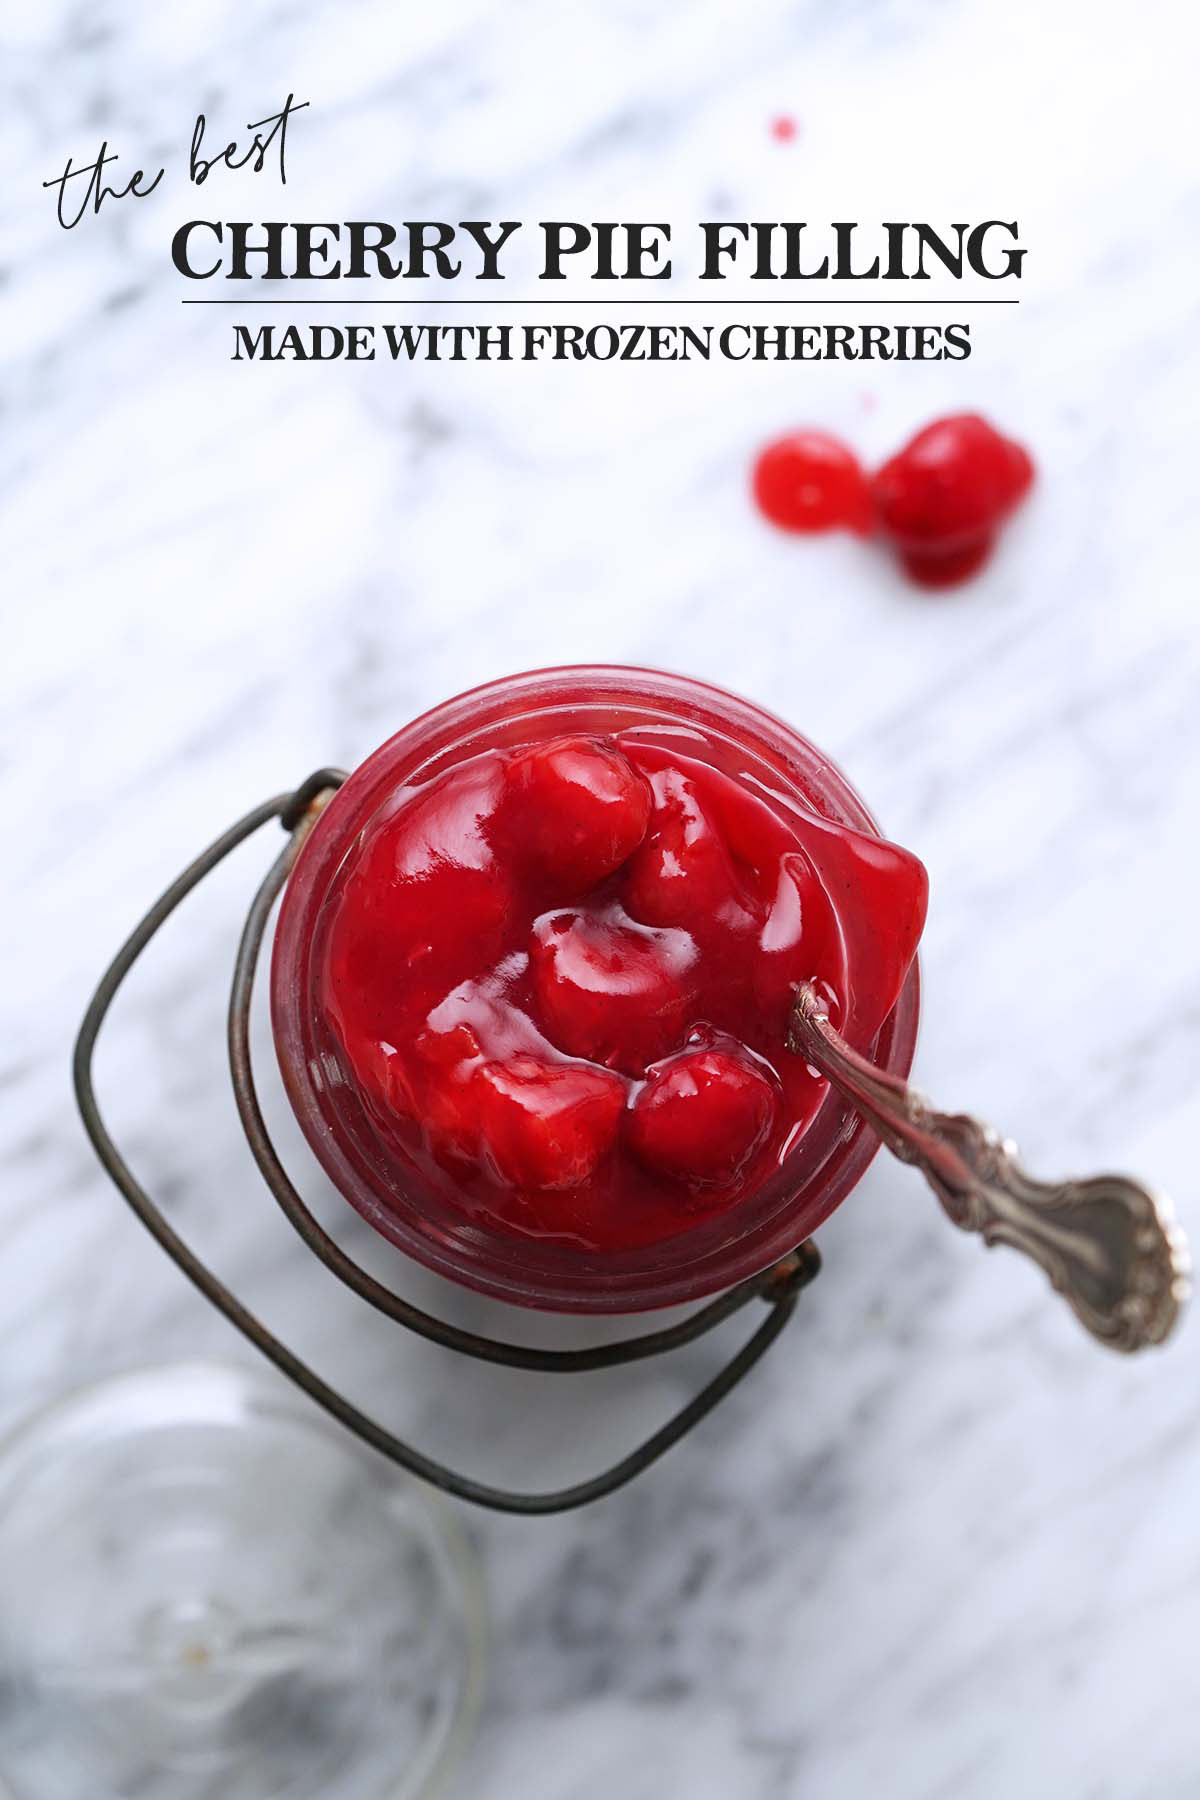
Learn how easy it is to make the best cherry pie filling with frozen tart (aka sour) cherries. It has intense cherry flavor that’ll make you a rockstar with anyone who tries your pie! The best part is, this pie filling freezes beautifully and you can thaw it anytime you want to bake a pie (n.b., it would be a lovely addition to your Thanksgiving dessert table!).

If you’ve ever wondered whether you can use frozen fruit for pie filling, let me reassure you: yes! Like many kinds of fruit (including frozen blueberries), frozen cherries make a lovely pie. This recipe uses frozen tart (aka sour) cherries because they make the absolute best classic cherry pie, which I’ll get more into later.
But sour cherries aren’t the only secret ingredient for the best pie! There’s another simple “secret” ingredient that you might already have on hand in a well-stocked pantry that’ll help you make a pie filling so good it makes people wonder what’s in it! Read on to find out what it is, and get all my best tips.
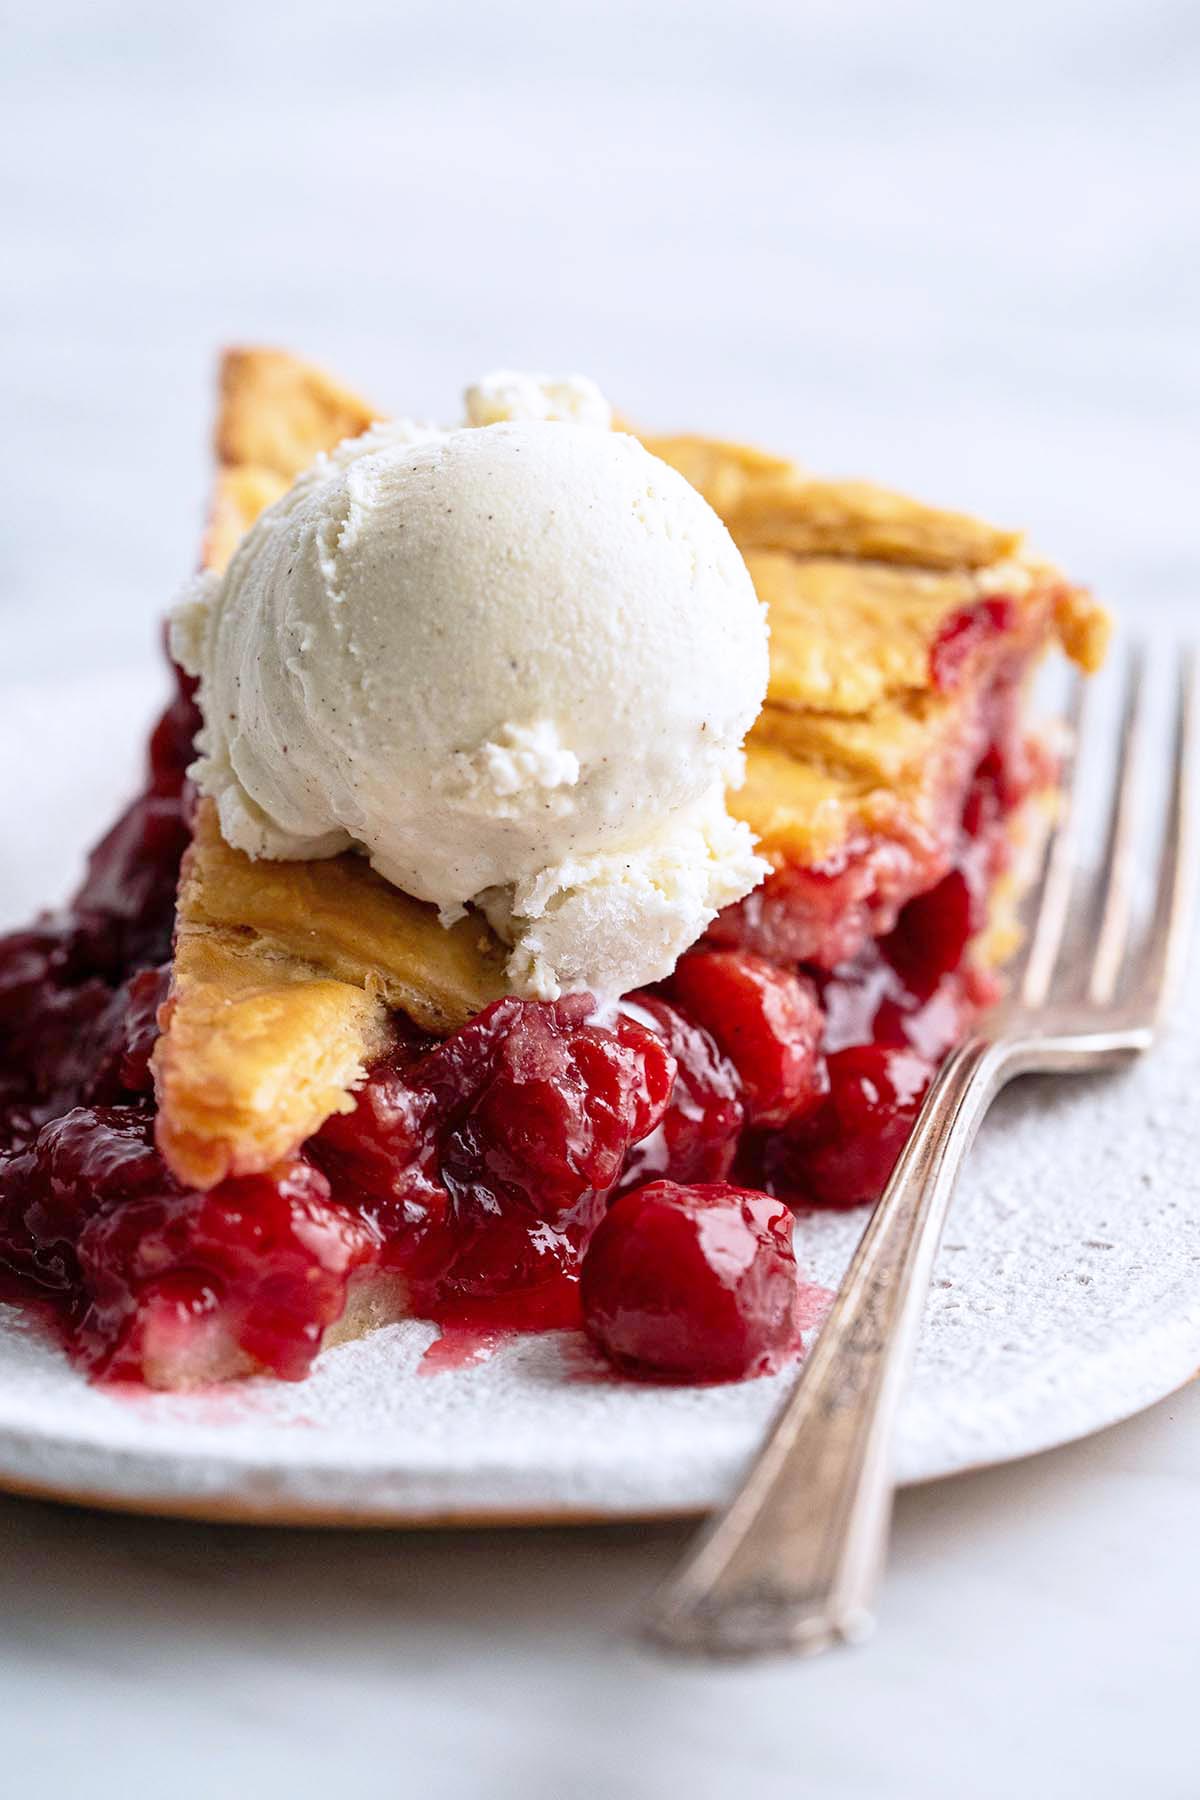
One of the things I love most about this is that because we use frozen fruit, you don’t have to wait for cherry season to bake a cherry pie! Whip up this beauty for your holiday buffet table and serve it à la mode with a scoop of French vanilla ice cream for a lovely dessert.
What Can I Make With Cherry Pie Filling Other Than Pie?
There are so many things you can do with this filling instead of making it into pie! Here are a few ideas to inspire you:
- Use it as a cheesecake topping.
- Make cherry crisp.
- Serve it on top of crepes, pancakes, or waffles.
- Enjoy it on top of French vanilla ice cream.
- Use it to make a bowl of oatmeal, chia pudding, Greek yogurt, or whipped yogurt feel special.
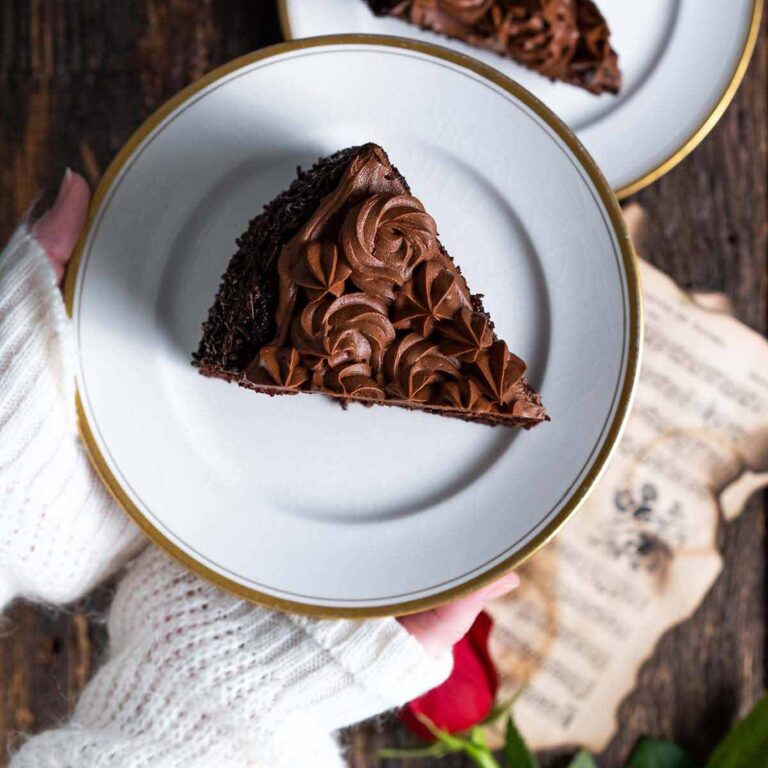
- Make Black Forest brownies.
Ingredients
Breaking It Down
Ingredients Explained
In this section I explain the ingredients and give substitution ideas where applicable. For the full recipe (including the ingredient amounts), see the recipe card below.
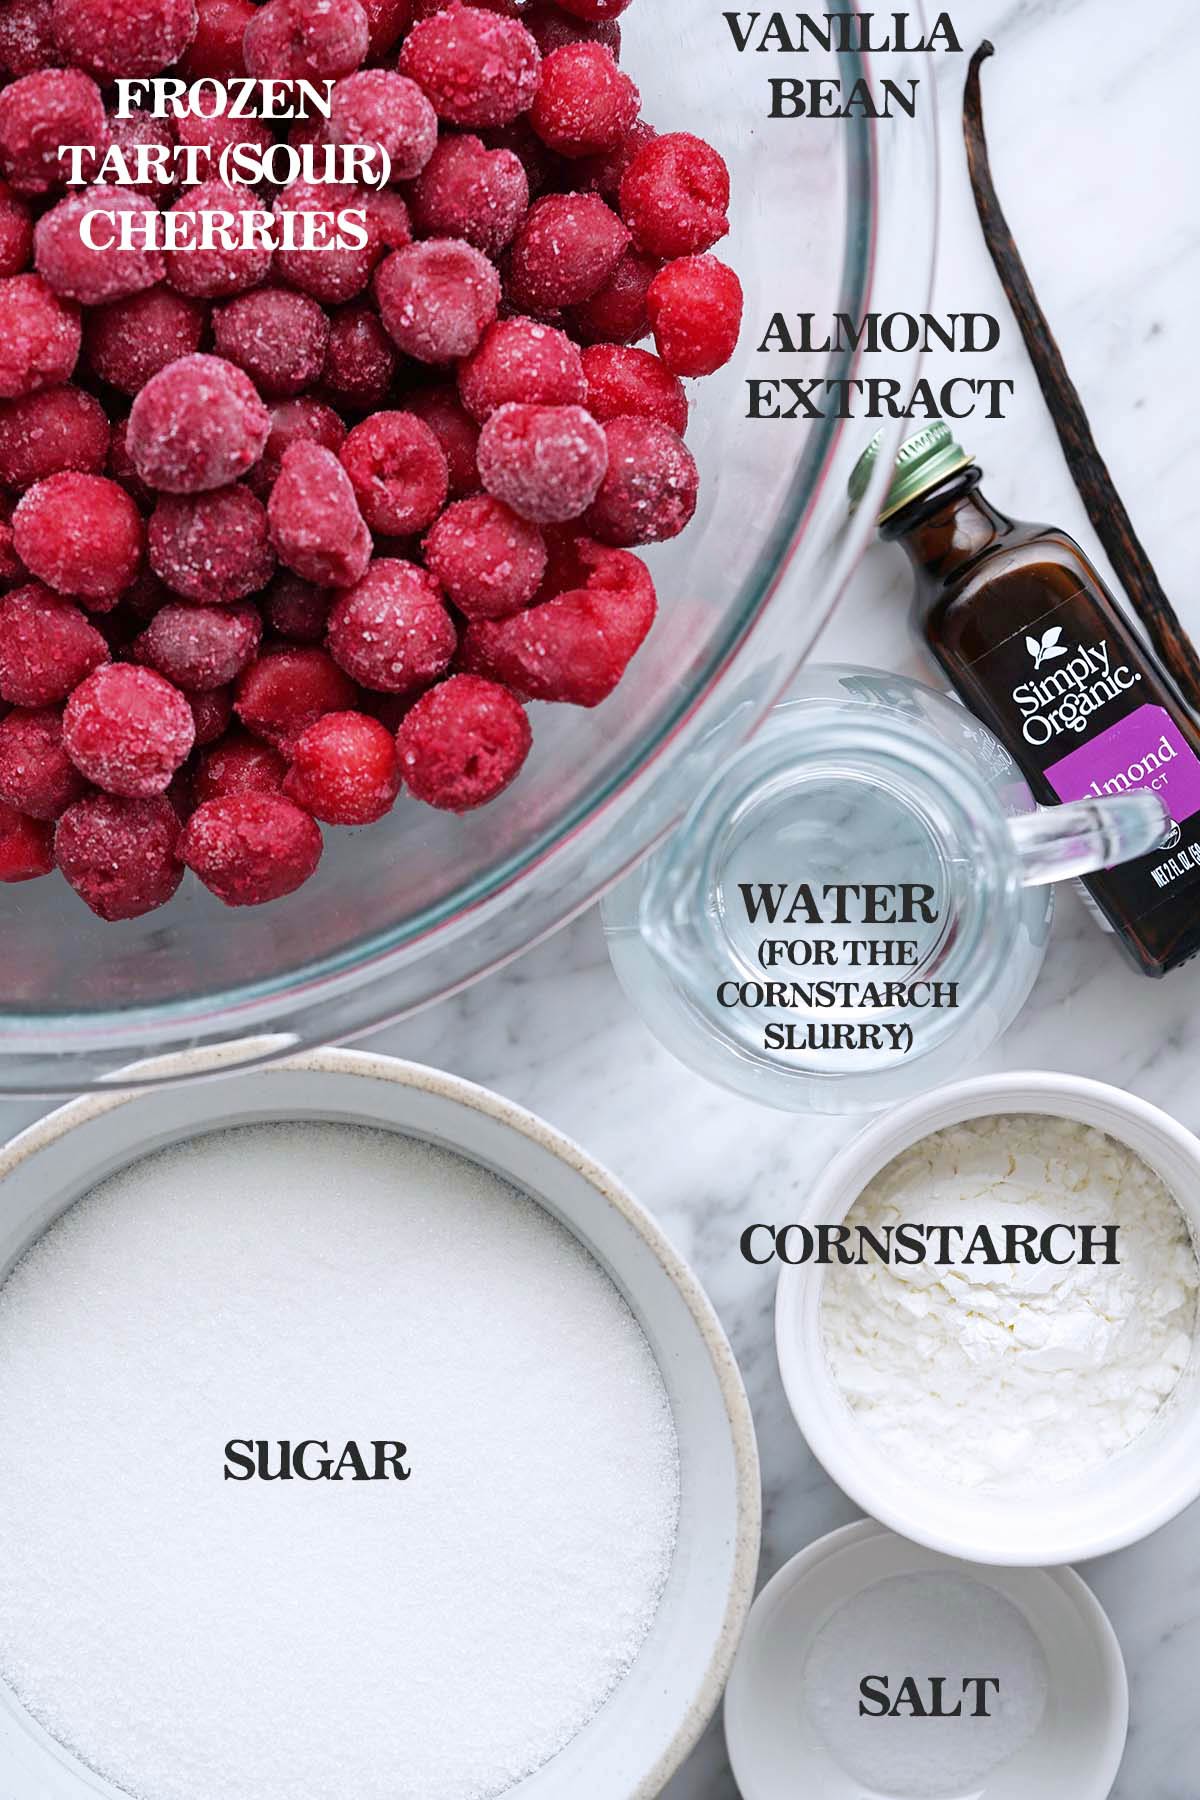
- Frozen tart cherries – Don’t thaw the cherries for this recipe. This is because we don’t add any water. Instead, the liquid that the cherries release cook down into a flavorful pie filling that we thicken with a cornstarch slurry at the end of the cooking process.
- Vanilla bean – If you don’t have a vanilla bean on hand, you can use 2 teaspoons of vanilla bean paste or 2 teaspoons of vanilla extract (added at the same time as the almond extract).
- Sugar – Use regular granulated white sugar here. It not only sweetens the sour cherries, but also helps create the right thick, syrupy pie filling consistency.
- Salt – Salt is a natural flavor enhancer that makes the cherry flavor more intense.
- Cornstarch – Dissolved in 3/4 cup cold water to form a slurry.
- Almond extract – This is my secret ingredient for the best cherry pie filling! If you’ve ever had store-bought cherry pie filling (or a less-than-stellar slice of cherry pie) that tasted a little flat and wondered what you could add to make it taste better, almond extract is the answer. A little goes a long way because almond extract is strong, but it makes all the difference. It creates depth and pulls out the cherry flavor.
Step-by-Step Instructions: How to Make Homemade Cherry Pie Filling Using Frozen Cherries
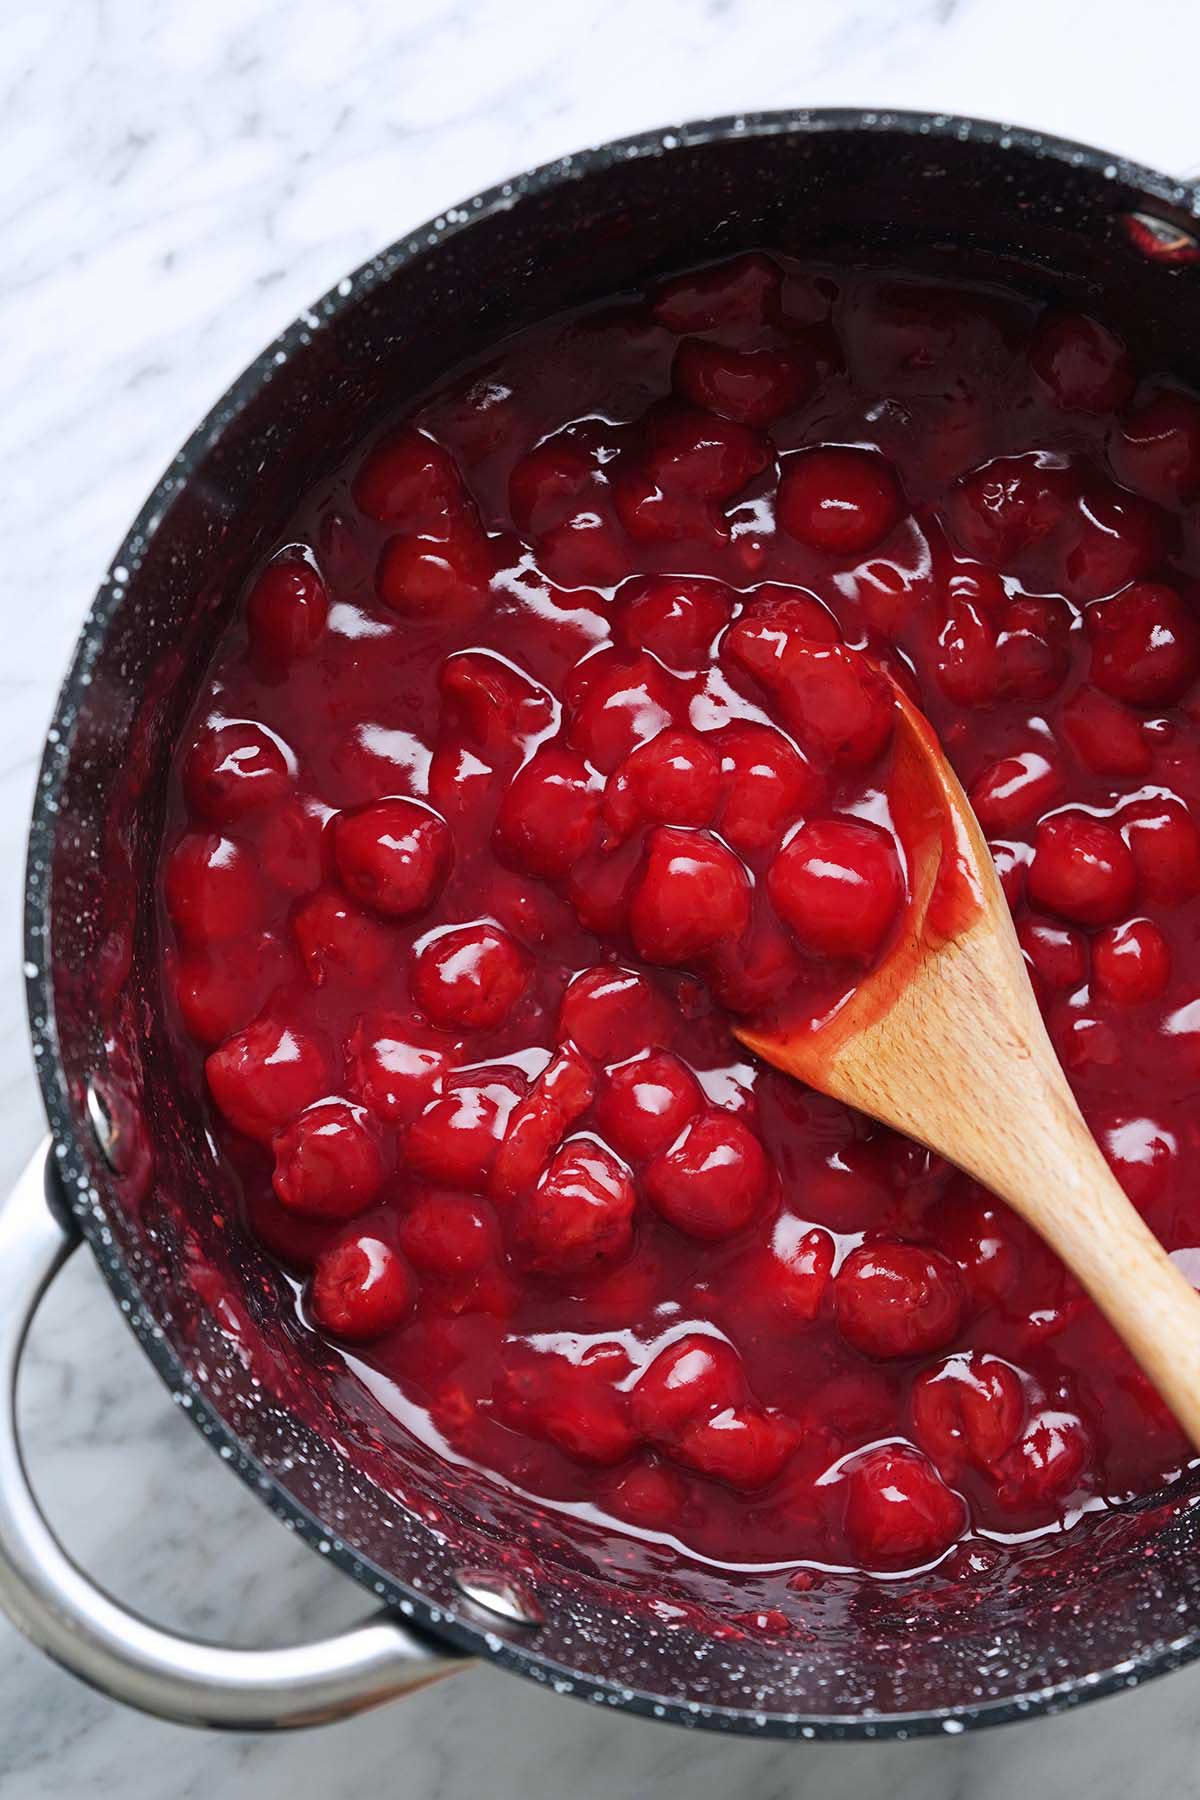
- Add the frozen cherries, vanilla (scrapings and bean), sugar, and salt to a 5-quart pot over medium heat, and stir to coat the cherries in sugar.
- Cover the pot and cook until the sugar is fully dissolved and the cherries are at a simmer, about 10 to 12 minutes, stirring occasionally.
- Stir in the cornstarch slurry, and cook until thickened, about 1 to 3 minutes, stirring constantly. Remove from the heat and stir in the almond extract.
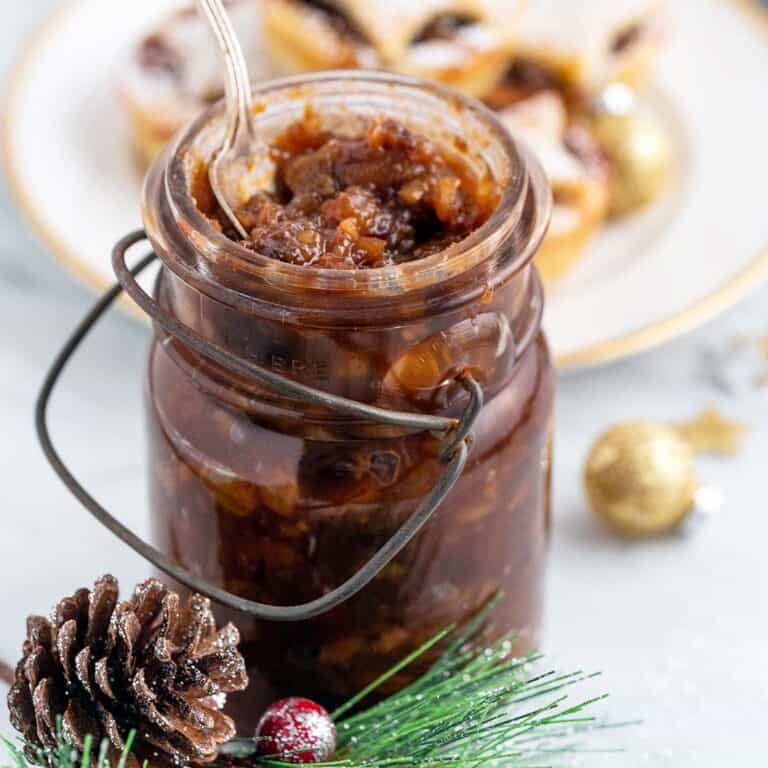
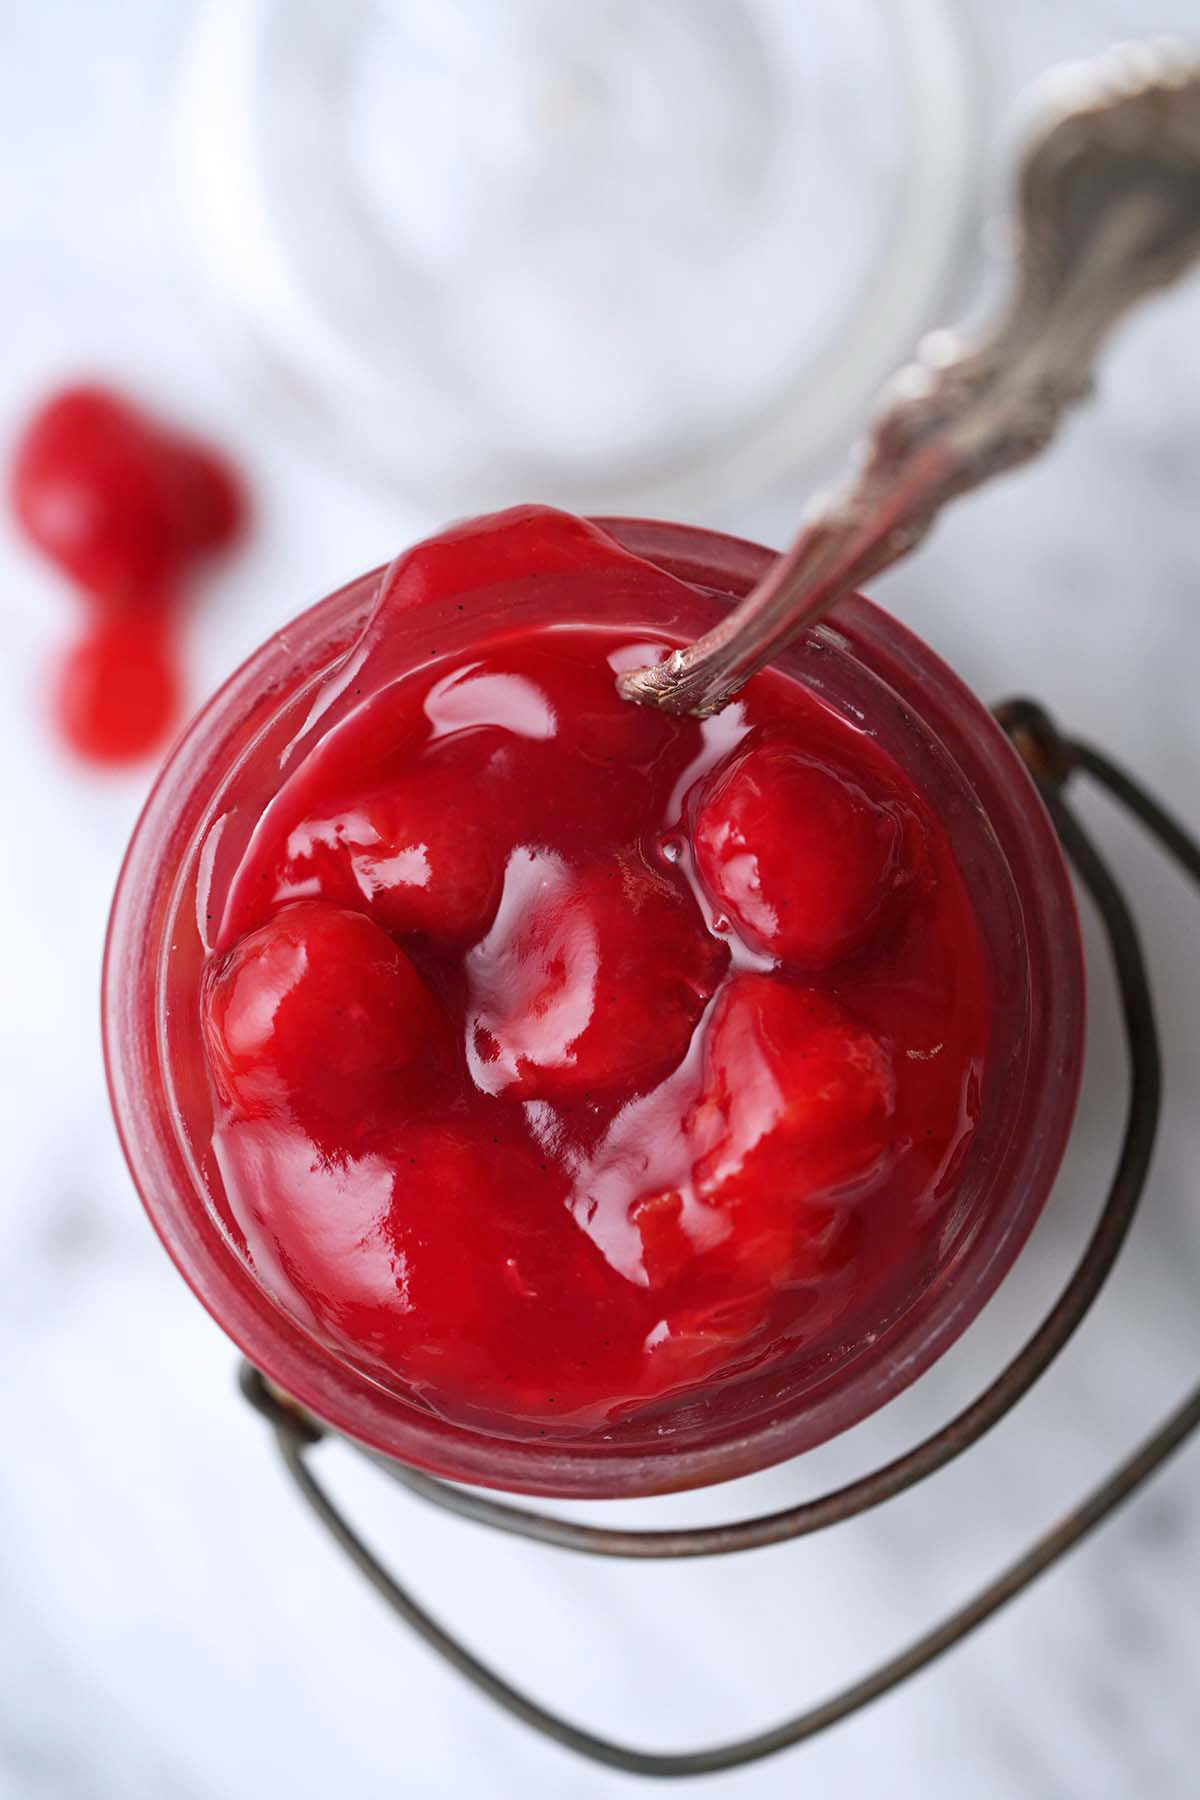
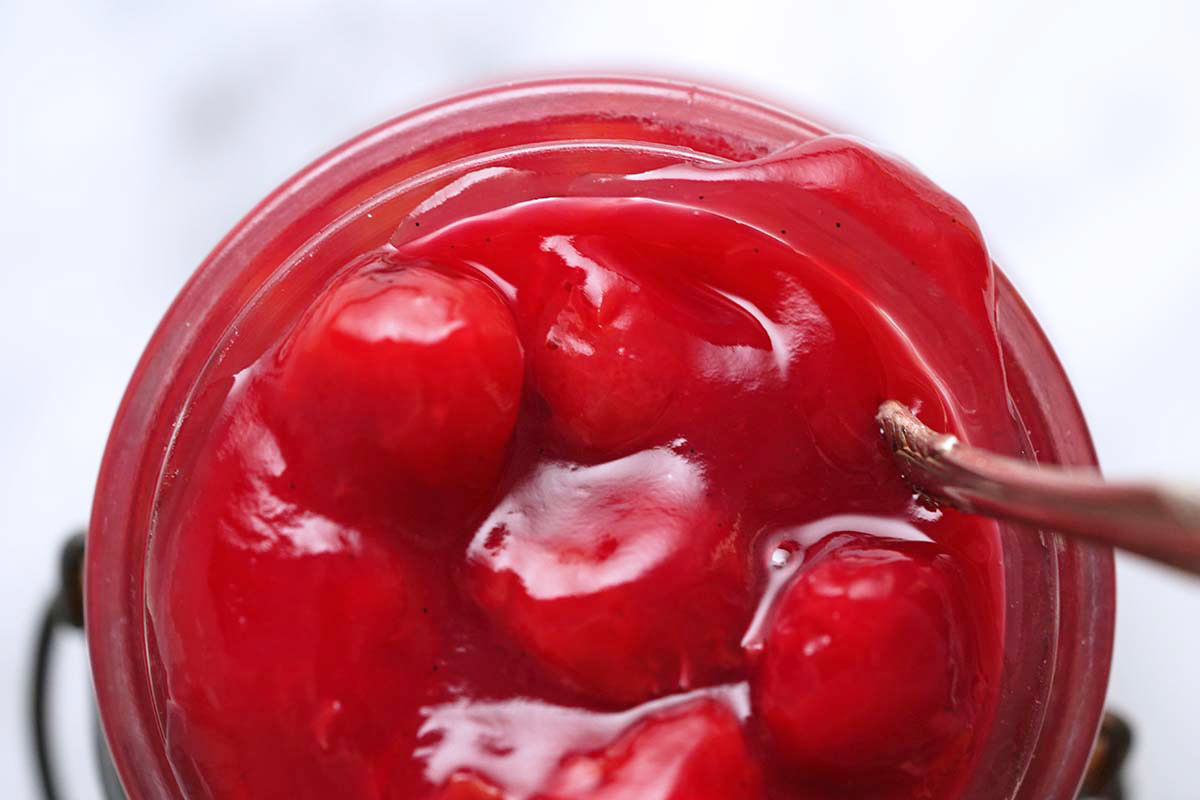
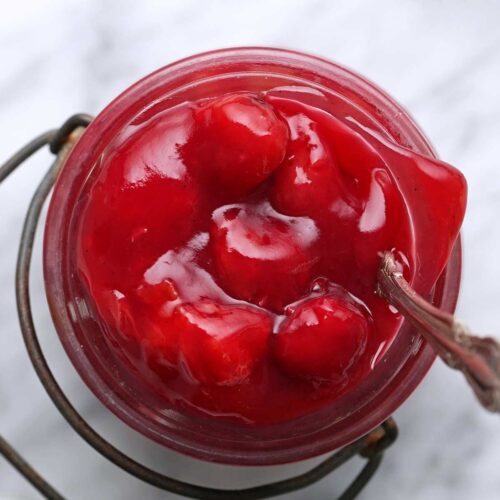
- Cool to room temperature, about 3 to 4 hours. (TIP: If you’re making pie with this filling instead of using it as something like a dessert topping, ideally, let it cool to room temperature and then pop it in the fridge to bake the pie the next day. After chilling overnight, the filling will have thickened to the perfect consistency.) Remove and discard the vanilla bean.
Storage
Cool to room temperature, and then store homemade cherry pie filling in an airtight container in the fridge for up to 5 days or in the freezer for up to 6 months. After freezing, thaw to room temperature before using it to make pie.
My Best Tips For How to Make Sour (Tart) Cherry Pie Filling with Frozen Cherries
- Like most types of fruit, the sweetness level of cherries can vary quite a bit. For example, have you ever bitten into your favorite kind of sweet apple taste only to have it taste more tart than it usually does? Natural variations in sweetness levels are normal. Take that into consideration when you’re making pie filling. Taste the filling; if it’s too sweet, add a squeeze of fresh lemon juice; on the other hand, if it’s too tart, add a bit more sugar. When you’re making adjustments, start small because it’s easy to add more but you can’t take it out once it’s added.
- Some cherry pie filling recipes call for lemon juice. Typically, cherry pie fillings made with sweet cherries, such as Bing, Rainier, Stella, etc. add lemon juice for its tartness to help create a balanced flavor profile. In this recipe, we use sour cherries and don’t need to add lemon juice.
- This recipe has minimal ingredients, and they’re all important. Don’t skip the vanilla (whether it’s a vanilla bean, vanilla bean paste, or vanilla extract), the salt, or the almond extract. These three things together enhance the natural flavor of cherries, resulting in a pie filling so flavorful you’ll have people asking you what your secret ingredient is!
- The final trick to getting perfect homemade pie filling is to let it cool completely. Ideally, if you have the time, make this the day before you want to bake your pie so it can chill in the fridge overnight. This is because the filling finishes thickening as it chills. Note that the photos in this post show how the filling looks after it’s chilled in the fridge overnight.
- Don’t add more cornstarch to make the filling thicker. It will thicken perfectly as it chills in the fridge overnight. If you add more cornstarch, yes the filling will be thicker, but you run the risk of the filling turning gluey.
Frequently Asked Questions
Tart cherries (such as Montmorency) yield the best pies with the most intense flavor! When you think of sweet treats with classic cherry flavor, they’re typically made with tart (aka sour) cherries. Sweet cherries just don’t have the depth of flavor that sour cherries have.
Don’t be put off by the name! Depending on your personal taste preferences, tart or sour cherries might not be a great choice for eating raw, but we add enough sugar to this pie filling to create a balanced flavor profile that’s perfectly sweet. The end result is a nuanced, intensely rich cherry flavor.
The age-old debate: what’s better for thickening pie filling, flour or cornstarch? Either one will work, but there are a few major differences to note. Cornstarch has about twice the thickening powder of all-purpose flour, so you’ll only need about half as much cornstarch as you would flour.
Also, the resulting pie filling is a bit different. Filling thickened with cornstarch is clear, glossy, and the flavor of cherry shines through. On the other hand, filling that’s thickened with flour tends to be more matte, opaque, and can sometimes have a starchy taste.
More Fruit-Based Desserts to Try
- Blueberry Pie with Frozen Blueberries
- Plum Bars with Crumble Topping
- Mini Apple Crisp Recipe
- Cherry Chocolate Black Forest Brownies
Let’s Connect

Did you make this recipe? Please rate it and leave a comment below. You can also tag @anediblemosaic on social media.
To stay up-to-date, follow me on Facebook, Instagram, Pinterest, and Twitter!
Tart Cherry Pie Filling Recipe Made With Frozen Cherries
Email This Recipe
Get this recipe link emailed straight to your inbox!
Ingredients
- 8 cups frozen tart cherries
- 1 vanilla bean split open lengthwise and seeds scraped out (add the seeds and the bean)
- 2 cups granulated white sugar
- 1/2 teaspoon salt
- 6 tablespoons cornstarch dissolved in 3/4 cup cold water to form a slurry
- 1 teaspoon almond extract
Instructions
- Add the frozen cherries, vanilla (scrapings and bean), sugar, and salt to a 5-quart pot over medium heat, and stir to coat the cherries in sugar. Cover the pot and cook until the sugar is fully dissolved and the cherries are at a simmer, about 10 to 12 minutes, stirring occasionally. Stir in the cornstarch slurry, and cook until thickened, about 1 to 3 minutes, stirring constantly. Remove from the heat and stir in the almond extract.
- Cool to room temperature, about 3 to 4 hours. (TIP: If you're making pie with this filling instead of using it as something like a dessert topping, ideally, let it cool to room temperature and then pop it in the fridge to bake the pie the next day. After chilling overnight, the filling will have thickened to the perfect consistency. See Notes below.) Remove and discard the vanilla bean.
Video
Notes
- Recipe Yield: This makes about 1 liter of cherry pie filling, which is enough to make 1 standard 9-inch round pie.
- Nutritional Information: The nutritional information is based on this recipe making about 8 (1/2-cup) servings.
- Storage: Cool to room temperature, and then store homemade cherry pie filling in an airtight container in the fridge for up to 5 days or in the freezer for up to 6 months. After freezing, thaw to room temperature before using it to make pie.
- Don’t Add More Cornstarch to Make the Filling Thicker: It will thicken perfectly as it chills in the fridge overnight. If you add more cornstarch, yes the filling will be thicker, but you run the risk of the filling turning gluey, especially if you’re baking it into pie.
Nutrition
Nutritional information is automatically calculated and should be used as an approximate.
Share it with me on Instagram and leave a comment to let me know your thoughts!


I’m the writer, recipe developer, photographer, and food stylist behind this blog. I love finding the human connection through something we all do every day: eat! Food is a common ground that we can all relate to, and our tables tell a story. It’s my goal to inspire you to get in the kitchen, try something new, and find a favorite you didn’t know you had.
Free Bonus