


This post may contain affiliate links, view our disclosure.
This cherry crisp recipe with fresh cherries is the perfect summer dessert, but you can make it all year with frozen cherries or canned cherry pie filling!

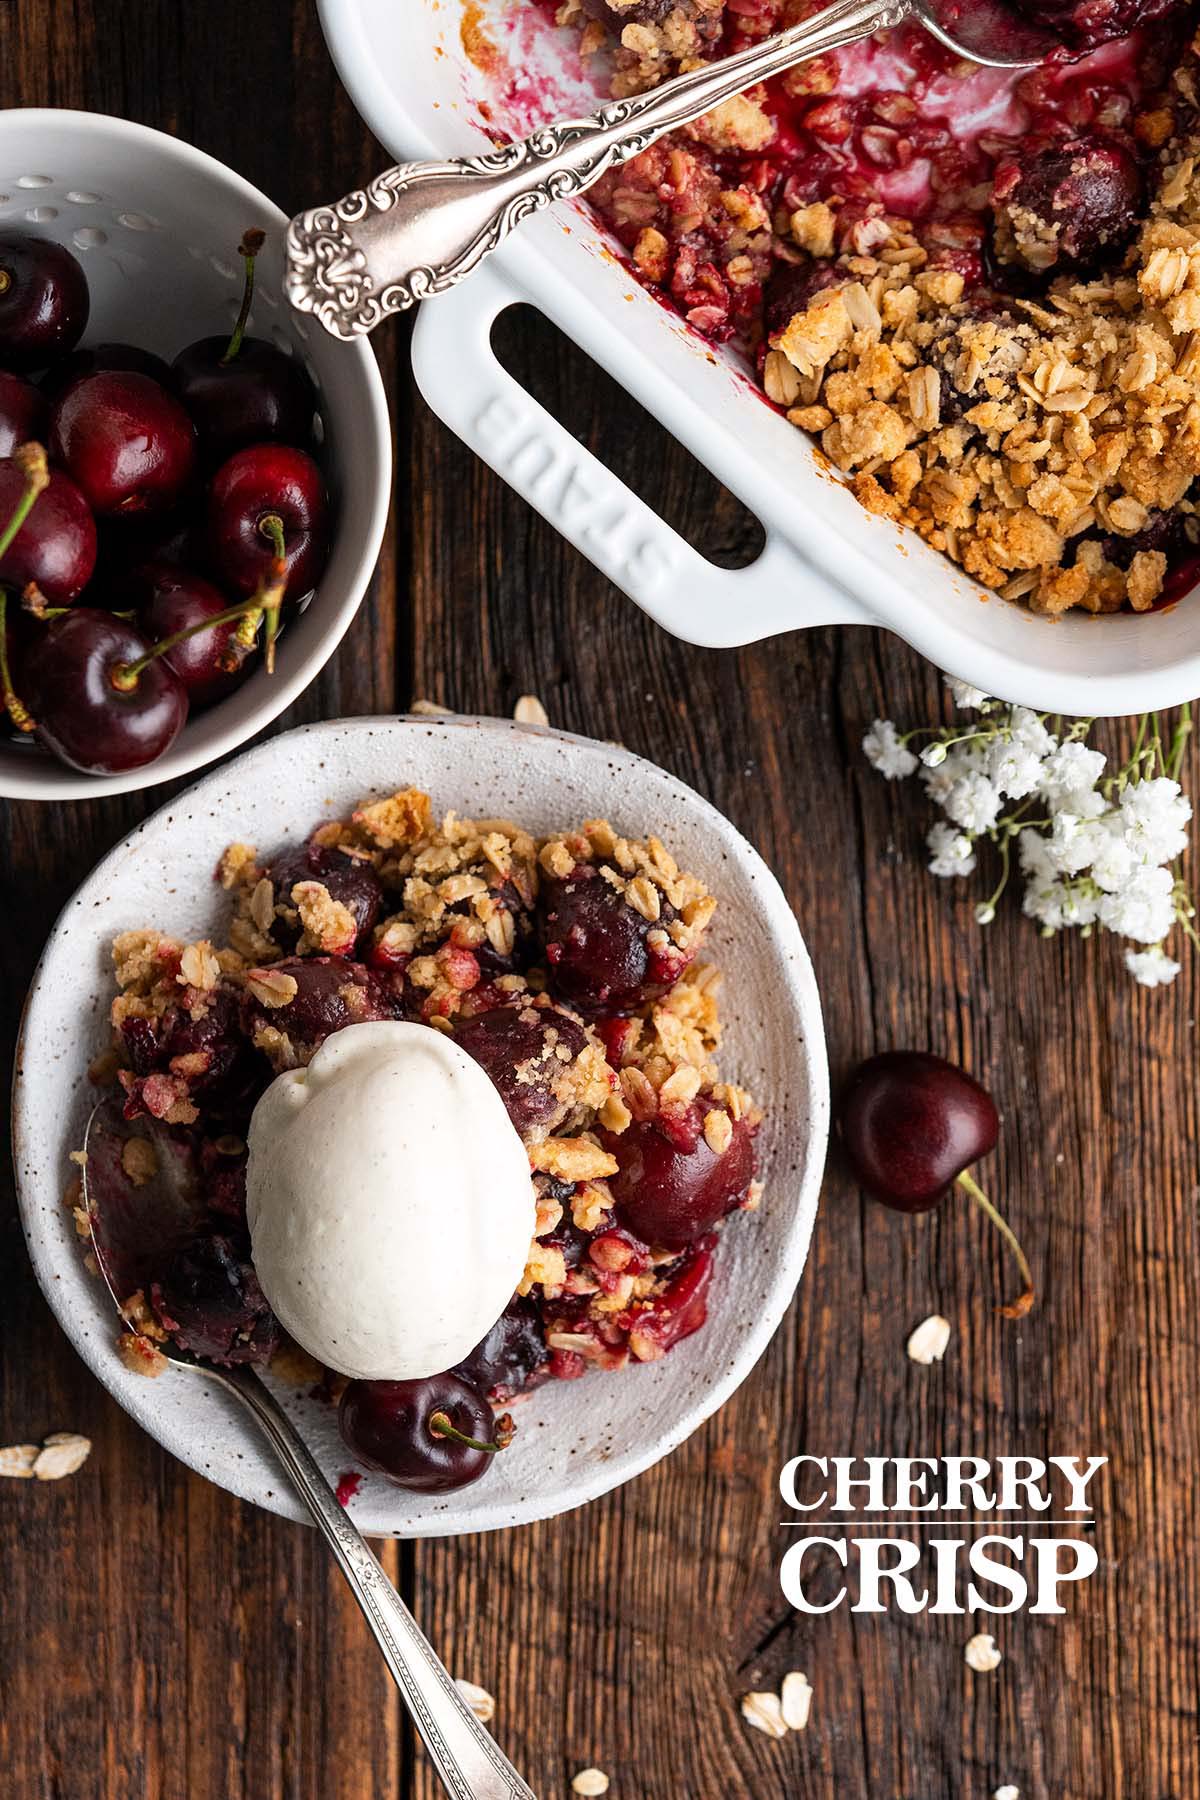
This old-fashioned dessert is easy to whip up and perfect for cookouts, barbecues, potlucks, or any summertime gathering. Let’s make it à la mode again, shall we?! (Double entendre intended!) Like pie, just about the only thing that makes a fruit crisp even better – other than serving it along with a fresh cup of hot coffee – is serving it à la mode topped with a scoop of ice cream.
Because fresh cherry season is here and gone so fast, I’m including instructions on how to make this recipe using frozen cherries or canned or homemade cherry pie filling. The most time-consuming part of making this recipe is pitting the cherries. So if you decide to go the route of frozen cherries or canned pie filling, you’ll save a ton of time!
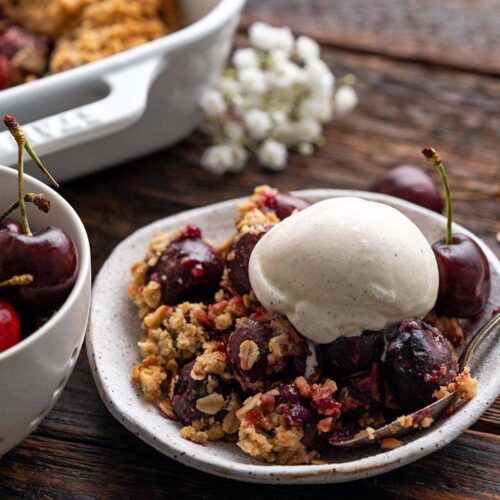
One of the best things about this dessert is that it’s delicious served either cold or warm. But if you serve it warm, might I humbly suggest a scoop of French vanilla ice cream on top?
Ingredients
Breaking It Down
Ingredients Explained
In this section I explain the ingredients and give substitution ideas where applicable. For the full recipe (including the ingredient amounts), see the recipe card below.
Brown Sugar Oat Crumble Topping Ingredients

- Unsalted butter – Butter adds richness and helps our crumble crisp up and turn golden brown. You want the butter slightly softened but not melted.
- Light brown sugar – White sugar will also work, but brown sugar adds depth of flavor with notes of molasses and caramel.
- Salt – Skip the added salt if you use salted butter.
- All-purpose flour – When mixed with butter and brown sugar in the right ratios, flour forms large crumbles, essentially a streusel topping.
- Old-fashioned rolled oats – Oats add texture and subtle nutty flavor to the crisp topping.
Cherry Filling Ingredients
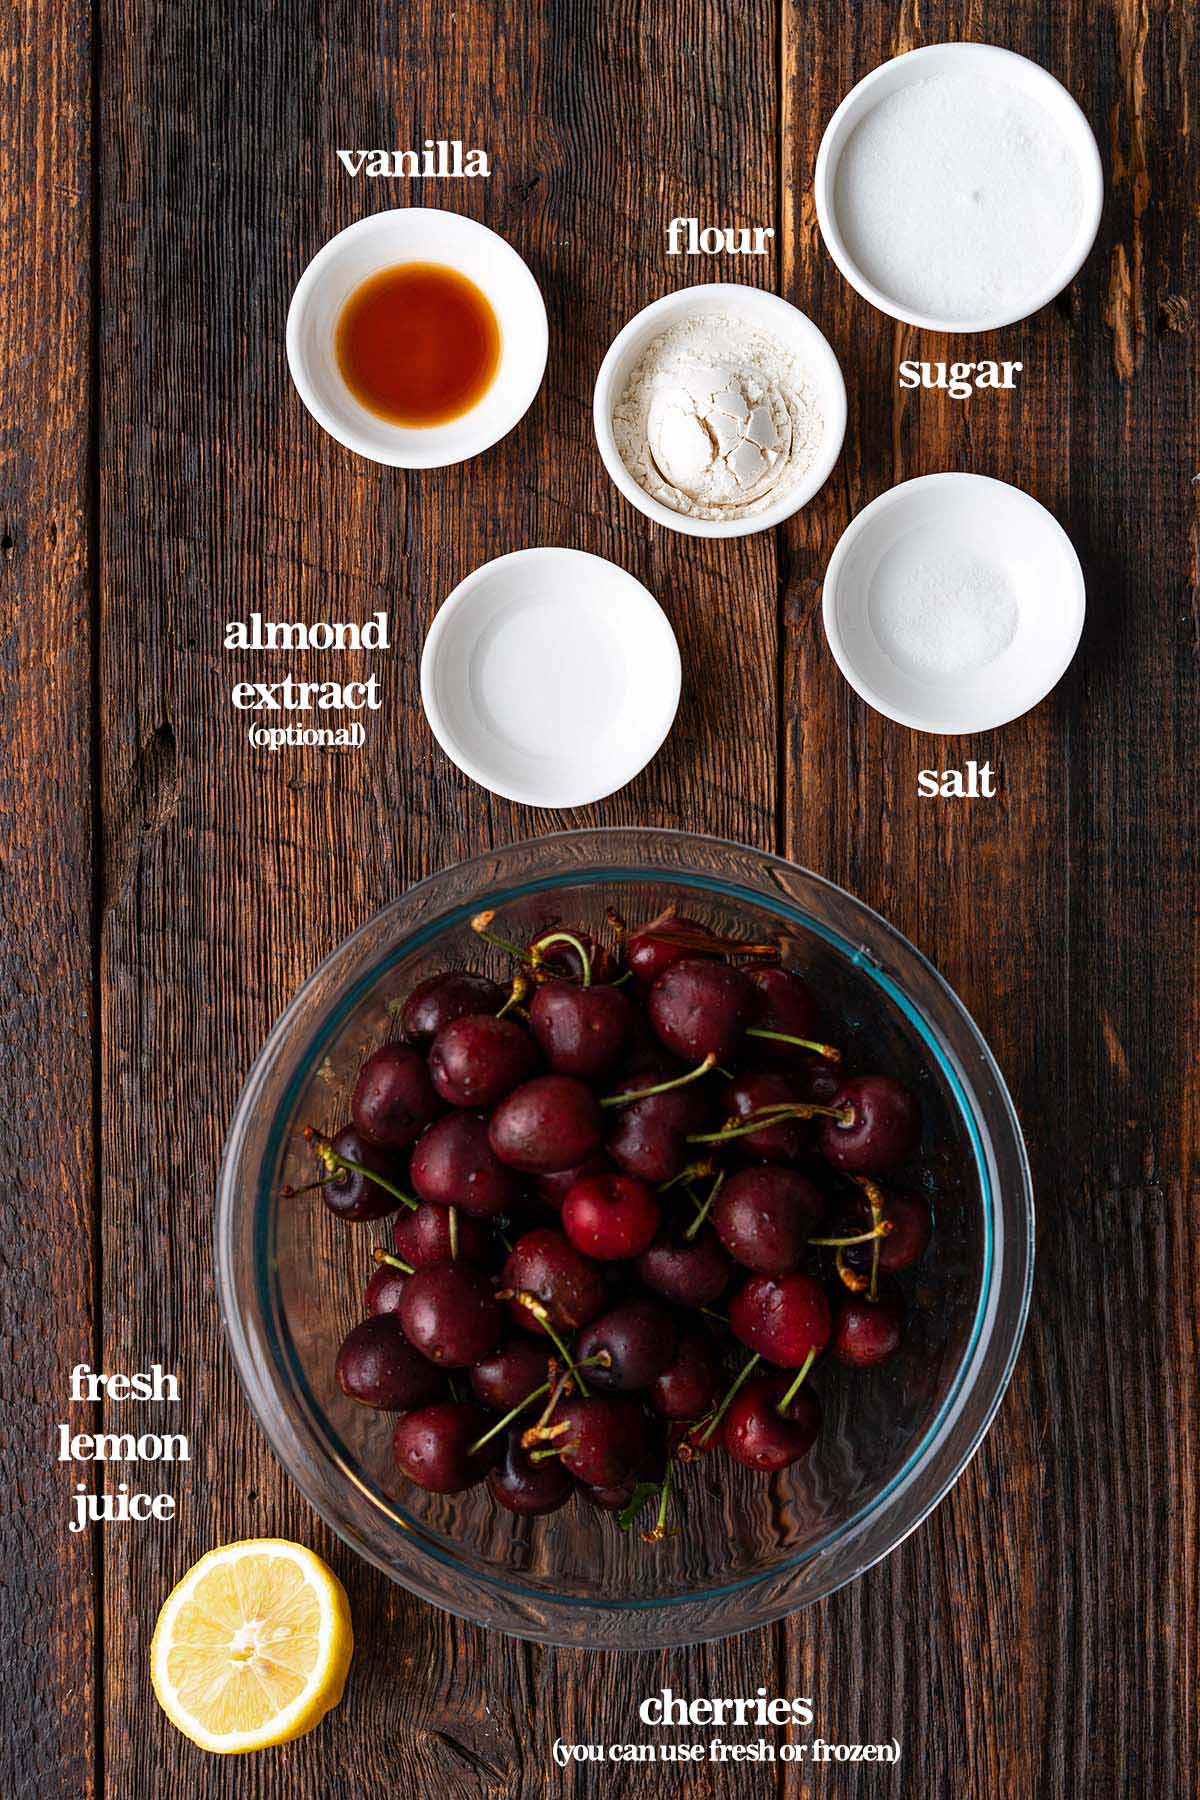
- Cherries – For this recipe, you’ll need 1 1/2 pounds of fresh cherries with the stems and pits removed, which ends up being about 4 to 5 cups. I used sweet Bing cherries because they’re widely available, but you can use any type of sweet cherries you like. I give instructions in the recipe on how to use fresh sour cherries as well.
- Fresh lemon juice – This brightens the flavor and helps balance out the natural sweetness of the cherries.
- Vanilla extract – For flavor and aroma.
- Almond extract – Almond extract is optional; its flavor echos and enhances the flavor of cherries.
- Granulated white sugar – Sugar not only lends sweetness, but also helps create a thick, syrupy sauce as the cherries cook down.
- Flour – We use just a little bit of all-purpose flour to thicken the fruit filling.
- Salt – Salt naturally enhances the flavor of everything else.
Instructions
Here are step-by-step photos guiding you through how to make cherry crisp from scratch. To watch the recipe video, please see the recipe card below.
Step 1: Prep the Cherries (If You’re Using Fresh Cherries)

Rinse the cherries under cool running water. Remove the stems, and then the pits. You can use a cherry pitter to do this, or simply cut the cherries in half and remove the pits.
Step 2: Make the Crumble Topping

Mash the butter with a fork or beat it with an electric mixer. Add the brown sugar and salt, and mix to combine. Add the flour and oats and use your fingers (or a fork) to combine until the mixture forms large crumbles.
Step 3: Assemble and Bake the Cherry Crisp

- Add the cherries to a large bowl along with the lemon juice, vanilla extract, almond extract, sugar, flour, and salt. Toss to coat.
- Let the cherries sit at room temperature for 45 minutes. (TIP: Allowing the cherries to macerate like this helps the sugar and salt start to draw out the cherries’ moisture.)
- Preheat the oven to 375F. Pour the cherry filling (including any juices in the bottom of the bowl) to an 8 by 8-inch (or equivalent) baking dish. Spread it out evenly. Sprinkle the crumble topping evenly on top.
- Bake until the crisp is golden on top and bubbling around the outside, about 35 minutes.
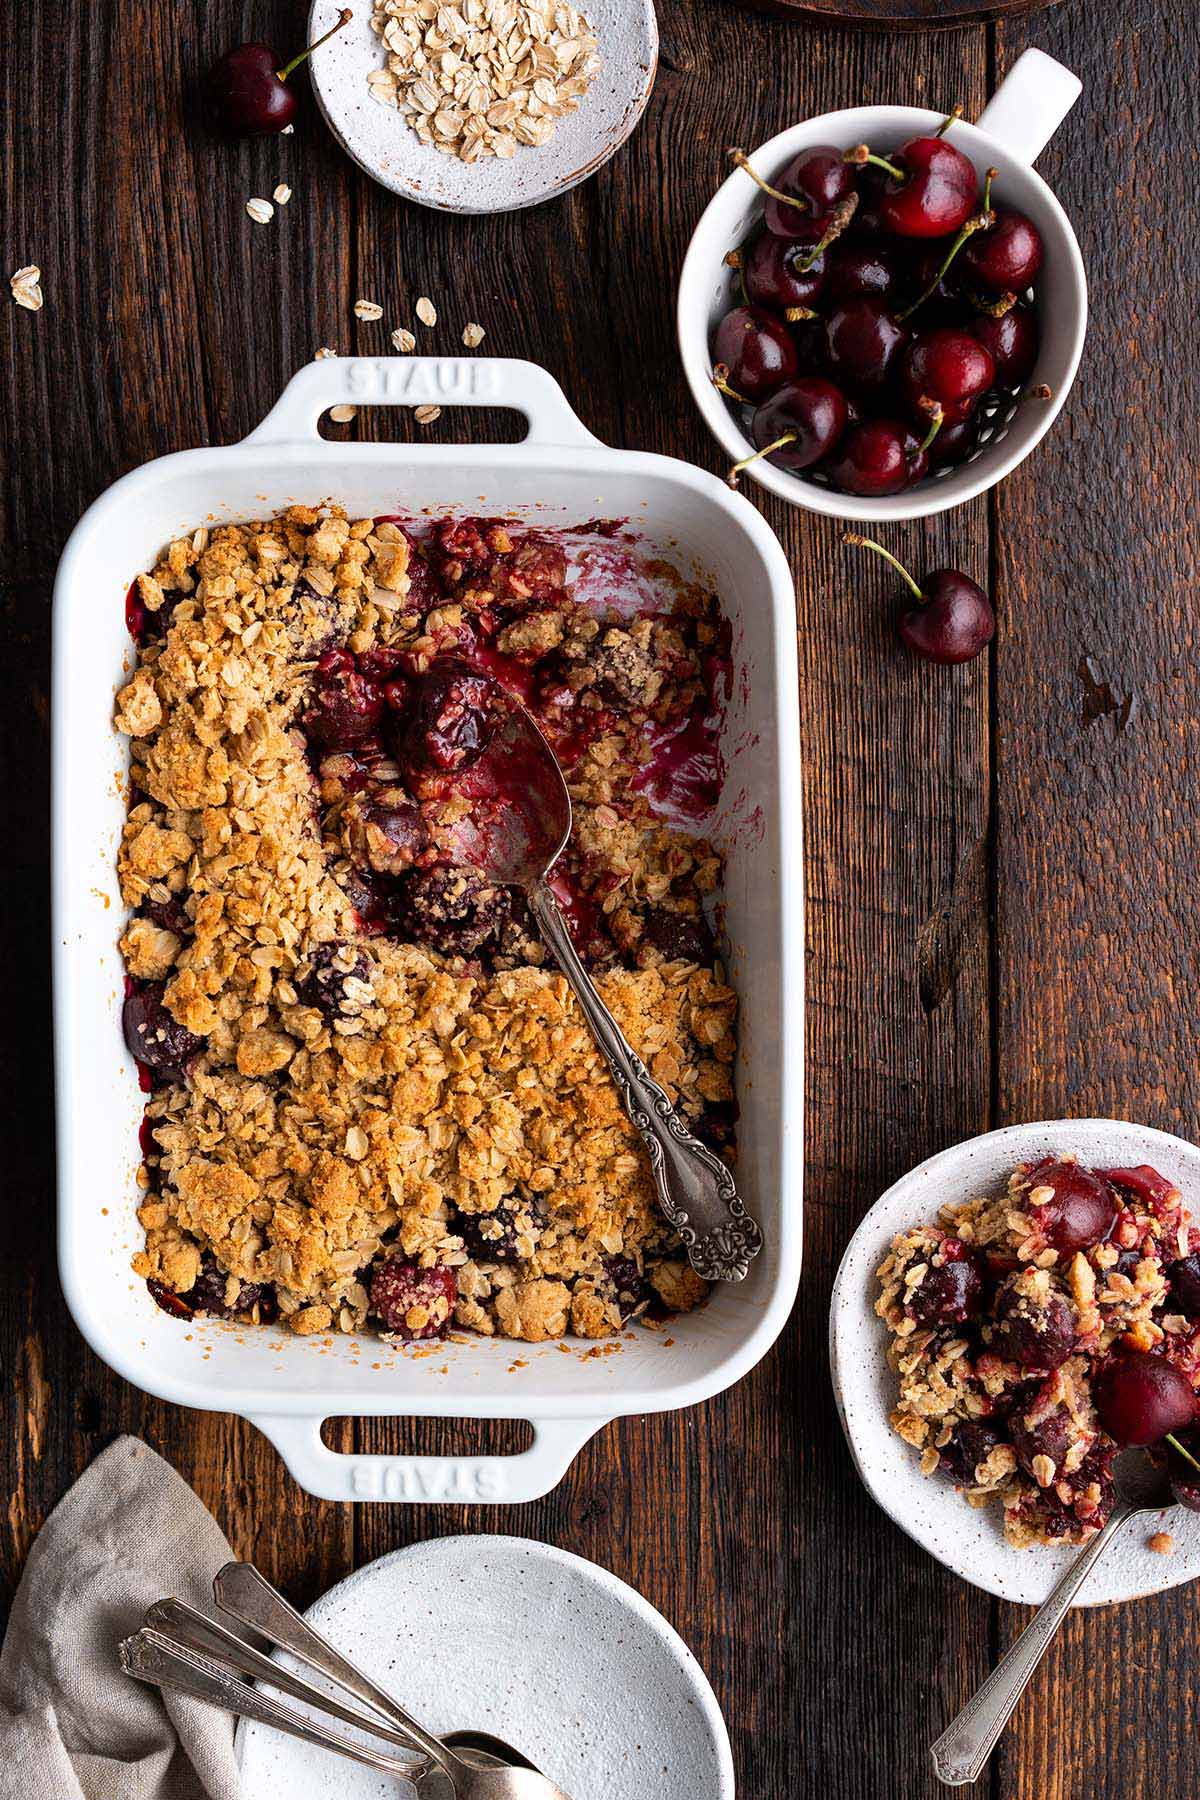
Serve warm, topped with vanilla ice cream or whipped cream.
Storage
Store leftovers wrapped in the fridge for up to 3 days.
Reheating
If you want to reheat a serving or two, the microwave is a good option. But if you want to heat up multiple servings (or reheat the entire pan), the oven is the way to go.
To reheat cherry crisp in the oven, put it in an oven-safe dish and pop it into a preheated 325F oven until warm. The length of time will depend on how many servings, but if you’re reheating the entire pan it’ll take around 20 minutes. If the top starts to brown too much before it’s warm, you can drape a piece of foil on top.
Variations
- The Proverbial Icing on the Cake – As if this wasn’t delicious enough on its own, serve this warm topped with a generous spoonful of whipped cream or vanilla ice cream.
- Black Forest – As soon as this is out of the oven, sprinkle 1/4 cup of chopped dark chocolate on top. Serve it with a dollop of freshly whipped cream or a scoop of vanilla ice cream.
- Parfait-Style – After baking, let this cool and then serve it layered with vanilla custard or pudding in individual glasses.

How to Make Cherry Crisp With Frozen Cherries
You’ll need 1 1/2 pounds of frozen cherries to make this recipe. Let them thaw to room temperature, and then drain off most of the juices so your crisp isn’t too watery. You can drain off all of the liquid, but I like to keep about 2 to 3 tablespoons for a little bit of moisture that makes this less dry and more like cherry pie filling. Keep everything else the same.
I have a confession. As much as I adore fresh cherries, my favorite way to make cherry crisp is with frozen! This is for a few reasons:
- It’s a huge time-saver. Frozen cherries are already pitted! Which means in addition to saving time, you’re saving your hands, sink, and the wall behind your sink from looking like they partook in cherry bloodbath.
- The end result is a bit more decadent. So, you know how pie filling walks the fine line between being dry enough to hold its shape, but not so dry that it’s, well, dry. Let’s just say, there’s a little more leeway with crisps and crumbles because they aren’t sliced and don’t have to hold their shape. And personally, I lean towards the side of a slightly more wet/gooey/decadent fruit filling. Using frozen cherries results in a pie filling-like consistency that has a bit more moisture than using fresh cherries. This is because once fruit is frozen and thawed, the cell walls burst and the moisture is released. On the other hand, fresh cherries will also release their moisture, but they need a bit more coaxing to do so. Typically, said coaxing comes in the form of heat, meaning fresh cherries need to be made into a pie filling on the stovetop before baking it up as a fruit crisp. When the point of this dessert is quick and easy, it seems counterproductive to do things that add extra steps and make it take longer, lol!
- You can make this year-round. We all know how short-lived fresh cherry season is! Using frozen cherries allows you to make this delicious dessert all year.
How to Make Cherry Crisp With Canned Pie Filling
To make this recipe with store-bought cherry pie filling, you’ll need one 30-ounce can of cherry pie filling. Omit all the ingredients for the cherry filling in the recipe, and keep everything else in the recipe the same.
Baker’s Tips
- If you have fresh sour cherries (aka tart cherries), this is a great place to use them! Sour cherries typically have a much more intense cherry flavor than sweet cherries, but they’re harder to find. For this recipe, use the same amount of sour cherries as sweet, reduce the amount of lemon juice to 1/2 tablespoon, and increase the granulated white sugar in the filling to 6 tablespoons.
- If you like nuts, they’re a delicious addition to this dessert! Feel free to add 1/2 cup of your favorite chopped nuts to the crumble topping. A few good options are pecans, walnuts, hazelnuts, and my personal favorite nut pairing with cherries: almonds!

Frequently Asked Questions
Both of these fruit-based desserts have a layer of fruit filling on the bottom and a layer of streusel on the top. However, the difference between a crisp and crumble is that a crisp has oats and/or nuts in the crumbly topping.
I like the way you think! You can add any other type of stone fruit to cherry crisp. Also called a drupe, stone fruit includes fruit like apricots, peaches, nectarines, and plums. In addition to stone fruit, blueberries, raspberries, and/or strawberries are other good options.
This recipe is easy to make gluten free!
For gluten free cherry filling, omit the all-purpose flour. Instead, use 1 tablespoon of cornstarch or 1 1/2 tablespoons of gluten free all-purpose flour. For gluten free flour, I recommend the kind you can use as a 1:1 substitute for all-purpose flour, such as King Arthur Gluten Free Measure For Measure Flour or Bob’s Red Mill Gluten Free 1 to 1 Baking Flour.
And for gluten free crumble topping, swap out the all-purpose flour for 3/4 cup of your favorite 1:1 gluten free all-purpose flour blend.
More Cherry Recipes to Try
- Bavarian Cream Recipe with Cherry Sauce
- Cherry Almond Brown Butter Blondies
- No Churn Healthy Cherry Garcia Ice Cream

Let’s Connect

Did you make this recipe? Please rate it and leave a comment below. You can also tag @anediblemosaic on social media.
To stay up-to-date, follow me on Facebook, Instagram, Pinterest, and Twitter!
Cherry Crisp Recipe
Email This Recipe
Get this recipe link emailed straight to your inbox!
Equipment
Ingredients
Cherry Filling:
- 1 1/2 pounds fresh cherries (stems and pits removed; about 4 to 5 cups of cherries; see Notes to use frozen)
- 1 tablespoon fresh lemon juice
- 1 teaspoon pure vanilla extract
- 1/4 teaspoon almond extract (optional, but recommended)
- 1/4 cup granulated white sugar
- 1 1/2 tablespoons all-purpose flour
- 1/8 teaspoon salt
Crumble Topping:
- 6 tablespoons unsalted butter (softened slightly but not melted)
- 6 tablespoons light brown sugar (lightly packed)
- 1/8 teaspoon salt
- 3/4 cup all-purpose flour
- 3/4 cup old-fashioned rolled oats
Instructions
For the Cherry Filling:
- Wash the cherries, then remove the stems and pits.Add the cherries to a large bowl along with the lemon juice, vanilla extract, almond extract, sugar, flour, and salt. Toss to coat. Let the cherries sit at room temperature for 45 minutes (TIP: letting the fruit macerate helps it release its juices).
For the Crumble Topping:
- Mash the butter with a fork or beat it with an electric mixer. Add the brown sugar and salt, and mix to combine. Add the flour and oats and use your fingers (or a fork) to combine until the mixture forms large crumbles.
To Assemble and Bake:
- Preheat the oven to 375F.
- Pour the cherry filling (including any juices in the bottom of the bowl) into an 8 by 8-inch (or equivalent) baking dish. Spread it out evenly. Sprinkle the crumble topping evenly on top.
- Bake until the crisp is golden on top and bubbling around the outside, about 35 minutes. Cool slightly and serve.
Video
Notes
- Storage: Store leftovers wrapped in the fridge for up to 3 days.
- Reheating: To reheat cherry crisp in the oven, put it in an oven-safe dish and pop it into a preheated 325F oven until warm. The length of time will depend on how many servings, but if you’re reheating the entire pan it’ll take around 20 minutes. If the top starts to brown too much before it’s warm, you can drape a piece of foil on top.
- Sour (aka Tart) Cherries: For this recipe, use the same amount of sour cherries as sweet, reduce the amount of lemon juice to 1/2 tablespoon, and increase the granulated white sugar in the filling to 6 tablespoons.
- Frozen Cherries: You’ll need 1 1/2 pounds of frozen cherries to make this recipe. Let them thaw to room temperature, and then drain off most of the juices so your crisp isn’t too watery. You can drain off all of the liquid, but I like to keep about 2 to 3 tablespoons for a little bit of moisture that makes this less dry and more like cherry pie filling. Keep everything else the same.
- Canned Cherry Pie Filling: To make this recipe with store-bought cherry pie filling, you’ll need one 30-ounce can of cherry pie filling. Omit all the ingredients for the cherry filling in the recipe, and keep everything else in the recipe the same.
Nutrition
Nutritional information is automatically calculated and should be used as an approximate.
Share it with me on Instagram and leave a comment to let me know your thoughts!
This post was first published on An Edible Mosaic on June 19, 2024 and updated on July 3, 2026.


I’m the writer, recipe developer, photographer, and food stylist behind this blog. I love finding the human connection through something we all do every day: eat! Food is a common ground that we can all relate to, and our tables tell a story. It’s my goal to inspire you to get in the kitchen, try something new, and find a favorite you didn’t know you had.
Free Bonus


could I use steel cut oats instead?
Casey, I haven’t tried this recipe with steel cut oats, but my first thought is that there likely would not be enough liquid to soften the steel oats enough (here the only liquid is the small amount of juices the cherries release). However, there are a couple options you could try if you want to experiment: 1) pre-cook the steel cut oats until they’re al dente and then drain them, or 2) add a bit of water (maybe 1/2?) to the cherry mixture and cook the crisp a few minutes longer if needed. I hope this helps! Let me know how it goes if you give it a try.