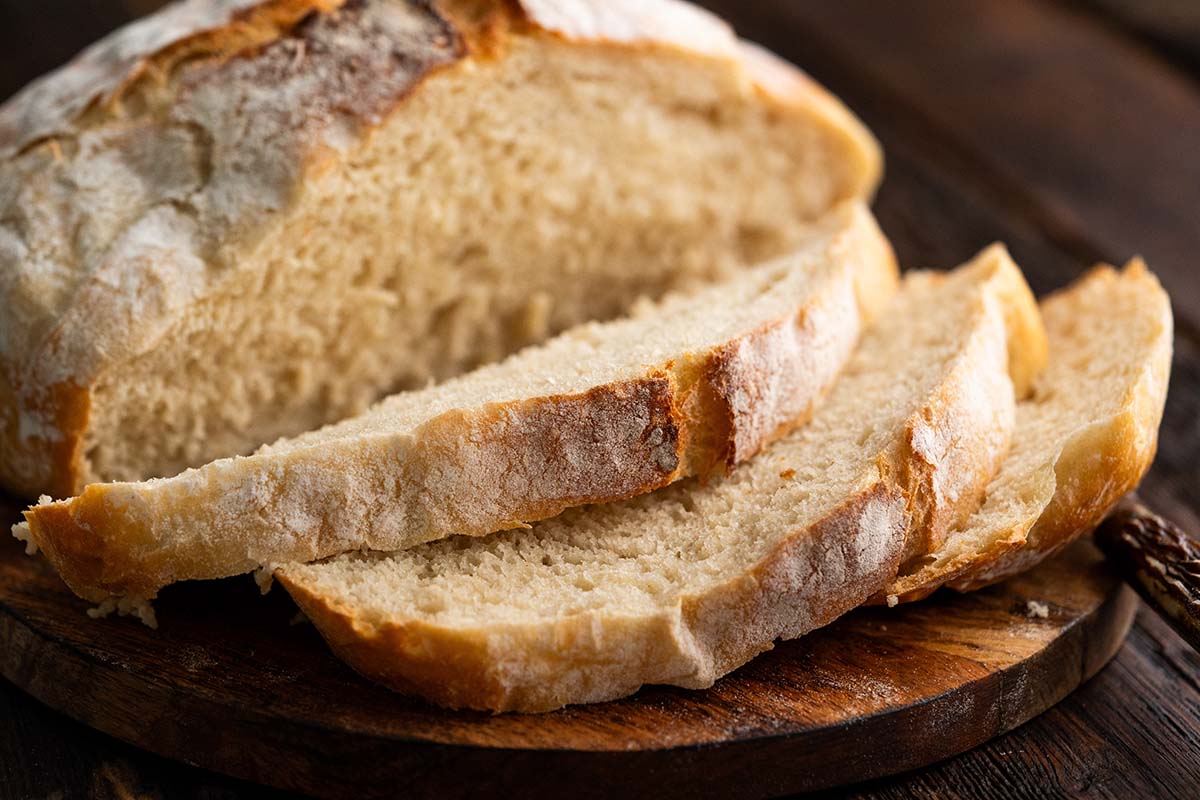
Learn how to make no knead artisan bread the easy way in a Dutch oven; this no-fail recipe yields a gorgeous loaf that's crispy and golden outside and chewy inside! There's no kneading required, minimal hands-on work, and step-by-step photo instructions to guide you through the entire process.
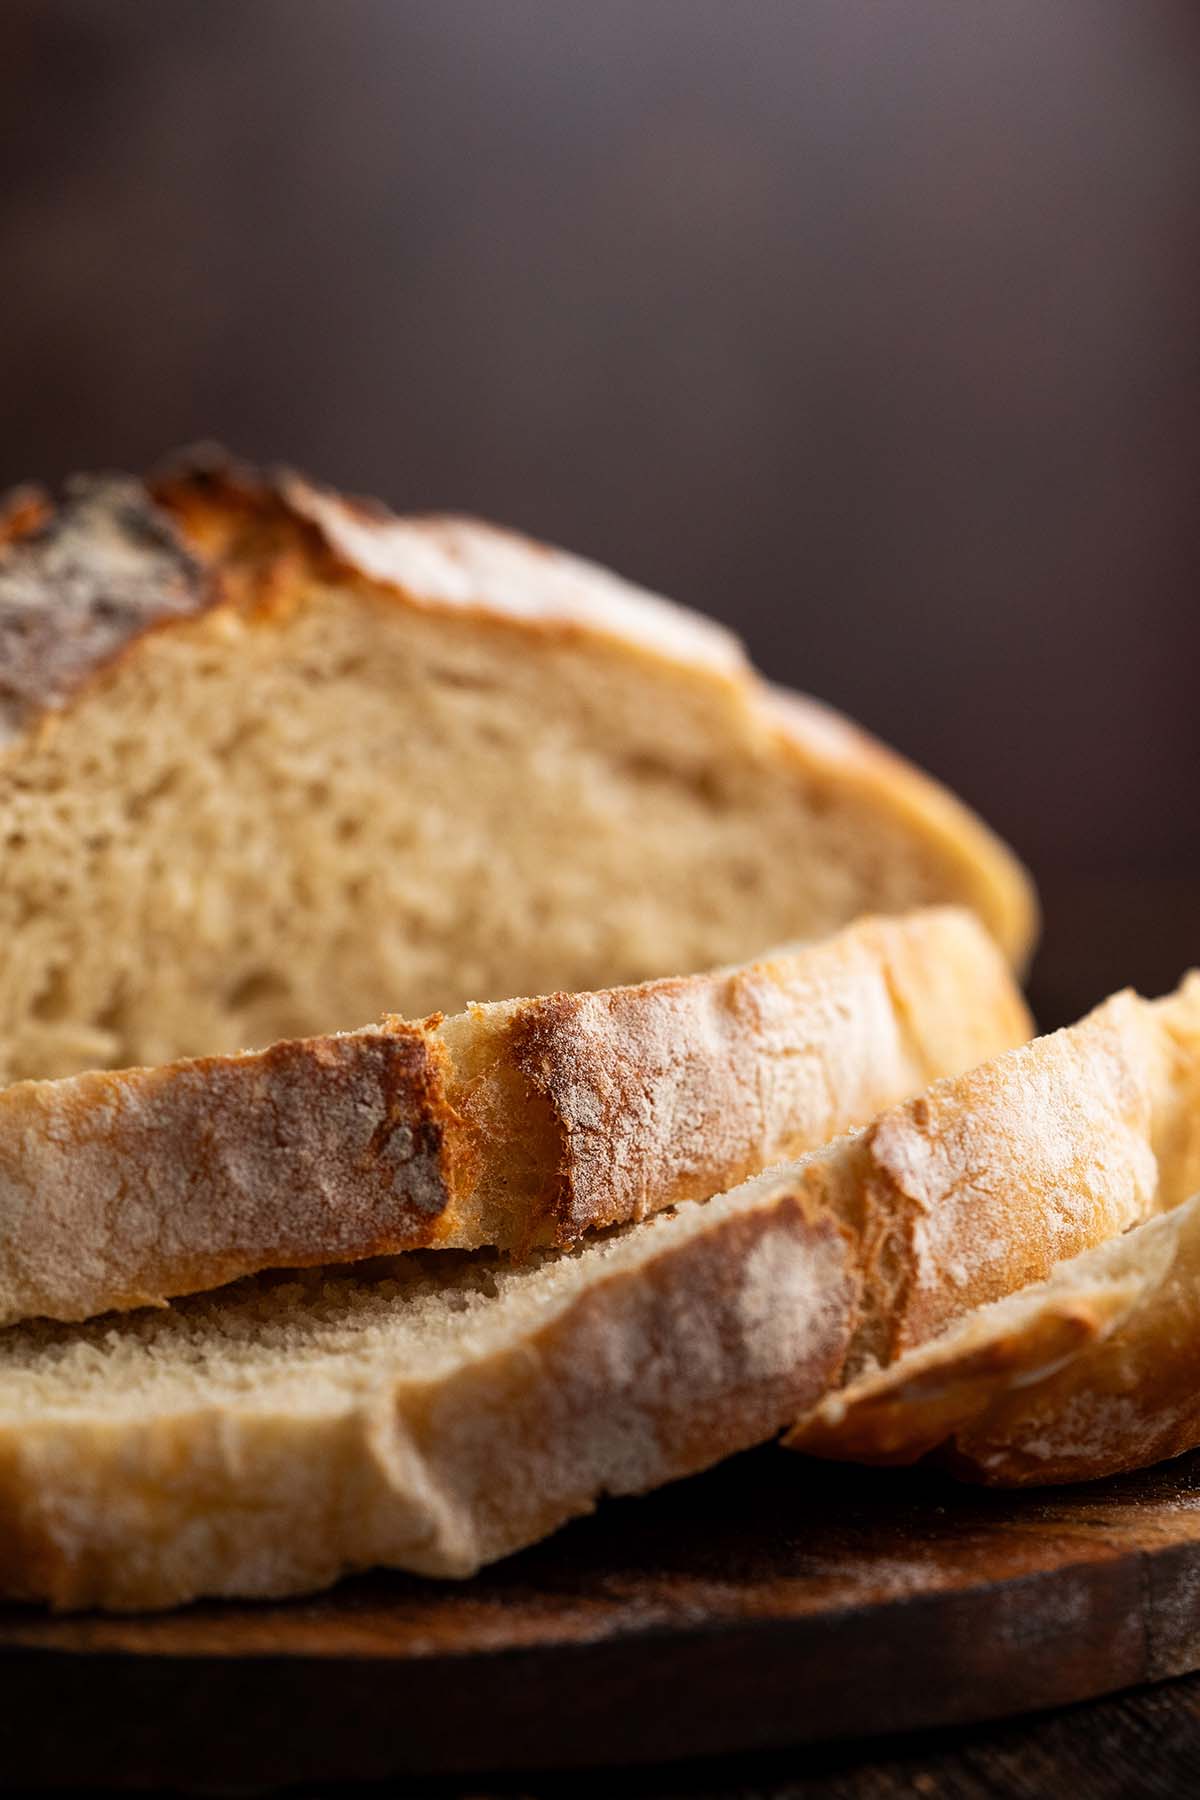
Inspired by Jim Lahey's recipe for No-Knead Bread as seen in The New York Times, this past winter I did some experimenting with artisan bread. I made it my job to come up with a loaf of bread I'd be happy making every week.
I played around with flour types, hydration ratios, and rise times. It might not sound like the most interesting experimentation, but I learned something new with every loaf.
And this was one experiment where I enjoyed the process. But I wasn't the only one!

My fiancé got so used to me baking on Sundays as part of the experimentation that he dubbed this glorious bread the "Sunday Loaf". What a way to make Sunday (or any day you bake it up) feel extra special! We'd slice it up and enjoy it with butter or olive oil with a splash of aged balsamic and coarsely-ground black pepper. Ohhh boy.
The only thing better than the smell of bread baking is the taste of fresh bread schmeared with salted butter or dipped in peppery olive oil. Bliss.

What is Artisan Bread?
I've always thought of artisan as one of those vague terms, similar to "rustic". (You know, the catch-all word that means something that came out sloppy was actually meant to be that way. I'm guilty as charged; I've called more than one dish "rustic" when it was really just a hot mess, lol!)
But back to artisan bread.
As it happens, there isn't really a set definition for this term. However, it's generally accepted that artisan bread is made (most likely with love) by hand in small batches using quality ingredients. And the baker is the artisan!
You can read more about the definition and accepted meaning of this phrase on Le Cordon Bleu.

Why You'll Love This Recipe
- It requires minimal hands-on attention and there's no real kneading required. You won't even have to wash any flour or dough off your hands with this recipe!
- We only need six ingredients; one of them is water and another is salt. You probably already have everything on hand to make this.
- This is both a reason why you'll love and hate this bread, but I have to be honest. It will absolutely ruin you for other breads! Maybe not the first or even the second time you make this. But by the fourth or fifth time when you've found your groove and your loaves are consistently coming out ultra crispy outside and soft and chewy inside, you'll start to think that even the bread from the local bakery down the street just isn't as good. And then you'll get caught up in the shenanigans of weekly bread-making. Ahhh! Consider yourself duly warned, friends.
Dutch Oven Bread Recipe Ingredients and Substitutions
Ingredients Explained
In this section I explain the ingredients and give substitution ideas where applicable. For the full recipe (including the ingredient amounts), see the recipe card below.

- Water - The water should be lukewarm, meaning it should feel comfortably warm to the touch. If you have a thermometer and you want to test it, the temperature should be between 105F to 115F. Just make sure it's not over 140F, as temperatures that hot kill yeast. Also, be sure you're using water that tastes good! Here in Florida, I use filtered water for this.
- Yeast - We use active dry yeast for this bread.
- Sugar - Use regular granulated white sugar here (it feeds the yeast and helps create a balanced flavor).
- White wine vinegar - Vinegar does a couple things in this recipe. It adds a very subtle tangy flavor, which makes this easy no-knead bread taste more like a labor-intensive sourdough bread. (I've read that adding vinegar to bread is known as a "sourdough cheat" in some circles, lol!) Additionally, vinegar makes the bread softer, similar to a dough conditioner. Also, it acts as a preservative in this bread, which helps keep this loaf fresh-tasting for longer than other homemade bread recipes. If you don't have white wine vinegar, you can use red wine vinegar or unseasoned rice vinegar instead.
- Salt - Salt does a couple things here. First, it naturally enhances the flavor of the bread so it isn't bland. And second, it inhibits the yeast to help achieve the perfect rise.
- All-purpose flour - This is where the good quality ingredients that artisan bread is known for come into play. Make sure your flour is unbleached, and if possible, go for non-GMO organic flour, such as King Arthur. The best quality flour you can get really does make a difference with this loaf.
How to Make Artisan Bread in a Dutch Oven
Step 1: Make the Dough and Then Let it Rise For 2 Hours (First Rise)

- Add the water, yeast, and sugar to a large bowl and stir briefly to help the sugar dissolve. Let it sit until the yeast starts to foam at the top, about 10 minutes.
- Add the salt and stir, then add the flour and stir until the flour is completely mixed in (I like to use a heavy-duty rubber spatula for this).
- The dough will be shaggy at first, but it’ll come together as a sticky dough. Cover the bowl with plastic wrap and let it sit at warm room temperature (75 to 78F is ideal) for 2 hours to rise.
Step 2: After the First Rise Work the Dough and Then Let it Rise for 1 Hour (Second Rise)

- This is how the dough looks after the first rise.
- Use a rubber spatula to fold the dough up from the side and down onto the middle of the dough ball.
- Rotate the bowl as you do this so each part of the outer surface gets folded over onto the middle. Cover the bowl with plastic wrap again, and let it sit at warm room temperature for 1 hour to rise a second time.
At this point, you should find that the dough is noticeably different and easier to work with.
Step 3: After the Second Rise Work the Dough Again
After the second rise, it's time to preheat the oven and the Dutch oven. Turn the oven on to 450F, and put a 5-quart Dutch oven (with the lid on it) into the oven to preheat for 30 minutes.

- This is how the dough looks after the second rise.
- Use a rubber spatula to fold the dough up from the side and down onto the middle of the dough ball.
- Rotate the bowl as you do this so each part of the outer surface gets folded over onto the middle.
Step 4: Proof the Dough and Prepare it For Baking
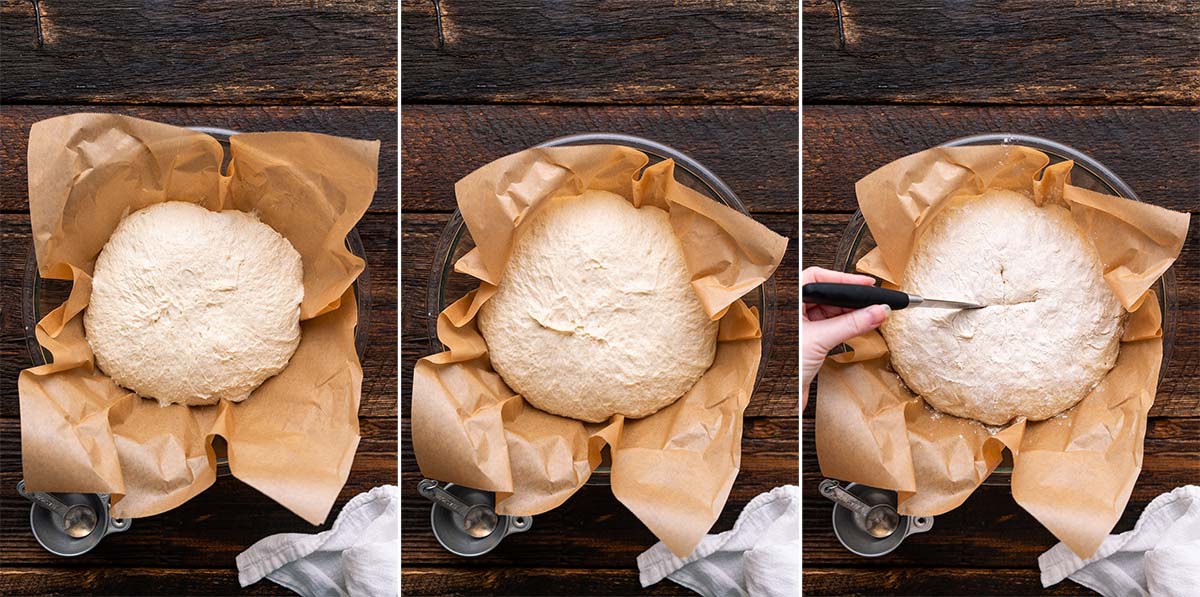
- Place a large piece of parchment paper into a large bowl. Use a rubber spatula to scrape the ball of dough into the parchment paper-lined bowl.
- Cover the bowl with plastic wrap, and let it sit at warm room temperature (ideally in a humid environment) to proof, about 30 minutes. This is how the proofed dough looks. (I generally let the dough proof on the stovetop with the oven preheating.)
- Once the dough is proofed, evenly sprinkle a little flour across the top. Use a sharp paring knife (or a bread lame) to make a couple slices in the dough across the top.
Step 5: Bake the Bread

- Use potholders to carefully remove the Dutch oven from inside the oven. Put the dough (parchment paper and all) into the Dutch oven.
- Immediately cover the Dutch oven and put the Dutch oven inside the oven.
- Bake (covered) for 30 minutes, then remove the cover and bake until the loaf is a gorgeous golden brown on top, about 3 to 5 minutes more.
Once your bread is out of the oven, use potholders to transfer the loaf to a wire rack to cool for as long as you can hold out before slicing and enjoying it!
Tips
- Be patient with yourself. The more often you bake this bread, the more familiar you'll become with the process and the better your bread will be. I know baking is a science, but there's also a finesse in handling the dough that I can only compare with an art as well. It definitely took me a few loaves before they turned out perfect every time.
- Resist the urge to peek at the loaf before the 30 minute mark. Keeping the baking vessel (in this case, both the Dutch oven and the regular oven) closed traps the heat and moisture and helps create a crisp exterior.
- As soon as the bread is out of the oven, wearing potholders, pick it up by the parchment paper and transfer it to a wire rack to cool completely. For the best texture, we want the loaf to cool with airflow underneath it.
- The crust is crispiest when it's first out of the oven. The exterior will soften up a bit as the loaf cools, but that's completely normal.
- Don't be tempted to slice the bread while it's hot. You'll get a fabulous slice or two, but the bread that's not sliced and eaten immediately tends to turn gummy. Let the bread cool to at least lukewarm before slicing.
- To keep this bread as fresh as possible, only slice as much as you'll eat and store the rest as a whole loaf instead of as slices.
- After being refrigerated, I like to toast this bread for the best flavor and texture.
Storage
Let the bread cool completely to room temperature (very important! Don't wrap it while it's still warm or it's more likely to mold quicker). Wrap it (or pop it in a gallon-sized zip-top plastic bag) and store it on the countertop for up to 4 days. After that, you can store it in the fridge for up to 3 days more.
Special Diet Friendly
This recipe is naturally vegan, dairy free, and egg free.
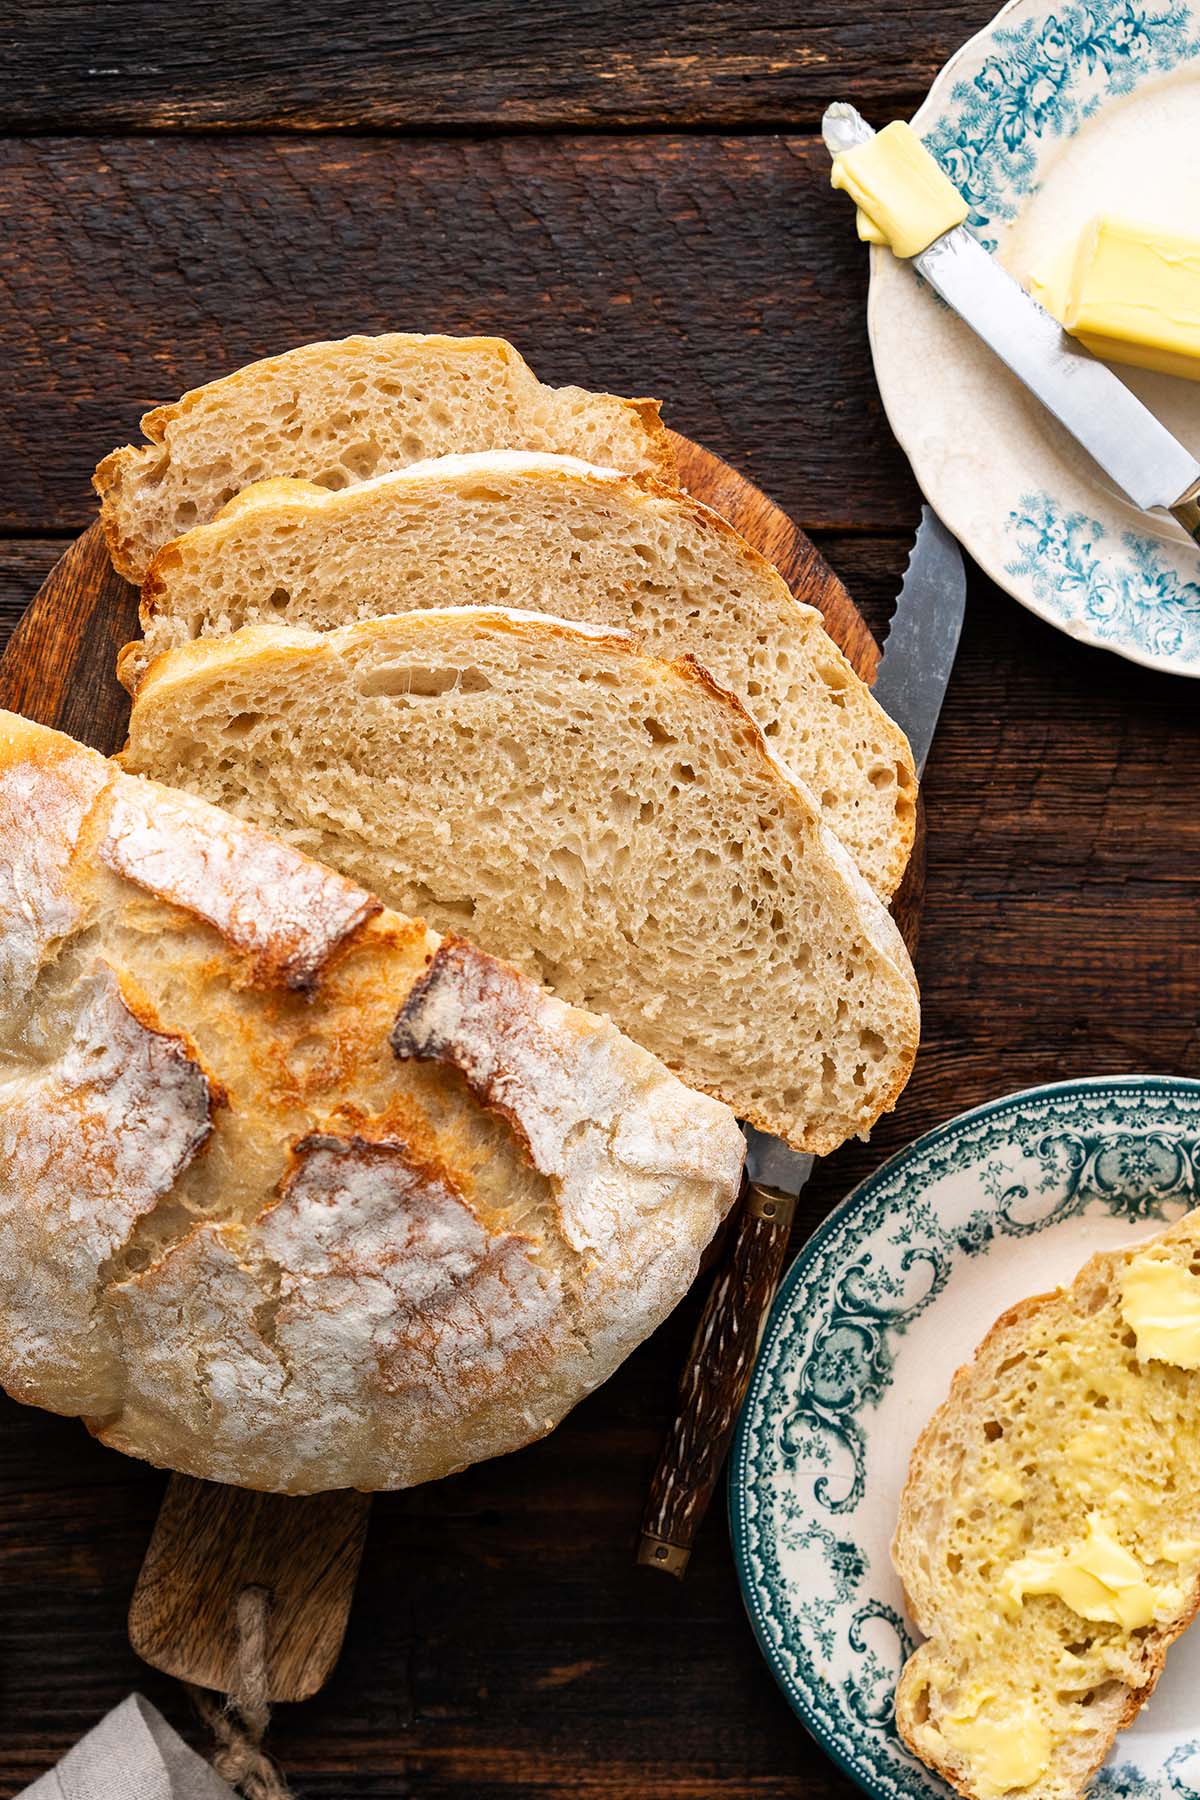
Artisan Bread Recipe FAQs
What is the Difference Between Baking Bread in a Dutch Oven Instead of a Loaf Pan?
Baking bread inside a Dutch oven in your oven is like creating a mini oven inside the larger oven. I use my great-grandfather's old-fashioned cast iron Dutch oven, but I've tested this recipe in my Le Creuset and Staub Dutch ovens and they all work great.
The point of using a covered Dutch oven to bake bread is to simulate the baking environment in professional bakeries. The oven-in-an-oven creates an extremely hot and humid environment that traps steam and heat, creating a gorgeously golden crusty loaf of bread.
You can read more about baking bread in a Dutch oven on King Arthur Baking.
Do I Need to Grease My Dutch Oven For Bread?
If you bake the bread on a piece of parchment paper you don't need to grease your Dutch oven. However, if you don't want to use parchment paper, you will need to grease your Dutch oven.
What's the Difference Between Sourdough and Artisan Bread?
Artisan bread uses baker's yeast as the leavener. Here we use active dry yeast, although some recipes use rapid-rising instant yeast.
Instead of using baker's yeast as a leavening agent, sourdough bread utilizes wild yeast that's created through the fermentation process. You need a starter to make sourdough, which is essentially a live culture made from flour and water that's left to ferment for a few days.
Can I Omit the Vinegar?
Yes! I tested it this way so you don't have to. If you want to omit the vinegar, the only other change you'll need to make is to reduce the sugar to 1 teaspoon.
But there are differences in this bread if you omit the vinegar.
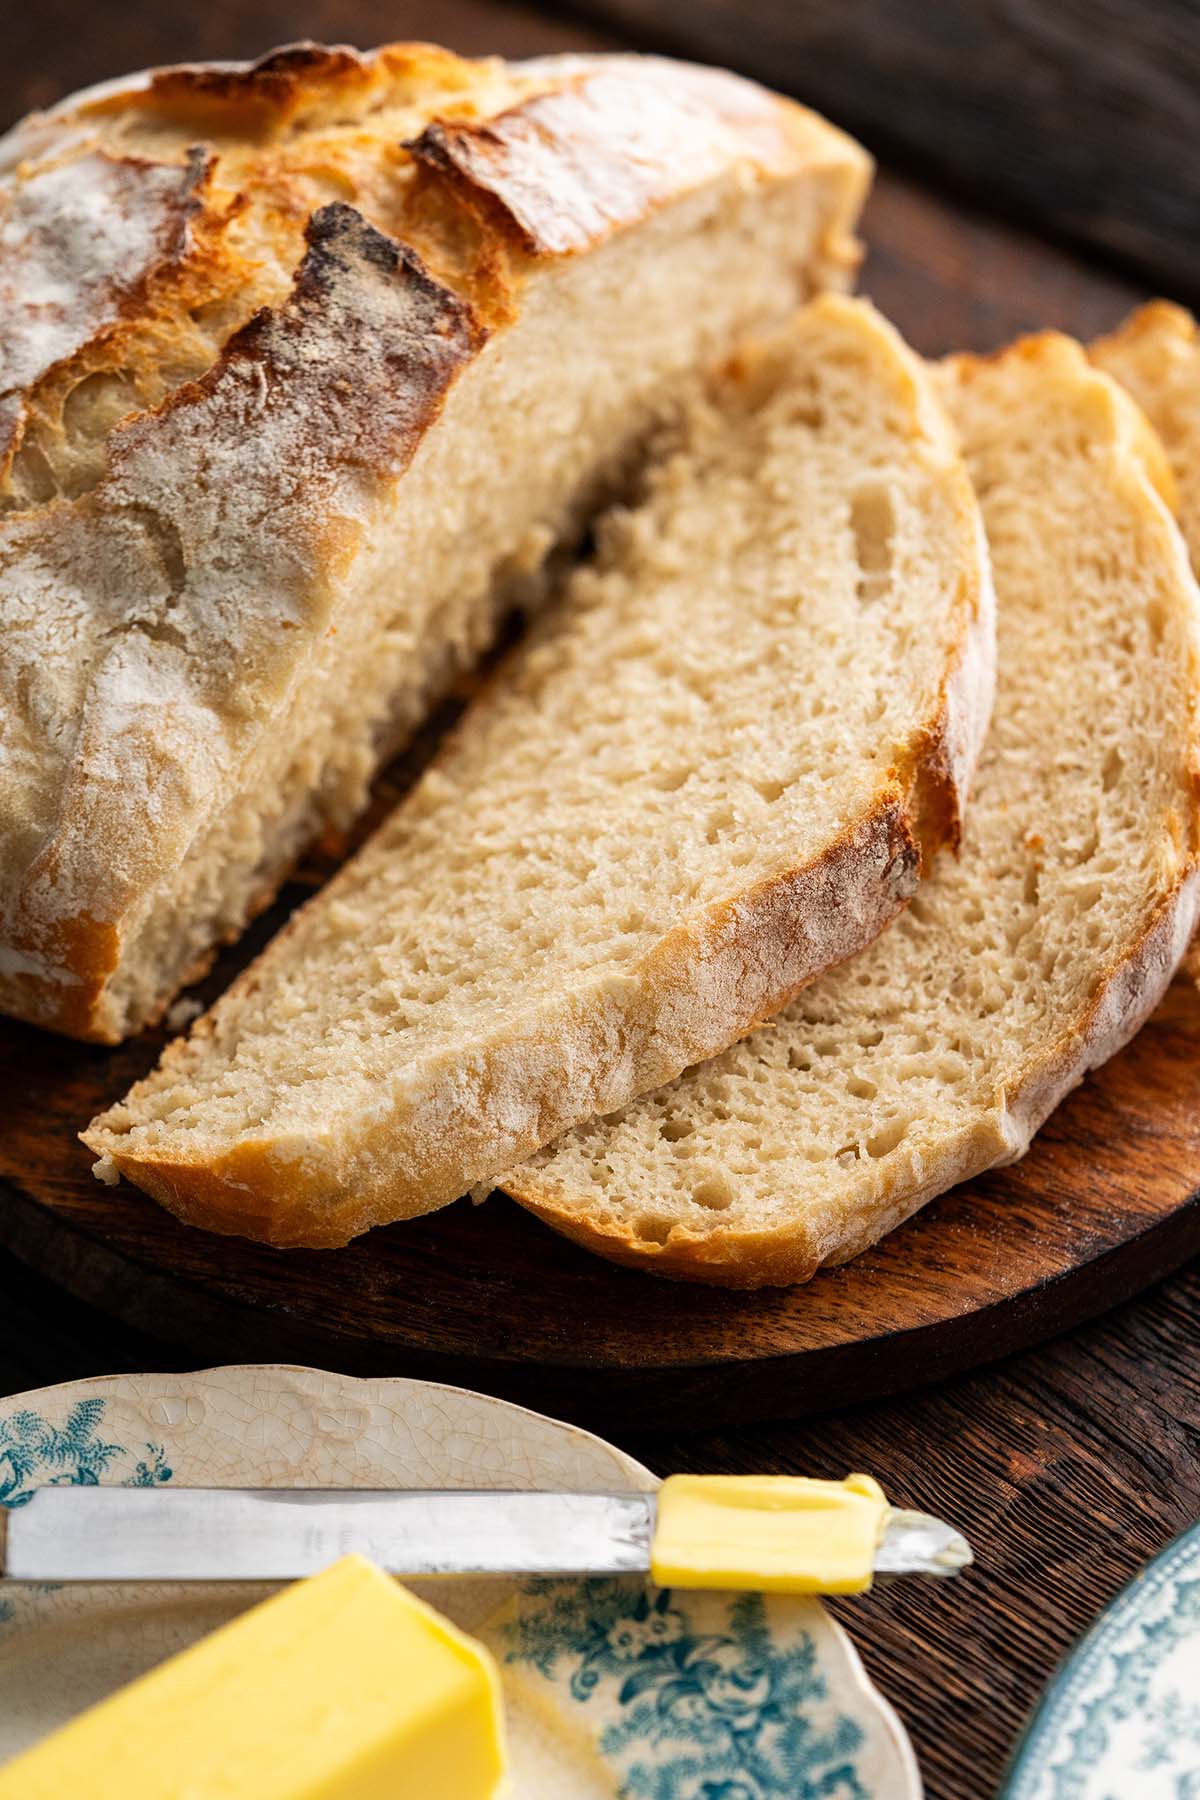
Without the vinegar added, this bread is still soft and chewy, but just a bit less so. It has a slightly tighter, denser crumb, and doesn't rise quite as much.
With vinegar, this bread is a touch chewier and springier with a slightly higher rise.
I was surprised to discover that this bread had a similar crispness to its crust made both with and without vinegar.
One of the biggest differences between the loaves made with and without vinegar is that the bread made with vinegar stays softer and fresher tasting for 1 to 2 days longer. And remember, vinegar not only helps make this bread chewy, but it also acts as a preservative.
If you make this recipe without vinegar, you can store it wrapped at room temperature for up to 3 days, and after that transfer it to the fridge for up to 2 days more.

More Bread Recipes to Try
Let's Connect

Did you make this recipe? Please rate it and leave a comment below. You can also tag @anediblemosaic on social media.
To stay up-to-date, follow me on Facebook, Instagram, Pinterest, and Twitter!

Artisan Bread Recipe
Ingredients
- 2 cups warm water
- 1 ½ teaspoons active dry yeast
- 1 tablespoon sugar
- 2 teaspoons white wine vinegar
- 2 teaspoons salt I use table salt for this
- 4 cups all-purpose flour plus a little more to flour the top
Instructions
Make the Dough:
- Add the water, yeast, sugar, and vinegar to a large bowl and stir briefly to help the sugar dissolve. Let it sit until the yeast starts to foam at the top, about 10 minutes.
- Add the salt and stir, then add the flour and stir until the flour is completely mixed in (I like to use a heavy-duty rubber spatula for this). The dough will be shaggy at first, but it’ll come together as a sticky dough.
First Rise:
- Cover the bowl with plastic wrap and let it sit at warm room temperature (75 to 78F is ideal) for 2 hours to rise.
Second Rise:
- Use a rubber spatula to fold the dough up from the side and down onto the middle of the dough ball. Rotate the bowl as you do this so each part of the outer surface gets folded over onto the middle.
- Cover the bowl with plastic wrap again, and let it sit at warm room temperature for 1 hour to rise a second time.
Proof the Dough and Preheat the Dutch Oven:
- Preheat the oven to 450F. Put a 5-quart Dutch oven (with the lid on it) into the oven to preheat for 30 minutes.
- Place a large piece of parchment paper into a large bowl. (You’ll be transferring the dough ball here to proof.)
- Use a rubber spatula to fold the dough up from the side and down onto the middle of the dough ball. Rotate the bowl as you do this so each part of the outer surface gets folded over onto the middle.
- Use a rubber spatula to scrape the ball of dough into the parchment paper-lined bowl. Cover the bowl with plastic wrap, and let it sit at warm room temperature (ideally in a humid environment) to proof, about 30 minutes. (I generally let the dough proof on the stovetop with the oven preheating.)
Flour and Score the Outside of the Loaf:
- Once the dough is proofed, evenly sprinkle a little flour across the top. Use a sharp paring knife (or a bread lame) to make a couple slices in the dough across the top.
Bake:
- Use potholders to carefully remove the Dutch oven from inside the oven. Put the dough (parchment paper and all) into the Dutch oven, then cover the Dutch oven.
- Immediately put the Dutch oven inside the oven. Bake (covered) for 30 minutes, then remove the cover and bake until the loaf is a gorgeous golden brown on top, about 3 to 5 minutes more.
Cool:
- Once your bread is out of the oven, use potholders to transfer the loaf to a wire rack to cool for as long as you can hold out before slicing it.
Faith's Tips
- Best Temperature for Rising Dough: The ideal temperature to let your dough rise is 75 to 78F. If your kitchen isn’t that warm, you can always turn your oven on briefly and put the dough in a warm spot near it. Alternatively, some bakers let their dough rise in their oven with the oven off and the oven light on.
- Storage: Let the bread cool completely to room temperature. Wrap it (or pop it in a gallon-sized zip-top plastic bag) and store it on the countertop for up to 4 days. After that, you can store it in the fridge for up to 3 days more.
- Vinegar: If you want, you can omit the vinegar from this recipe. If you do so, the only other change you'll need to make is to reduce the sugar to 1 teaspoon. (I recommend reading the section in the article above where I talk about the differences between this loaf made with and without vinegar.)
Nutrition




LeAnn says
I'm assuming, if you add the vinegar, you add it with the water?
Faith says
LeAnn, Yes, it goes in during step 1 along with the water, yeast, and sugar.