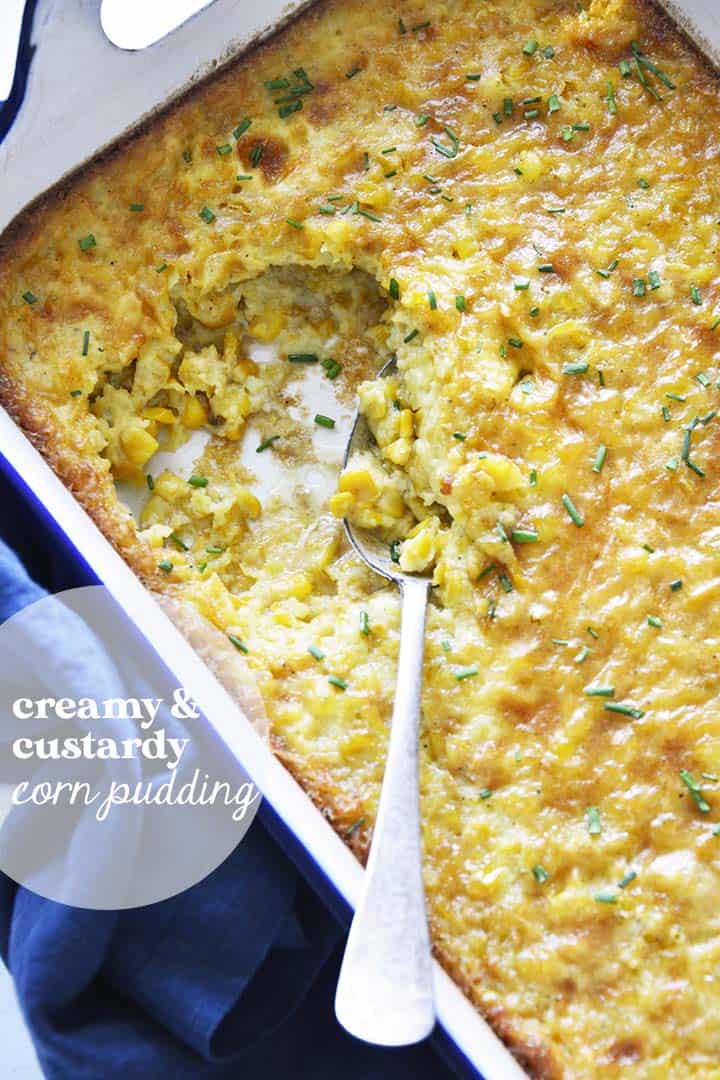
With a rich custardy texture, sweet corn, and a slight hint of vanilla aroma, this Easy Corn Pudding recipe is a great make ahead side dish!
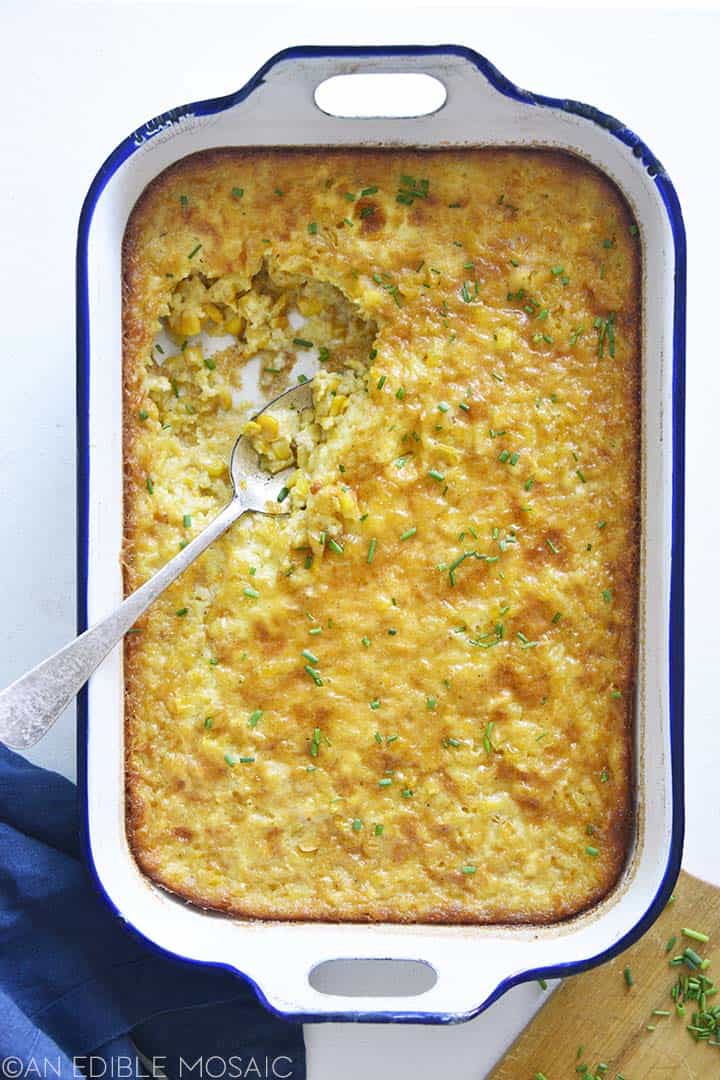
Thanksgiving is less than a week away and you might already have all your side dishes picked. But I’m going to make the case as to why this Easy Corn Pudding recipe should be on your Thanksgiving table!
Why You'll Love This Recipe
- For starters, it’s delicious, and I mean surprisingly way more delicious than you think it’s going to be. It blurs the lines between sweet and savory, similar to everyone’s favorite marshmallow-topped sweet potato casserole!
- And if you’re feeding people with dietary restrictions this recipe comes in handy. It’s a wonderful gluten free side dish to have on hand if you need gluten free options.
- Additionally, this is a pretty inexpensive side dish. If you have a well-stocked pantry and fridge you might already have just about everything on hand to make this corn casserole.
- And Corn Pudding is so easy to make! It only requires 10 minutes of active prep time, which is just dumping everything in a bowl and mixing. Also, it cooks up pretty fast, in just 35 minutes.
- But maybe best of all is that you can make this Easy Corn Pudding recipe ahead of time. Thanksgiving Day is busy enough without having to make all the side dishes on the day of, right?! You can store this covered in the fridge for up to 5 days, or wrapped well in the freezer for up to 3 months.

The Best Easy Corn Pudding Recipe
With sweet corn, sugar, and the slightest hint of vanilla you might think this custardy Corn Pudding is dessert. But then the savory side hits with a touch of black pepper and aromatic chives, and it’s a perfect balance.
This corn casserole is a delicious side dish along with roast chicken, turkey, or pot roast. It makes a beautiful addition to a holiday meal (or any fall or winter dinner), and you can make it ahead of time!
Ingredients
- Cornstarch - this helps to thicken and set our custardy pudding
- Half and half - don't skimp out and use milk here; half and half adds richness and velvety texture
- Butter - because who doesn't love the flavor of buttery corn?!
- Eggs - makes our pudding smooth and custardy
- Sugar - I know this seems strange, but trust me on this one
- Corn - canned corn (make sure to drain it) is just fine here
- Creamed corn - this is the first secret ingredient; make sure you don't drain the creamed corn
- Salt and black pepper - these simple seasonings are all we need
- Baking powder - this leavening agent provides just a little lift
- Vanilla - the second secret ingredient, and this one takes it over the top
- Chives - fresh chives added as a garnish really brighten up the flavor

How Do You Make Corn Pudding From Scratch?
It’s so easy to make this recipe (no cornbread mix required!), it’s sure to become one of your go-to holiday side dishes.
- Whisk together half and half and cornstarch to make a slurry.
- Melt butter and let it cool slightly.
- Whisk together the cornstarch slurry, melted butter, and all other ingredients.
- Bake.
- Enjoy!
Corn Pudding FAQs
Is Corn Pudding Supposed to be Runny?
No! Corn Pudding should have a creamy, custardy texture, but it should not be runny.
How Do I Know When Corn Pudding is Done Cooking?
Corn Pudding should be golden on the top and slightly jiggly in the center. When you insert a paring knife in the center, it should come out clean.
How Long Does Corn Pudding Last in the Refrigerator?
You can store this Corn Pudding covered in the fridge for up to 5 days.
Does Corn Pudding Freeze Well?
Yes! You can store this wrapped well in the freezer for up to 3 months.
How Do I Reheat Corn Pudding?
If it’s frozen, first that it to room temperature. Put it in an oven safe dish and heat it (uncovered) at 350F until warm throughout.

More Make-Ahead Side Dishes
- Cauliflower Gratin Recipe with Buttery Ritz Topping
- Creamy Make Ahead Mashed Potatoes
- Garlic Roasted Mushrooms Recipe
- Make Ahead Sweet Potato Casserole

Let's Connect

Did you make this recipe? Please rate it and leave a comment below. You can also tag @anediblemosaic on social media.
To stay up-to-date, follow me on Facebook, Instagram, Pinterest, and Twitter!

Easy Corn Pudding Recipe
Ingredients
- Cooking spray
- 5 tablespoons cornstarch
- ¾ cup half and half
- 8 tablespoons unsalted butter melted and cooled slightly
- 5 large eggs at room temperature
- ½ cup sugar
- 1 15 ounce can corn drained
- 2 15 ounce cans creamed corn
- 1 ¼ teaspoons salt
- ¼ teaspoon black pepper
- 1 teaspoon baking powder
- ½ teaspoon pure vanilla extract
- 1 tablespoon minced fresh chives for garnish
Instructions
- Preheat the oven to 400F. Spray the inside of a 9 by 13-inch casserole dish with cooking spray.
- Whisk together the cornstarch and half and half in a small bowl to form a slurry.
- Whisk together the cornstarch slurry, melted butter, eggs, sugar, drained corn, creamed corn, salt, pepper, baking powder, and vanilla in a large bowl.
- Pour the mixture into the prepared dish and bake until it’s golden on top but still jiggly in the center, and a paring knife inserted into the center comes out clean, about 30 to 40 minutes.
- Sprinkle the chives on top and serve warm.
Video
Faith's Tips
- Storage: Store this covered in the fridge for up to 5 days or wrapped well in the freezer for up to 3 months.
- Reheating: If it’s frozen, first that it to room temperature. Put it in an oven safe dish and heat it (uncovered) at 350F until warm throughout.
Nutrition

This post was first published on An Edible Mosaic on November 24, 2020. I updated it with more information on November 11, 2022.


Leave a Reply