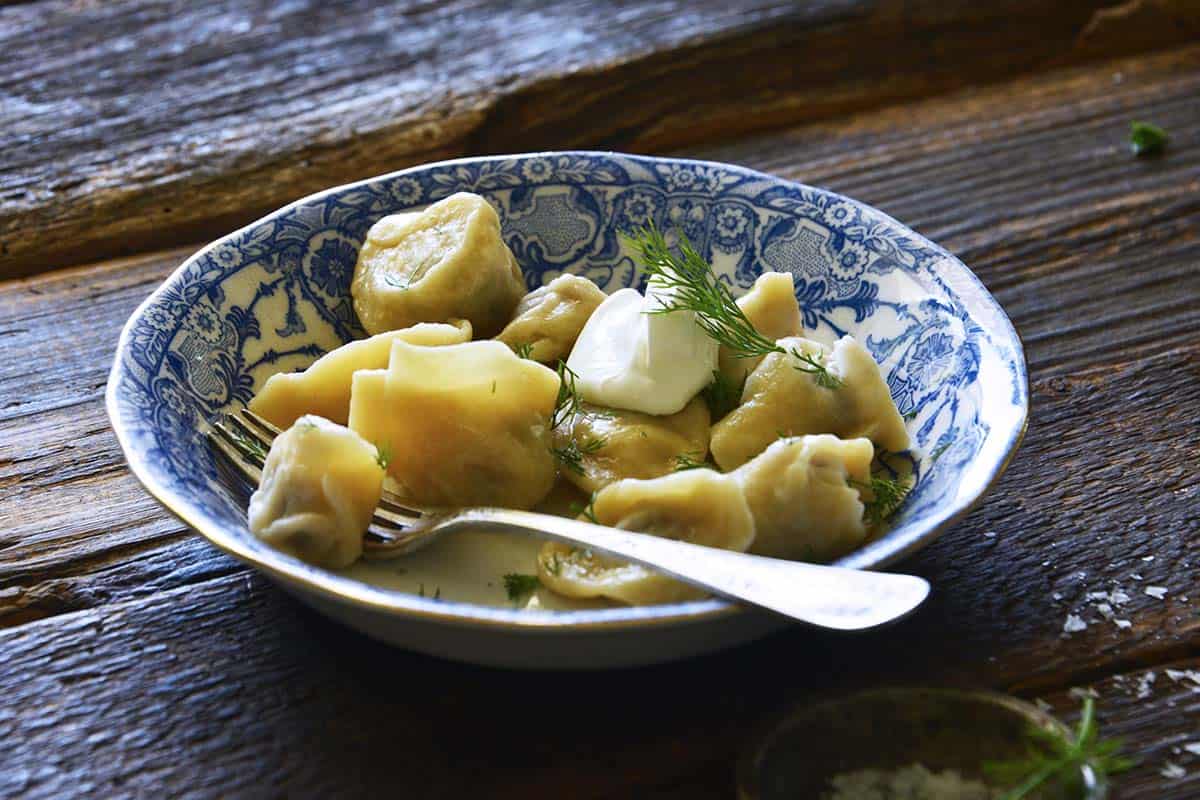
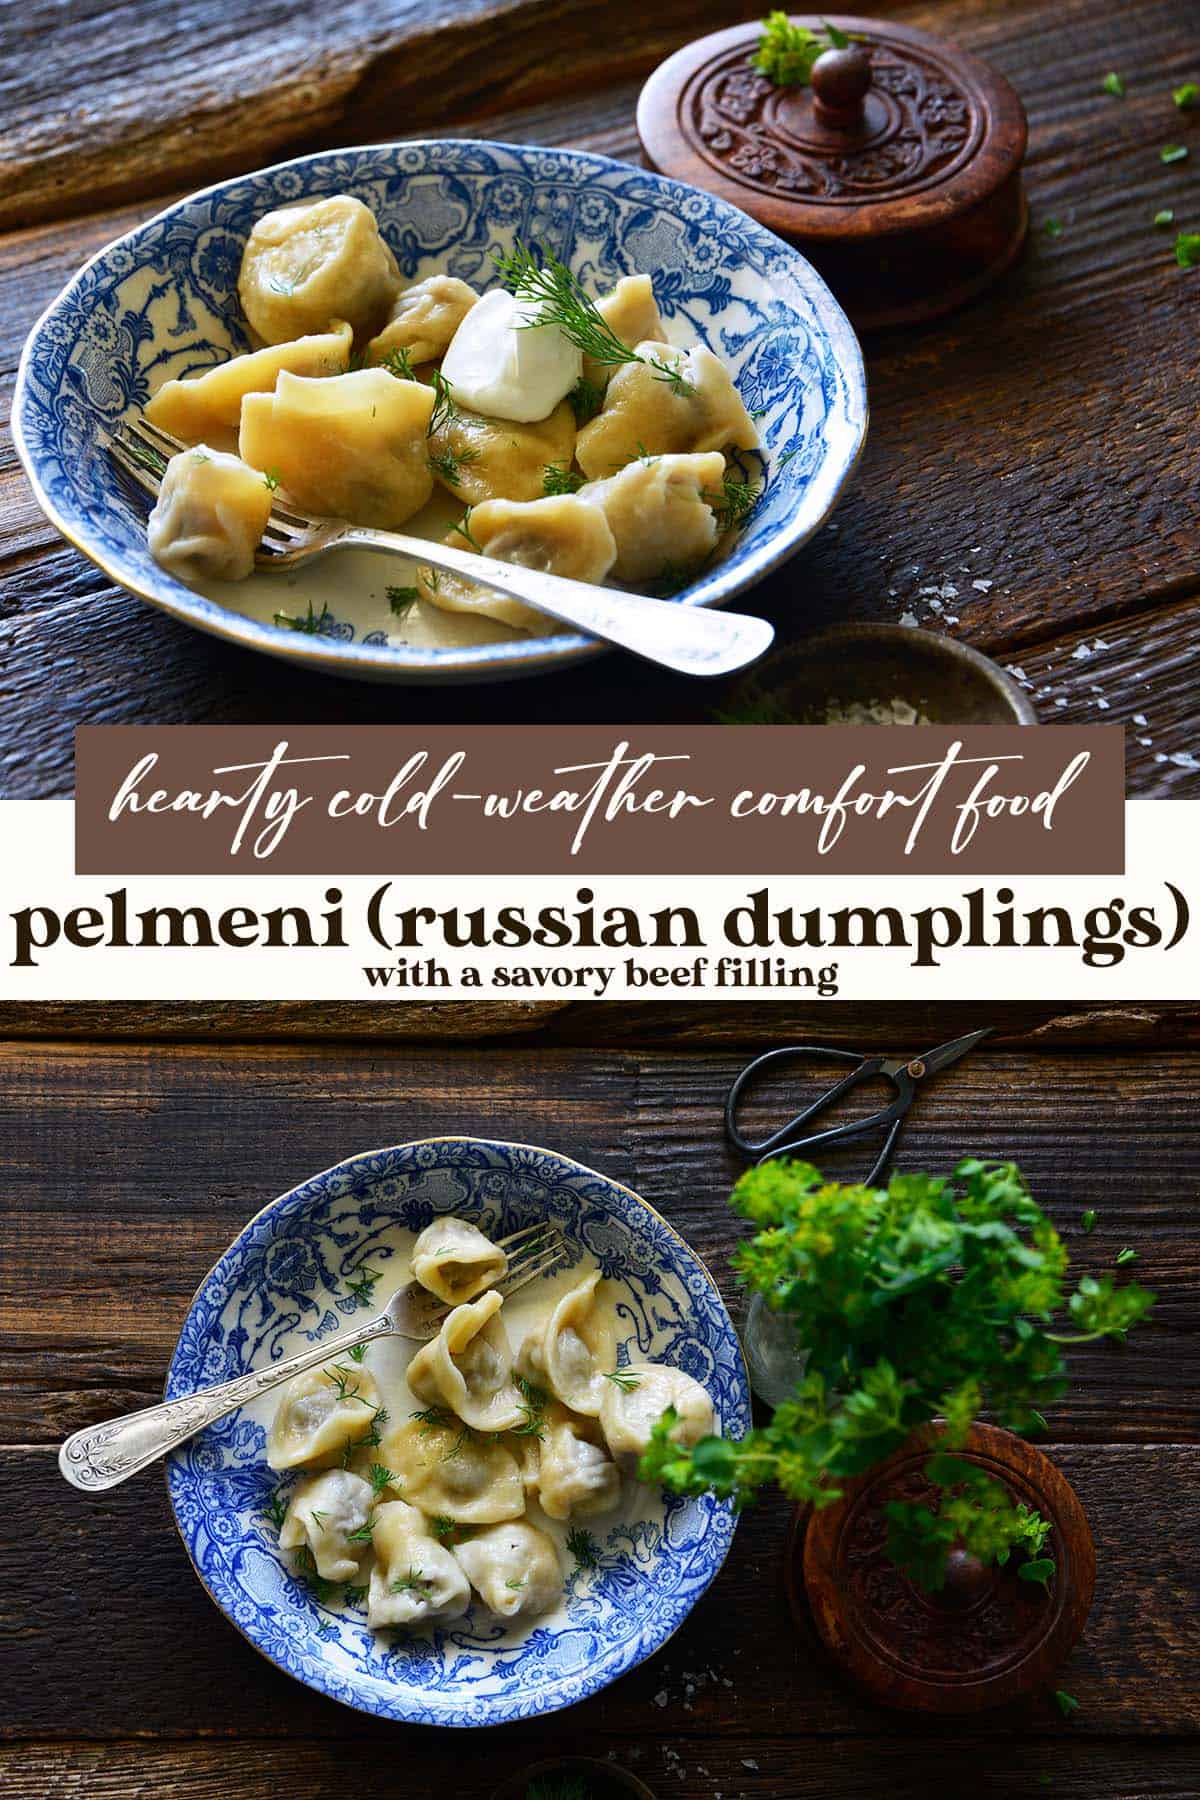
This Pelmeni recipe for Russian dumplings is cold-weather comfort food that features homemade dough stuffed with a savory meat filling, and is delicious served with sour cream and fresh dill.
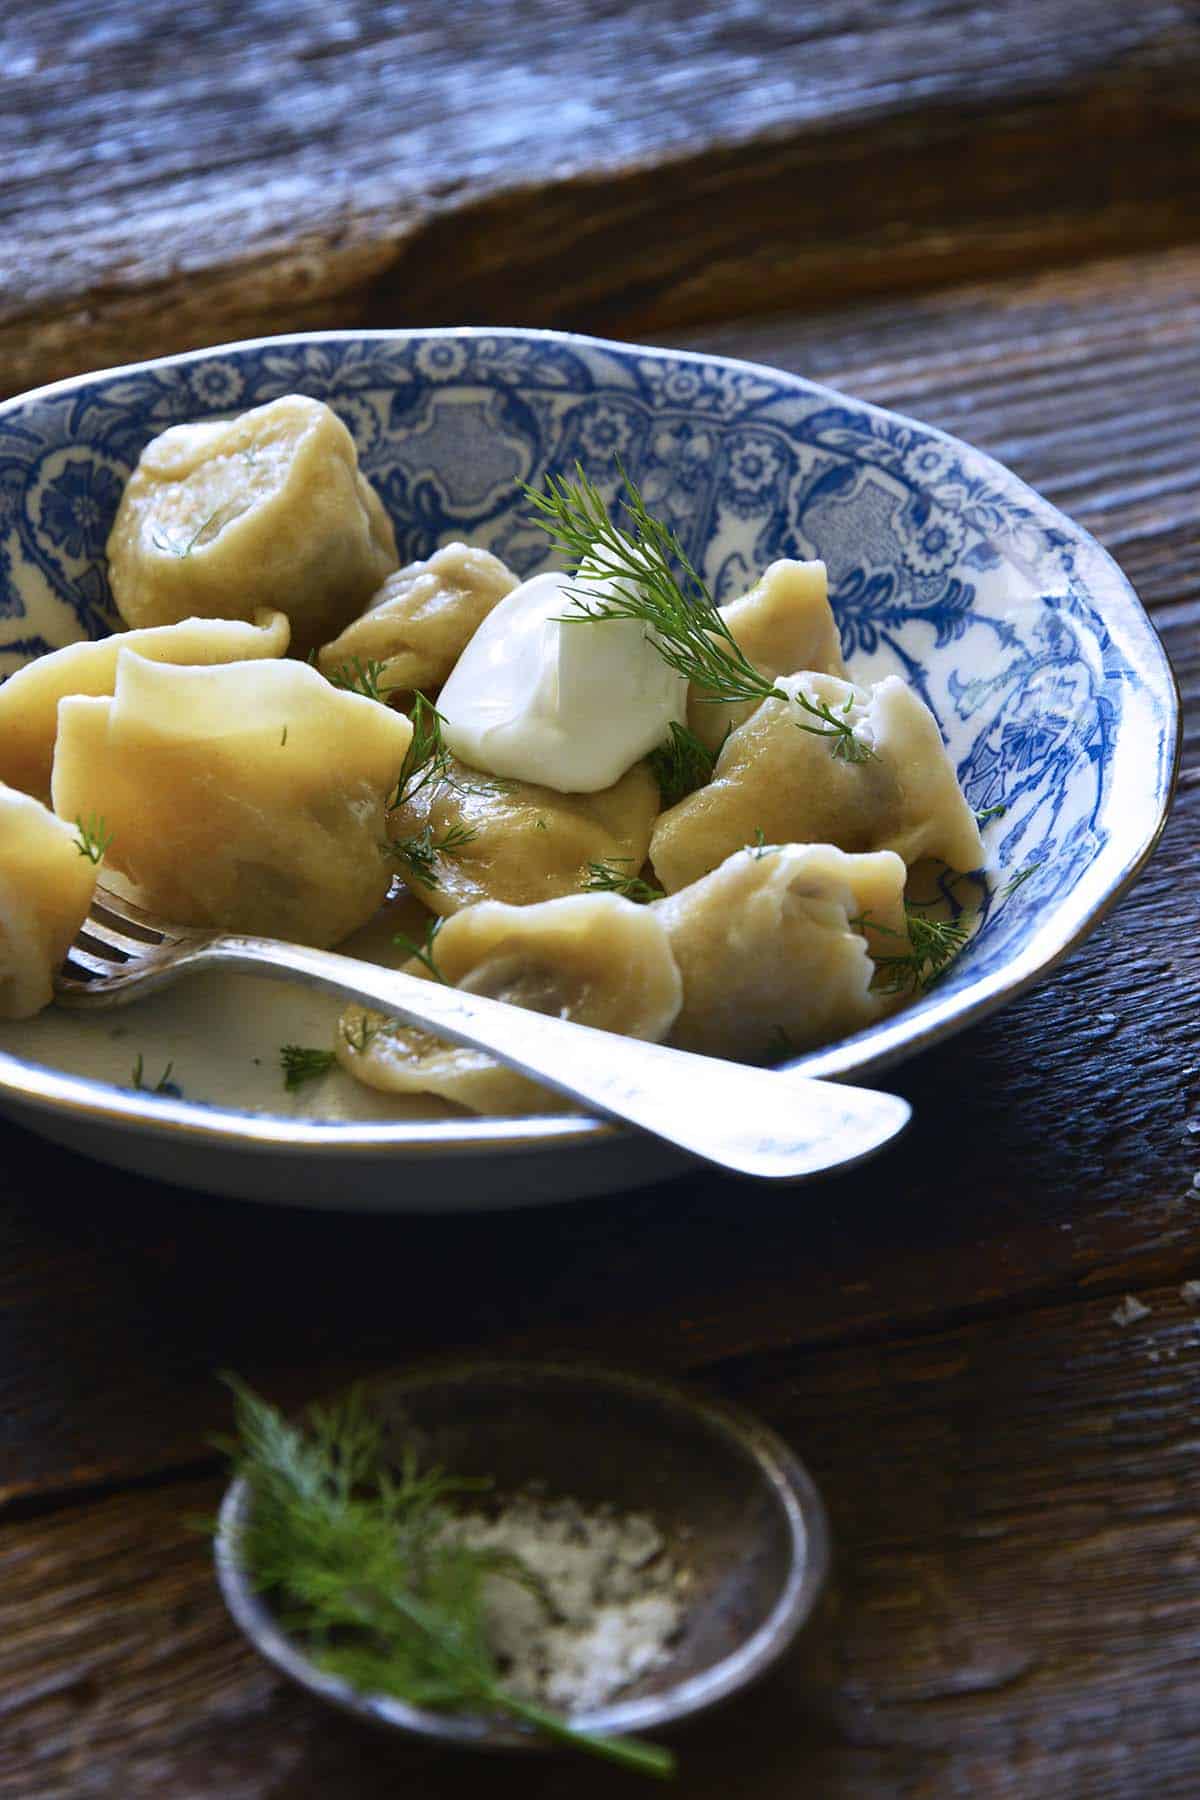
The first time I had Pelmeni was at a Russian restaurant called Ruz Us in Arlington, Virginia with a friend. (Side Note: For me, one of the best things about living in the DC metro area was access to foods from so many different cultures!) After that I had them in Warsaw, Poland.
I liked them so much, I started actively looking for this dish on menus!
And then I finally made these dumplings at home. The backstory for these dumplings is similar to the story behind why I made my Gingerbread Cake Roll. My dear friend Evelyne of CulturEatz and I made them together on a Zoom call one day last spring. I shared more about the experience in my Instagram post here if you want to check it out.
Even though making Pelmeni is an afternoon-long process, I can’t wait to do it again. After I made them, I had ten servings of delicious homemade dumplings meal prepped to stash in my freezer for busy nights!
And making these dumplings is a fun process if you do it with a loved one.
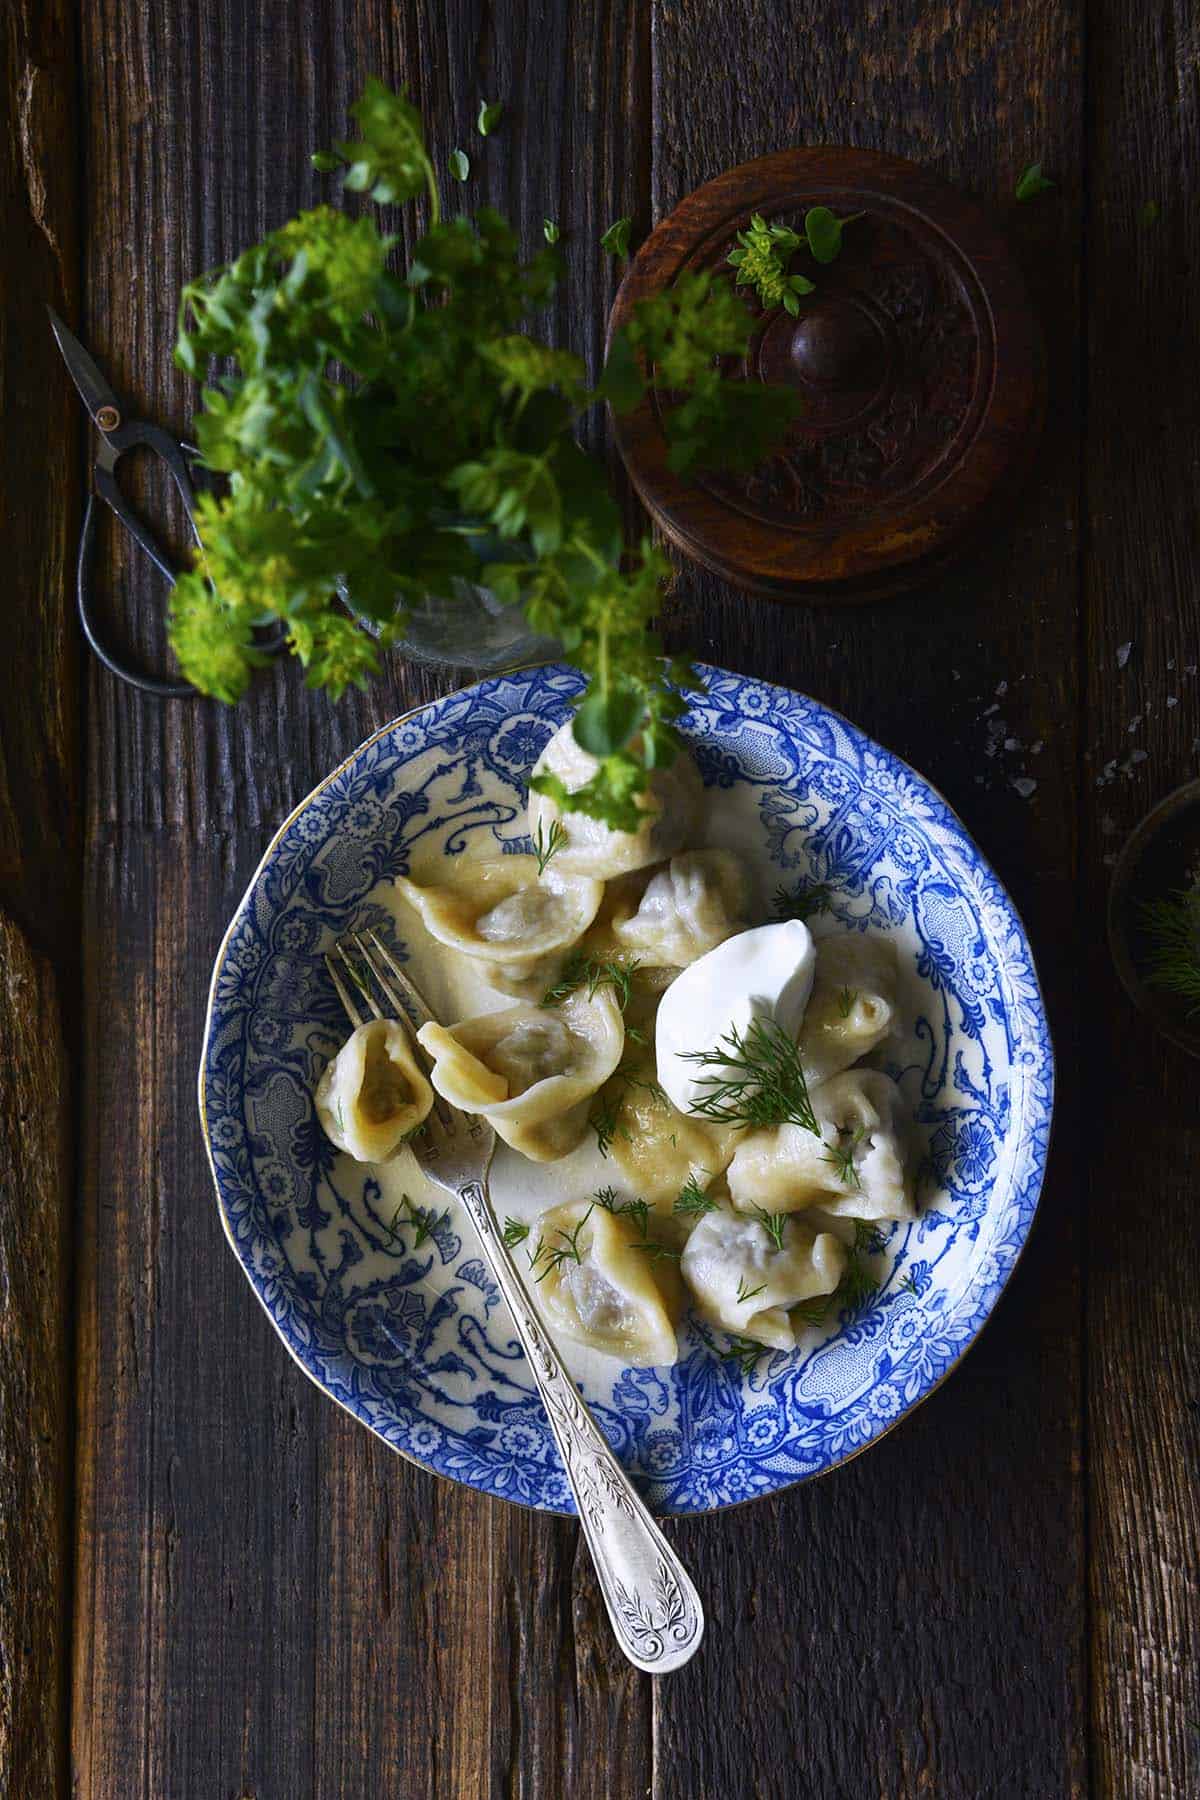
Pelmeni Recipe (Russian Dumplings)
Don’t be intimidated if it’s your first time making Pelmeni. There are a few steps, but they’re all fairly easy. But fair warning, make sure you have an afternoon free because it takes a couple hours to make all the dumplings.
Start by making the dough, which is very easy, but needs to rest for 30 minutes. While the dough is resting, mix together the ingredients for the filling. And then you’re ready to make the dumplings!
Ingredients and Substitutions
Ingredients Explained
In this section I explain the ingredients and give substitution ideas where applicable. For the full recipe (including the ingredient amounts), see the recipe card below.
Pelmeni Dough Ingredients:
- Milk - Here we use a combination of milk and water to make our Pelmeni dough, which is similar to pasta dough. The milk adds a touch of richness, but you can omit the milk and use all water if you prefer.
- Water - Water is the classic liquid traditionally used to make this dough.
- Egg - Egg is a common addition to this type of dough. Egg yolk enriches the flavor, and egg white makes the pasta more pliable.
- Salt - Salt is a natural flavor enhancer that helps ensure our dumpling dough isn't bland.
- Flour - We use regular all-purpose flour for this recipe.
Beef Pelmeni Filling Ingredients:
- Lean ground beef - I use 85% to 90% lean ground beef to make these dumplings. We want the meat lean enough so they're not greasy, but with enough fat so the filling is juicy and flavorful. If ground beef isn't your thing, you can use ground lamb, ground pork, ground chicken, or ground turkey instead.
- Onion and garlic - These ingredients add a ton of savory flavor and help make sure the meat filling is juicy.
- Dill - I love fresh dill in beef Pelmeni filling. However, you can use about 1 tablespoon of dried dill if that's what you have on hand. Or switch up the flavor profile and use another type of fresh herb, such as rosemary, marjoram, oregano, etc.
- Apple cider vinegar - It's common to see savory Pelmeni served tossed in vinegar (about ½ tablespoon of vinegar for every 1 cup of dumplings). Along those lines, I like to add a touch of vinegar to the beef filling. It not only helps create a balanced flavor profile, but it also tenderizes the meat. If you don't have apple cider vinegar, you can use distilled vinegar, white wine vinegar, or red wine vinegar.
- Salt and black pepper - These simple spices elevate the flavor of our beef dumpling filling.
- Worcestershire sauce - This fermented sauce adds complexity and enhances the umami flavor of the beef, but is completely optional.
- Soy sauce - Soy sauce adds savory depth of flavor, but is also optional. You can substitute with tamari sauce or coconut aminos if you prefer.
How to Shape Pelmeni Dumplings Without a Mold
In Russia it’s common to make Pelmeni with a special mold called a pelmenitsa, which is available on Amazon. However, I don’t have a mold so I shape these Russian dumplings by hand.
To shape these dumplings without a mold:
- Roll a ball of dough out on a floured surface until it’s fairly thin. You can stamp out circles with a cookie cutter (about 2 ½ inches works well). Alternatively, you can cut the dough into a grid of squares (about 2 ½ inch squares) using a knife with a ruler as a guide.
- Once you have your circles or squares, place about 1 teaspoon of filling in the center of each piece of dough.
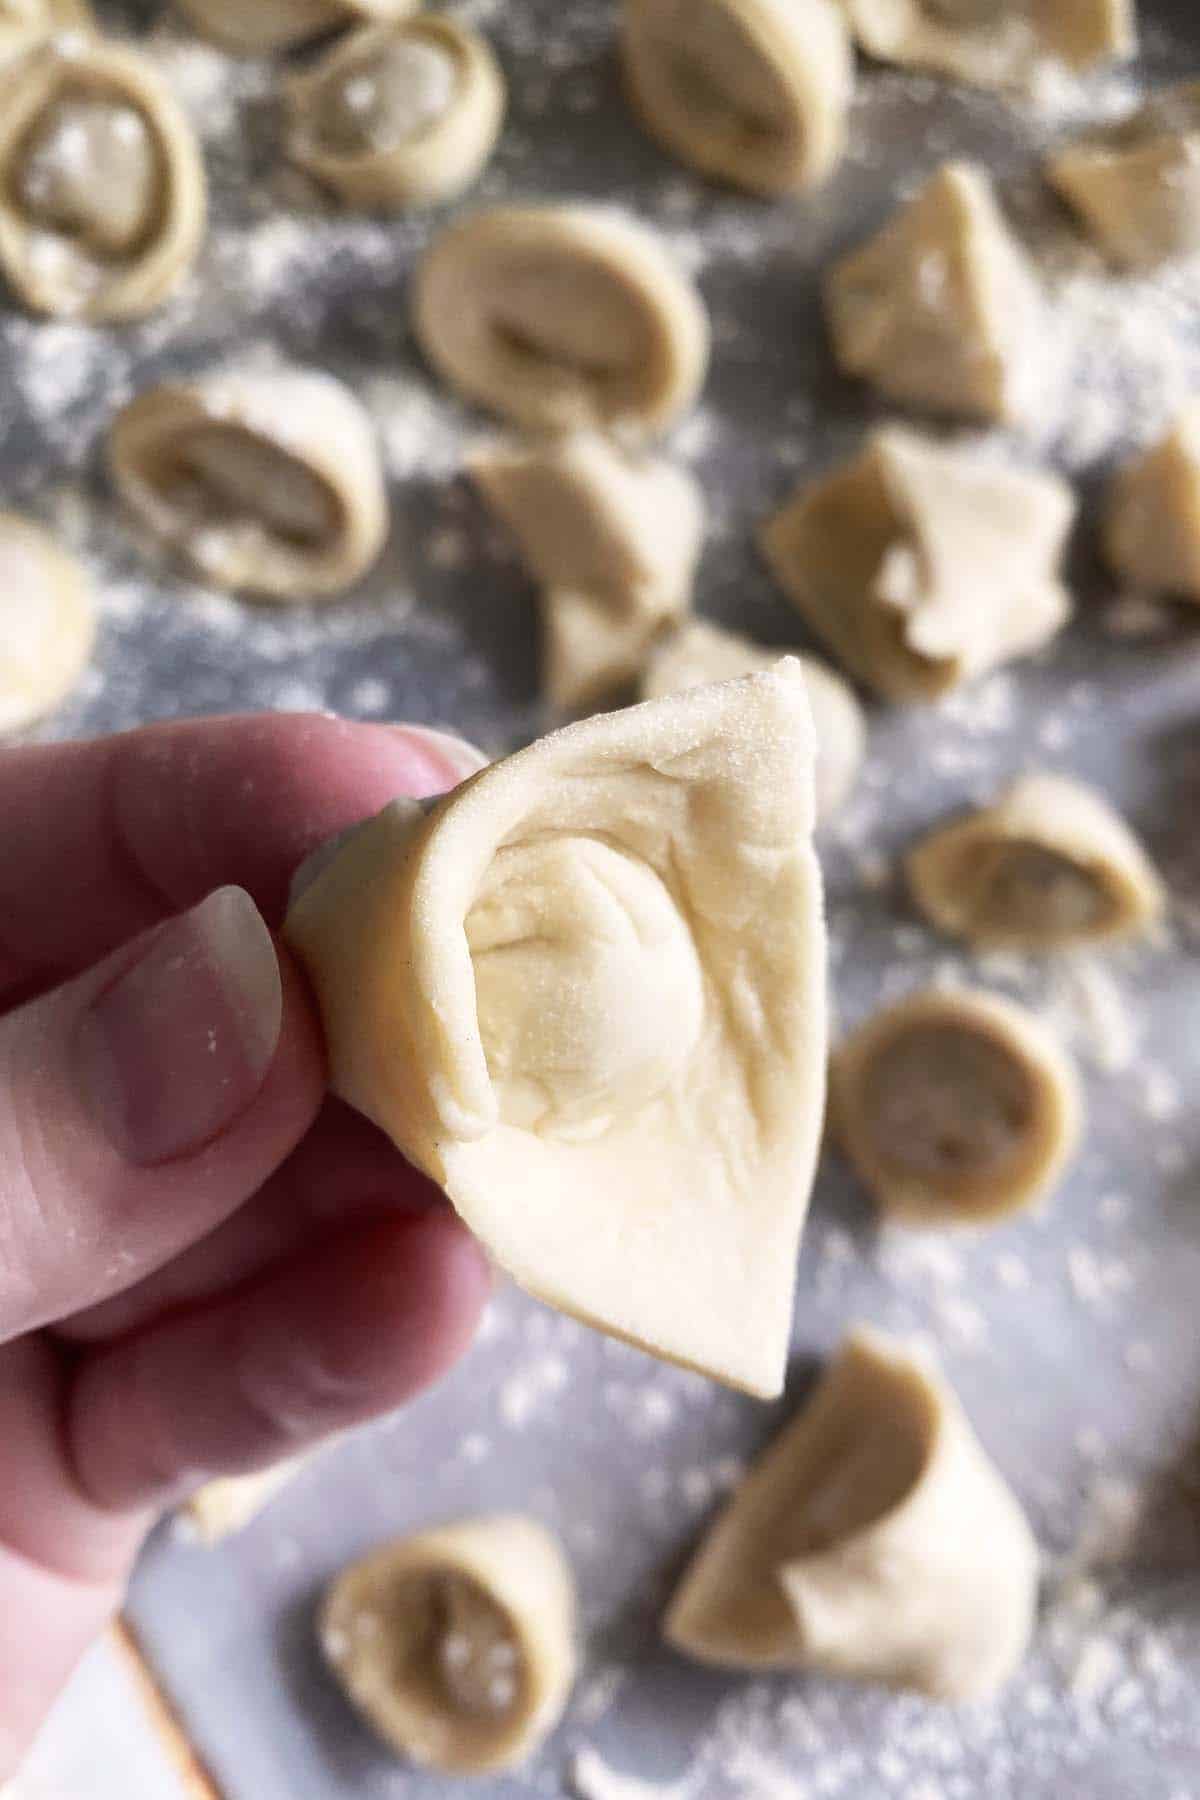
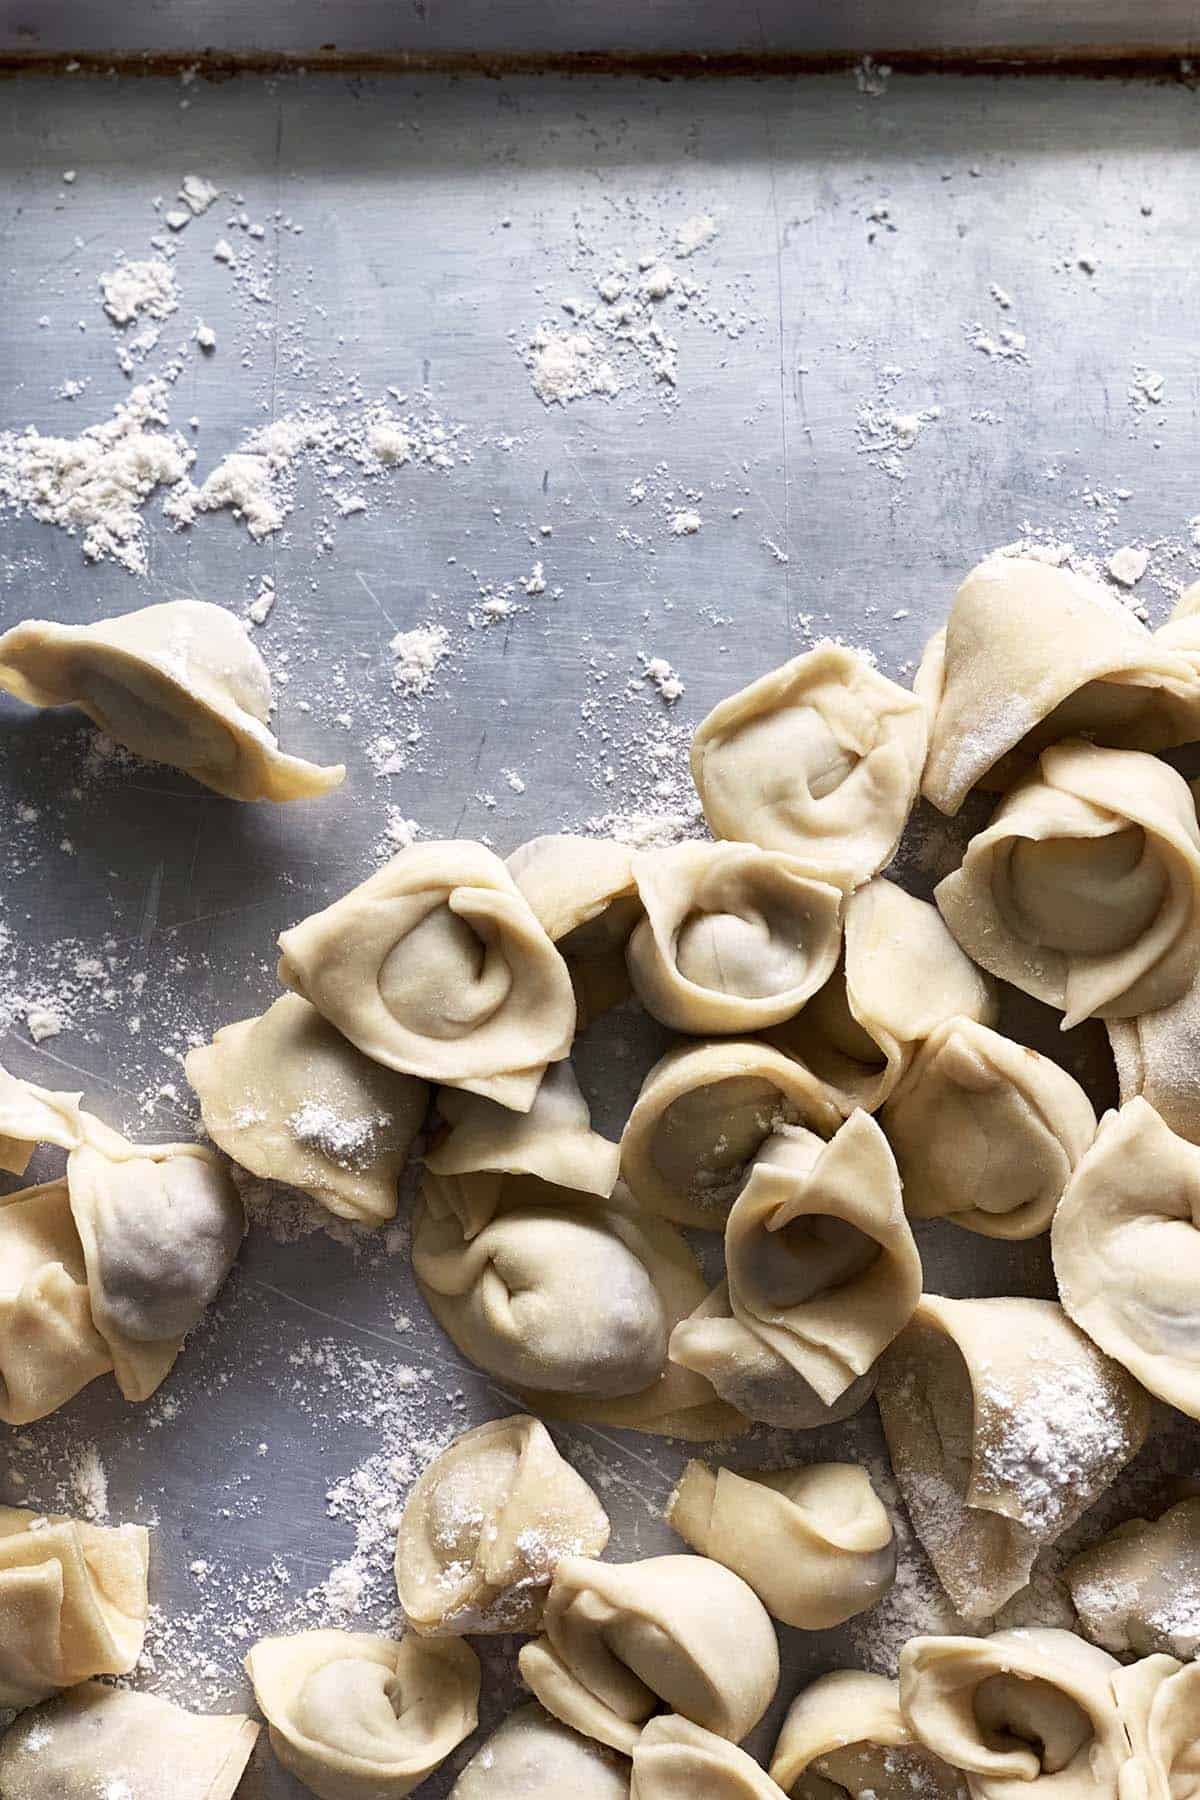
- Fold the dough in half over on itself, and then pinch the outer edges together. Oddly enough, you will end up with a little dumpling that looks kind-of like a diaper or a belly button.
Pro Tip: To Help Seal the Dumplings

If you’re having trouble getting the dough to seal when you fold it over onto itself and then pinch it together, you can lightly wet your fingers with water and run that along the outside of the dough.
Storage and Meal Prep
Once these dumplings are shaped, you can freeze them for up to 3 months. I like to flash-freeze them; essentially, lay them out (not touching if possible) in a single layer on a parchment paper-lined baking tray and freeze until solid, about 3 hours. Then you can put them in whatever freezer-safe container or bag you want for long-term storage.
This recipe is great for meal prep. I usually get 10 servings out of this recipe. I freeze the dumplings in sandwich bags with 10 per portion. And then on busy nights, all I have to do is boil a small pot of water and cook the Pelmeni. These dumplings cook straight from the freezer, there’s no need to thaw them!
Pelmeni FAQs
What is Pelmeni?
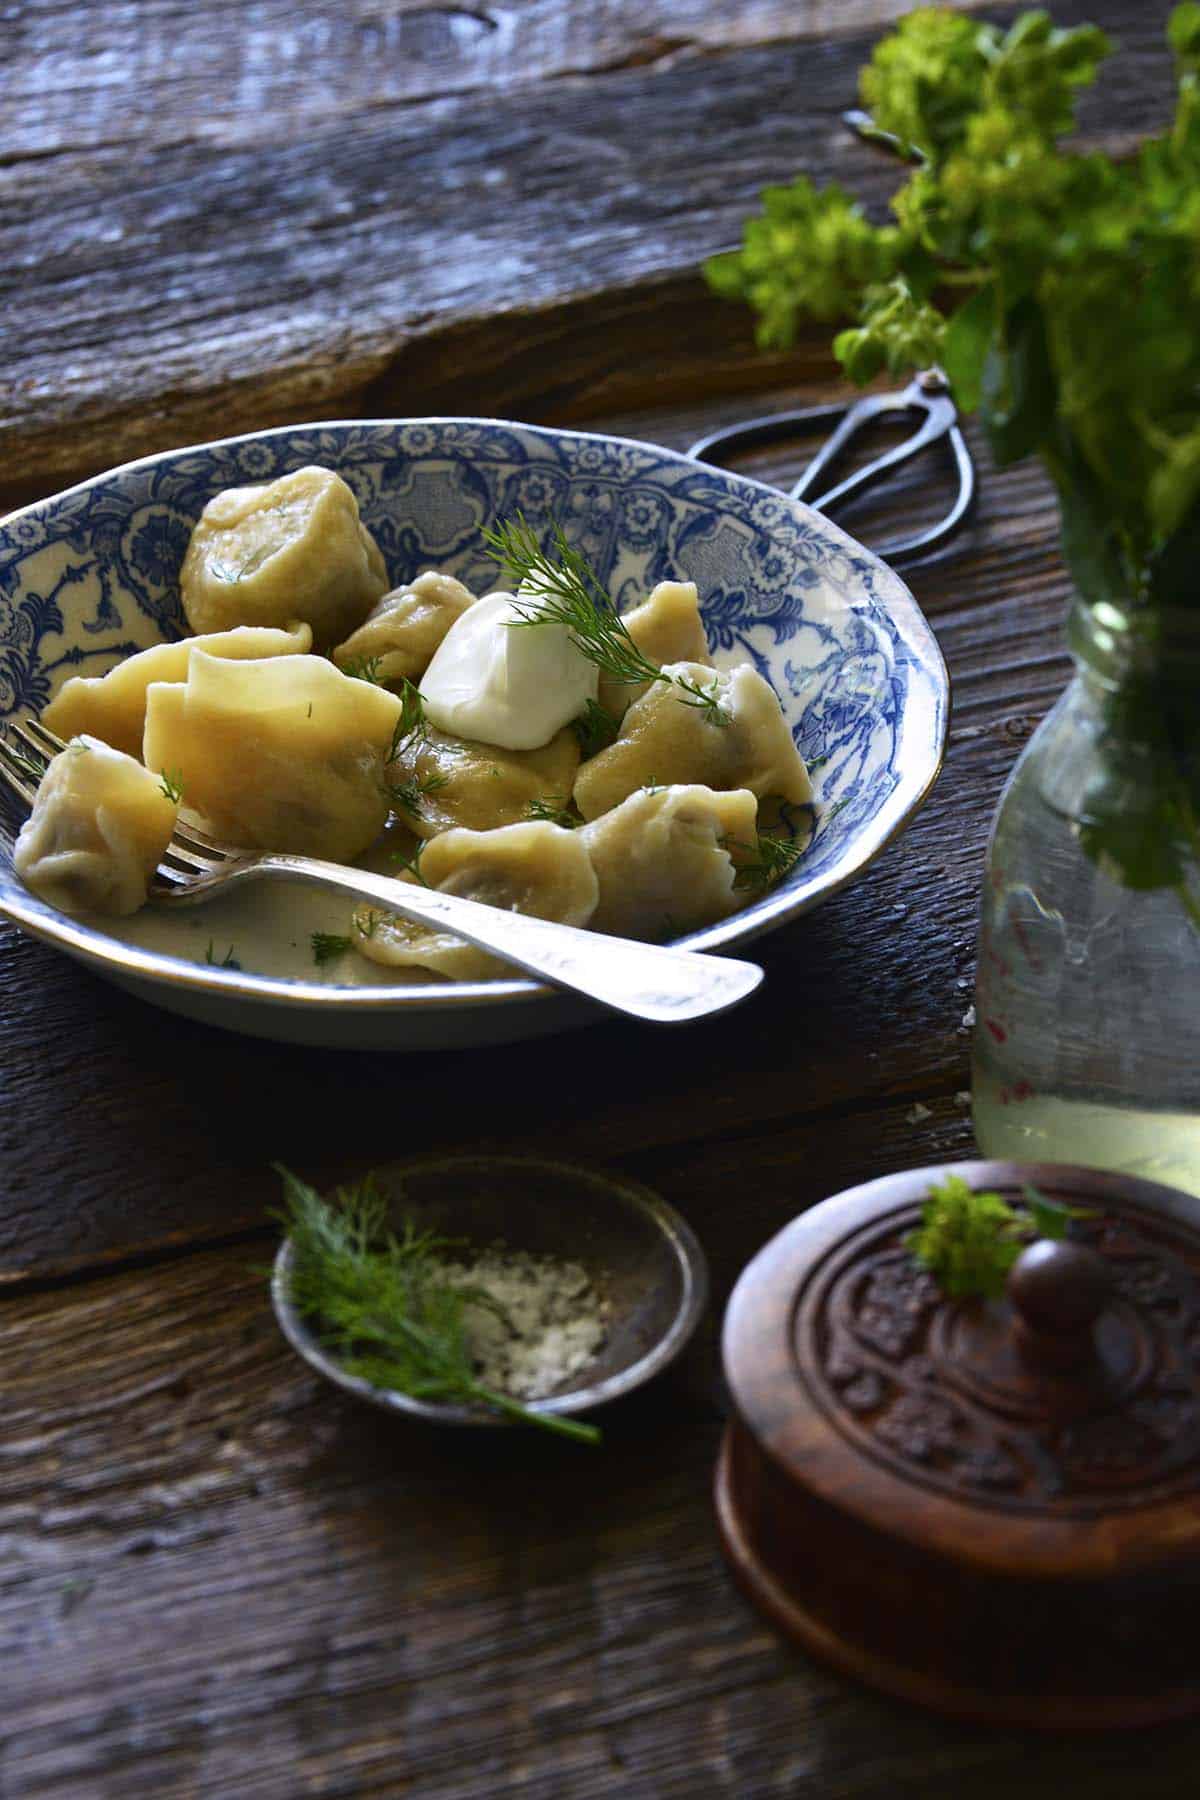
Originating in Siberia, Pelmeni are bite-sized morsels with a savory meat filling encased in a thin dough. Basically, they’re the Russian version of meat dumplings, and they look a little similar to Italian tortellini. You can boil or fry them, and serve them with butter or sour cream. I like a little fresh dill on top too.
If you’re a fan of any kinds of dumplings like wontons, gyoza, ravioli, pierogi, etc., I think you’ll love Pelmeni!
What is the Difference Between Pelmeni, Pierogi, and Vareniki?
Let’s start with the similarities between these types of dumplings. They all have a thin unleavened dough (similar to pasta dough) with some type of filling.
Pierogi and Vareniki (or Varenyky) are the same thing, or at least very similar. In Russia, these dumplings are usually called Vareniki. In Poland and the Ukraine, these are commonly called Pierogi.
Vareniki and Pierogi are traditionally vegetarian dumplings served as an appetizer or dessert. These dumplings are typically filled with cheese, potato, sauerkraut, mushrooms, etc. However, they can also have a sweet filling of fruit or cheese, or a mixture of fruit and cheese. It’s common to find these delicious dumplings served fried in butter.
On the other hand, Pelmeni is a little different. Pelmeni is found all over Russia. It’s thought that the Mongols originally brought this type of food (adapted from Chinese wontons) to the Urals from China.
Pelmeni are usually meat dumplings, typically stuffed with a lamb, pork, or fish mixture. They are simply seasoned with salt, pepper, garlic, and sometimes dill, and commonly served with a dollop of sour cream.
You can read more about the difference between these types of dumplings on Culture Trip and Vice.
Can I Freeze Pelmeni?
Yes! These Russian dumplings are usually cooked from frozen when you want to serve them.
You can freeze the dumplings in a gallon-size zip-top plastic bag. Alternatively, you can portion the dumplings out into single-servings (about 10 dumplings per serving) and freeze them in sandwich-size zip-top plastic bags.
Be sure to label the outside of the bag with the date and contents.
How to Cook Frozen Pelmeni:
- Bring a pot of water to a vigorous boil. Once boiling, salt the water.
- Add the frozen dumplings, and let it come back up to a boil.
- Once the dumplings float to the top, let them cook for 3 minutes more.
- Drain the dumplings.
- Serve!
How Long Do You Boil Pelmeni?
It takes about 10 minutes to boil frozen Pelmeni. How is that for fast food?
Basically, you bring water to a boil, add the dumplings, and let them cook until they rise to the top. Once they're floating, cook the dumplings about 3 minutes longer to make sure the meat is fully cooked.
Make a batch of this to keep stashed in your freezer for busy nights or sick days, and you'll be setting yourself up for success.
Can I Fry Pelmeni?
Yes! When you want to serve Pelmeni, I recommend boiling the dumplings from frozen as the recipe directs. After that, drain the dumplings well and place them in a nonstick skillet over medium-high heat with a generous knob of butter. Cook until they’re light golden in spots, and serve.
How Do You Serve Pelmeni?
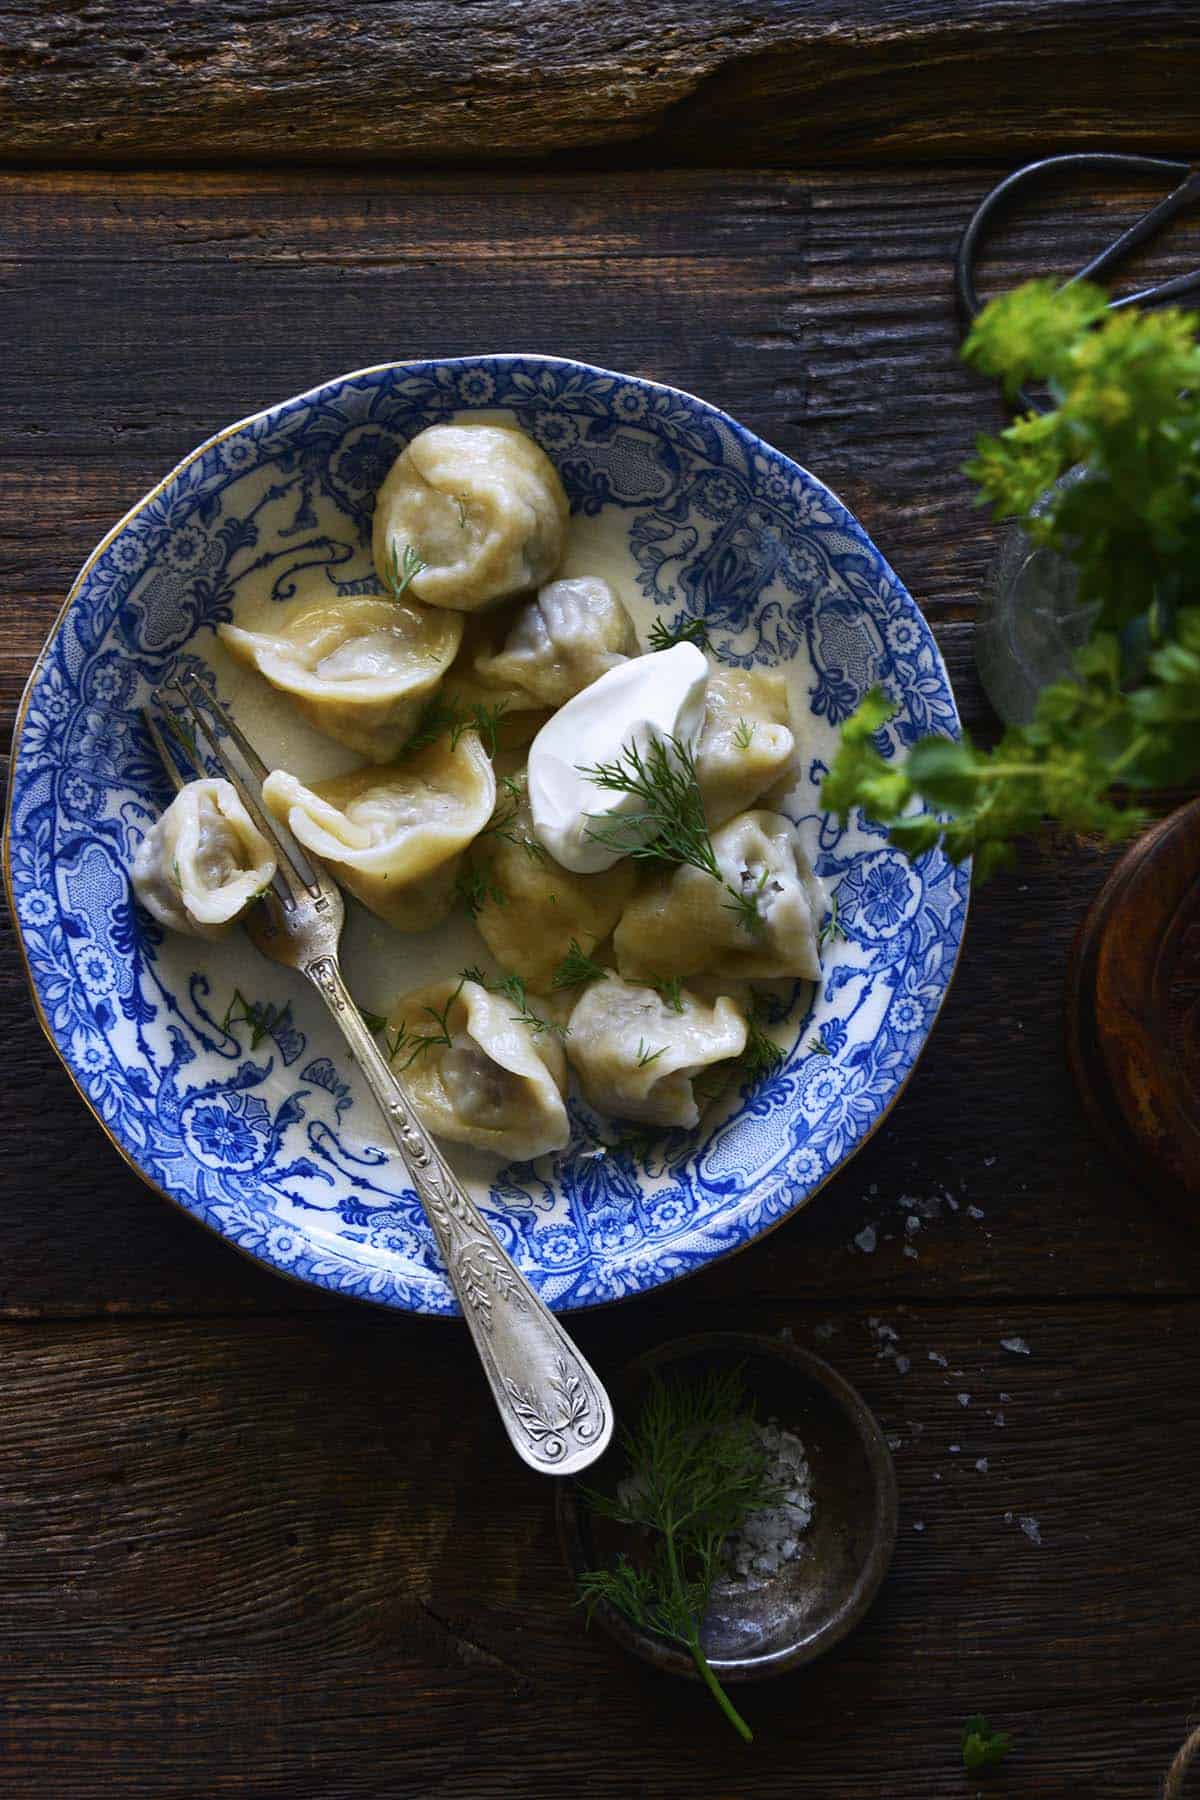
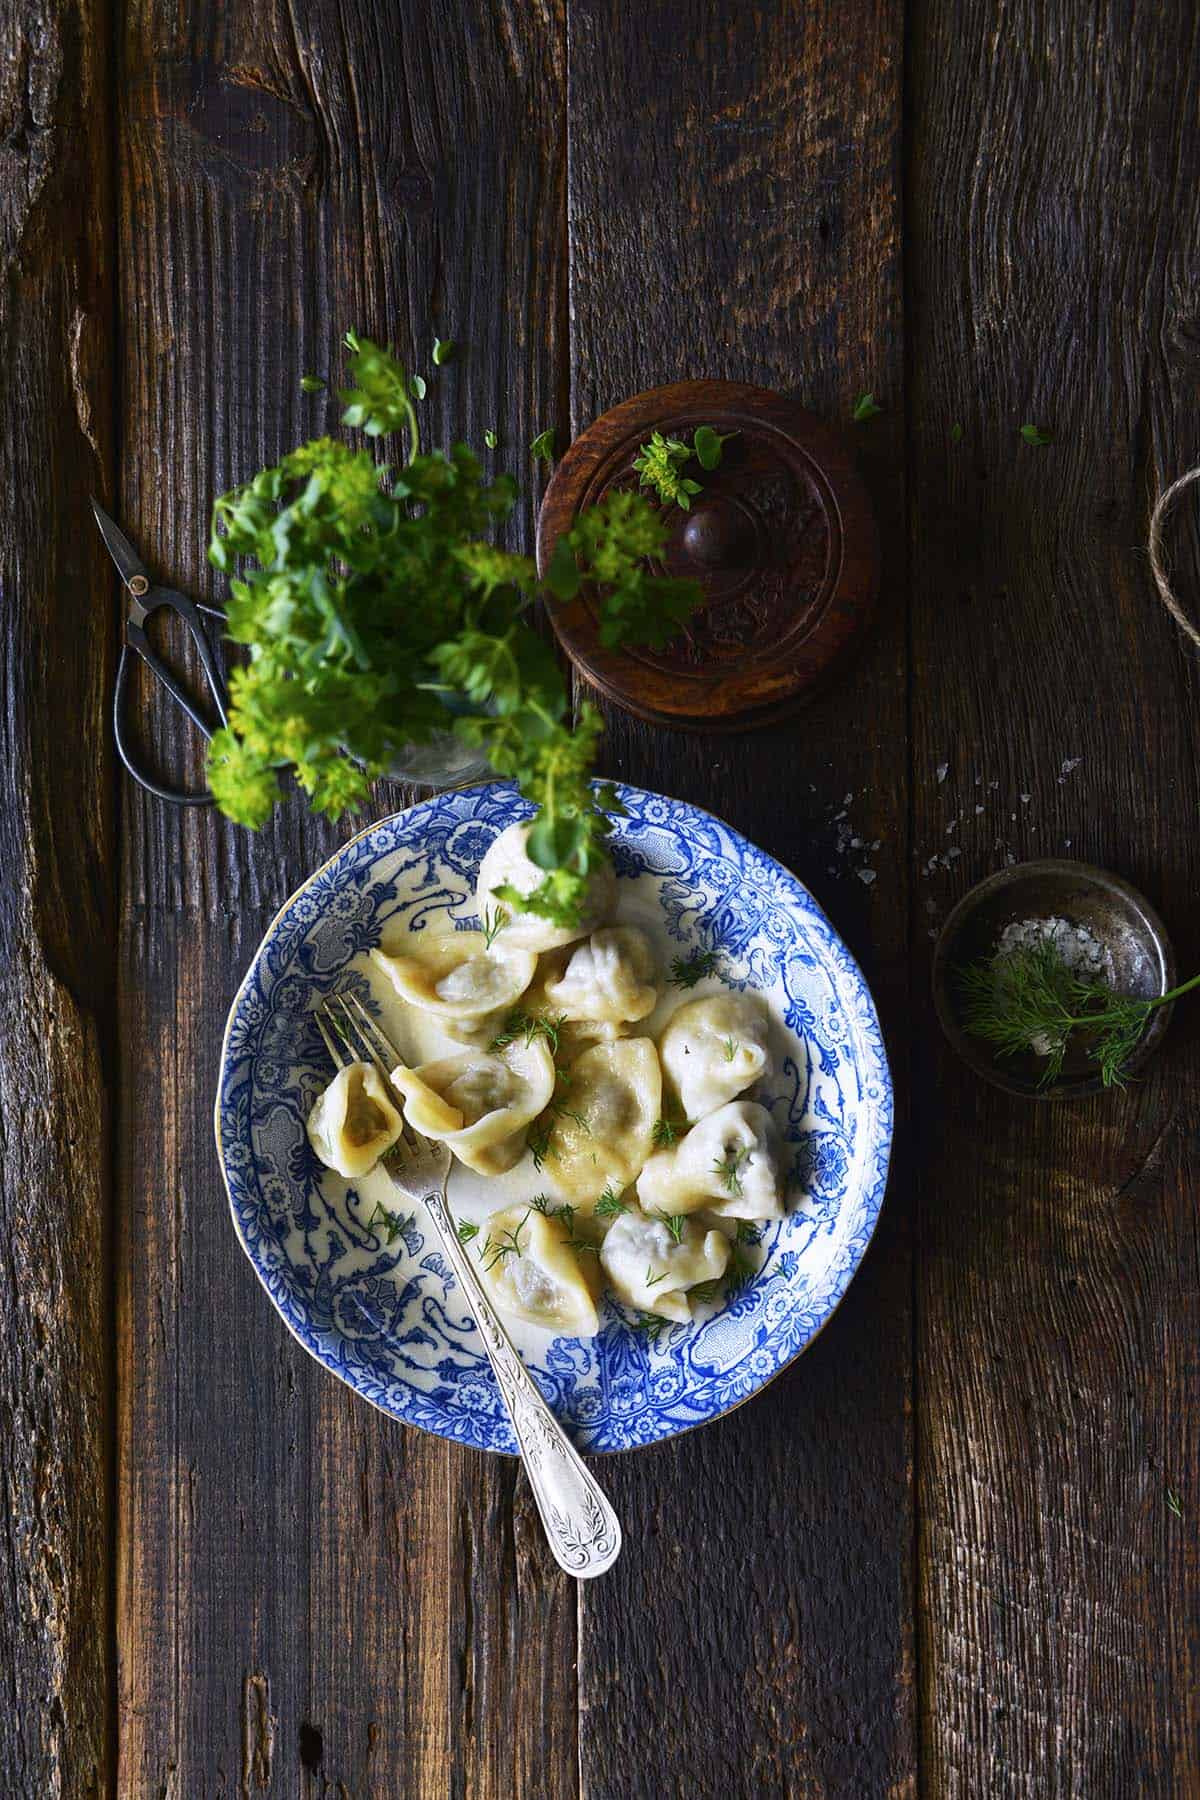
My favorite way to eat this dish is tossed with butter, served with a dollop of sour cream and fresh dill on top.
Here are a few other popular toppings:
- Vinegar
- Ketchup
- Mustard
- Tomato sauce
How Do You Make Pelmeni Soup?
If you like dumpling soup, you'll love this made into soup!
To make Pelmeni soup:
- Add chopped vegetables (such as onion, carrot, celery, etc.) and broth (you can use beef broth, vegetable broth, or my personal favorite, chicken broth) to a pot.
- Bring it up to a boil and cook for about 15 minutes.
- Add the dumplings to the vigorously boiling broth with vegetables. Once they float, cook for an additional 3 minutes.
- If desired, serve Pelmeni soup topped with fresh herbs, such as dill.
If You Like Pelmeni, You Might Also Like
- Borscht (Beet Soup)
- Kulebyaka (Savory Russian Pie)
- Kluski z Serem (Polish Cottage Cheese Egg Noodles)
- Salad Olivier (Russian Potato Salad)
Let's Connect

Did you make this recipe? Please rate it and leave a comment below. You can also tag @anediblemosaic on social media.
To stay up-to-date, follow me on Facebook, Instagram, Pinterest, and Twitter!
Pelmeni Recipe (Russian Dumplings)
Equipment
- Pelmenitsa (Russian Pelmeni Mold) optional
Ingredients
Pelmeni Dough:
- ⅔ cup milk or more water
- ¾ cup water
- 1 large egg
- 1 teaspoon salt
- 4 cups all-purpose flour plus more for kneading and rolling out
Beef Pelmeni Filling:
- 1 ½ pounds lean ground beef 85% to 90% lean
- 1 medium onion finely grated
- 3 cloves garlic crushed
- 4 tablespoons minced fresh dill
- 1 ½ teaspoons apple cider vinegar or distilled vinegar
- 1 ½ teaspoons salt
- 1 teaspoon Worcestershire sauce (optional)
- 1 teaspoon tamari sauce or soy sauce (optional)
- ¼ teaspoon black pepper
Serving Suggestions (Optional):
- Butter
- Sour Cream
- Fresh herbs such as dill or chives
Instructions
For the Dough:
- Whisk together the milk, water, and egg in a medium bowl.
- Whisk together the salt and flour in a large bowl.
- Stir the wet ingredients into the dry ingredients half at a time. Knead the dough a bit with your hands inside the bowl. Add additional flour (usually up to ½ cup) if needed to help the dough reach the right consistency and no longer sticks to the sides of the bowl.
- Drape a tea towel over the top of the bowl and let the dough rest for 30 minutes.
For the Filling:
- Use your hands to mix together all ingredients in a large bowl until well-combined. Cover and refrigerate 10 minutes.
To Shape the Pelmeni:
- Lightly dust a large baking tray with flour. This is where you’ll place your dumplings once they’re filled.
- Divide the dough into 4 equal portions and roll each into a ball. Leave 3 balls in the bowl and lay a piece of plastic wrap directly on top.
- Flour your work surface where you’ll roll out the dough. Place 1 dough ball on the floured surface and roll it out with a floured rolling pin until it’s fairly thin.
- You can use a round cookie cutter (about 2 ½ inches in diameter) to stamp out circles. Alternatively, you can slice the dough into 2 ½ inch squares; either use a knife with a ruler to guide you, or use a pizza cutter.
- Place about 1 teaspoon of filling in the center of each piece of dough. Fold the dough over onto itself, and then pinch the outer edges together.
- Put the Pelmeni onto the floured tray and dust with a little flour.
- Spread the dumplings out evenly on the tray, trying not to let any of them touch.
- Put the tray into the freezer until the Pelmeni is completely frozen, about 2 to 3 hours.
- Once frozen, transfer the dumplings to a zip-top plastic bag. Label the bag with the date and contents, and freeze for up to 3 months.
To Cook the Pelmeni:
- Bring a pot of salted water to a vigorous boil.
- Add the frozen Pelmeni (about 10 per serving) and gently stir once to help prevent them from sticking together.
- Once the dumplings float, let them boil for 3 minutes.
- Drain well.
To Serve Pelmeni:
- If desired, add butter to the hot Pelmeni. Dollop on a little sour cream. Sprinkle on a little fresh dill or chives.
- Serve warm.
Faith's Tips
- Recipe Inspiration: Recipe adapted from the recipe for Russian Pelmeni on Valentina's Corner.
- Recipe Yield and Serving Size: This recipe makes about 100 dumplings; each serving is 10 dumplings, for a total of 10 servings.
- Nutritional Information: The nutrition information is for the dumplings alone (without the optional serving suggestions).
- Stand Mixer Option: Instead of making the dough by hand, you can use a stand mixer fitted with the dough hook attachment.
- To Help Seal the Dumplings: To help the Pelmeni seal and stay closed, you can lightly dip your finger in water and run it along the outside of the dough before folding the dough over onto itself.
- Boil in Chicken Stock for More Flavor: Instead of boiling the dumplings in salted water, you can boil them in chicken stock for even more flavor. If desired, serve them in a little bit of the broth topped with fresh herbs.
- When It's Time to Cook the Dumplings: When you want to cook and eat the Pelmeni, make sure you cook it from frozen (don’t thaw it first).
- To Fry Pelmeni: I recommend boiling the dumplings from frozen as the recipe directs. After that, drain the dumplings well and place them in a nonstick skillet over medium-high heat with a generous knob of butter. Cook until they’re light golden in spots, and serve.
Nutrition

Dean says
These are so delicious! I love the fresh dill on top.
Evelyne at CulturEatz says
A couple of hours??? More like 4 hours lol. But it was great fun and I love you too. It's your turn to pick the next recipe ;-)
Faith says
Haha that's because we're chatty and spent so much time goofing off instead of shaping Pelmeni! Love you too and I'm going to look up recipes today. xoxo