I had to save the best for last with my Valentine’s Day meal.
After my white hot chocolate, your dessert cravings will probably be satiated, but there’s always room for a pretty little mac or two, right? ;)
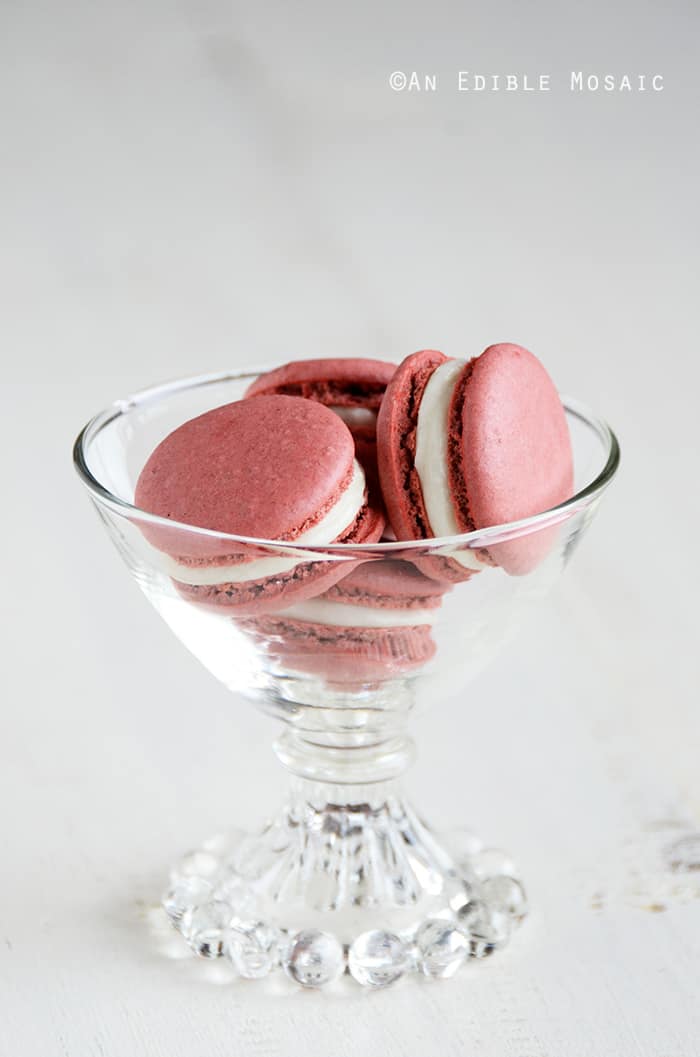
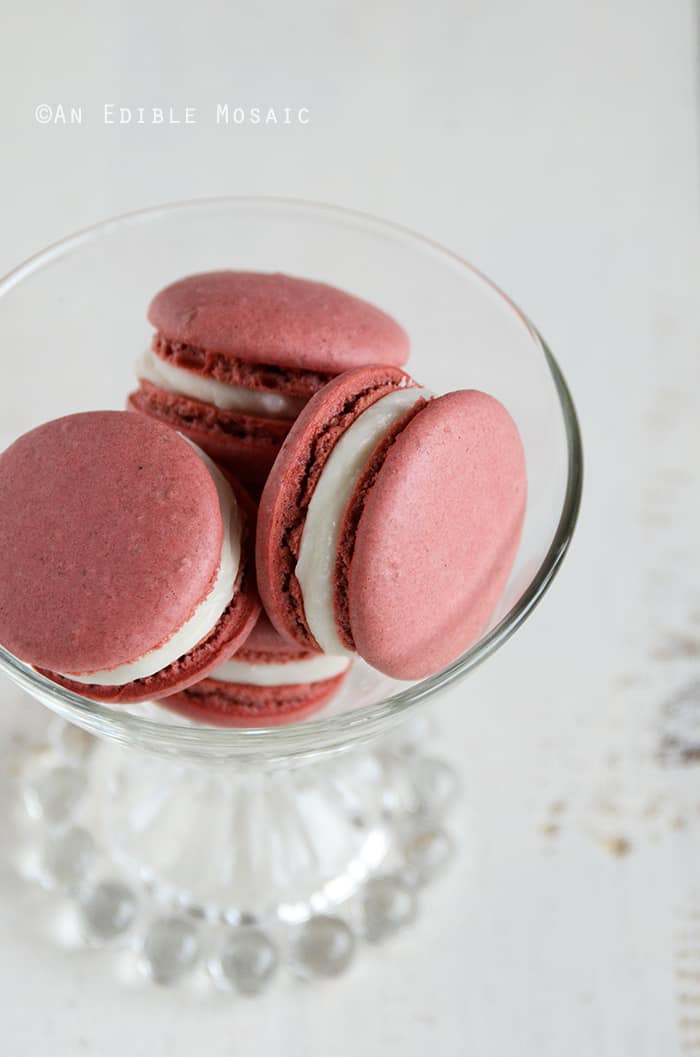
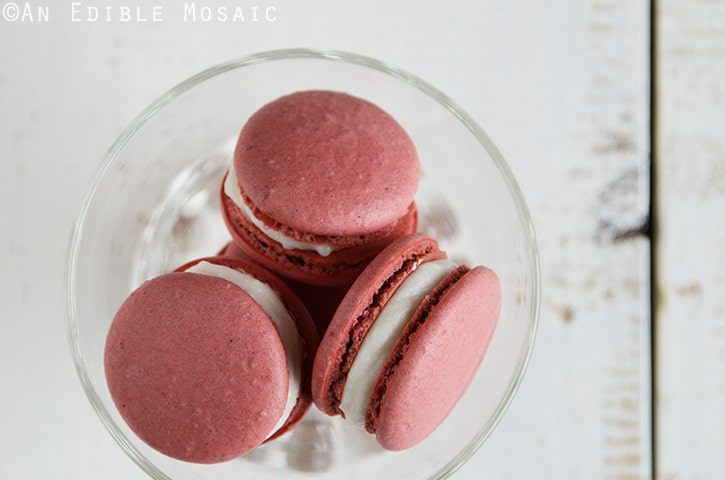
These cookies are the grand finale for my Valentine’s Day meal...

If you’re new to making macarons or if you want to learn a few of my tips or tricks, check out my macaron story where I share all.
- 2½ oz (71 g or about 2 large) egg whites (ounces measured by weight, not volume)
- 4 oz (114 g or 1 cup) powdered sugar (also called confectioner’s, icing, or 10X sugar)
- 2 oz (57 g or ½ cup) almond meal/flour
- ¼ oz (6 g or 1 tablespoon) unsweetened cocoa powder
- 1 pinch fine salt
- ¼ teaspoon pure vanilla extract
- ½ teaspoon liquid red food color
- 1½ oz (43 g or 3 tablespoons) superfine (castor) sugar
- Handheld electric mixer
- Rubber spatula
- Piping bag fitted with ½-inch round tip
- Baking pans
- Parchment paper or silpat liners
- 4 tablespoons unsalted butter, room temperature
- 4 oz cream cheese, room temperature
- ½ teaspoon pure vanilla extract
- 8 oz (227g or ½ lb) powdered sugar
- Handheld electric mixer
- Instructions for Macarons:
- Step 1: Line 2 half sheet pans with parchment paper or silpat liners.
- Step 2: Fill a bowl with hot water from the faucet (it should be about 105F); put the eggs in the water and let them sit until they come to room temperature. (Check them and turn them over every few minutes so they can come up to temperature on both sides. They’re ready when they don’t feel hot or cold to the touch. You may need to add more hot water if they’re not warming up fast enough.) Once the eggs are the right temperature, remove them from the water and dry them off. Separate the yolks from the whites, measuring 2½ oz egg whites for this recipe (you don’t need the yolks for this recipe).
- Step 3: In a medium bowl, whisk or sift together the powdered sugar, almond meal, cocoa powder, and salt (or you can pulse it together a few times in a food processor).
- Step 4: Put the egg whites in a medium bowl and use a handheld electric mixer to whip. When the egg whites are foamy (this should only take a few seconds), gradually add the superfine sugar while still beating. When you have stiff, glossy peaks, beat in the vanilla extract and red food color.
- Step 5: Use a rubber spatula to gently fold the almond meal mixture into the egg whites. Only fold the batter in one direction by sliding the spatula into the center of the batter, then lifting it up and letting the batter fall back onto itself. It generally takes about 50 strokes to work the batter, but this number isn’t as important as how the batter looks. The batter is ready to pipe when it has a smooth, shiny surface and flows like lava in one large ribbon off the spatula. Here is an easy way to see if the batter is ready: use a rubber spatula to lift and drop the batter onto itself; if the ribbon gradually disappears into the batter within 30 seconds, it’s ready to go.
- Step 6: Pour the batter into a pastry bag fitted with a round tip (½ inch in diameter); hold the piping bag straight (i.e., at a 90 degree angle) above baking sheet and pipe 1-inch circles onto the prepared sheet. (You should get about 40 macarons.) Leave about 1 inch between each macaron. Tap each tray a couple times on the countertop to help flatten out the macarons and get rid of any air bubbles. The macarons should not have points on top.
- Step 7: Let the macarons sit at room temperature until they form a shell that’s dry to the touch (this could take anywhere from 30 minutes to 2 hours or more, depending on the weather).
- Step 8: Once the macarons are dry to the touch, preheat oven to 300F; once up to temperature, bake both trays at the same time for 10 to 20 minutes, rotating trays once. Let the macarons cool completely on parchment paper or silpat liner before removing.
- Step 9: To fill the macarons, pair up similar sized cookies. Pipe filling onto the bottom of one macaron, and then place the matching macaron on top of filling.
- Step 10: Line an airtight lidded container with parchment paper and carefully arrange the macarons inside; let them sit in the fridge for a day or 2 (or up to a couple weeks) before eating. Let the cookies sit at room temperature for about 45 minutes before serving.
- Instructions for Buttercream:
- Use a handheld electric mixer to beat together the butter, cream cheese, and vanilla; add the powdered sugar and beat until smooth.




Alisha Kapoor says
was i supposed to add cream of tartar while beating the egg whites ? i didn't but the research i did after the fact said i should have...
Faith says
Alisha, This recipe doesn't call for cream of tartar, but some recipes do.
Sara says
It is amazing and easy 😊😊
But I have some issues why 3 of them cracked, it was a little bit runny when I was piped and it is a little bit sugary for me can I decrease sugar ??if yes which one powder or caster sugar coz the recipe is perfect I don't want to change any thing will affect the result 😀😀😀
Faith says
Sara, Thank you so much, I'm so happy you enjoyed the recipe! If the batter was runny when piped, over-mixing could likely be the reason. The sugar is actually in this recipe not only for sweetness, but also for structure so I don't recommend decreasing it.
Charlotte says
Sorry, just to clarify - I have just made another batch (they were that good), and I'm talking about storing the cookies before filling them :)
Charlotte says
Made these last week - they were absolutely divine!! Definitely better after a couple of days though. Quick question - I didn't store them before filling & eating them. Are you sure they won't go soft in the fridge? If I'm only storing them for a few days would it be better to keep them out?
Faith says
Charlotte, I'm so glad you enjoyed the macs! I store my (filled) macs in the fridge for at least two days before serving them so the cookies can develop their flavor (I find that they're fine for up to a week or two in the fridge, but I wrap them well and store them in an air-tight container). (If you're going to be eating the macs within a day or two of making them, you could leave them out at room room temperature depending on what filling you're using, since certain fillings need to be refrigerated.) The other reason I like to make and fill my macs and refrigerate them at least a couple days before serving is because this allows the filling to slightly soften the crisp cookies, giving them a softer, slightly chewy texture (the cookies will soften more over time...if you want, you can test a cookie each day until they're at the perfect texture for you). Hope this helps!
Magic of Spice says
Your macarons look amazing....what a beautiful dessert to celebrate with!
Dmarie says
oh, yum!!
briana says
I just made them. Eating one right now when I should be packing them in boxes. They are delicious. First time eating and making macarons and I am so happy I chose your recipe for my first time. Thankyou thankyou thankyou!!!! (^_^)*I just made them. Eating one right now when I should be packing them in boxes. They are delicious. First time eating and making macarons and I am so happy I chose your recipe for my first time. Thankyou thankyou thankyou!!!! (^_^)*
admin says
Briana, So glad you're enjoying the macs! :)
Lucy says
Love this interpretation of red velvet cake! The cream cheese buttercream sounds so very good :)
Kiran @ KiranTarun.com says
Delish! I need to try my hands on baking macarons. Looks so drool-worthy!!
Hannah says
Beautiful! I can also appreciate the more subdued red color- Red velvet offerings will all too often veer off into scary, florescent hues...
Betty Bake says
YUM!!! looks lovely
:) hope you have a great Valentines day - when it gets here
hugs
Betty Bake x
Joanne says
there's always room for more dessert when red velvet is involved. These macarons are amazing! Love those feet.
Blond Duck says
Any Valentine's Day pies?
Coco says
oh Faith, these are sooooo pretty, I love love them! I wish I could make them one day. they would be the perfect gift for Vday!
Michele | Cooking At Home says
Just beautiful, Faith.
Amy says
What a masterpiece! Thanks for the inspiration. :)
tasteofbeirut says
wow!! these macarons are so beautiful, the best!
Sarah says
I've been meaning to try my hand at macarons. Thanks for the recipe! Yum!
Veronica says
I'm living in a beautiful dream right now, imagining myself sipping that glorious hot white chocolate and nibbling on these beautiful macarons. They are perfect and I love that you recreated the actual flavors of the cake and not just the colors to represent the title. Well done!
tania@mykitchenstories says
Well, they look beautiful and perfect and who could resist?
Sanjeeta kk says
Oh these Macs look so delicate and crisp..love the pink shade and will surely make a perfect Valentine day gift!
Sarah @ pão e queijo says
Stunning! I <3 macarons.
5 Star Foodie says
Your Valentine's day menu looks lovely, and these gorgeous macaroons are a perfect way to end the meal!
Reeni says
These are lovely treats for a special day! I don't think I've seen a more perfect macaron! Perfect with a cup of hot white chocolate.
Kelsey @aslolife says
Love macaroons. I considered making them as wedding favors but my baked goods never seem to turn out very picture perfect!
Daisy@Nevertoosweet says
I've been WAITING for this recipe for SO SO SO long :) i love macarons but of course haven't had the guts to make any yet hehe but i've never even thought of making them into a red velvet flavoured macaron! I'm gonna have to perfect the macaron art before I attempt this recipe but it already makes me happy by looking at it :D
Lisa says
These look amazing! I probably won't make them because I'd eat them all, but I can imagine how good they are :-)
Dana says
This is the post from your VDay menu that I'd been waiting for! Love this idea, and love how perfect they came out!
Diane says
Wow but they look good. I have never made macaroons, maybe it is time to start now:) Diane
Laura@MotherWouldKNow says
Gorgeous! I've tried macarons several times, but mine never come out quite so perfect looking. You're giving me inspiration to try again.
Rosa says
They are perfect and really beautiful!
Cheers,
Rosa
Blond Duck says
So cute!
Erica says
These should be art! So gorgeous. I think the white hot chocolate still has me though...
Katrina @ Warm Vanilla Sugar says
So perfect for Valentine's day!! These are dainty and gorgeous!
Amy (Savory Moments) says
Another lovely Valentine's Day dessert. These look so pretty.