

This post may contain affiliate links, view our disclosure.
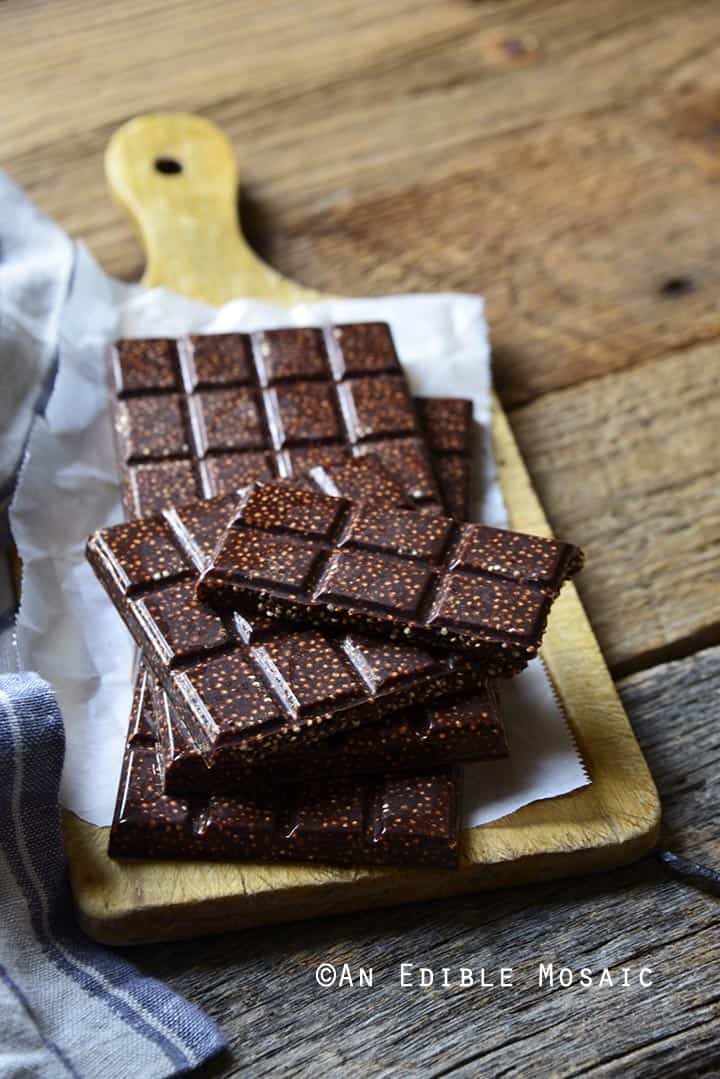
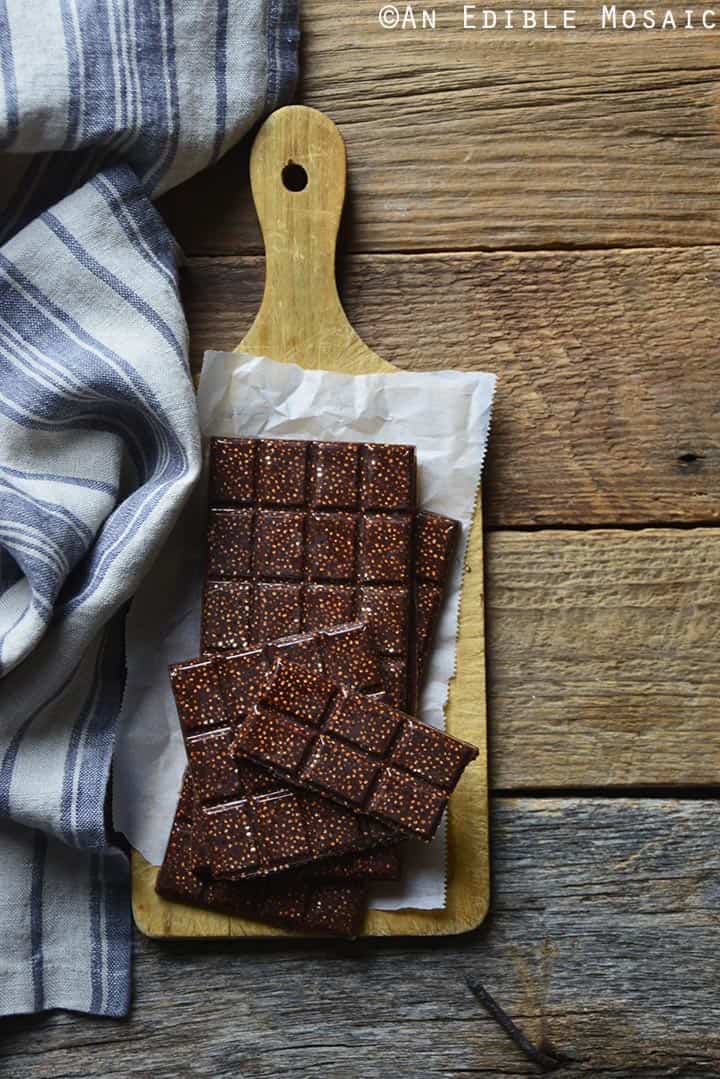
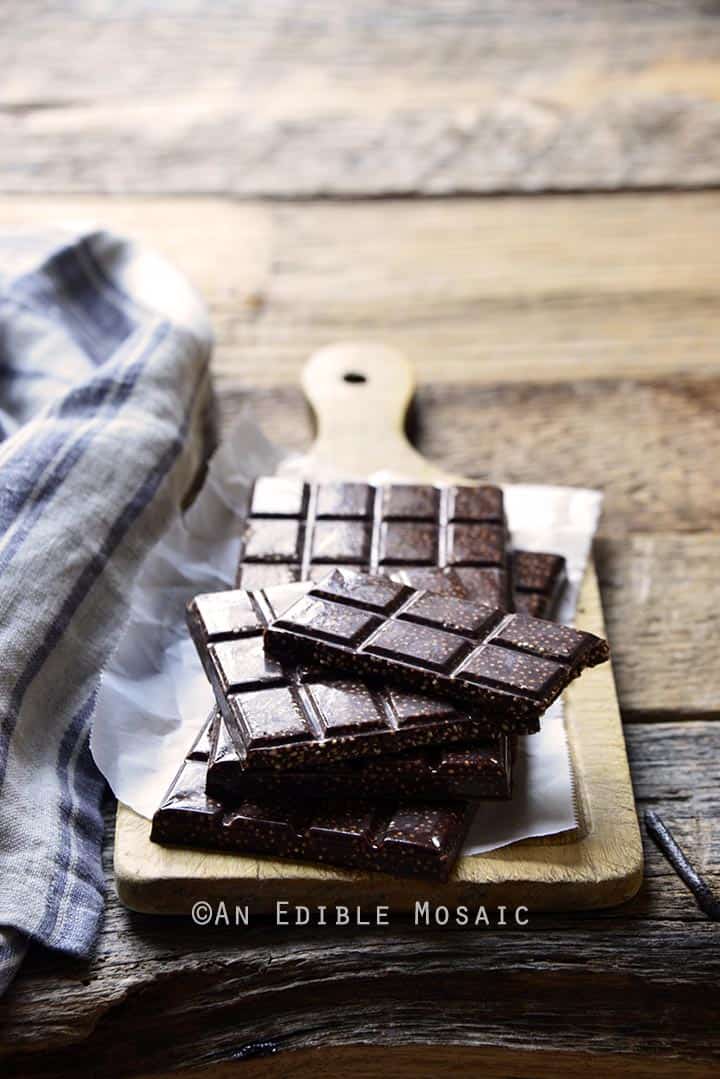
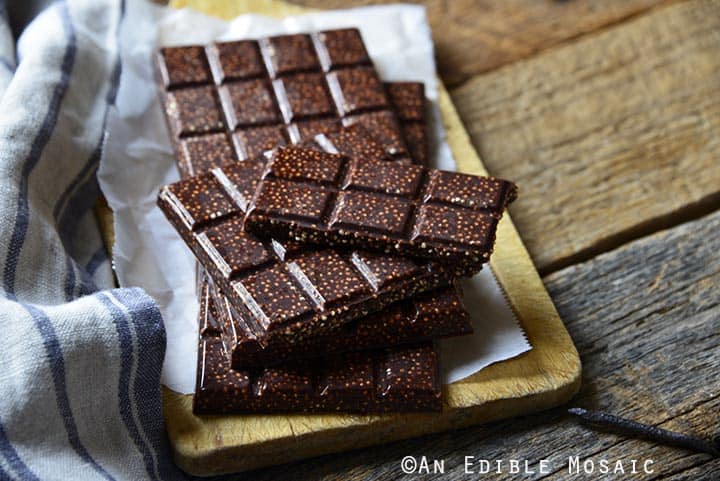
Crispy Toasted Puffed Quinoa Dark Chocolate Candy Bars are a real-food take on a favorite candy bar!
Growing up in the ‘80’s/90’s, things like Boston Baked Beans (the candy coated peanuts), candy cigarettes, and Warheads were our junk foods of choice. My sister also had a thing for Nestlé Crunch Bars, but I was more of a Reese’s Peanut Butter Cup kind-of girl. If I had been able to try this real-food version of a Crunch bar, things might have been different though; IMO, this blows the real thing out of the water.
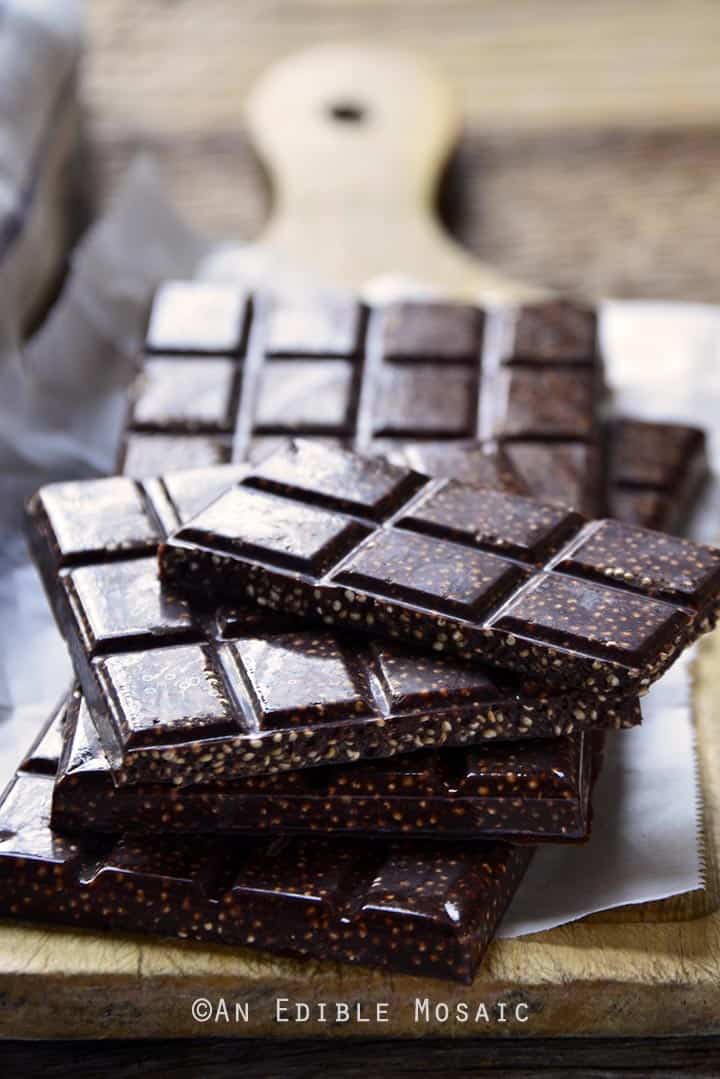
Instead of melting down a chocolate bar, here I made my own chocolate with cacao butter (I like this brand), cocoa powder, and maple syrup. (I love that I can make it exactly as sweet as I want it this way! And all three of these ingredients are nutrient-rich.) A tiny little bit of vanilla, espresso, and sea salt enhance the flavor of chocolate without any one of them really being distinguishable itself.
Now, I’m going to give it to you straight here; puffing quinoa is a bit of a process. First you rinse it under cool running water, then you dry it out in a low oven, and finally you toast it in a dry pan on the stovetop. None of it is challenging though, and the whole process only takes about 45 minutes. And besides, if it means the best Crunch bar of your life, it’s worth it, right? ;)
What was your favorite candy growing up?
- 1 cup (130 g) quinoa, rinsed in a fine mesh sieve under cool running water and drained well (I used Chosen Foods 100% Organic Royal White Quinoa)
- 4 oz (115 g) organic food-grade cacao butter, melted in a double boiler or microwave
- 5 tablespoons unsweetened natural cocoa powder (not Dutch-processed)
- 3 tablespoons pure maple syrup
- ½ teaspoon pure vanilla extract
- 1 pinch espresso powder dissolved in ½ teaspoon hot water
- 1 small pinch sea salt
- Preheat the oven to 250F. Spread the quinoa out on a large baking sheet lined with parchment paper, and put it in the oven to dry it out, about 30 to 40 minutes, stirring every 15 minutes or so. Heat a large, deep-sided heavy-bottomed pan over medium-high heat. Spread out the quinoa in the bottom of the pan (you might need to do this in 2 batches so you don’t overcrowd your pan). Turn the heat down slightly and cook until you don’t hear popping for 2 or 3 seconds, stirring occasionally or giving the pan a good shake. Note that if your pan isn’t deep enough, you will need to put a lid on it to keep the quinoa from flying out. (It’s not quite as rigorous as popcorn when it pops, but it’s still pretty lively.) Spread the quinoa out on a large baking sheet to cool.
- When the quinoa is cool, mix together all remaining ingredients, and then stir in the puffed quinoa.
- Pour the chocolate into molds (I used 4 molds that measure 6¼ inches long by 3 inches wide by ¼ inch deep), and let the chocolate set. (If you don’t have chocolate molds, you can line a 9 by 13-inch baking dish or tray with parchment paper and pour the chocolate inside.)
- Store the candy bars in the fridge for up to 2 months.
Disclosure: This post contains Amazon affiliate links to products I believe in, which means that even though it doesn’t cost you anything extra, I will receive a small amount of money from the sale of these items, which helps me keep this site alive – thank you for helping to support An Edible Mosaic!


I’m the writer, recipe developer, photographer, and food stylist behind this blog. I love finding the human connection through something we all do every day: eat! Food is a common ground that we can all relate to, and our tables tell a story. It’s my goal to inspire you to get in the kitchen, try something new, and find a favorite you didn’t know you had.
Free Bonus


These bars looks so perfect you could sell them! I would buy them by the bulk and munch on them all day long. I have never used cocoa butter, but this makes me want to try it out. Thanks for sharing!
Yes!! I loved Nestle Crunch bars so I can’t wait to try these… plus they are good for you, so I can indulge guilt-free :)
Love this! I got chocolate bar molds for Christmas and this looks like an amazing use for them.
Whoa. Quinoa crunch chocolate bars…sign me up! Did I miss the link to the candy bar molds? I love that you can break them into little squares.
One thing I try to avoid in chocolate bars is soy lecithin – Theo makes wonderful chocolate that doesn’t have it, but it’s expensive. I love the idea of making my own bars and these are just the straight forward ingredients I look for in a treat. Thank you for the inspiration.
BTW, you made me LOL with the candy nostalgia. My best friend and I were sent to the principal in the 3rd grade for suspicion of smoking. It was a cold day and we were pretending that our breath steam was smoke and someone ‘turned us in’. And thinking of that, what an inane kind of candy. I hope they don’t make them anymore. #nowimrambling
Have a wonderful weekend, my friend!!
God gracious ! I am so into Nestle Crunch ! And it takes 1 hour of time ? I’m in. Will do it today after working hours ! Thank you so much ! You have made my day !