Learn how to make caramelized onions with step-by-step photos! Luscious balsamic caramelized onions are easy to make and have a rich, sweet, and balanced subtly fruity, slightly tangy flavor. They’re perfect on burgers, pizza, grilled cheese, pasta, grilled meat, or added to a cheese board!
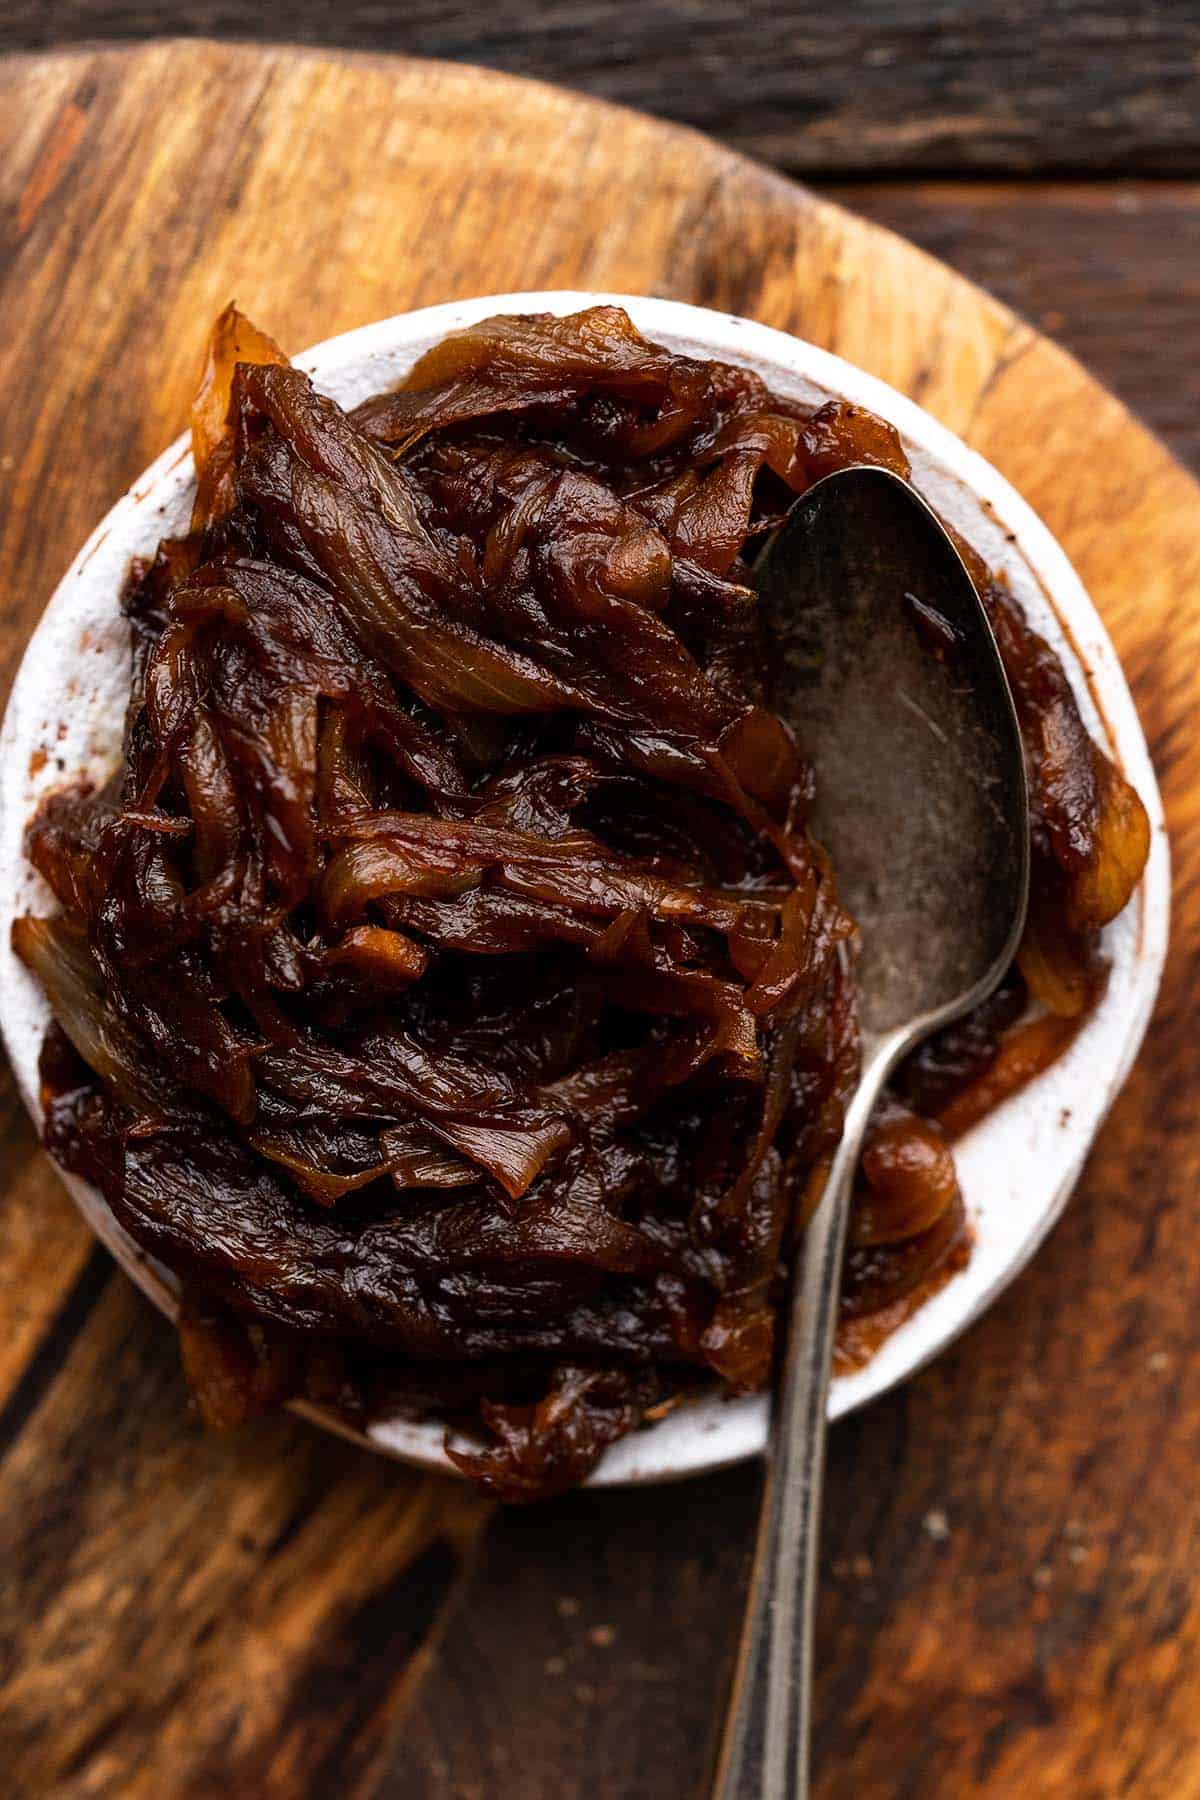
If you’re looking for a shortcut to make caramelized onions quickly, I’m going to let you in on a little secret.
The best caramelized onions – the ones with rich, sweet and subtly tangy flavor and deep brown color – take at least 30 minutes to make.
There’s just no getting around it, but I promise they’re worth it!
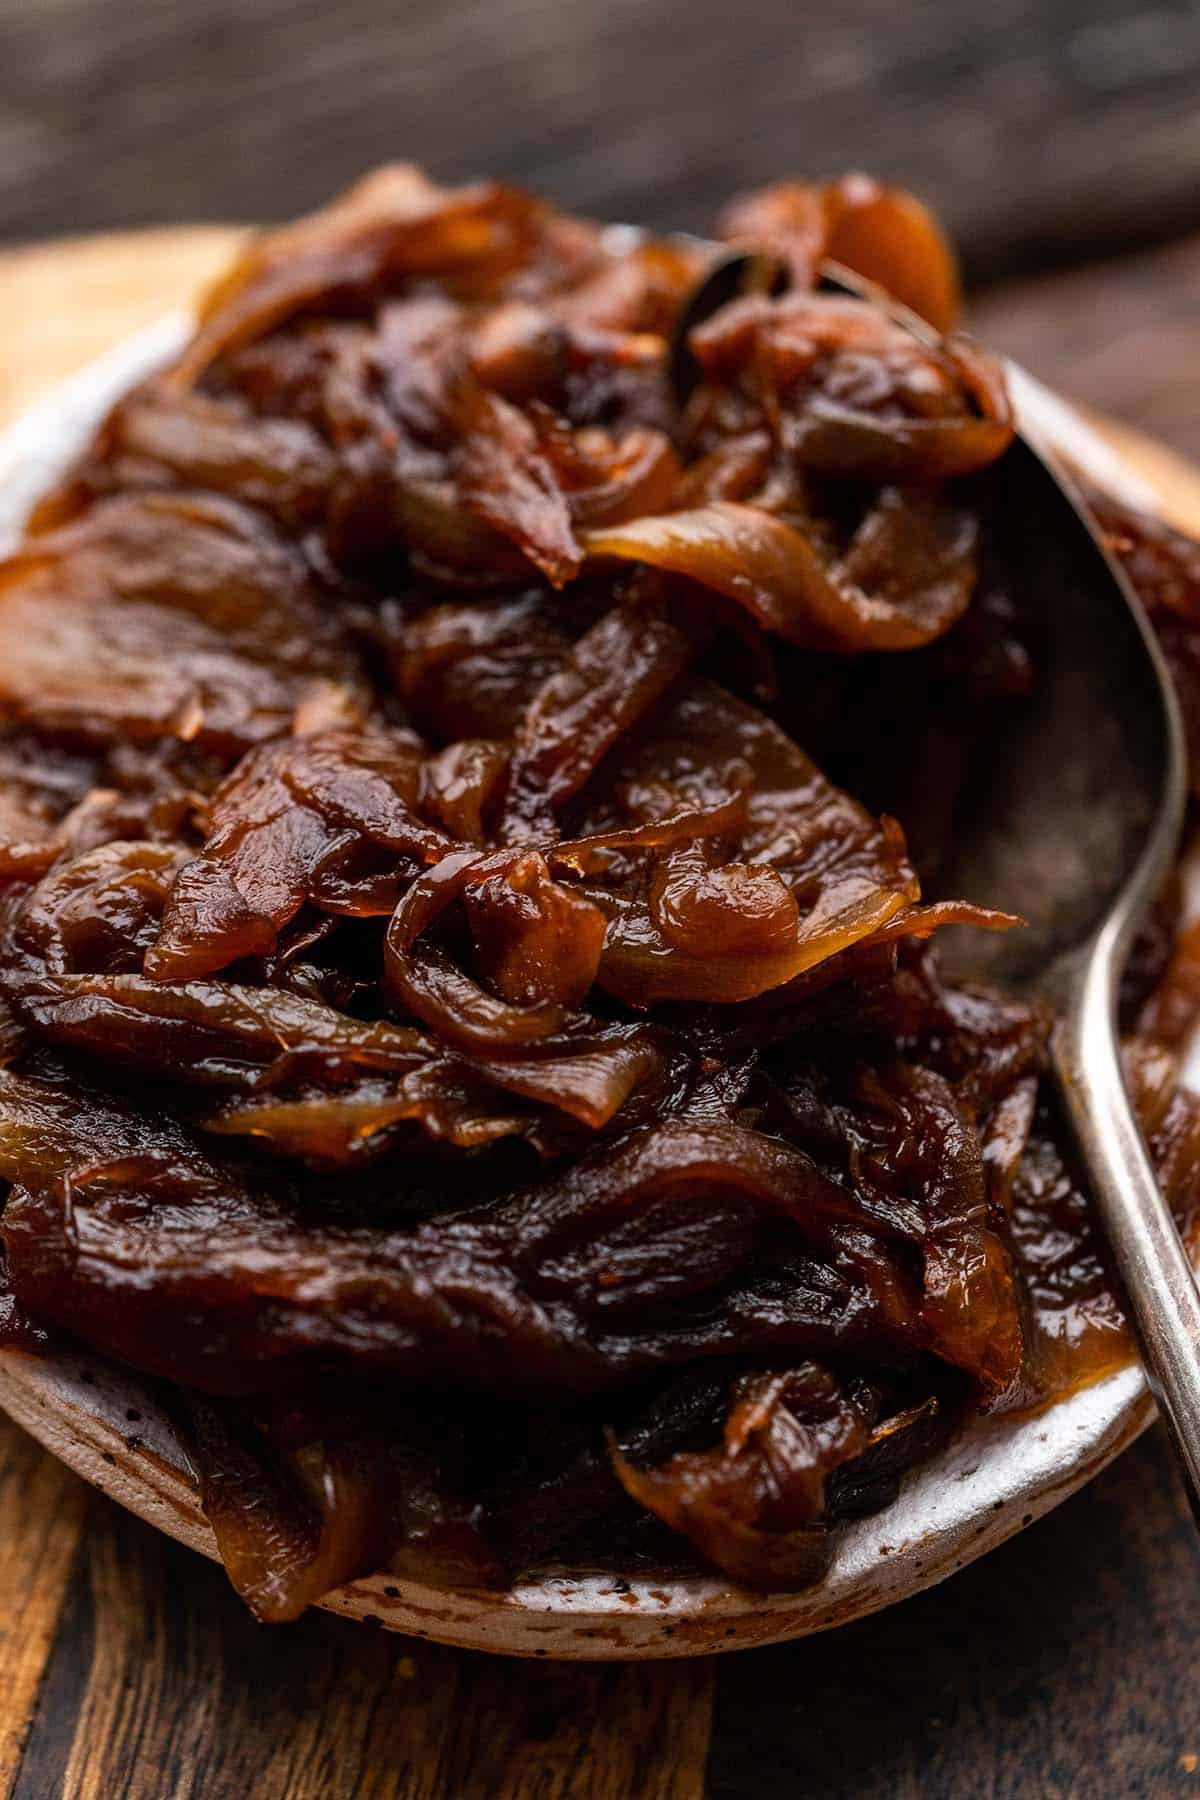
The Best Method for How to Make Caramelized Onions
Ingredients in Balsamic Caramelized Onions
In this section I explain the ingredients and give substitution ideas. For the full recipe (including ingredient amounts), please see the recipe card below.
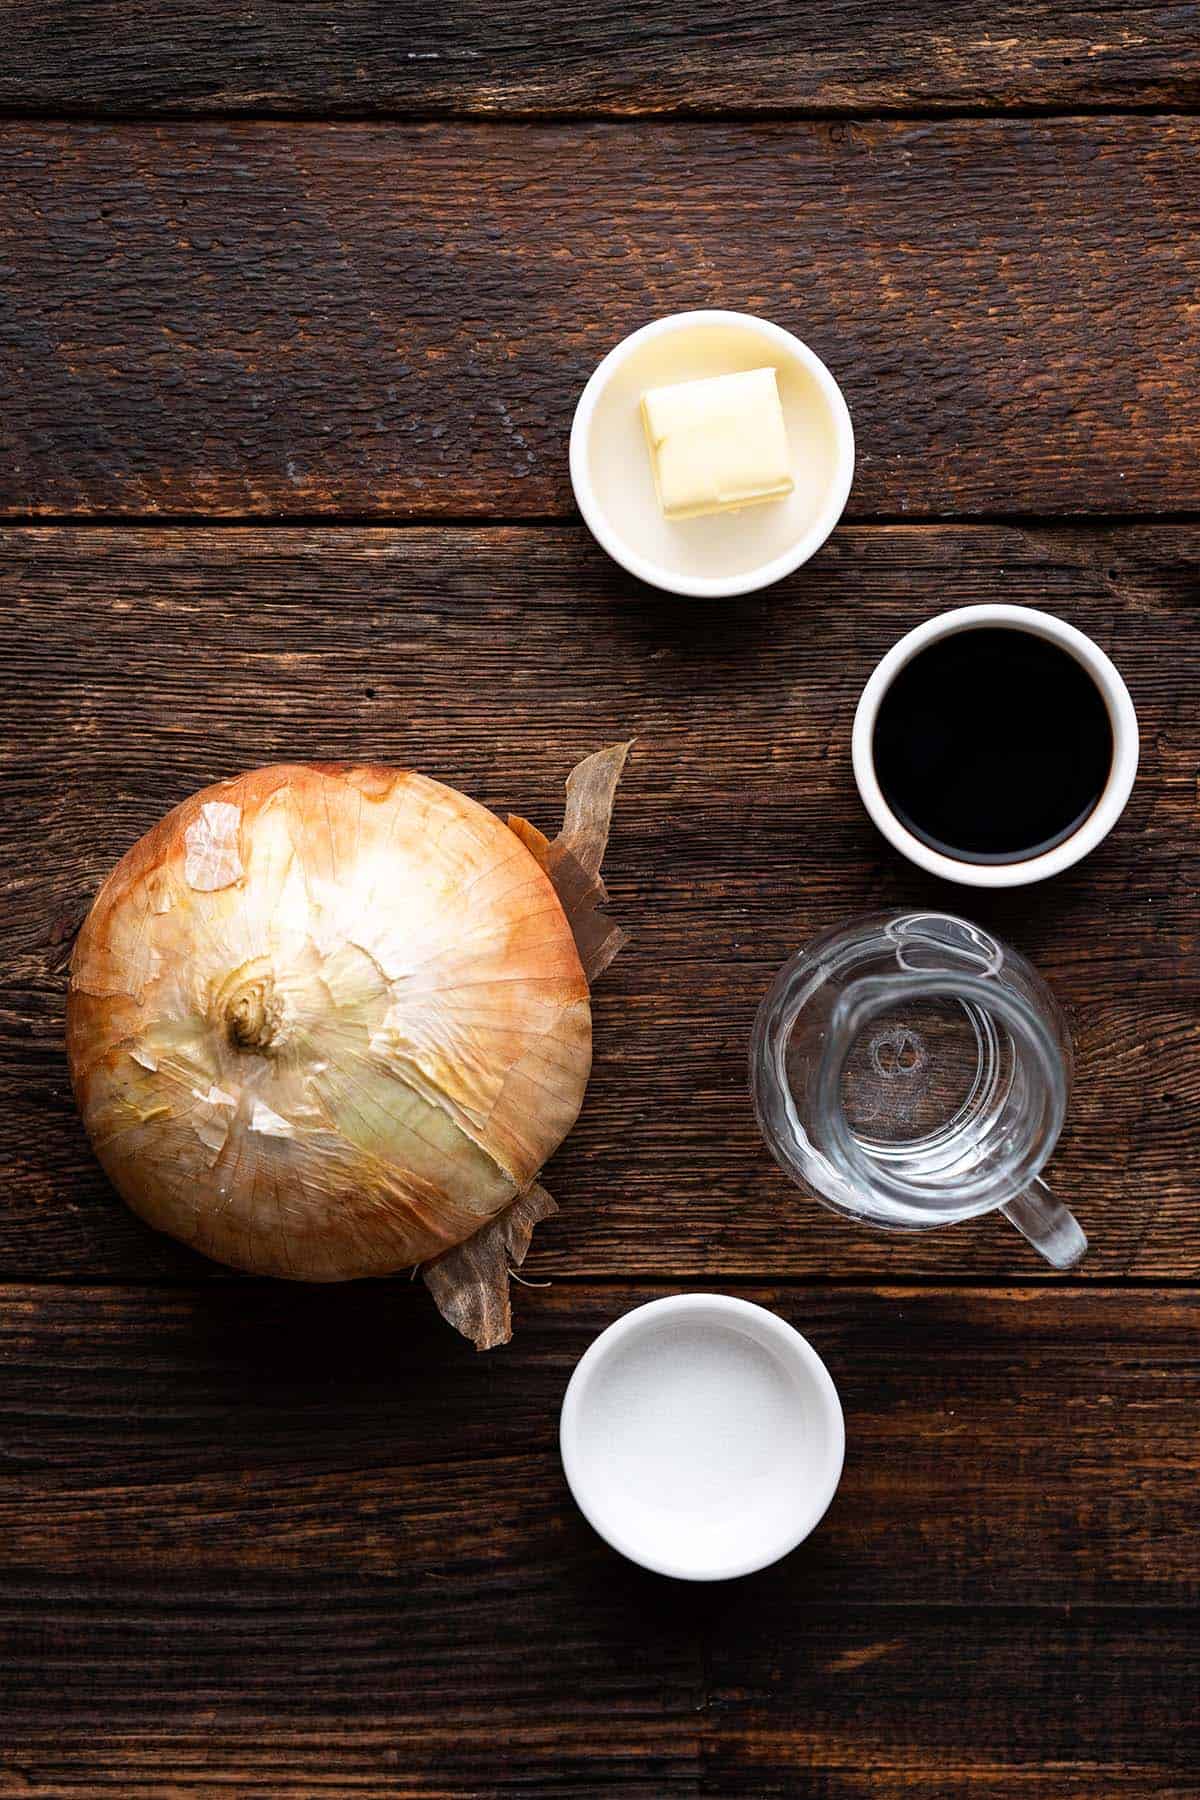
- Butter – we use a little butter for richness and to help prevent the onions from sticking
- Onion – my favorite type of onion to use to make caramelized onion is yellow onion, but white onion, red onion, and even sweet onion (such as Vidalia) will all work
- Water – when caramelizing onion, it’s helpful to add a splash of water if the onion starts to stick to the pan or starts to scorch because the pan gets too hot
- Salt – to enhance the flavor
- Balsamic vinegar – the sweet/tart fruity flavor of balsamic vinegar is the perfect offset to rich, sweet caramelized onion; essentially, the acid in vinegar helps balance the flavor profile
How to Make Caramelized Onions

- Add the butter to a large skillet over medium heat. Once melted, add the onion.
- Cook the onion until it is deep golden in color, about 30 minutes, stirring occasionally. Add a splash of water when it starts to stick to the pan, or when it starts to get too dark. Adjust the heat down as necessary so the onion doesn’t burn. This is the onion after cooking 10 minutes.
- This is after cooking 20 minutes.
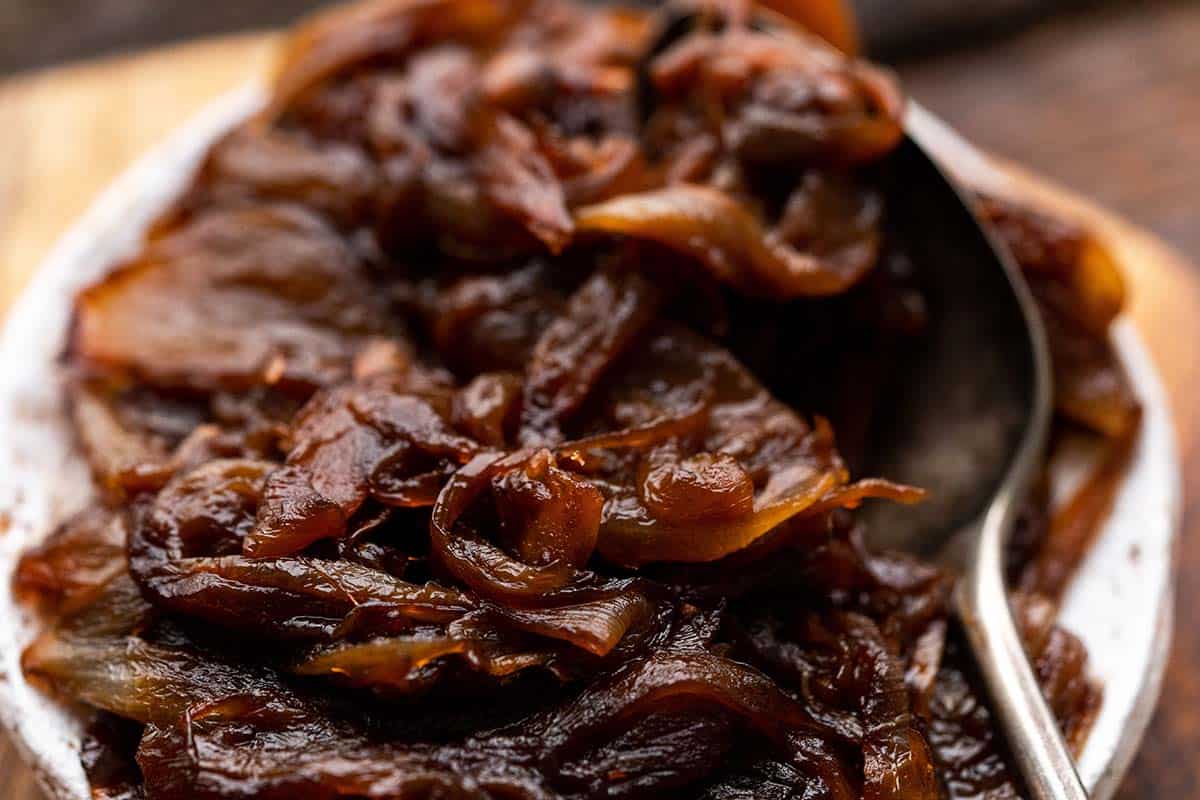
- This is at the 30-minute point. The onions are beautifully caramelized.
- Once caramelized, stir in the salt and balsamic and cook about 1 minute, scraping up any brown bits from the bottom of the pan.
- Remove from the heat.
Storage
Once caramelized onion cools to room temperature, store it in an airtight container in the fridge for up to 1 week.

How to Use Balsamic Caramelized Onions
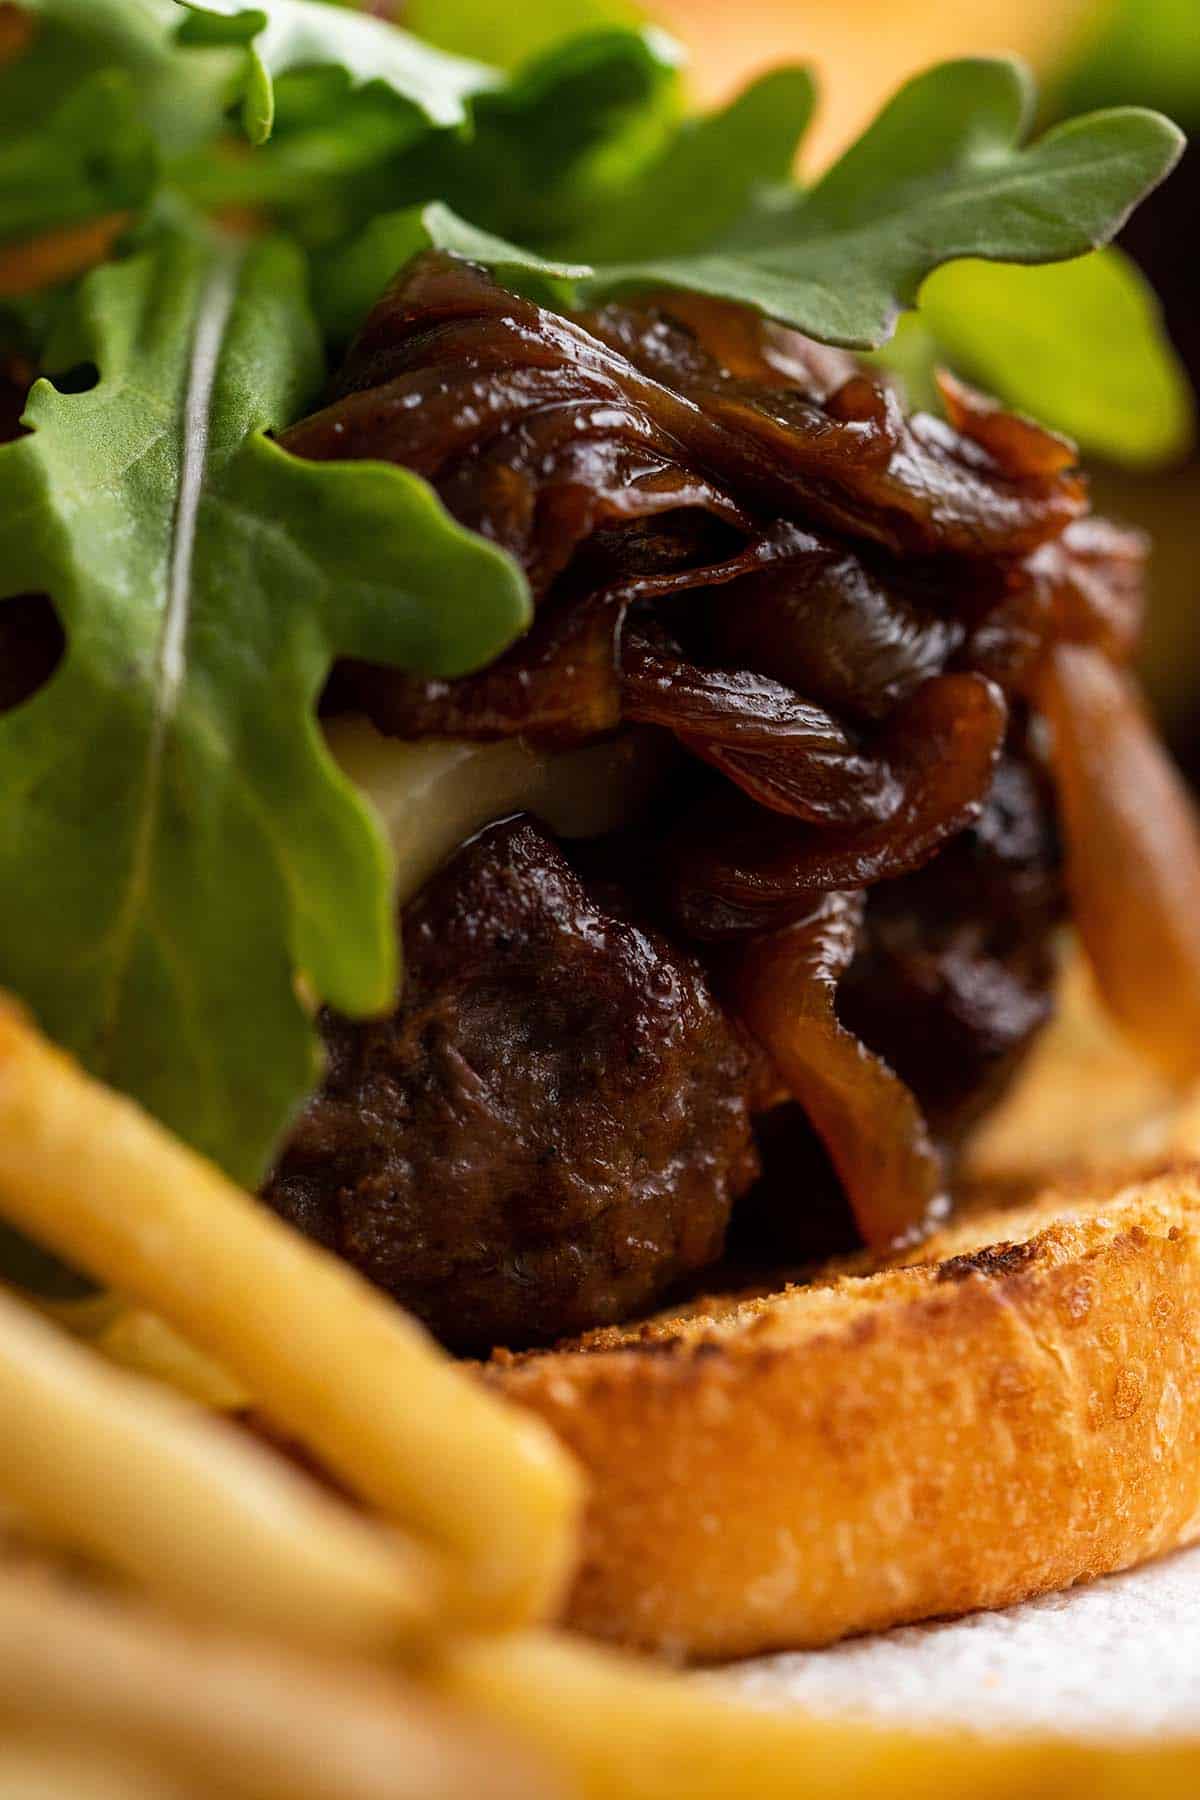
If you’re wondering what to do with caramelized onion once you make it, the possibilities are endless! Here are a few ideas:
- Burger topping
- Pizza topping
- Add to grilled cheese sandwiches
- Add to your favorite pasta dish
- Serve with sliced cheeses as a chutney (caramelized onions are perfect on a charcuterie or cheese board)
- Serve on top of grilled or roasted steak or chicken
How to Make Caramelized Onions FAQs
What Type of Onion is Best for Caramelizing?
There are a few different kinds of onion that you can use to make caramelized onion. Here are the best options, ranked in order of my personal preference:
- Yellow onion (such as Spanish onion) – this type of onion is milder than some other types, and lends a savory base flavor that turns rich and sweetens as the onion caramelizes
- Red onion
- White onion
- Sweet onion (such as Vidalia) – this is the sweetest onion of all the onion options; if you use sweet onion because it’s all that’s available, I recommend increasing the balsamic vinegar to 3 tablespoons in this recipe to balance out the onion’s natural sweetness
How Do You Cut Onions for Caramelizing?
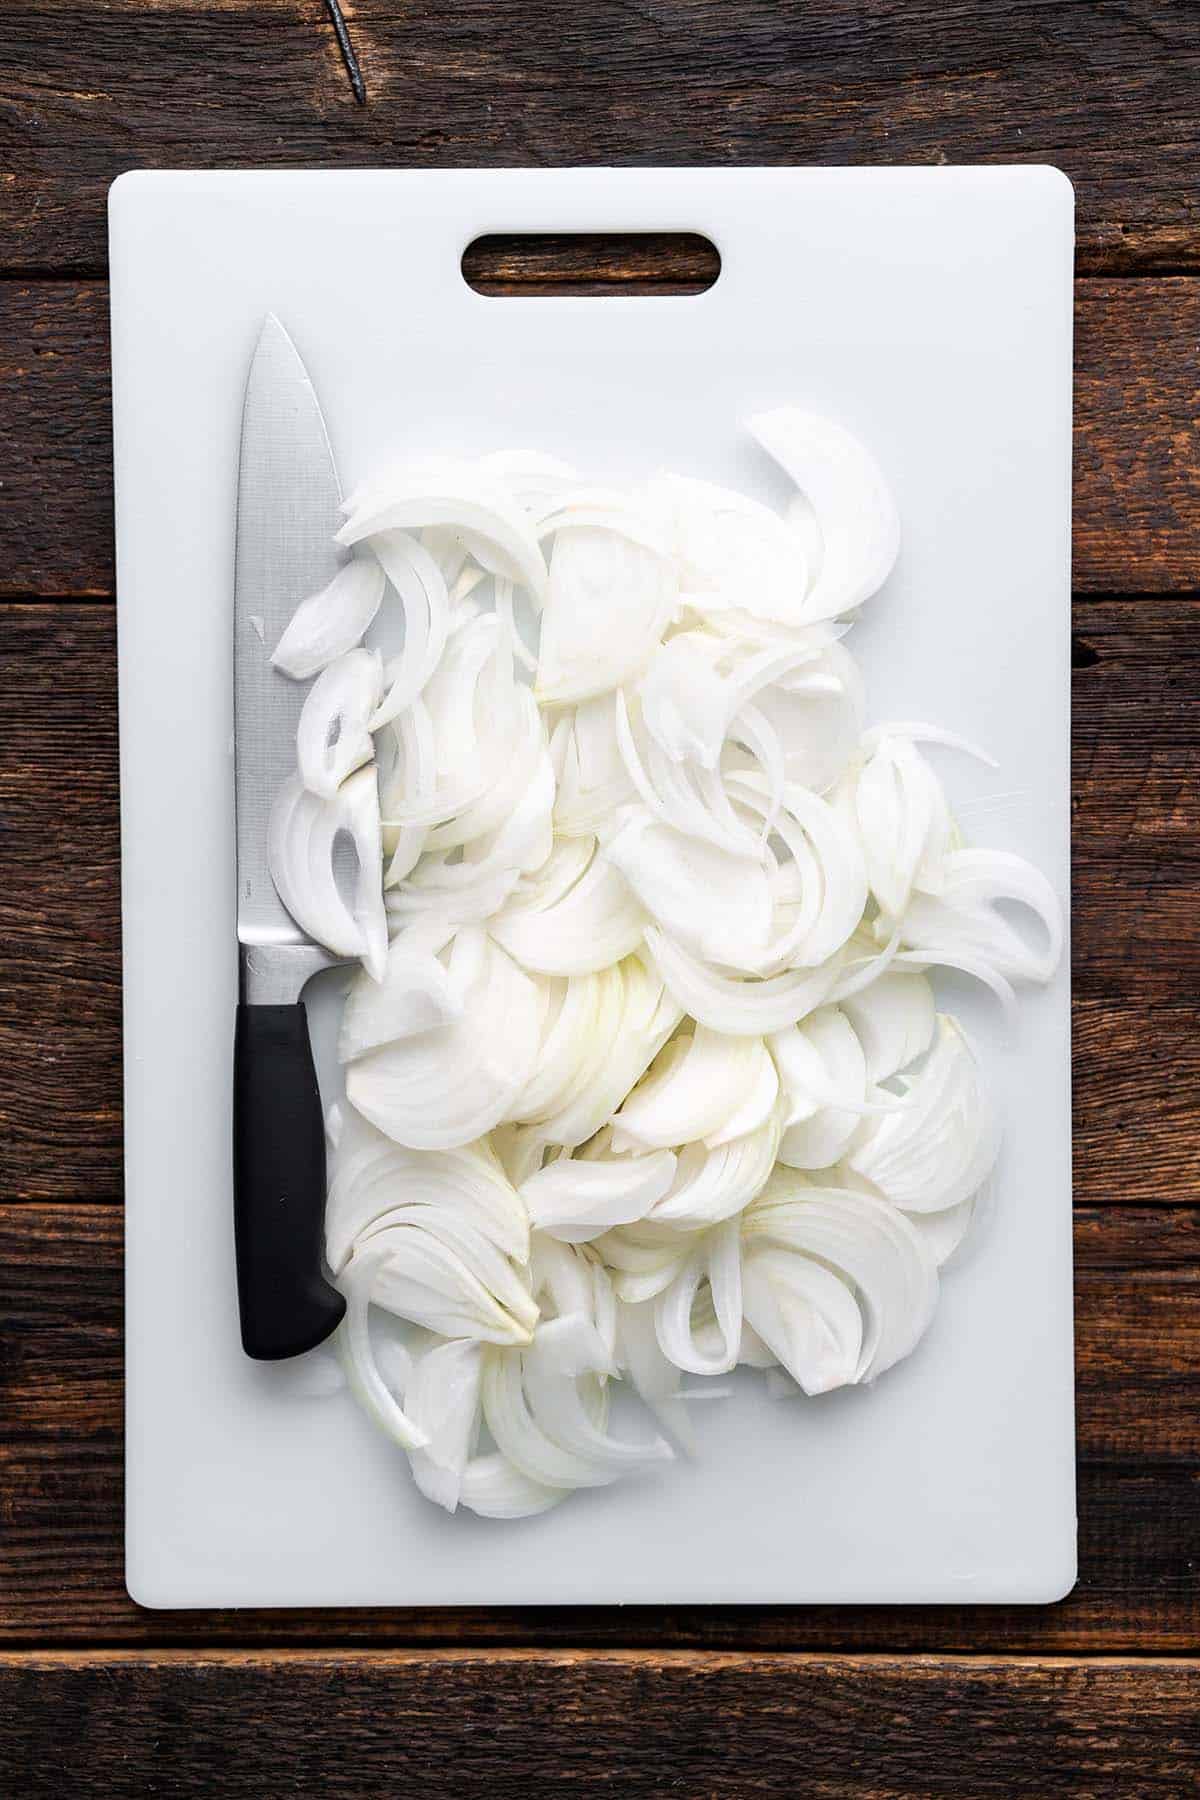
This process is very easy, just make sure your knife is sharp and be careful.
- Peel the onion.
- Cut the onion in half.
- Thinly slice the onion halves.
Should I Caramelize Onions with Butter or Oil?
You can use butter or oil to make caramelized onion. The nice thing about using oil is that depending on what oil you use, it has a higher smoke point than butter (for example, avocado oil). This means it won’t scorch as easily. However, the good thing about using butter is that it adds rich flavor.
For the best of both worlds, a lot of people use a combination of oil and butter to make caramelized onions. I’ve simplified this recipe and just use butter because I’m mindful of the heat, and never go higher than medium.
However, the fats you can use to caramelize onion don’t stop with butter and oil! You could also use clarified butter (called ghee), duck fat, or tallow (which is rendered fat from beef or sometimes mutton).
Recipes Using Caramelized Onions
- Crispy Potato Latkes with Caramelized Onion
- Red Wine Caramelized Onion Flatbread with Manchego, Grapes, and Thyme
- Warm Caramelized Onion Chickpea Spread
Let's Connect

Did you make this recipe? Please rate it and leave a comment below. You can also tag @anediblemosaic on social media.
To stay up-to-date, follow me on Facebook, Instagram, Pinterest, and Twitter!
How to Make Caramelized Onions (The Best Balsamic Caramelized Onions!)
Ingredients
- 2 tablespoons unsalted butter
- 1 extremely large onion peeled and thinly sliced (about 5 cups sliced)
- ¼ cup water slightly more or less as needed
- ½ teaspoon salt
- 2 tablespoons balsamic vinegar
Instructions
- Add the butter to a large skillet over medium heat. Once melted, add the onion.
- Cook the onion until it is deep golden in color, about 30 minutes, stirring occasionally. Add a splash of water when it starts to stick to the pan, or when it starts to get too dark. Adjust the heat down as necessary so the onion doesn’t burn.
- Once caramelized, stir in the salt and balsamic and cook about 1 minute, scraping up any brown bits from the bottom of the pan.
- Remove from the heat.
Faith's Tips
- Recipe Yield and Serving Size: This recipe makes about 1 cup of caramelized onions, or 8 (2-tablespoon) servings.
- Storage: Once caramelized onion cools to room temperature, store it in an airtight container in the fridge for up to 1 week.
Nutrition


Leave a Reply