

This post may contain affiliate links, view our disclosure.
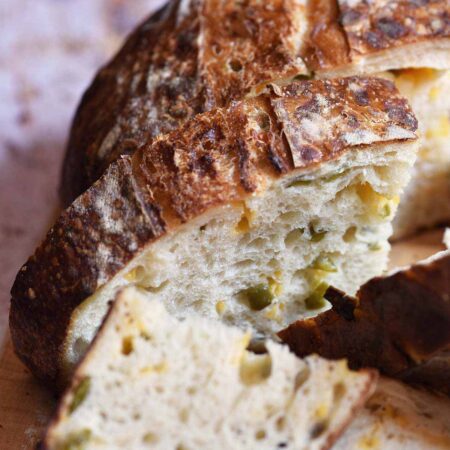
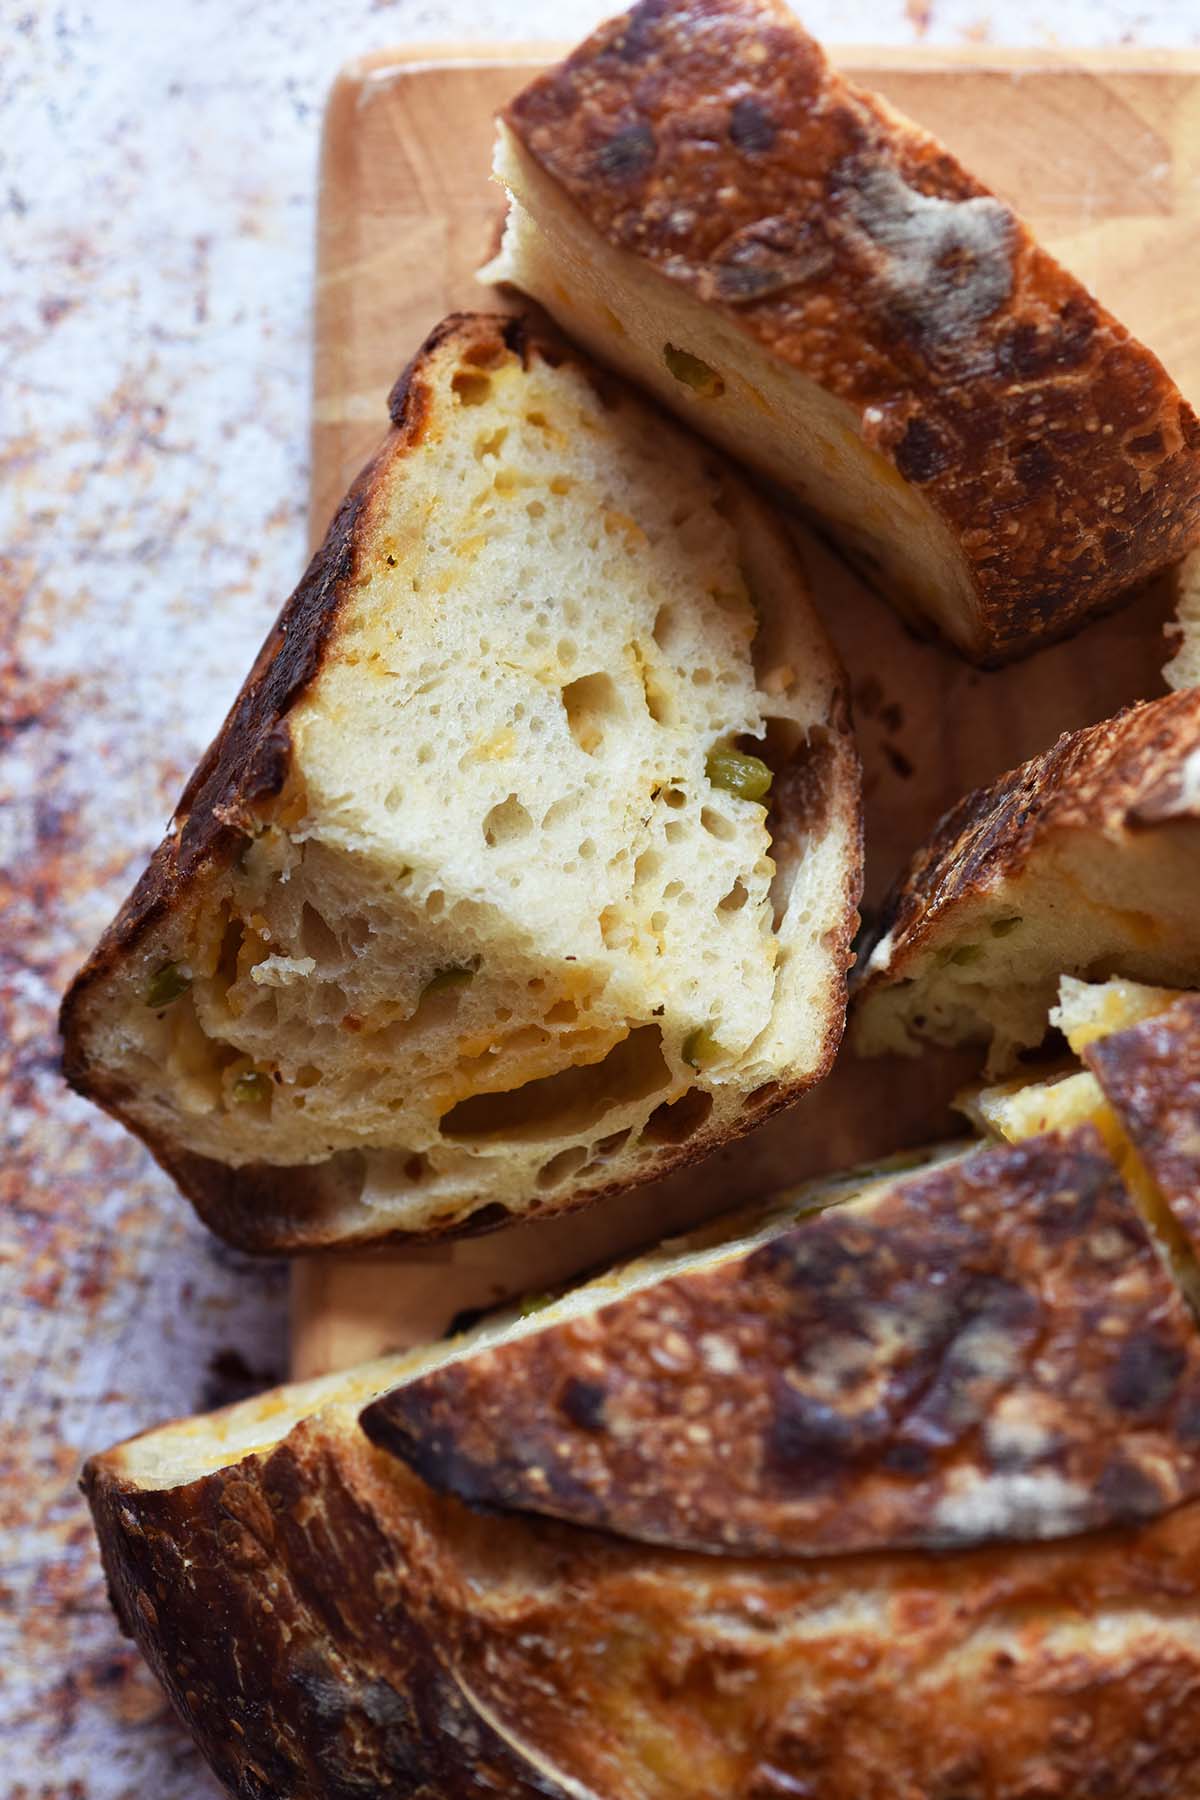
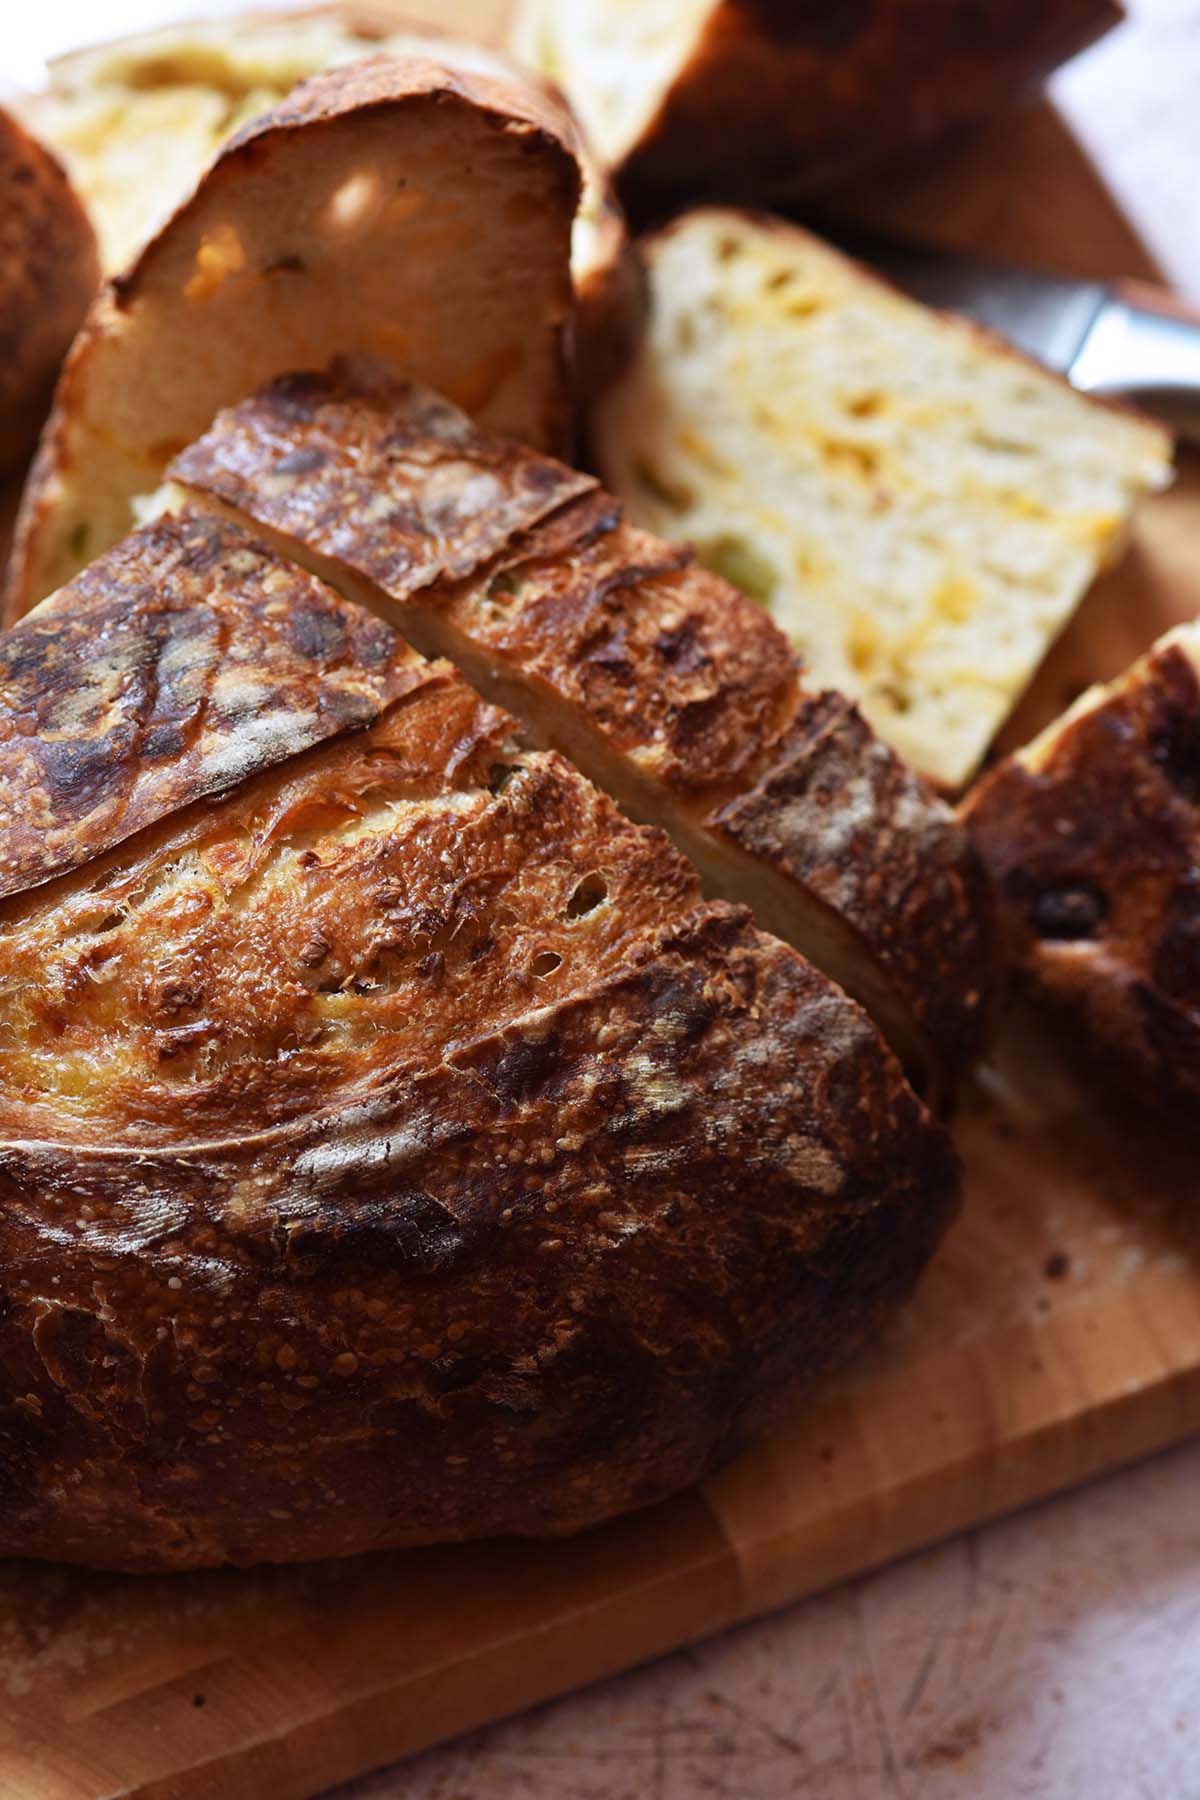
This jalapeño cheddar sourdough bread recipe features this classic savory flavor combination in a chewy, crusty loaf.
Have you ever wondered, if you drive across the country, can you bring your sourdough starter? If so, you’re in good company. And I tested it so you don’t have to! (Spoiler Alert: You can indeed.)
Earlier this summer, I moved long distance. Before I left, I was debating what to do with my sourdough starter and my best idea was to feed it, pop it into a clean (important: loosely sealed) mason jar, put it into a bag (should any mishaps happen), and just bring it. I had already dehydrated some of my starter before last Passover, so I had plenty of backup if the experiment failed. But I’m happy to report, it worked like a charm!
My sourdough starter (aka Helene, lovingly named after the hurricane that accelerated her viability; you can read the full story on my other blog, Sourdough Diaries) survived two summer days in the car. And they were hot and humid days, friends. (I kept the jar in the center console, so it was as close to air conditioning as possible. Also, if you’re going to try this, note that the jar should be filled a maximum of about 1/4 full to allow for expansion.)
After settling in, I made one loaf of regular sourdough for a friend, and then another loaf for another friend. And then peach quick bread with sourdough discard. And then I decided it was high time I play around with a recipe that’s been dancing around my head for a while: cheddar jalapeño.
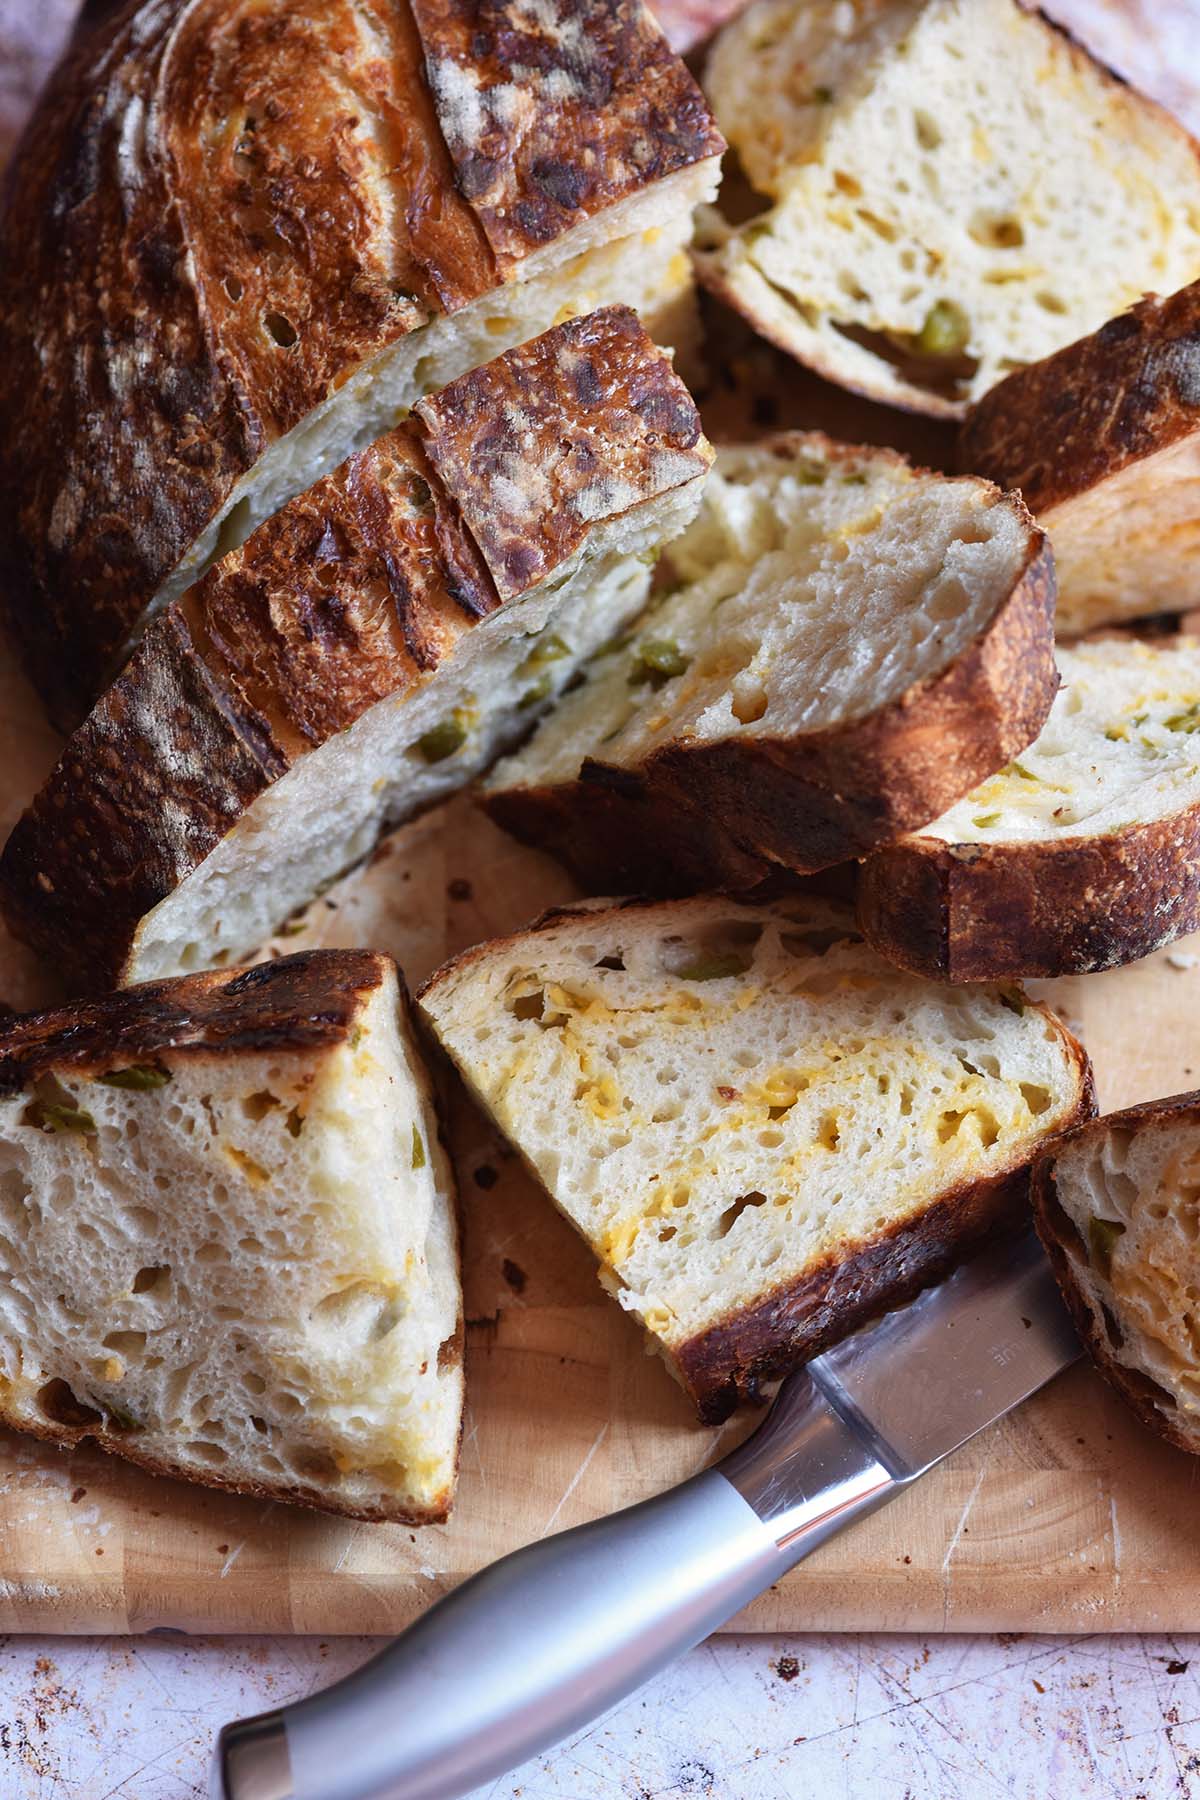
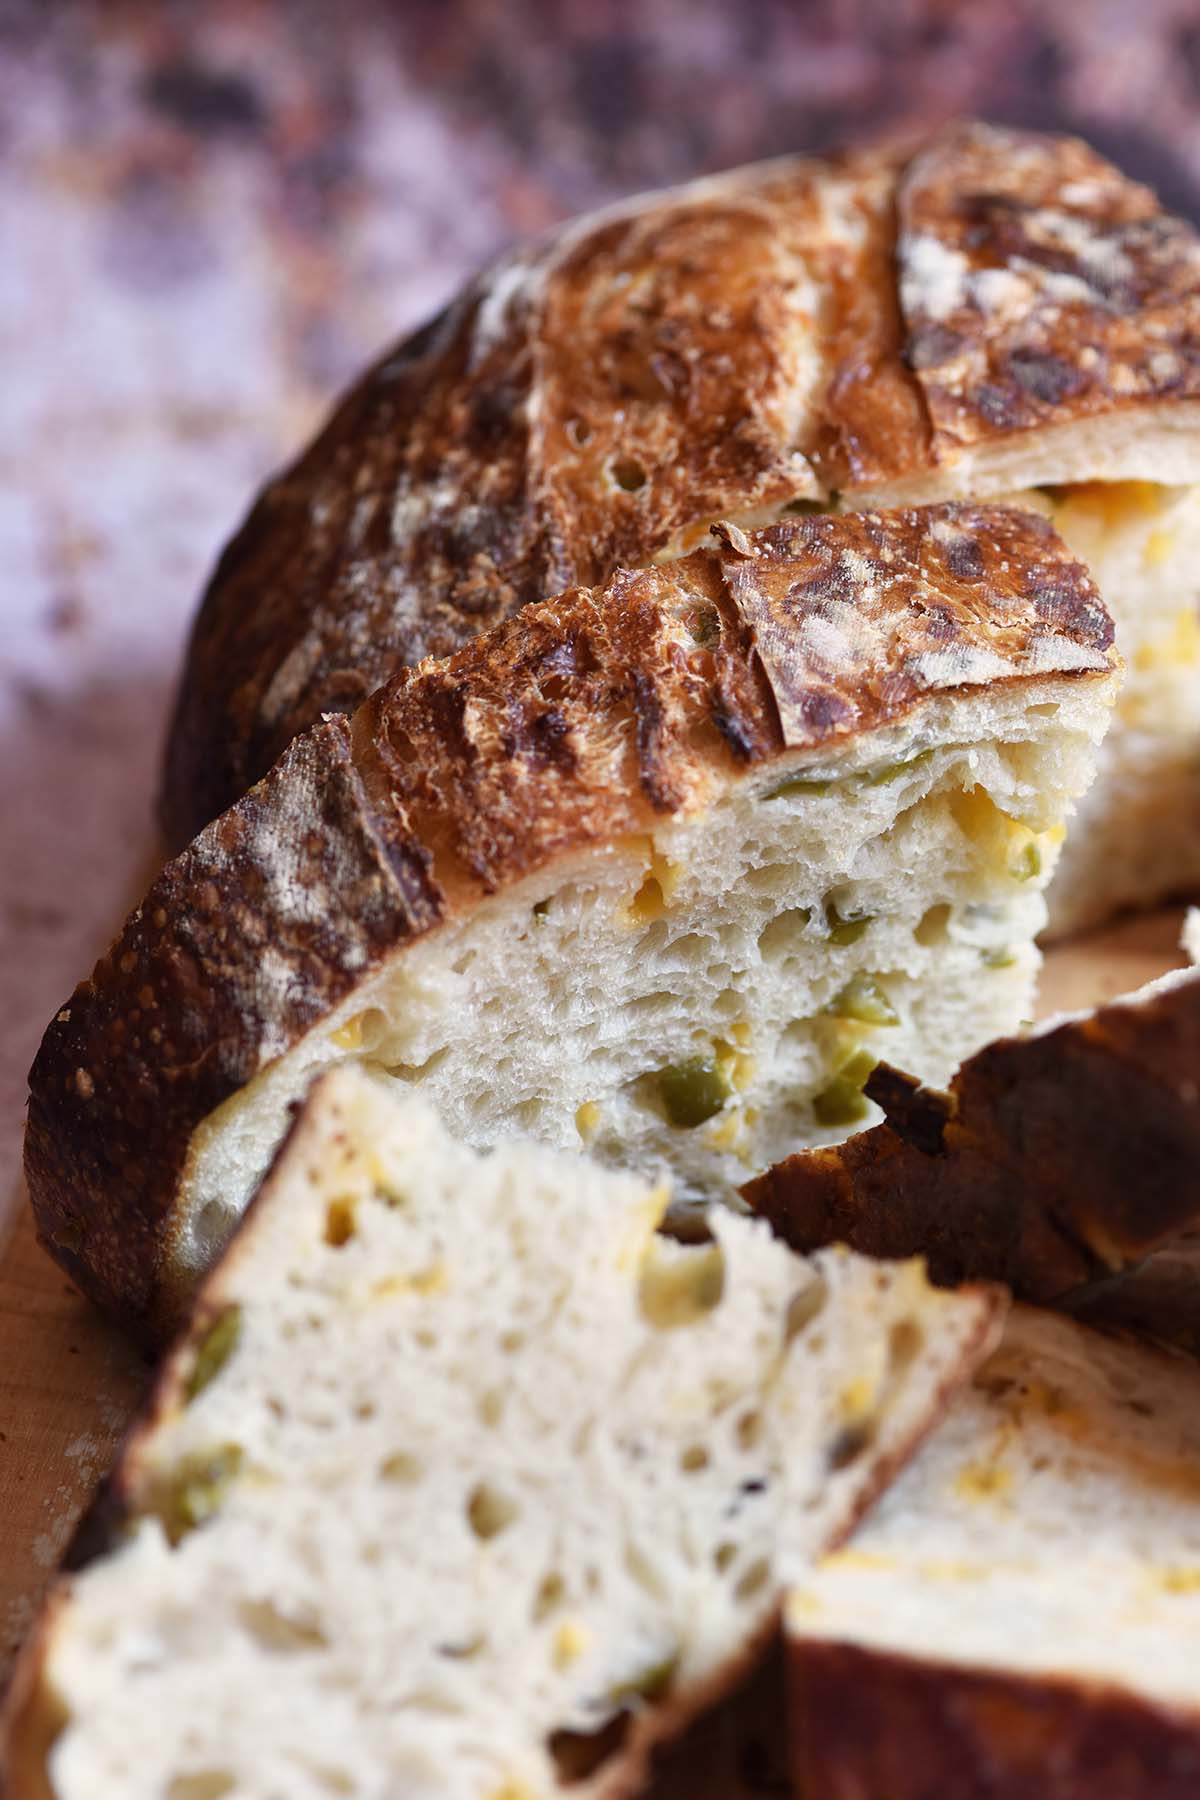
Tangy sourdough, rich + savory cheddar cheese, and spicy jalapeños pair beautifully in this crispy-outside, chewy-inside loaf. If you’re looking for fun sourdough inclusion ideas, give this bread a try!
Why This Recipe Works
- First things first, let’s talk hydration. On the surface, it seems like this recipe is a no-brainer. Just make a regular loaf of sourdough and add cheddar and jalapeños, right? This might work, but I wanted a failsafe. Don’t forget, our inclusions (especially the jalapeños here) add moisture to the dough as it ferments. To counterbalance this, I very slightly decreased the added water to get a 69% hydration level, which is a bit lower than my standard sourdough loaf. (In my sourdough rye bread post, I give step-by-step instructions on how to calculate baker’s percentages and sourdough hydration for that recipe. You can use the same instructions to calculate and adjust baker’s percentages for this recipe if you want to experiment with the hydration here.)
- Prep the inclusions. Shredding the cheese (or cutting it into 1/4-inch or smaller cubes) doesn’t weigh down the dough or cause pockets of melted cheese that are too large. For the jalapeños, we de-seed them, dice them, and pat them dry to avoid adding excess moisture as much as possible.
- Add the inclusions right before the final set of stretch-and-folds. This ensures even distribution during bulk fermentation. (TIP: If you forget to add the inclusions before bulk fermentation, you can still add them during shaping. However, they won’t be evenly distributed, they’ll be in a spiral.)
Jalapeño Cheddar Sourdough Ingredients
Breaking It Down
Ingredients Explained
In this section I explain the ingredients and give substitution ideas where applicable. For the full recipe (including the ingredient amounts), see the recipe card below.
Ingredients To Feed Your Starter
- 100% hydration ripe sourdough starter – “Ripe” in the context of a sourdough starter means that it’s ready to bake with; it should consistently double in size within 4 to 12 hours after feeding at room temperature. Note that if you’re just making your starter, it can take 7 to 10 days (or longer) for it to ripen to the point of being ready to bake with.
- Unbleached all-purpose flour – Organic if possible.
- Non-chlorinated water – I use room temperature bottled water.
Ingredients For The Dough
- 100% hydration fed, bubbly sourdough starter – Feed your starter and give it time to peak before making the dough.
- Non-chlorinated water – I use room temperature bottled water.
- Fine sea salt – My go-to is Redmond Real Salt.
- Unbleached bread flour – Organic if possible.
- Fresh jalapeño peppers – De-seeded, diced, and patted dry. If you like, you can substitute up to half of the fresh jalapeños for pickled jalapeños (drained, patted dry, and diced).
- Shredded sharp cheddar cheese – Use freshly-shredded cheese here, not the pre-shredded stuff.
Step-by-Step Instructions
For step-by-step photos of the process as well as a video showing how to make sourdough bread, please check out my sourdough sandwich bread recipe on Sourdough Diaries.
Step 1: Feed Your Starter (4 to 12 hours wait time)
Feed your starter so that it’s at peak when you’re planning to make the dough. Around 4 to 12 hours before you want to make the dough is the general timeframe, but you know how long it takes your starter to reach peak after a feeding, so go with that.
Step 2: Make the Dough (30 minutes wait time)
Add the active starter, water, and salt to a large container (TIP: use a glass or clear container so you can see through the sides and bottom), and whisk to combine. Add the flour, and stir to form a shaggy dough (don’t knead it). Cover the container and let it sit at room temperature for 30 minutes.
Step 3: Stretch and Folds (90 minutes wait time)
- Wet your hands and perform your first set of stretch and folds. To do so, grab a piece of dough, gently stretch it up, fold it over, and then rotate the bowl 1/4 turn. Repeat this process 3 more times until you come to the point where you started. Cover the bowl and let the dough rest at room temperature for 30 minutes.
- After 30 minutes, repeat the stretch and fold process. After that, cover the bowl and let the dough rest at room temperature for another 30 minutes. Repeat this process 2 more times, for a total of 4 sets of stretch and folds spaced 30 minutes apart.
- Right before the fourth set of stretch and folds, sprinkle the diced jalapeños and shredded cheddar on top of the dough so they get incorporated into the dough during the final set of stretch and folds.
Step 4: Bulk Fermentation (6 to 12 hours wait time)
Let the dough rest (covered) until bulk fermentation is over, about 6 to 12 hours at room temperature. Bulk fermentation is over when the dough looks puffed. (TIP: It doesn’t have to be fully doubled in size; it may be 75%. The top of the dough should be slightly domed and bubbly, and the bottom should look spongy.)
Step 5: Shape
- Line a large bowl with a clean cotton tea towel, and sprinkle an even layer of flour across the towel.
- Lightly spritz your countertop with a little non-chlorinated water and wet your hands. (I prefer to roll out my dough with water instead of flour.) Scrape your dough out onto the dampened countertop and roughly shape it into a rectangle about 13 to 14 inches long by 8 to 9 inches wide (it doesn’t have to be perfect and you aren’t rolling it out here). Gently press the dough with your fingertips to get rid of excess gas bubbles. Fold your dough in thirds like a letter, then starting with one end, roll up the dough into a log. To create surface tension, gently pull the dough towards you across the countertop a few times.
- Place the dough (seam side up) into the prepared towel-lined bowl. Cover the bowl with plastic wrap.
Step 6: Proof (1 to 4 hours at room temperature or 12 to 24 hours in the fridge wait time)
Let the dough rest until it’s properly proofed, about 12 to 24 hours in the fridge or 1 to 4 hours at room temperature. (TIP: You’ll know it’s properly proofed when it looks puffed (it’ll be roughly doubled in size), and jiggles when you gently shake the bowl. Also, the poke test is helpful as a guideline. Lightly flour your finger and the dough’s surface, and gently press your finger into the dough. If it springs back slowly (instead of springing back quickly or not at all), it’s ready to bake.)
Step 7: Preheat, Score, and Bake (1 hour wait time)
- An hour before you want to bake, put a 6.5 to 7.5-quart Dutch oven with the lid on (or whatever vessel you use for baking sourdough) into the oven. Preheat the oven to 450F; once your oven reaches temperature, set a timer for 1 hour.
- After preheating the oven for 1 hour, take your dough out of the fridge, invert it onto a parchment paper-lined plate, and score the top. Use the parchment paper to carefully lift the dough up and place it into the Dutch oven (with the parchment still underneath it). Put the lid on.
- Bake for 25 minutes, then remove the lid and bake until done, about 20 to 25 minutes more. (TIP: The bread is done when it’s golden outside, sounds hollow when tapped on the bottom, and reaches an internal temperature of 205-210F.)
Step 8: Cool and Slice (about 6 hours wait time)
Transfer the bread to a wire rack and cool completely before slicing, at least 6 hours, but overnight is better.
Storage, Freezing, and Reheating Tips
- Storage: Once it’s cool, store this bread in a bread bag or wrapped in a kitchen towel for up to 3 days at room temperature, or in a zip-top plastic bag for up to 1 week in the fridge.
- Freezing: To freeze sourdough slices, let the loaf fully cool and then slice it. Arrange the slices in an even layer on a parchment paper-lined baking tray and freeze until solid. After that, pop the frozen slices into a freezer-safe bag for up to 3 months.
- Reheating: After freezing, for the best flavor and texture, I recommend toasting the slices right before eating. You can reheat frozen sliced sourdough bread in a 425F oven for about 10 to 15 minutes (no need to thaw it first!), flipping each slice once halfway through.
Sourdough Baker’s Tips (For the Best Homemade Bread!)
- It’s best to weigh your ingredients with a kitchen scale for precision.
- Make sure to properly prep your inclusions. Shred the cheese on the large side of a box grater or cut it into 1/4-inch or smaller cubes. De-seed, dice, and pat dry the jalapeños.
- With 750 grams of flour, this is a large loaf of sourdough, so make sure you bake it in a vessel that’s big enough, such as a 6.5 to 7.5-quart Dutch oven.
Frequently Asked Questions
Inclusions are extra ingredients added to a sourdough recipe. We still start with the base of sourdough starter, water, salt, and flour, and add inclusions to customize it. Inclusions can be savory (like this recipe), or sweet (such as chocolate, blueberry, cinnamon raisin, etc.).
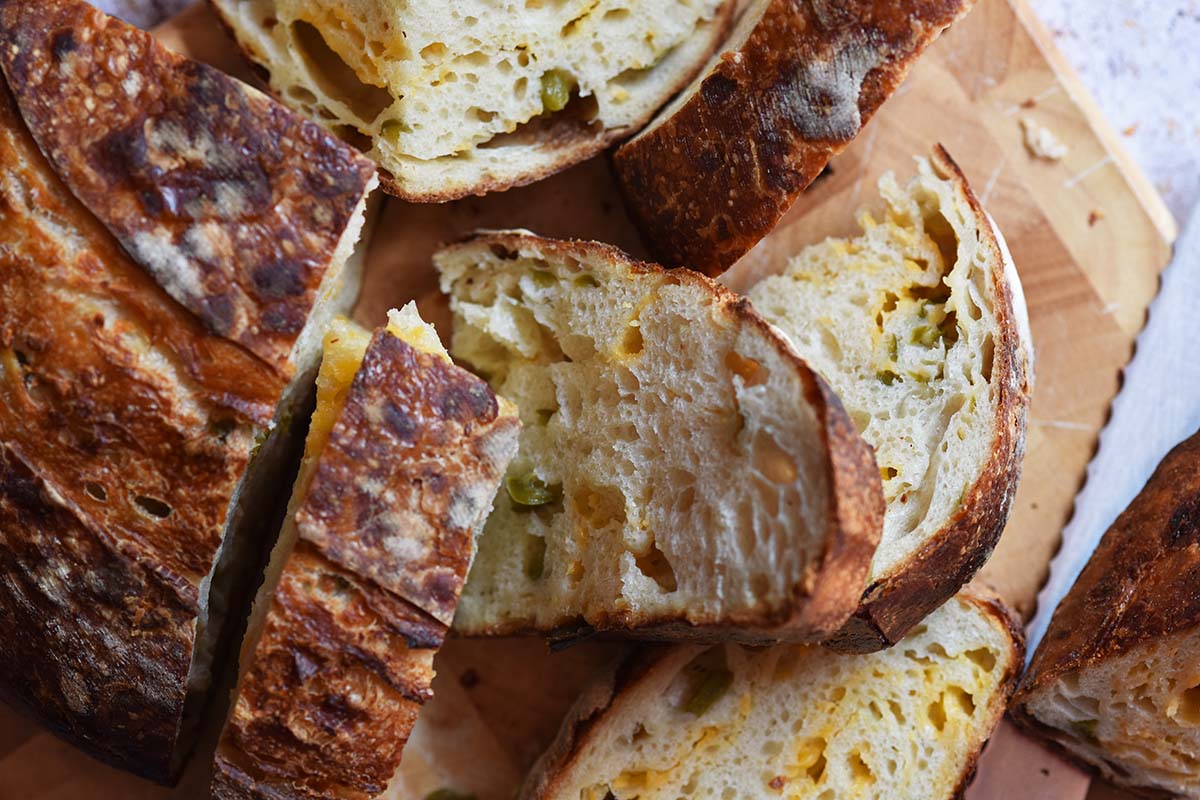
If you want the inclusions evenly distributed (like this loaf), add them right before your last set of stretch-and-folds so they disburse during bulk fermentation. On the other hand, if you want the inclusions in a spiral shape (think along the lines of a cinnamon swirl bread), add them during shaping.
Shredded or cut into 1/4-inch or smaller cubes are both fine.
In this recipe, you can substitute up to half of the fresh jalapeños for pickled jalapeños (drained, patted dry, and diced).
What to Serve With Cheddar Jalapeño Sourdough Bread
- High protein broccoli cheddar soup
- Slow cooker Italian beef
- Garlic parm chicken skewers and a garden salad
- Vegetable beef cabbage soup
- Made into an Italian grinder
Let’s Connect

Did you make this recipe? Please rate it and leave a comment below. You can also tag @anediblemosaic on social media.
To stay up-to-date, follow me on Facebook, Instagram, Pinterest, and Twitter!
Jalapeno Cheddar Sourdough Bread Recipe
Email This Recipe
Get this recipe link emailed straight to your inbox!
Ingredients
To Feed Your Starter:
- 90 grams 100% hydration ripe sourdough starter
- 90 grams unbleached all-purpose flour (organic if possible)
- 90 grams non-chlorinated water (I use bottled water at room temperature)
Dough:
- 188 grams sourdough starter (100% hydration; fed and bubbly; at room temperature)
- 520 grams non-chlorinated water (I use bottled water at room temperature)
- 750 grams unbleached bread flour (organic if possible)
- 18 grams fine sea salt
- 8 ounces fresh jalapeño peppers (de-seeded, diced, and patted dry)
- 8 ounces sharp cheddar cheese (shredded on the large side of a box grater)
Instructions
Feed Your Starter (4 to 12 hours wait time)
- Feed your starter so that it’s at peak when you’re planning to make the dough. Around 4 to 12 hours before you want to make the dough is the general timeframe, but you know how long it takes your starter to reach peak after a feeding, so go with that.
Make the Dough (30 minutes wait time)
- Add the active starter, water, and salt to a large container (TIP: use a glass or clear container so you can see through the sides and bottom), and whisk to combine. Add the flour, and stir to form a shaggy dough (don’t knead it). Cover the container and let it sit at room temperature for 30 minutes.
Stretch and Folds (90 minutes wait time)
- Wet your hands and perform your first set of stretch and folds. To do so, grab a piece of dough, gently stretch it up, fold it over, and then rotate the bowl 1/4 turn. Repeat this process 3 more times until you come to the point where you started. Cover the bowl and let the dough rest at room temperature for 30 minutes.
- After 30 minutes, repeat the stretch and fold process. After that, cover the bowl and let the dough rest at room temperature for another 30 minutes. Repeat this process 2 more times, for a total of 4 sets of stretch and folds spaced 30 minutes apart.
- Right before the fourth set of stretch and folds, sprinkle the diced jalapeños and shredded cheddar on top of the dough so they get incorporated into the dough during the final set of stretch and folds.
Bulk Fermentation (6 to 12 hours wait time)
- Let the dough rest (covered) until bulk fermentation is over, about 6 to 12 hours at room temperature. Bulk fermentation is over when the dough looks puffed. (TIP: It doesn’t have to be fully doubled in size; it may be 75%. The top of the dough should be slightly domed and bubbly, and the bottom should look spongy.)
Shape
- Line a large bowl with a clean cotton tea towel, and sprinkle an even layer of flour across the towel. Lightly spritz your countertop with a little non-chlorinated water and wet your hands (I prefer to roll out my dough with water instead of flour). Scrape your dough out onto the dampened countertop and roughly shape it into a rectangle about 13 to 14 inches long by 8 to 9 inches wide (it doesn’t have to be perfect and you aren’t rolling it out here). Gently press the dough with your fingertips to get rid of excess gas bubbles. Fold your dough in thirds like a letter, then starting with one end, roll up the dough into a log. To create surface tension, gently pull the dough towards you across the countertop a few times. Place the dough (seam side up) into the prepared towel-lined bowl. Cover the bowl with plastic wrap.
Proof (1 to 4 hours at room temperature or 12 to 24 hours in the fridge wait time)
- Let the dough rest until it’s properly proofed, about 12 to 24 hours in the fridge or 1 to 4 hours at room temperature. (TIP: You’ll know it’s properly proofed when it looks puffed (it’ll be roughly doubled in size), and jiggles when you gently shake the bowl. Also, the poke test is helpful as a guideline; lightly flour your finger and the dough’s surface, and gently press your finger into the dough. If it springs back slowly (instead of springing back quickly or not at all), it’s ready to bake.)
Preheat, Score, and Bake (1 hour wait time)
- An hour before you want to bake, put a 6.5 to 7.5-quart Dutch oven with the lid on (or whatever vessel you use for baking sourdough) into the oven. Preheat the oven to 450F; once your oven reaches temperature, set a timer for 1 hour.
- After preheating the oven for 1 hour, take your dough out of the fridge, invert it onto a parchment paper-lined plate, and score the top. Use the parchment paper to carefully lift the dough up and place it into the Dutch oven (with the parchment still underneath it). Put the lid on.
- Bake for 25 minutes, then remove the lid and bake until done, about 20 to 25 minutes more. (TIP: The bread is done when it’s golden outside, sounds hollow when tapped on the bottom, and reaches an internal temperature of 205-210F.)
Cool and Slice (about 6 hours wait time)
- Transfer the bread to a wire rack and cool completely before slicing, at least 6 hours, but overnight is better.
Notes
- Recipe Yield: This recipe makes 1 (large!) loaf of bread, or about 24 servings. The nutritional information was calculated based on it yielding 24 servings.
- Storage: Once it’s cool, store this bread in a bread bag or wrapped in a kitchen towel for up to 3 days at room temperature, or in a zip-top plastic bag for up to 1 week in the fridge.
- Freezing: To freeze sourdough slices, let the loaf fully cool and then slice it. Arrange the slices in an even layer on a parchment paper-lined baking tray and freeze until solid. After that, pop the frozen slices into a freezer-safe bag for up to 3 months.
- Reheating: After freezing, for the best flavor and texture, I recommend toasting the slices right before eating. You can reheat frozen sliced sourdough bread in a 425F oven for about 10 to 15 minutes (no need to thaw it first!), flipping each slice once halfway through.
Nutrition
Nutritional information is automatically calculated and should be used as an approximate.
Share it with me on Instagram and leave a comment to let me know your thoughts!



I’m the writer, recipe developer, photographer, and food stylist behind this blog. I love finding the human connection through something we all do every day: eat! Food is a common ground that we can all relate to, and our tables tell a story. It’s my goal to inspire you to get in the kitchen, try something new, and find a favorite you didn’t know you had.
Free Bonus