You know, the people who get an idea stuck in their head and can’t sit still until it’s not just an idea anymore. I need something tangible to come from it.
Like the time I woke up with the idea of snack cake stuck in my head. It didn’t take long before my Pumpkin Chocolate Chip Snack Cake came into fruition.
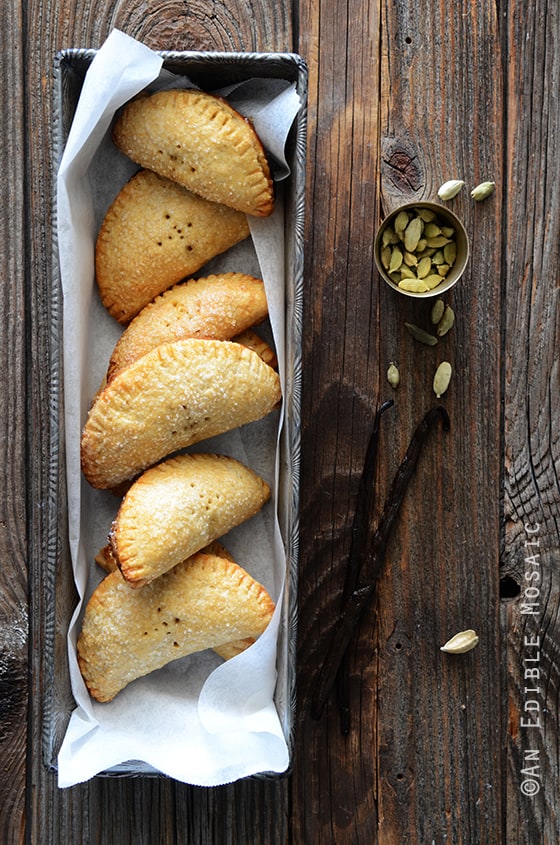
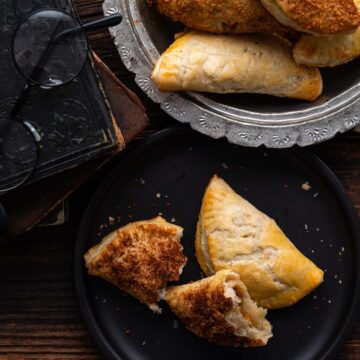
Unlike that cake, these little hand-held treats took a bit more thought. All I knew was that “hand pie” was stuck in my head like glue and the idea wasn’t going anywhere until they were made.
The sky is the limit when it comes to fillings, and for someone like me who has trouble just choosing an entrée when eating dinner out, too many options can sometimes be a bad thing.
But then I did what I usually do: opened the fridge and looked in it for inspiration. Thanks to the hubby (who knows how much I love them!), I found a beautiful bowl of pears inside. It wasn’t long before the flavor profile of my hand pie filling took shape.
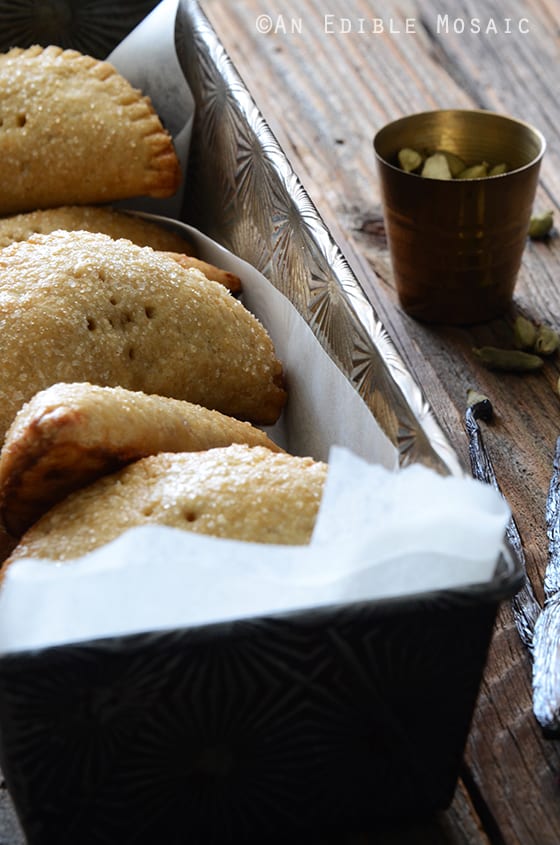
I don’t think I need to mention it, because it goes without saying: the crust will make or break your hand pies. Splurge a little time-wise and make it from scratch; I promise you’ll be glad you did. And once you do, you’ll see how easy it is and be tempted to make hand pies all the time! (If you’re curious, this pastry crust recipe is my all-butter version of my all-purpose pastry crust recipe; you can see the half butter/half shortening version of this crust recipe in action in my recipe for Mini Maple-Cinnamon-Walnut Turnover Cookies. The half and half version yields pastry that is a bit flakier, but also slightly harder to work with; I prefer the flavor of the all-butter version and I also find it easier to work with.)
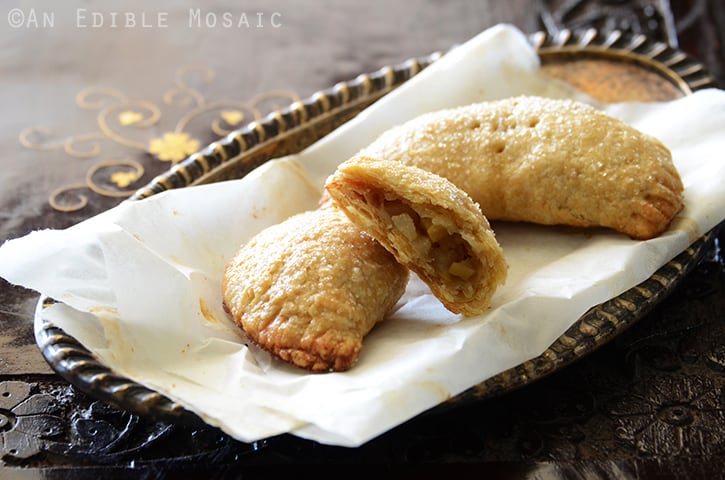
After making these sweet hand pies, you would think my craving for them would have been satiated; however, as it happens, I enjoyed them so much, I started toying with other fillings. I even went savory, with an Indian-spiced veggie filling based on my recipe for Indian Potato Croquettes. I originally made this savory variety as an appetizer for an Indian-themed dinner party, but they were just as good (if not better) served at room temperature along with strong, hot coffee the next morning for breakfast. (I didn’t have the chance to snap any photos of them though…maybe next time!)
Anyway, here’s to the idea of hand pies. :)
- 1 lb (450 g) pears (about 4 small-medium), washed, cored, and chopped small
- ½ cup (100 g) sugar
- 1 tablespoon fresh lemon juice
- ¼ teaspoon sea salt
- ¼ teaspoon ground cardamom
- ½ teaspoon vanilla bean paste
- 1¼ cups (160 g) whole wheat pastry flour or all-purpose flour
- ¼ + ⅛ teaspoon fine salt
- ½ cup (115 g) unsalted butter
- 2-3 tablespoons cold water
- 1 egg beaten with 1 tablespoon cold water, for eggwash
- 1½ teaspoons sugar, for sanding the pastry tops
- Add the pears, sugar, lemon juice, salt, and cardamom to a medium saucepan over medium-high heat; cook until the sugar is dissolved and the pears are starting to soften, about 8 minutes, stirring occasionally. Turn the heat off and stir in the vanilla bean paste. Cool to room temperature, then refrigerate until fully chilled, about 1 hour (up to 3 days is fine).
- When you want to make the pies, strain the pears, reserving the syrupy liquid for another use (such as a sweetener for tea, oatmeal, yogurt, etc.).
- For the crust, whisk together the flour and salt in a large bowl and then cut in the butter with a pastry cutter or a fork until it looks like coarse meal. Add water 1 tablespoon at a time, working the dough together with your fingertips just until it comes together, and only adding enough water so the dough comes together when you squeeze it. Gather the dough together into a ball and then flatted it into a disk; wrap it in plastic wrap and refrigerate until chilled, about 30 minutes.
- Once chilled, remove the dough from the fridge. Lay a piece of parchment paper out on your work surface, place the dough on the prepared parchment paper, and top with another piece of parchment (or if you have it, freezer paper works even better because it’s thicker). (Done this way, there is no need for flour to roll the dough out.) Working from the center out, roll the dough out to a circle about 12 inches in diameter. Use a 4-inch cookie cutter (or a glass with that diameter) to stamp out circles in the dough.
- Place a slightly heaping 1 tablespoon of pear filling in the center of each circle of dough. Use a thin metal spatula to lift up one circle of dough, then fold the dough over onto itself to form a half-moon, pressing the pastry closed along the outside. Set the pastry down on a flat surface and crimp the edges with a fork. Gather the scraps of dough, re-roll them, and repeat until the dough and filling are gone (you should get about 8 to 10 pastries). You can chill the dough scraps at any point if it becomes too difficult to re-roll them out.
- Chill the pastries in the fridge for 30 minutes; during this time, preheat the oven to 375F.
- Line a large baking sheet with parchment paper or a silpat liner; arrange the pastries on the tray and use a paring knife or fork to prick the top of each. Brush the tops with the eggwash (you will have extra eggwash, don’t try to use it all) and sprinkle the 1½ teaspoons of sugar on top (this amount is enough for all the pastries; you just need a little bit on each).
- Bake until the pastries are golden and flaky, about 25 to 30 minutes.


Susan says
Wow! We do a lot of cookouts in the spring and summer...These would be perfect! Thanks for the great recipe!
Faye says
Gorgeous!!
Coty and Mariah@quirksandtwists says
Yay, for yummy hand pies!
Katie says
Just need my little babe to take an extra long nap so I can crank these out! Look heavenly!
Chung-Ah | Damn Delicious says
These look absolutely perfect!
Dina says
they look yummy!
angela@spinachtiger says
I make pear pies for the boys (their favorite), but this recipe looks divine. Love the addition of the cardamon.
Stephanie @ Girl Versus Dough says
I love those moments of inspiration. Especially when the results are something sweet and yummy like these hand pies!
Katrina @ Warm Vanilla Sugar says
Such a fabulous flavour! Yum!!
Erica says
The flavor combination sounds amazing! I've never made hand pies but I adore the idea. Handheld dessert? Yes please!
Laura (Tutti Dolci) says
I'm one of "those" people too. Adorable pies, love the pear + cardamom!
Anna @ Bashful Bao says
What lovely little hand pies! The filling combination sounds wonderful!!
Dixya @ Food, Pleasure, and Health says
hand pies are soooo adorable i dont know why i never think of making them.
Rosa says
Beautiful hand pies and delightful flavor combination!
Cheers,
Rosa
deana says
I'm just like you, I get something in my head and it won't let go. Glad you didn't because this is a great recipe. I love hand pies. Love the pictures too....