With that evil temptation of a holiday coming at us this Friday, I had to take preemptive measures.
Otherwise, I knew I’d be doomed.
(Ok, maybe not doomed, but at the very least I’d come face to face on a collision course with a sugar binge and subsequent sugar high and crash. So maybe doomed is the right word, lol.)
Anyway, if you have a hard time staying out of the candy dish on Halloween night (whether it’s thanks to a fabulous party, your kids’ loot, or the leftover pot of treats that didn’t get handed out to trick-or-treaters), I have a surprise for you. And you’re going to love me for it.
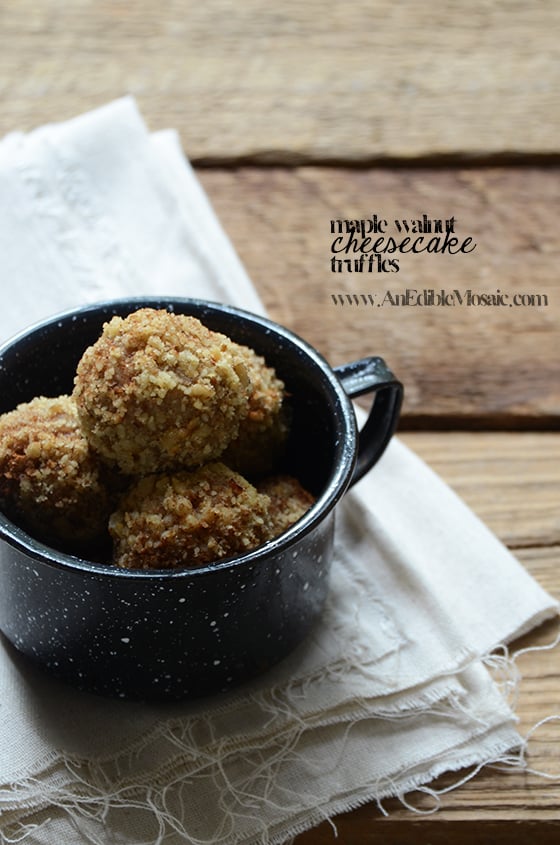
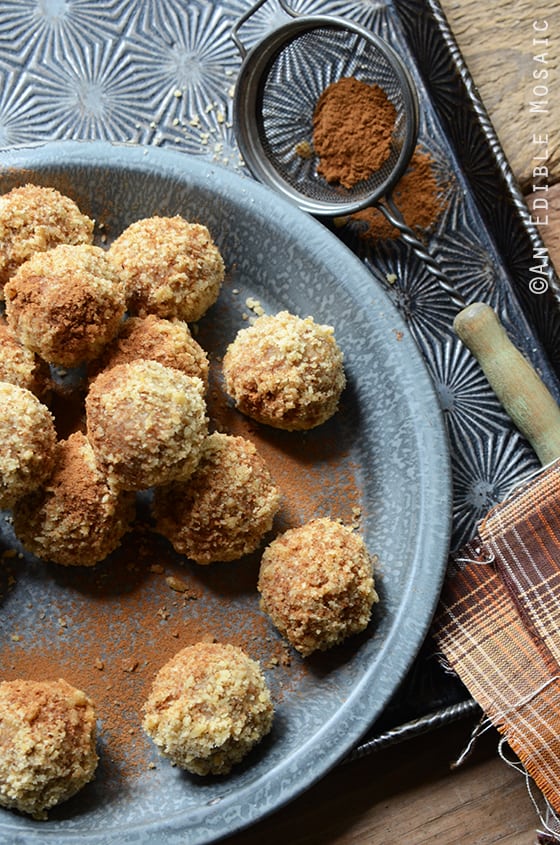
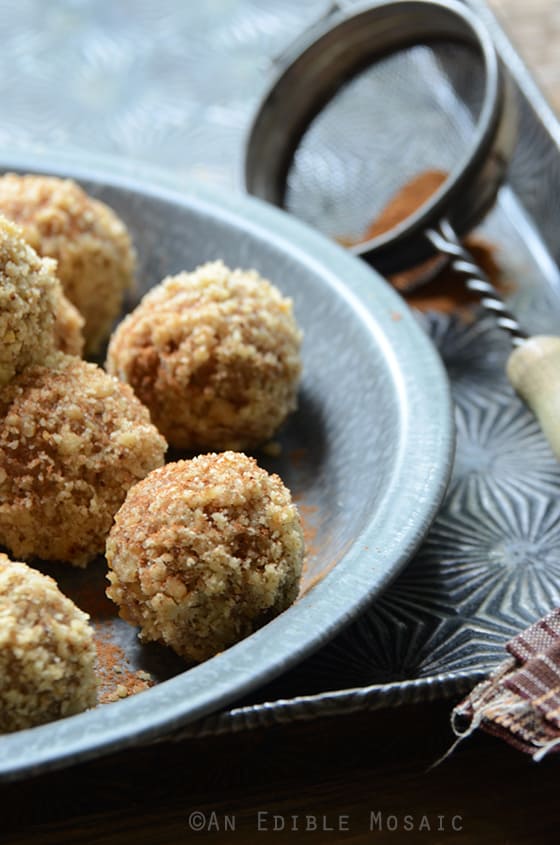
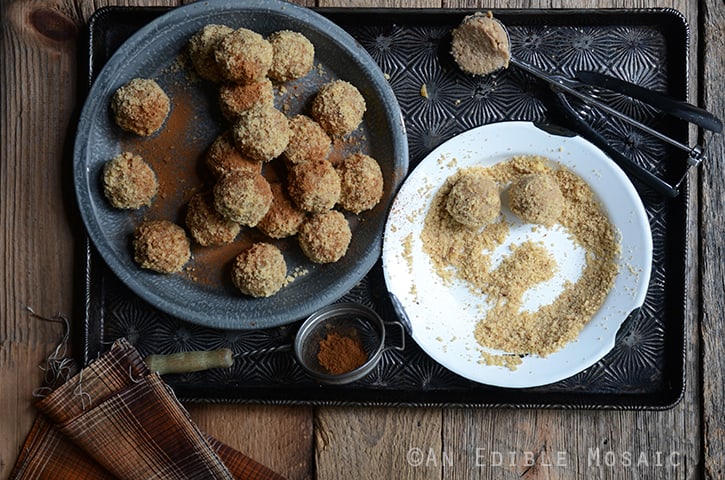
Maple Walnut Cheesecake Truffles, anyone?
These itty bitty power-packed treats are deceiving; despite being small, they pack a serious punch of protein and whole grain. Plus they’re naturally sweetened with a touch of maple syrup, gluten-free (just be mindful of the brand of oats you buy; be sure to buy from a company who offers certified gluten-free oats because some companies process their oats on the same equipment that they use to process products containing gluten), and dairy-free.
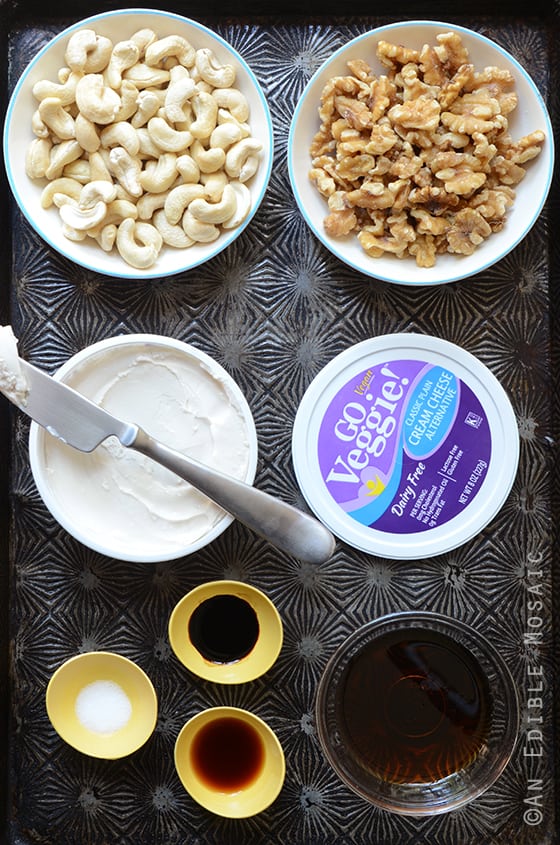
This recipe features GO Veggie! Dairy-Free Plain Cream Cheese; if you’re not familiar with this product, it’s a great dairy and lactose-free alternative to regular cream cheese. It also happens to be gluten-free, has four times more calcium than regular cream cheese with fewer calories, and has no cholesterol. It’s what puts the cheesecake in my Maple Walnut Cheesecake Truffles.
These truffles taste like maple walnut cheesecake met oatmeal cookies in a health club. And the rest was history.
So instead of having two (or you know, five because gosh it happens fast and boy are those candies small!) pieces too many of Halloween candy, reach for these truffles instead. ;)
- 1½ cups (170 g) toasted, unsalted walnuts, divided (see Note)
- 1½ cups (120 g) old-fashioned rolled oats
- 1¼ cups (150 g) raw, unsalted cashews
- ½ teaspoon salt
- 3 tablespoons pure maple syrup
- 1 teaspoon vanilla extract
- 1 teaspoon maple extract
- 8 oz (227 g) container GO Veggie! Dairy-Free Classic Plain Cream Cheese
- ½ teaspoon cinnamon, for dusting on top
- Add the walnuts to a food processor and pulse until coarsely chopped. Remove half of the nuts and reserve them for stirring into the truffles. Continue pulsing the remaining half of the nuts until they’re finely chopped; transfer them to a shallow bowl and reserve for rolling the truffles in.
- Add the oats, cashews, and salt to the food processor and process until powdered. Add the maple syrup, vanilla extract, maple extract, and cream cheese and process until smooth.
- Transfer the mixture to a large bowl and stir in the coarsely chopped walnuts.
- Place a piece of plastic wrap directly on top of the truffle mixture and refrigerate until fully chilled, about 2 to 4 hours (overnight is fine).
- Use a 1½-tablespoon scoop to measure out the truffles; roll them into balls between your hands and then roll them in the finely chopped walnuts to coat. Sift the cinnamon on top.
- Serve chilled or store the truffles in an airtight container in the fridge for up to 3 days.
Disclosure: I received the GO Veggie! products that I used in this recipe for free, and I also received compensation for this post. I am happy for the opportunity to share brands that I believe in with my readers, and I hope you enjoy my recipe. As always, opinions stated are my own.

Brianne @ Cupcakes & Kale Chips says
What a yummy little treat! SO perfect for fall!
ATasteOfMadness says
Ooh, I think I would choose these over Halloween candy any day. This looks so good!
Lori @ RecipeGirl says
Adding these to my must-try soon list!
Laura (Tutti Dolci) says
I love truffles, what a perfect treat for Halloween!
Joanne says
I've been pretty good at resisting the candy thus far, but my resolve is waning. Time to get a batch of these made and ready to be eaten!
Jules @ WolfItDown says
Simple ingredients, amazing flavours, that's my cup of tea - yumh-mey! :D Lovely photographies as well :D x
Kristina says
I love truffles, and cheesecake are some of my favorites - I will definitely have to try your recipe soon!
Jasmin says
Hi Faith,
These truffles look very nice, I really like that they are healthy as they can be...
Angie | Big Bear's Wife says
I would love a box of these!
Lauren @ Healthy Delicious says
GO Veggie! cream cheese is my favorite! These truffles are such a great idea, and I love the maple flavor. :)
Anne-Marie @ This Mama Cooks! On a Diet says
You're making me hungry! These will come in handy during the holiday cookie exchanges, too.
Liz @ The Lemon Bowl says
I love all of the protein in these and I love maple + walnut together!!
Ksenia @ At the Immigrant's Table says
Love this GF and vegan version of cheesecake. I think I'm going to have to give it a spin next time I get my hands on vegan sour cream! I might even sneak some pumpkin puree in there...
Jenny Flake says
These are so much fun! Delicious!!
Erica says
heheh- they sound and look SO good. I'm actually planning to do my long run Friday morning to justify my indulgences on Friday night. Planning is very important ;)
Rosa says
Divine! This is such a great recipe.
Cheers,
Rosa
Katrina @ Warm Vanilla Sugar says
Such a yummy sweet treat. These truffles are lovely!