Angel food cake is a sponge cake recipe made mainly from whipped egg whites, sugar, and flour. It's light as a cloud and has a sticky-sweet vanilla flavor, and soft, chewy texture.
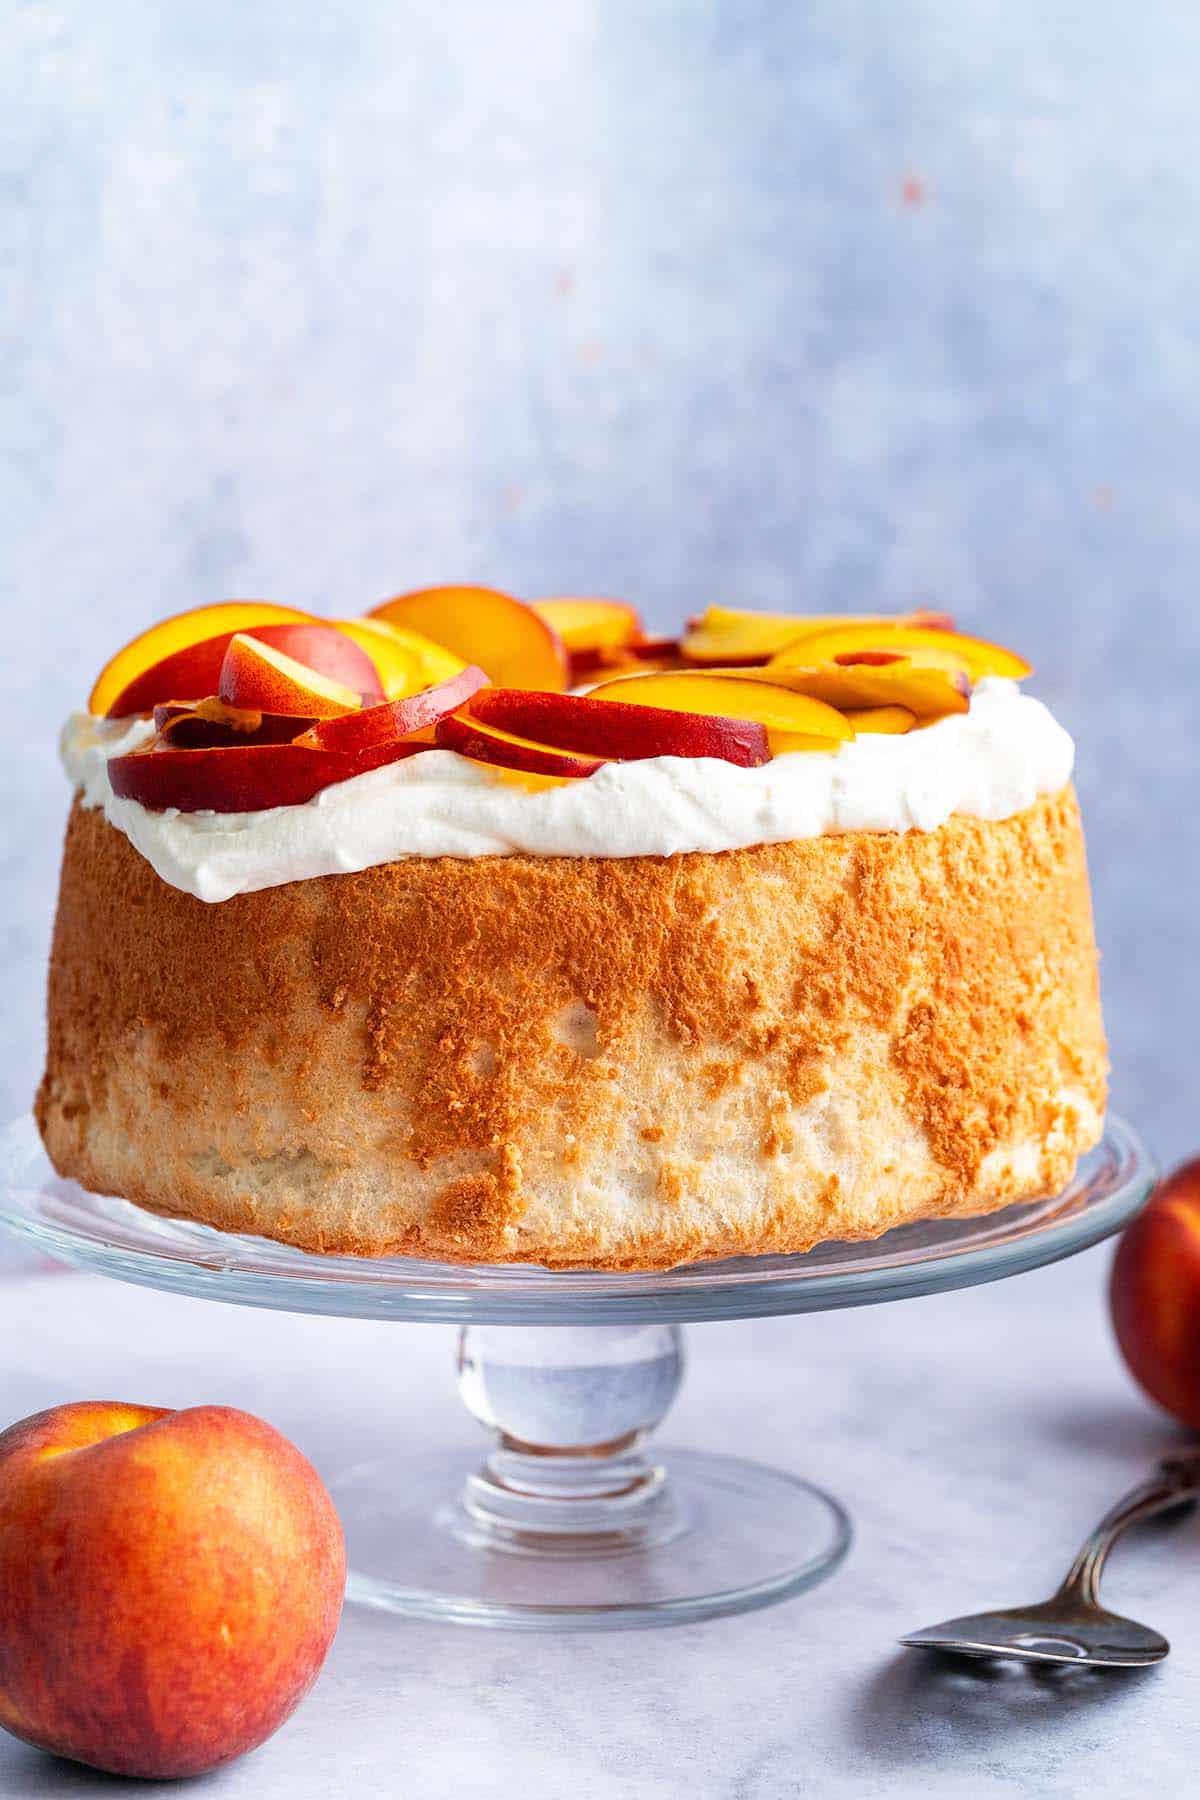
Until recently I hadn't made angel food cake in years.
Then I made angel food cupcakes.
They were soft and light as little puffs of air with a sticky, moist crumb and sweet vanilla flavor. With a classic topping of stabilized whipped cream and fresh berries, angel food cupcakes were the perfect summer dessert for a potluck.
And then because I raved about those cupcakes so much to a friend, I made her a regular angel food cake when she said she's never had it but would love to try! Before that, it has been a decade or so since my tube pan saw the light of day.
If it's been years since you had homemade angel food, let me encourage you to make this cake. I had forgotten just how delicious it is.
What is Angel Food Cake?
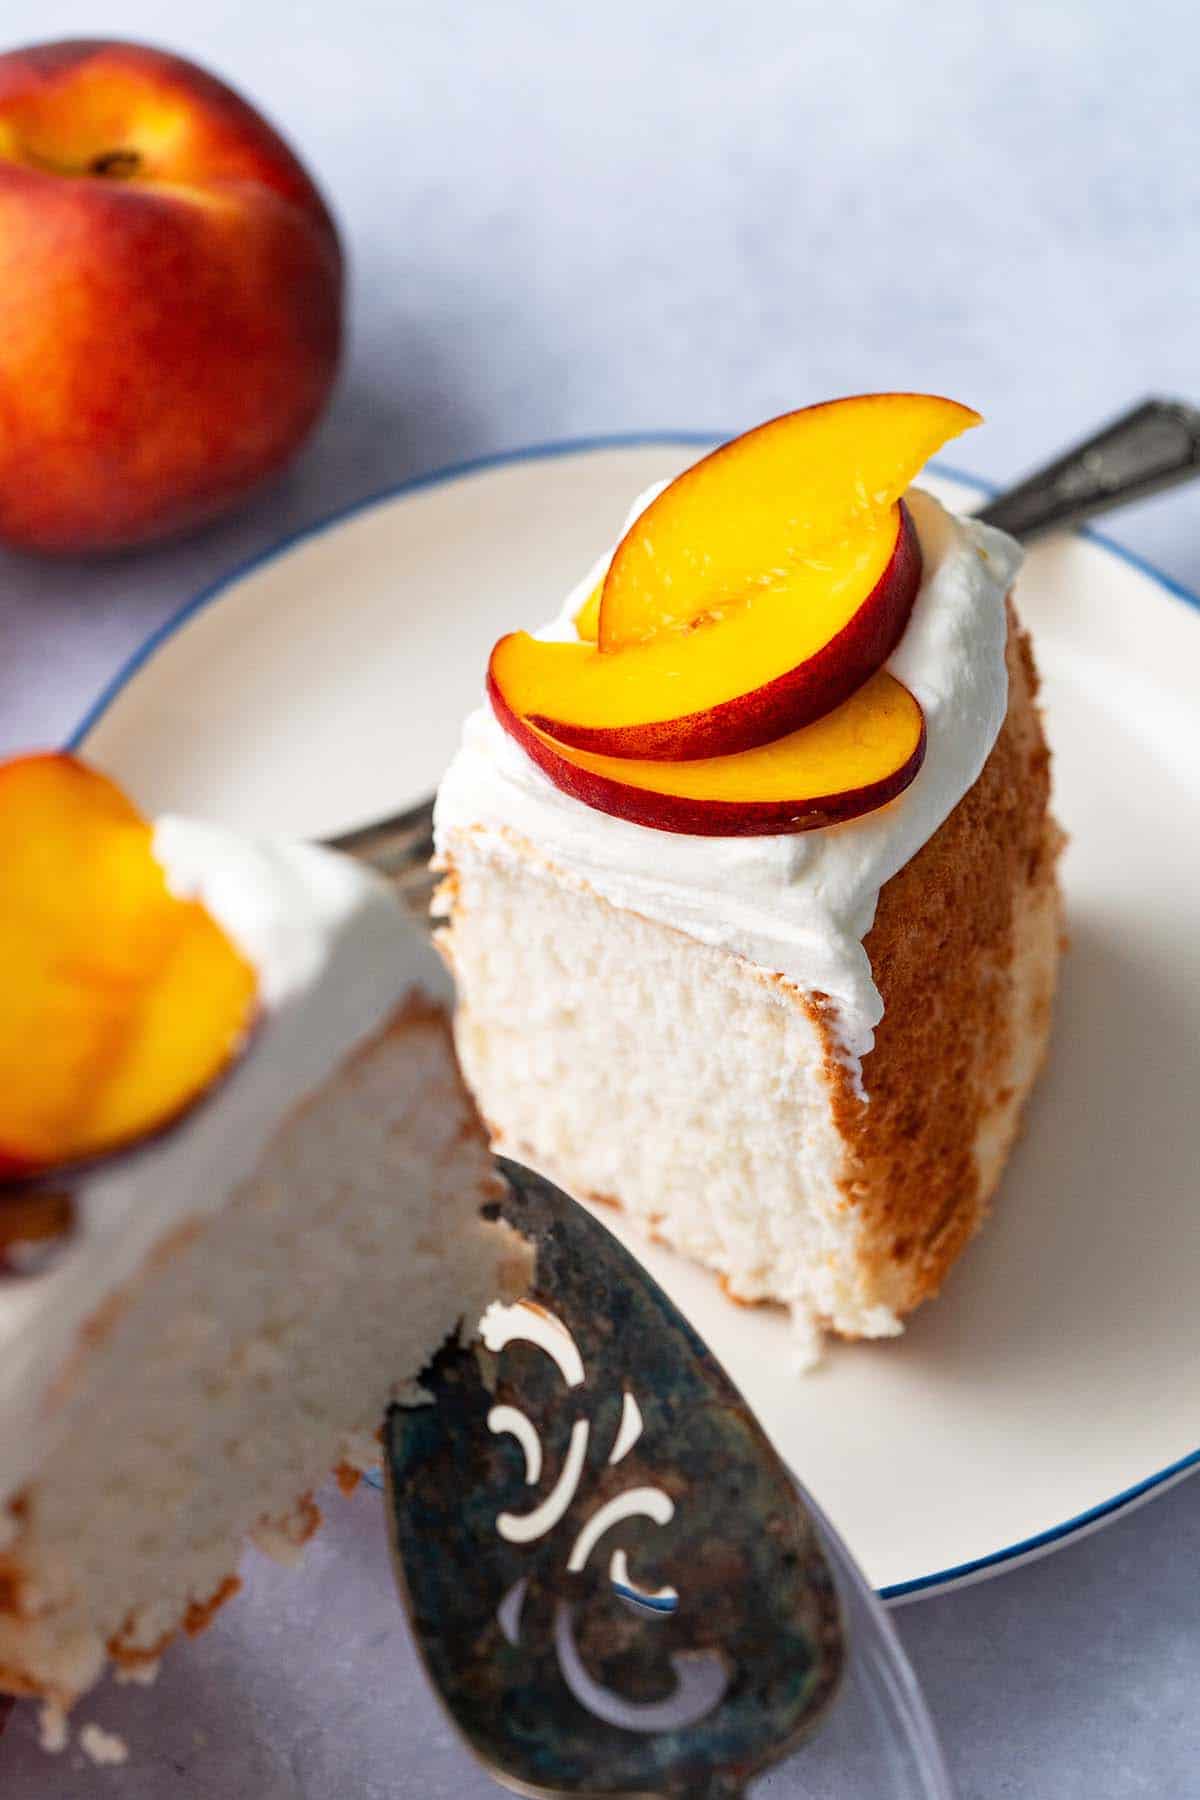
Angel food cake is a light-as-air sponge cake that's made mainly from aerated egg whites, sugar, and flour with a hint of vanilla. The egg whites are whipped with cream of tartar, which helps stabilize them. This cake contains no egg yolks or added fat, making it fat-free, which is one of the reasons it gained so much popularity.
But I'm telling you, angel food cake is absolutely delicious, fat free or not.
Angel cake's texture is kind-of like fluffy marshmallow in sticky-sweet cake form. It has a fine, moist crumb and a springy texture with a sweet vanilla aroma and flavor.

The Best Angel Food Cake Recipe
Store-bought angel food cake will be a thing of the past. This homemade version is a million times better!
Ingredients
In this section I explain the ingredients and give substitution ideas. For the full recipe (including ingredient amounts), see the recipe card below.
Angel Food Cake Ingredients:

- Sugar - regular granulated white sugar is fine here because we're going to process it in a food processor with the flour and cornstarch until it has a texture similar to superfine sugar
- Flour - use all-purpose flour here; if you have cake flour on hand, use 1 cup cake flour and omit the all-purpose flour and cornstarch
- Cornstarch - instead of using cake flour, we replace a little bit of the all-purpose flour with cornstarch for a softer flour
- Salt - salt is a natural flavor enhancer
- Egg whites - crack your egg whites fresh (don't use liquid egg whites from a carton), and make sure they're at room temperature
- Cream of tartar - to help stabilize the egg whites
- Vanilla - the main flavoring in our angel food cake
Sweetened Whipped Cream Ingredients:
- Heavy whipping cream - to make homemade whipped cream
- Powdered sugar - to sweeten our whipped cream
- Vanilla - for flavor and aroma
Fresh Macerated Peach Topping Ingredients:
- Peaches - make sure they're ripe, they should be soft but not mushy, and intensely aromatic of peach; you can substitute with ripe nectarines, plums, cherries, or strawberries
- Sugar - we macerate the peaches in sugar, which draws out their liquid and forms a peachy-flavored syrup for our fresh peach topping
- Salt - just a touch of salt helps draw out the liquid in the fruit and balance the flavor profile
How to Make Angel Food Cake
Make the Fresh Peach Topping

- Slice the peaches.
- Add the peaches, sugar, and salt to a bowl, and stir to combine.
- Cover with plastic wrap and let the peaches sit at room temperature for at least 2 but up to 4 hours. Or you can store the macerated fruit covered in the fridge for up to 3 days.
How to Make Angel Food Cake Batter
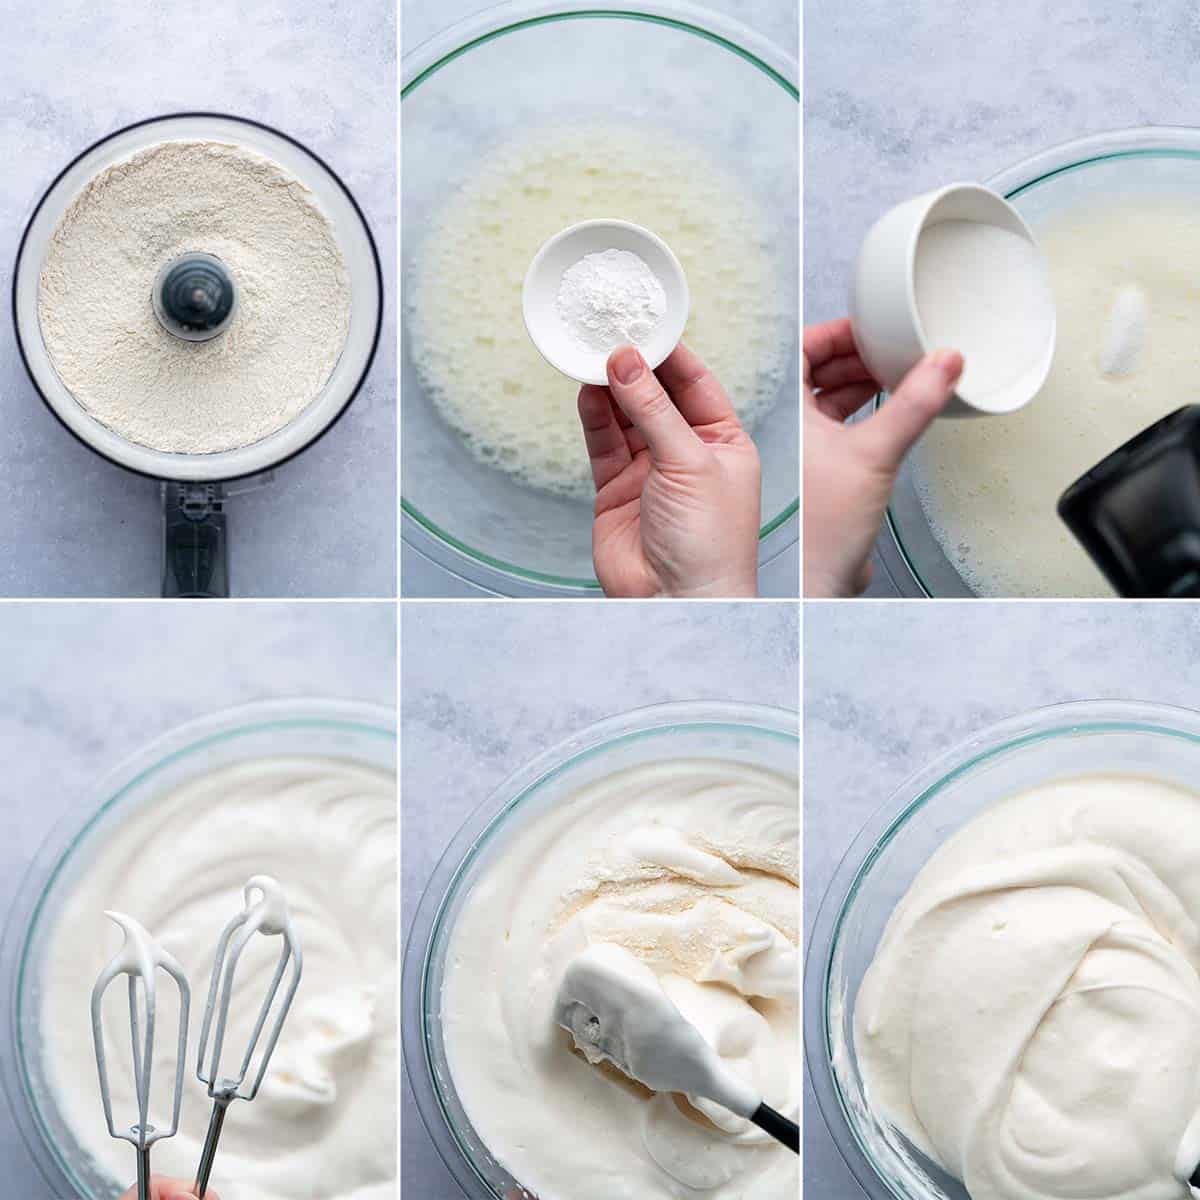
- Add 1 cup sugar, the flour, cornstarch, and salt to a food processor. Process until the mixture is powdery-soft.
- Add the egg whites to a large bowl. Use a handheld electric beater to mix until it looks foamy, and then beat in the cream of tartar.
- Beat in ½ cup sugar a little at a time. Once all the sugar is incorporated, beat in the vanilla.
- Continue beating until the mixture forms glossy looking soft peaks that aren’t quite stiff.
- Use a rubber spatula to fold the dry ingredients into the stiff egg whites ¼ at a time.
- Try to fold gently to avoid deflating the egg whites as much as possible. This is what the batter should look like when the dry ingredients are fully incorporated.
How to Bake Angel Food Cake

- Transfer the batter to the ungreased tube pan, spreading it out evenly.
- Bake until the cake is golden and springs back when you touch it, about 40 to 45 minutes in a preheated 325F oven.
Cooling and Serving
Once the cake is out of the oven, flip the cake (still in its pan) upside down on a wire rack (so that the bottom of the cake pan is on top), and let it cool to room temperature, about 3 hours.
Once cool, run a knife along the outside of the cake if necessary to loosen it from the pan. Invert the cake onto a cake plate.
Use a serrated knife to slice the cake. Serve the cake slices topped with whipped cream and fresh berries.
Tips to Make the Best Angel Food Cake
Angel food cake can be a bit finicky. Don't worry, it isn't another unicorn of the baking world like French macarons! It just needs a little extra TLC.
If you're looking for the secret to a good angel food cake, I have you covered! Here are some easy tips to help make sure your cake comes out perfect every time:
- Don't over-beat the egg whites. Here, we're going for glossy soft peaks, not stiff peaks to help prevent the egg whites from deflating.
- Use the right kind of pan. You need a tube pan, which is a round, deep pan with straight sides and a hollow center, to make angel food cake. (It's not the same thing as a Bundt pan, friends.)
- Don't grease the pan. I know not greasing the pan goes against everything you know about baking cake, but trust me here! This is so the batter can climb the sides of the pan and rise properly. Unfortunately, if you grease the pan when making angel cake, your cake will be dense and heavy instead of ethereally light and fluffy. If your pan doesn't have a removable bottom, you can cut a parchment paper ring to fit in the bottom, but don't grease it.
- Let the cake cool upside-down. This tip sounds like an old wives' tale, but it's true. Angel food cake's structure and rise isn't set until it's fully cooled. Allowing it to cool upside down ensures that the cake doesn't collapse. Note that many tube pans come with collapsable feet on the bottom for this very purpose. However, if your pan doesn't have feet, you can simply invert it on a bottle neck. You should let angel food cake fully cool upside-down, which usually takes about 3 hours.
- Remove angel food cake from the pan carefully. After the cake is fully cooled, run a knife around it to loosen the cake from the pan, and then invert it onto a cake stand or plate.
Storage
Once it has cooled to room temperature, store whole angel food cake wrapped well at room temperature for up to 2 days or in the fridge for up to 5 days. Wait to add any toppings until right before serving.
Also, angel food cake freezes well! You can freeze the whole cake (wrapped well with plastic wrap and then placed into a freezer-safe zip-top plastic bag) for up to 3 months.

Angel Food Cake Recipe FAQs
Can You Make Angel Food Cake Without Cake Flour?
Yes! I developed this recipe using a combination of all-purpose flour + cornstarch to simulate soft cake flour because that's what I typically have in my pantry. Who wants to have to buy an entire bag of a different type of flour for just one cake, right?!
How Do You Know When Angel Food Cake is Done?
This cake is finished cooking when it's light golden brown on the top and sides, and springs back when you touch it.
Is Angel Food Cake Really Fat Free?
Because angel food cake is made with egg whites and no yolks, and doesn't contain any other added fat (such as oil or butter), many people think of this cake as fat free. However, although this cake is very low in fat, it isn't entirely fat free.
Remember that ingredients such as flour still contain a small amount of fat, and even egg whites have a little fat. Additionally, if you serve this cake with whipped cream or Cool Whip on top, that adds a significant amount of fat!
What Are Some Angel Food Cake Toppings Ideas?
One of the best things about angel food cake is that you can top it with just about anything you like! This dessert is light and airy, which makes it the perfect spring or summer dessert, so berries are a great choice; however, the sky is the limit!
Here are a few ideas for what to serve with angel food cake:
- Store-bought jam or preserves, such as strawberry, blueberry, cherry, apricot, etc.
- Store-bought pie filling, like peach, apple, strawberry, blueberry, etc.
- Custard or pudding
- Freshly whipped cream or Cool Whip
- Lemon curd (or other fruit curd)
- Fresh berries, like blackberries, raspberries, strawberries, or blueberries
- Sliced banana
- Chocolate syrup drizzle
- Caramel syrup drizzle
- Macerated fruit, such as strawberries or peaches, to make a quick fresh fruit sauce
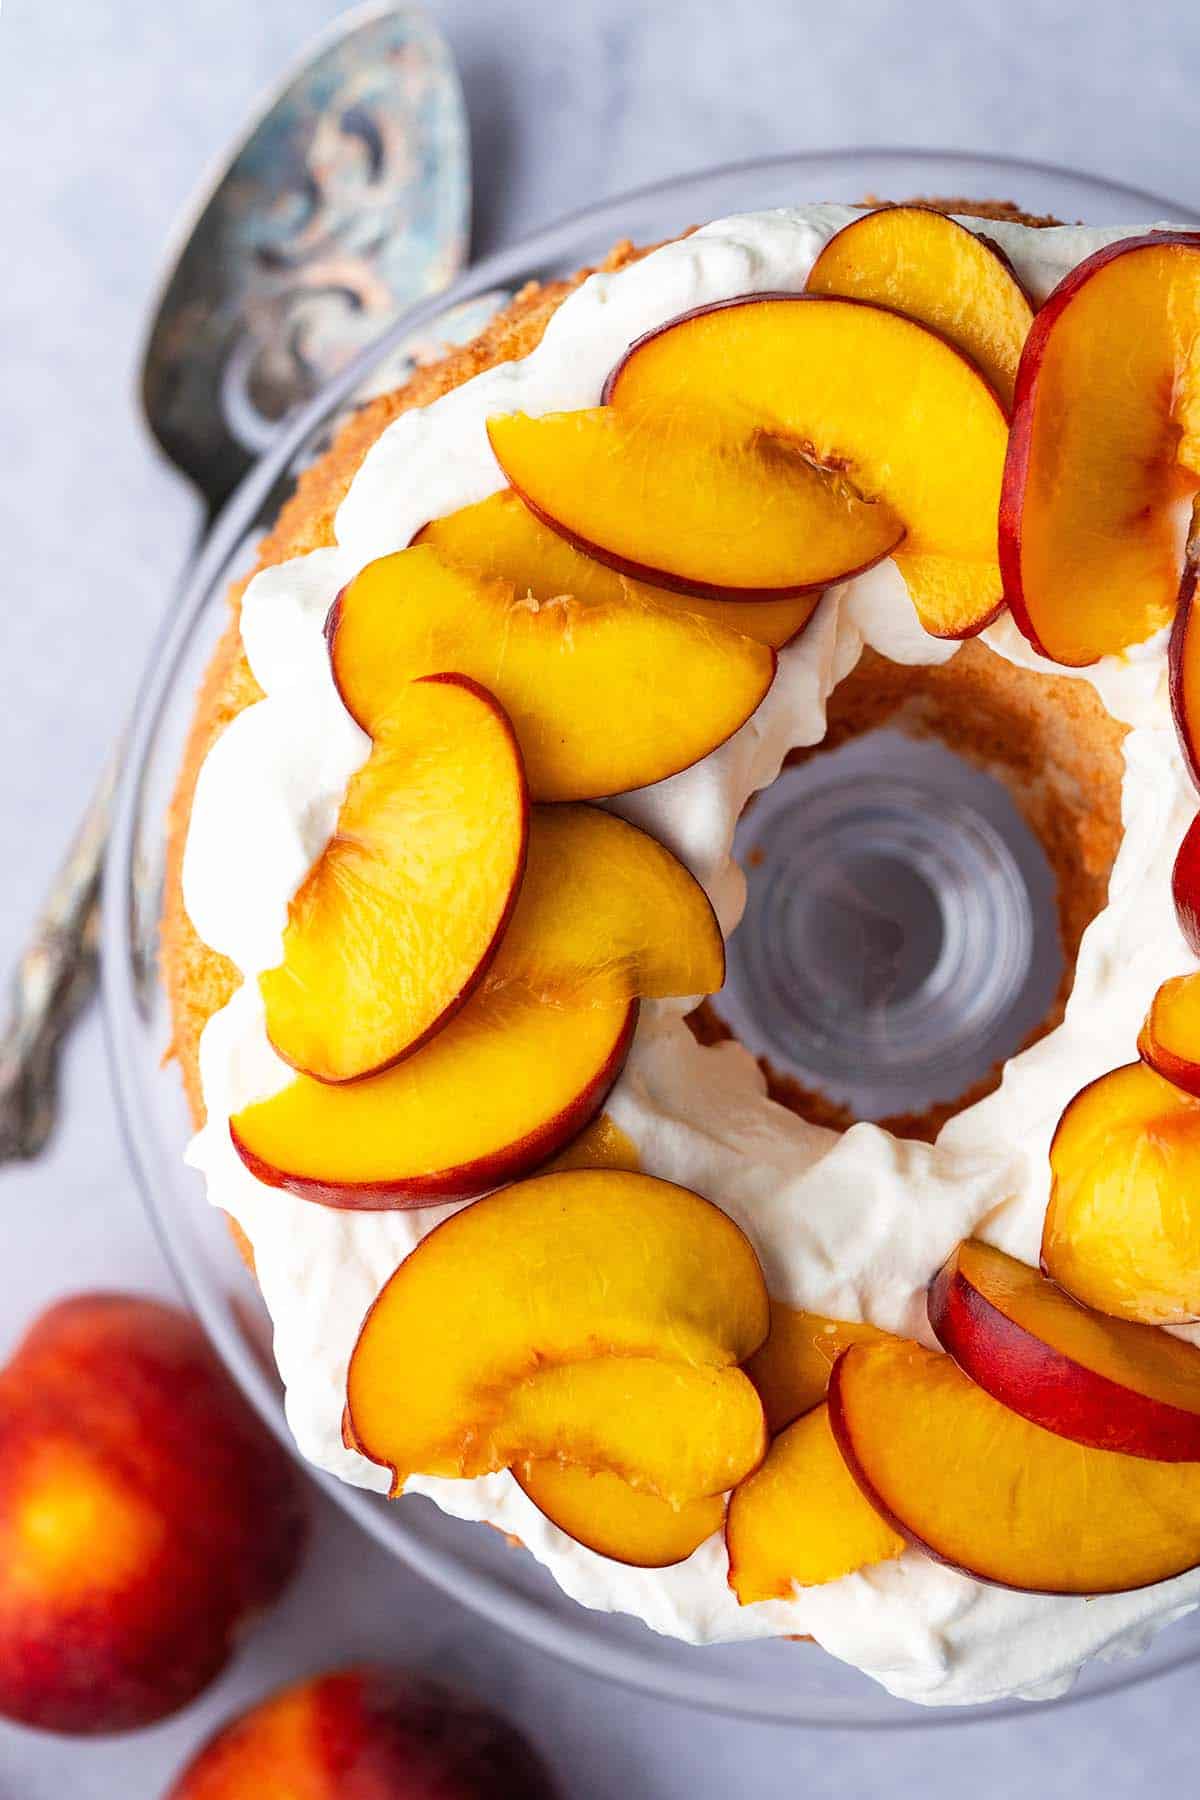
More Summer Cakes to Make

Let's Connect

Did you make this recipe? Please rate it and leave a comment below. You can also tag @anediblemosaic on social media.
To stay up-to-date, follow me on Facebook, Instagram, Pinterest, and Twitter!

Angel Food Cake Recipe with Fresh Peach Topping and Whipped Cream
Equipment
Ingredients
Fresh Peach Topping:
- 2 ripe peaches sliced (2 whole peaches is about 3 cups of sliced peaches)
- ¼ cup granulated white sugar
- ⅛ teaspoon salt
Angel Food Cake:
- 1 ½ cups granulated white sugar divided into 1 cup + ½ cup
- 14 tablespoons all-purpose flour (14 tablespoons of flour is about ¾ cup + 2 tablespoons)
- 2 tablespoons cornstarch
- ¼ teaspoon salt
- 1 ½ cups fresh egg whites at room temperature
- 1 ½ teaspoons cream of tartar
- 1 tablespoon pure vanilla extract
Sweetened Whipped Cream:
- 1 ½ cups heavy whipping cream
- 3 tablespoons powdered sugar sifted
- ¾ teaspoon pure vanilla extract
Instructions
For the Fresh Peach Topping:
- Add the peaches, sugar, and salt to a bowl, and stir to combine. Cover with plastic wrap and let the peaches sit at room temperature for at least 2 but up to 4 hours. Or you can store the macerated fruit covered in the fridge for up to 3 days.
For the Angel Food Cake:
- Preheat the oven to 325F. Get out a 9 or 10-inch tube pan (do not grease it!).
- Add 1 cup sugar, the flour, cornstarch, and salt to a food processor. Process until the mixture is powdery-soft.
- Add the egg whites to a large bowl. Use a handheld electric beater to mix until it looks foamy, and then beat in the cream of tartar. Beat in the remaining ½ cup sugar a little at a time. Once all the sugar is incorporated, beat in the vanilla. Continue beating until the mixture forms glossy looking soft peaks that aren’t quite stiff.
- Use a rubber spatula to fold the dry ingredients into the stiff egg whites ¼ at a time. Try to fold gently to avoid deflating the egg whites as much as possible.
- Transfer the batter to the ungreased tube pan, spreading it out evenly.
- Bake until the cake is golden and springs back when you touch it, about 40 to 45 minutes.
- Flip the cake (still in its pan) upside down on a wire rack (so that the bottom of the cake pan is on top), and let it cool to room temperature, about 3 hours. Once cool, run a knife along the outside of the cake if necessary to loosen it from the pan. Invert the cake onto a cake plate.
For the Sweetened Whipped Cream:
- Add all ingredients to a large bowl. Use a handheld electric beater to mix until it forms soft peaks.
To Serve:
- Use a serrated knife to slice the cake. Serve the cake slices topped with whipped cream and fresh berries.
Faith's Tips
- Nutrition Information: The nutritional information for this recipe was calculated for the cake only, without the whipped cream and peach toppings.
- Storage: Once it has cooled to room temperature, store whole angel food cake wrapped well at room temperature for up to 2 days or in the fridge for up to 5 days. Wait to add any toppings until right before serving.
- Freezing: Angel food cake freezes well! You can freeze the whole cake (wrapped well with plastic wrap and then placed into a freezer-safe zip-top plastic bag) for up to 3 months.
- Peach Substitution: Instead of peaches, you can use ripe nectarines, plums, cherries, or strawberries. And if you're pressed for time, you can use store-bought pie filling.
- Sweetened Whipped Cream Substitution: If you don't feel like whipping cream, you can use Cool Whip or whipped cream in a can.
Nutrition



Leave a Reply