This post may contain affiliate links, view our disclosure.
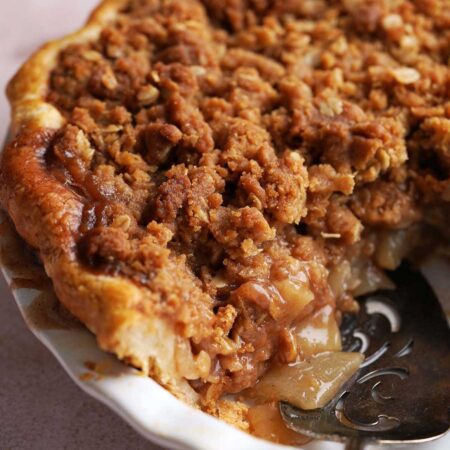
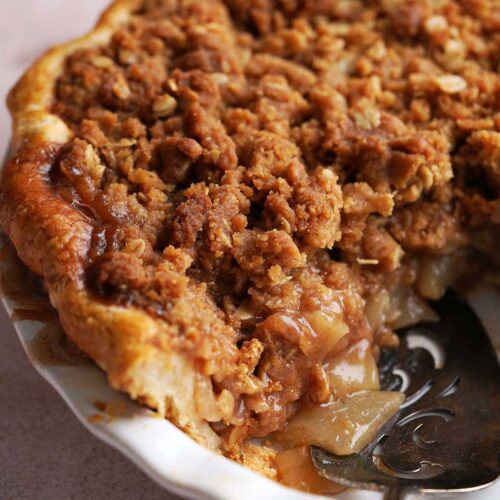
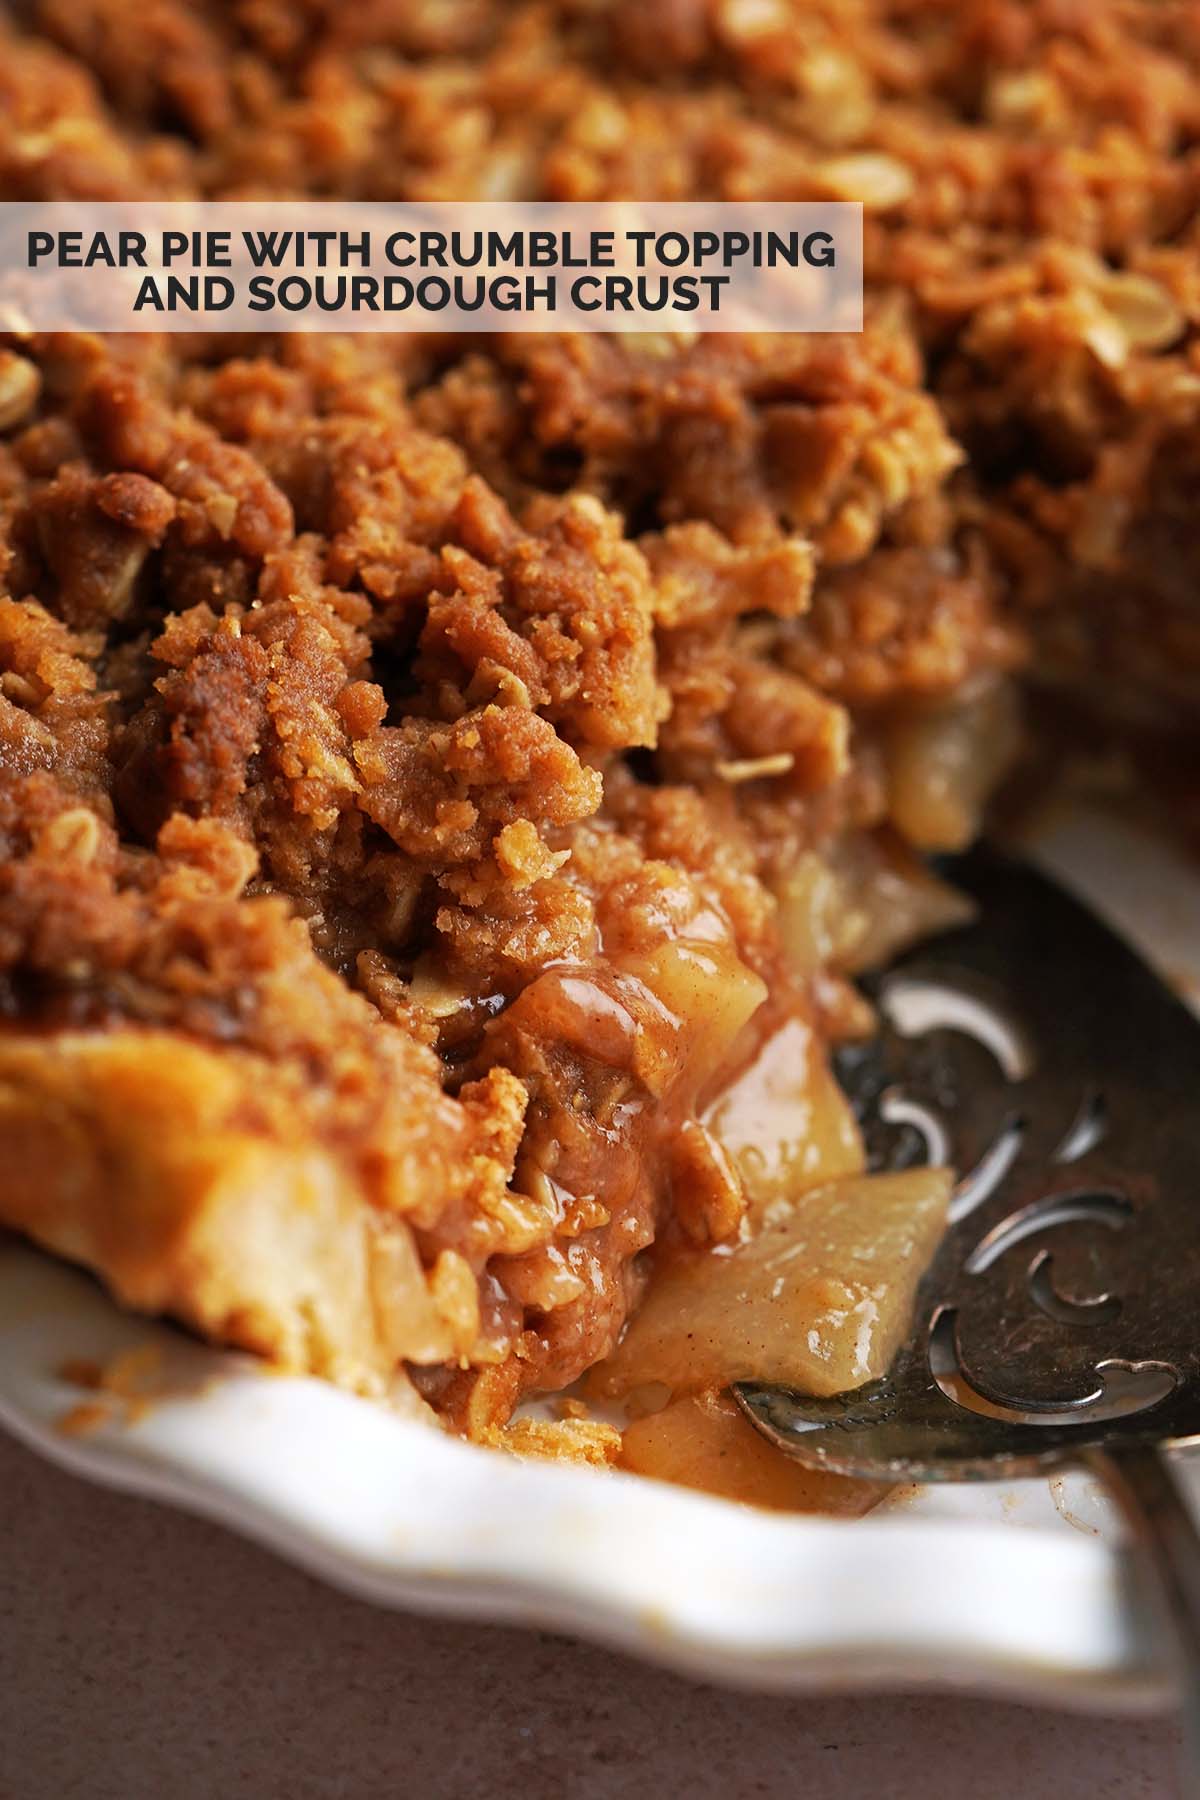
This from-scratch pear pie recipe features a spiced fresh pear filling, brown sugar oat streusel topping, and buttery sourdough crust for an unforgettable dessert. It’s perfect anytime you feel like baking pie, and a lovely addition to Thanksgiving or Christmas dinner.
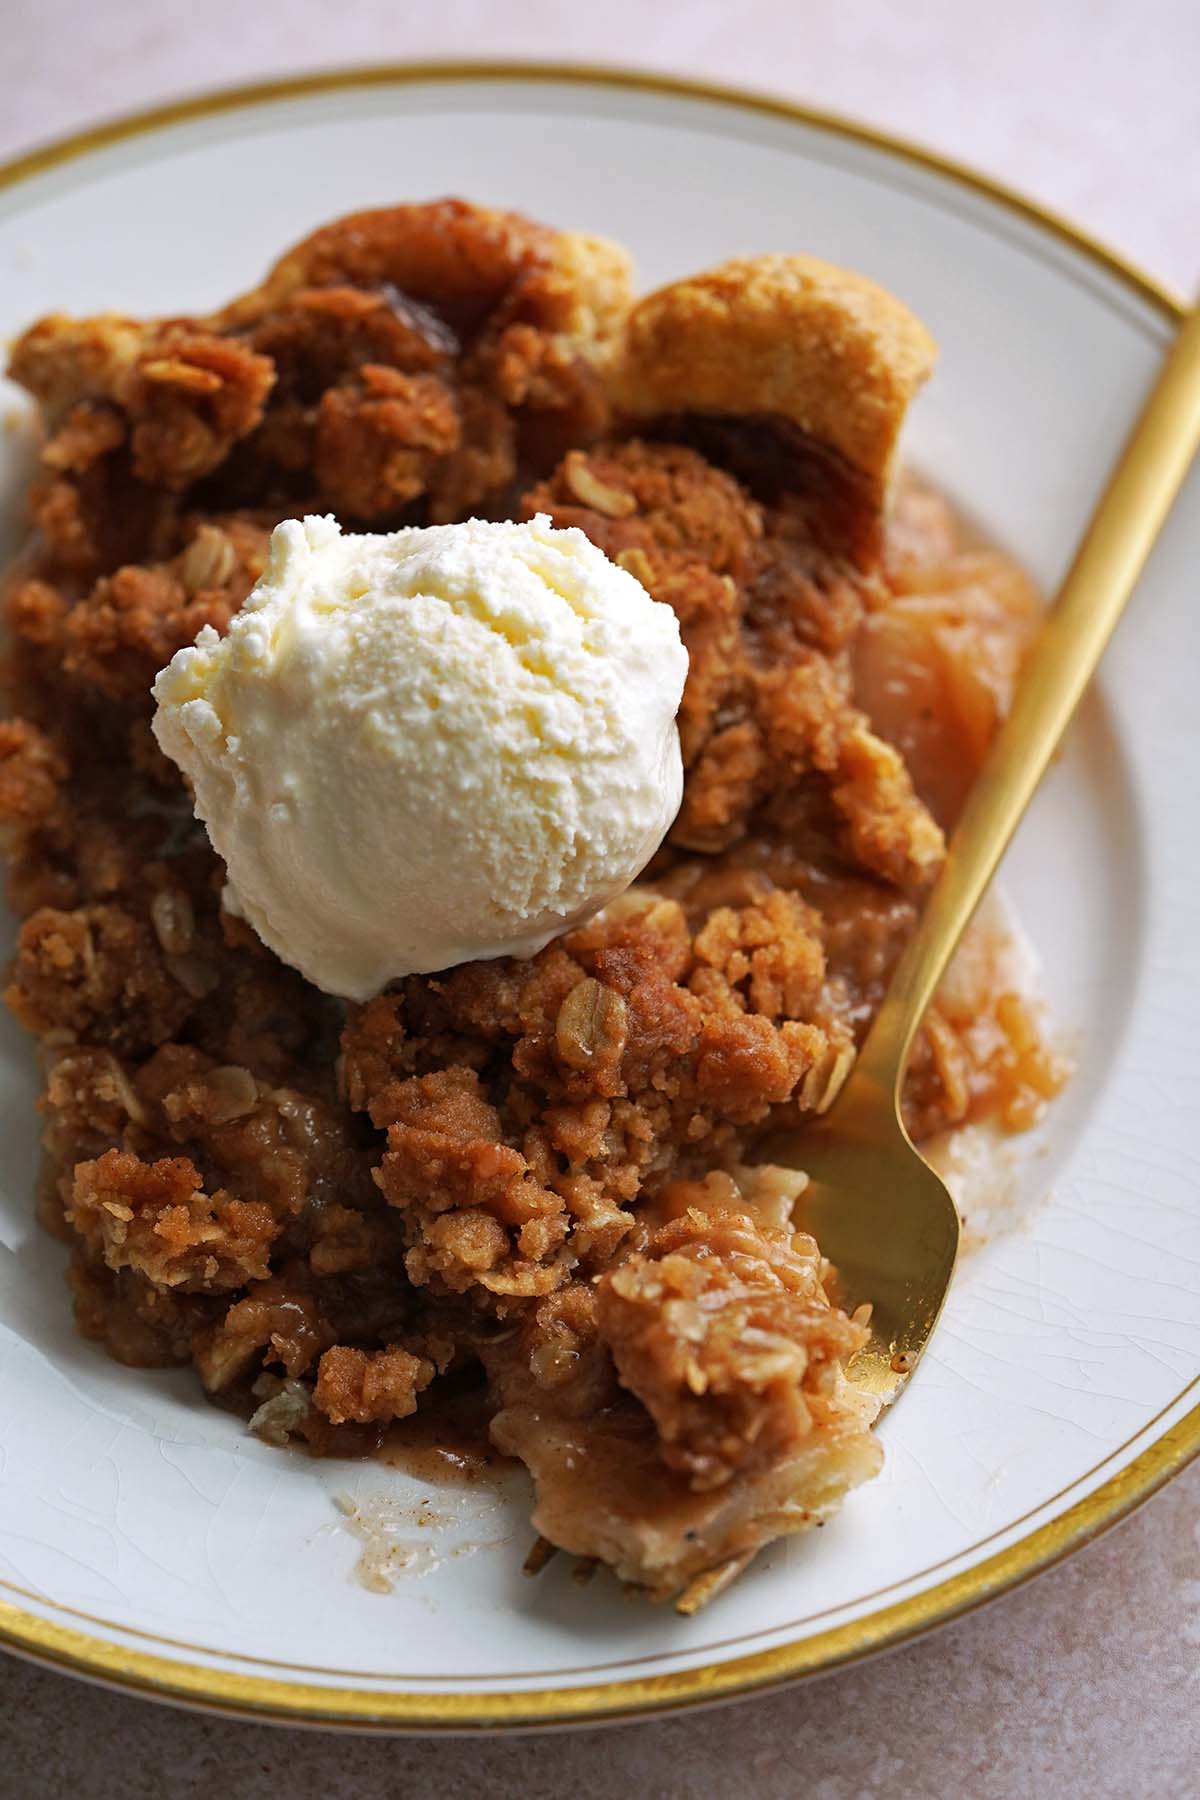
Normally I’m an apple pie (or apple crisp) girl. My apologies to the pumpkin pie fans (too mushy for me) and the pecan pie lovers (too sweet for my taste), but now even my beloved apple takes a backseat. Pear pie changed the game.
I first made this pie for Thanksgiving 2024. Since then I’ve made it at least three more times, tweaking and perfecting it. I’m happy to report that this final version is exactly where I want it.
It features a brown sugar-sweetened, warmly spiced fresh pear filling that’s a wink and a nod to what we love about apple pie, but even more unique thanks to pear’s slightly floral, honeyed caramel flavor notes. The deliciously crispy, flaky, buttery sourdough crust adds complexity and a subtle tanginess to balance the sweetness of the pear filling and crumble topping. Which brings me to the lovely streusel topping; brown sugar, butter, and oats combine for a sweet, nutty crunch that tops it all off perfectly.
This is the ultimate pear pie with every component made from scratch. And from here on out, it’s the only pie I will make sure always graces my family’s Thanksgiving table. I hope you and your family enjoy it as much as we do.
What Makes This Humble Pie Truly Special
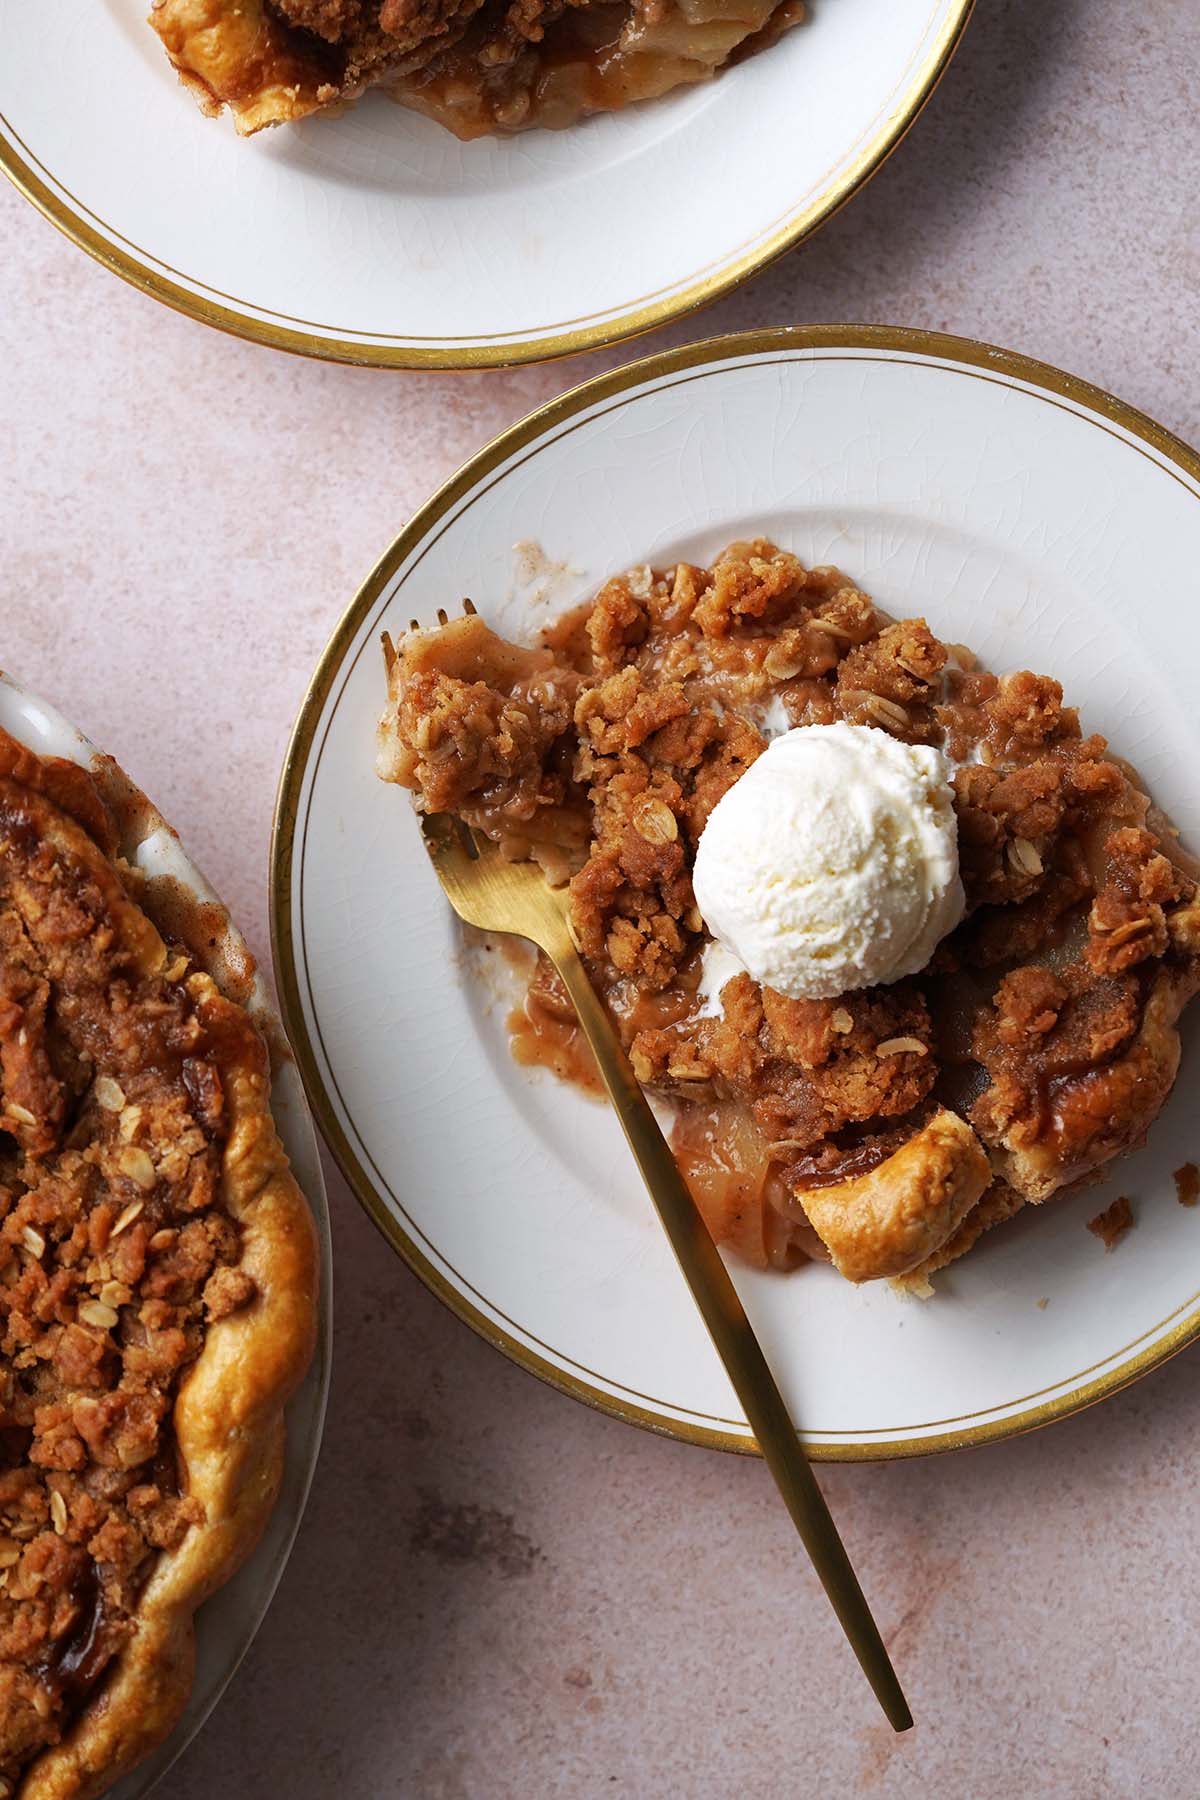
- Homemade pear pie filling. Brown sugar, warm spices, and a touch of fresh lemon juice beautifully accentuate pears’ natural flavor notes of vanilla and caramel without overpowering them.
- Streusel topping. Butter, brown sugar, and oats spiced with cinnamon and laced with vanilla add flavor and texture in the form of a gorgeous crumble topping.
- Sourdough pie crust. It’s everything we love about a truly spectacular pie crust (flaky + buttery), but with the added complexity of tangy sourdough for balance. Next level.
Ingredients
Breaking It Down
Ingredients Explained
In this section I explain the ingredients and give substitution ideas where applicable. For the full recipe (including the ingredient amounts), see the recipe card below.
Pear Pie Filling Ingredients
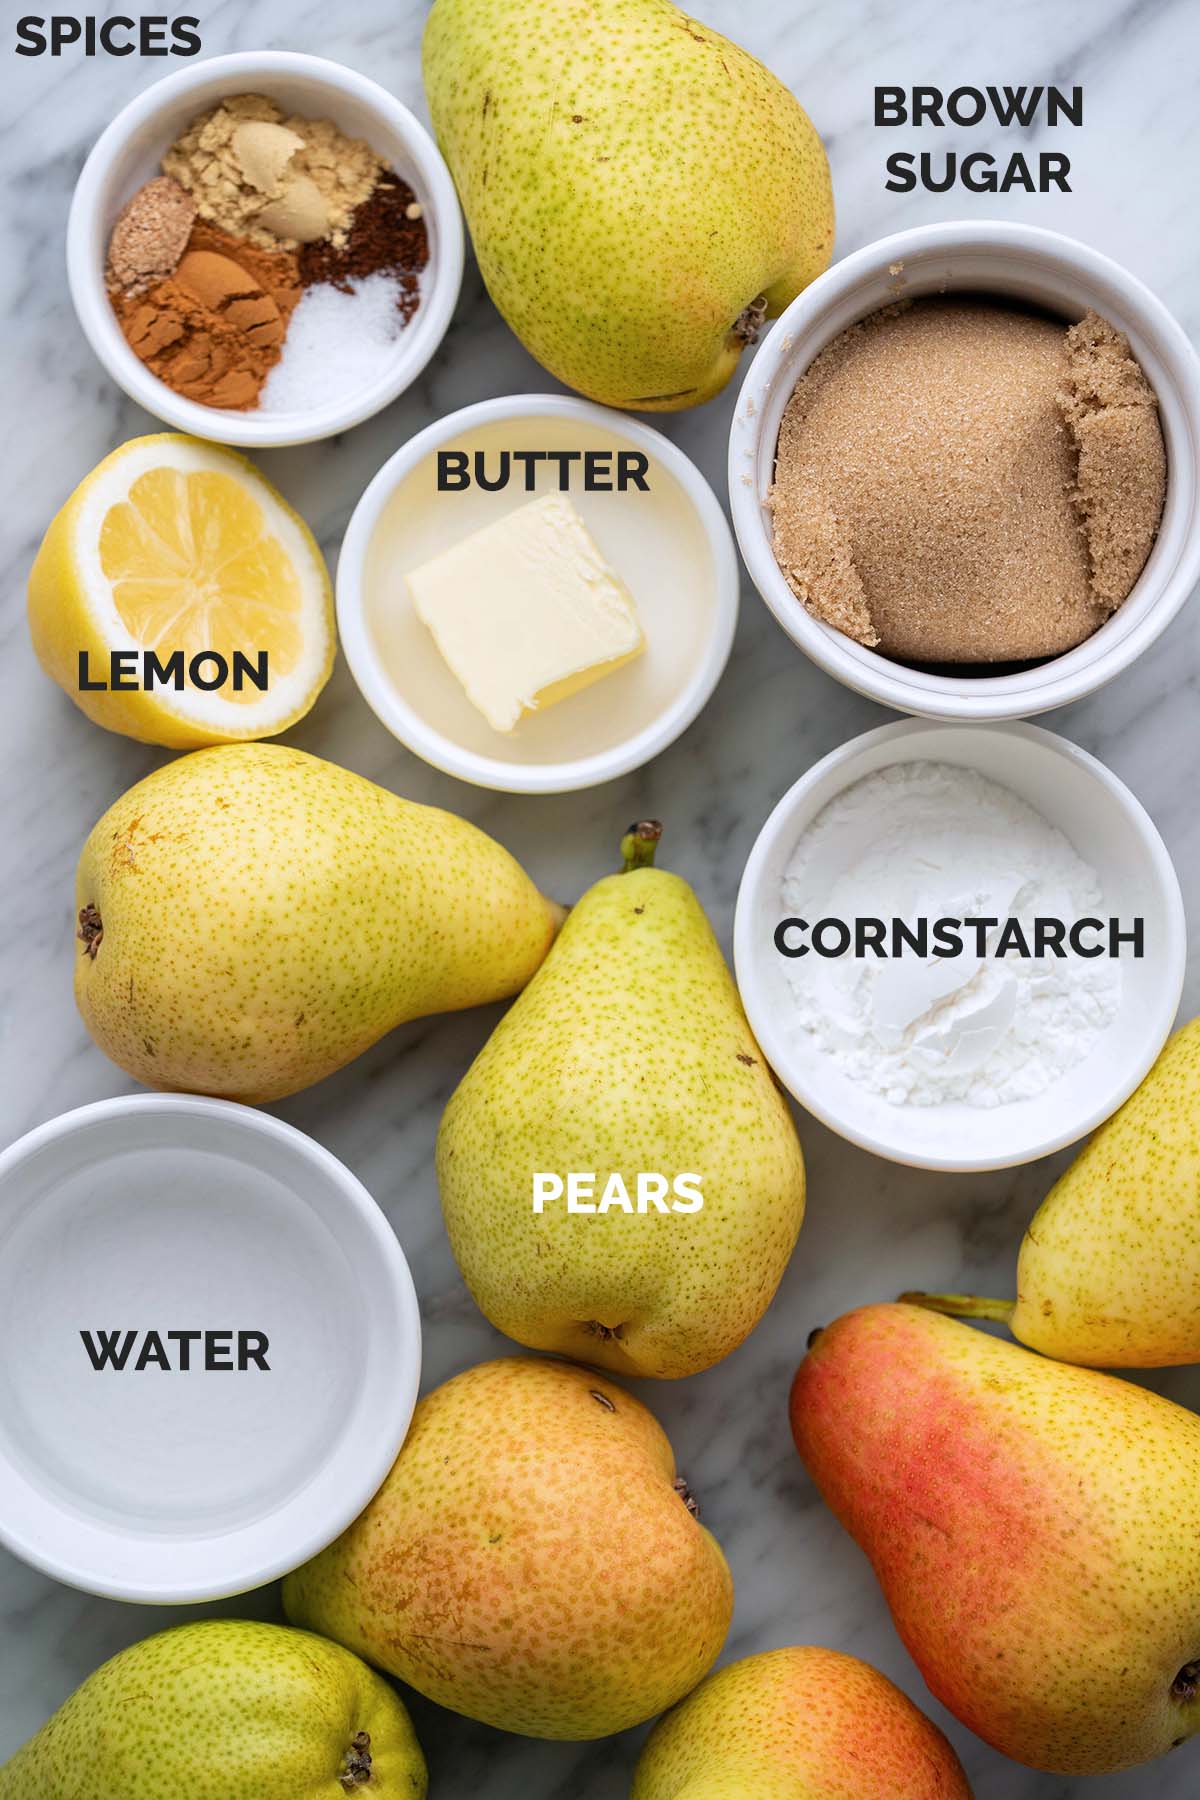
- Pears – We need 8 cups of sliced pears, which is about 3 pounds of fresh, ripe pears. Peel them, core them, and slice them into 1/8 to 1/4-inch thick slices.
- Light brown sugar – Instead of using regular granulated white sugar, brown sugar adds rich notes of molasses.
- Cinnamon, ginger, nutmeg, and cloves – This warm spice blend accentuates the flavor of pears without overpowering it.
- Salt – Salt is a natural flavor enhancer that intensifies the nuances of the pears.
- Cornstarch – We mix cornstarch with cold water to form a slurry to thicken the pie filling.
- Fresh lemon juice – Fresh lemon juice adds tart, bright flavor to balance the sweetness, and also helps the pie filling set.
- Unsalted butter – Just a little bit of butter adds rich flavor and creates a velvety mouthfeel.
Sourdough Pie Crust Ingredients
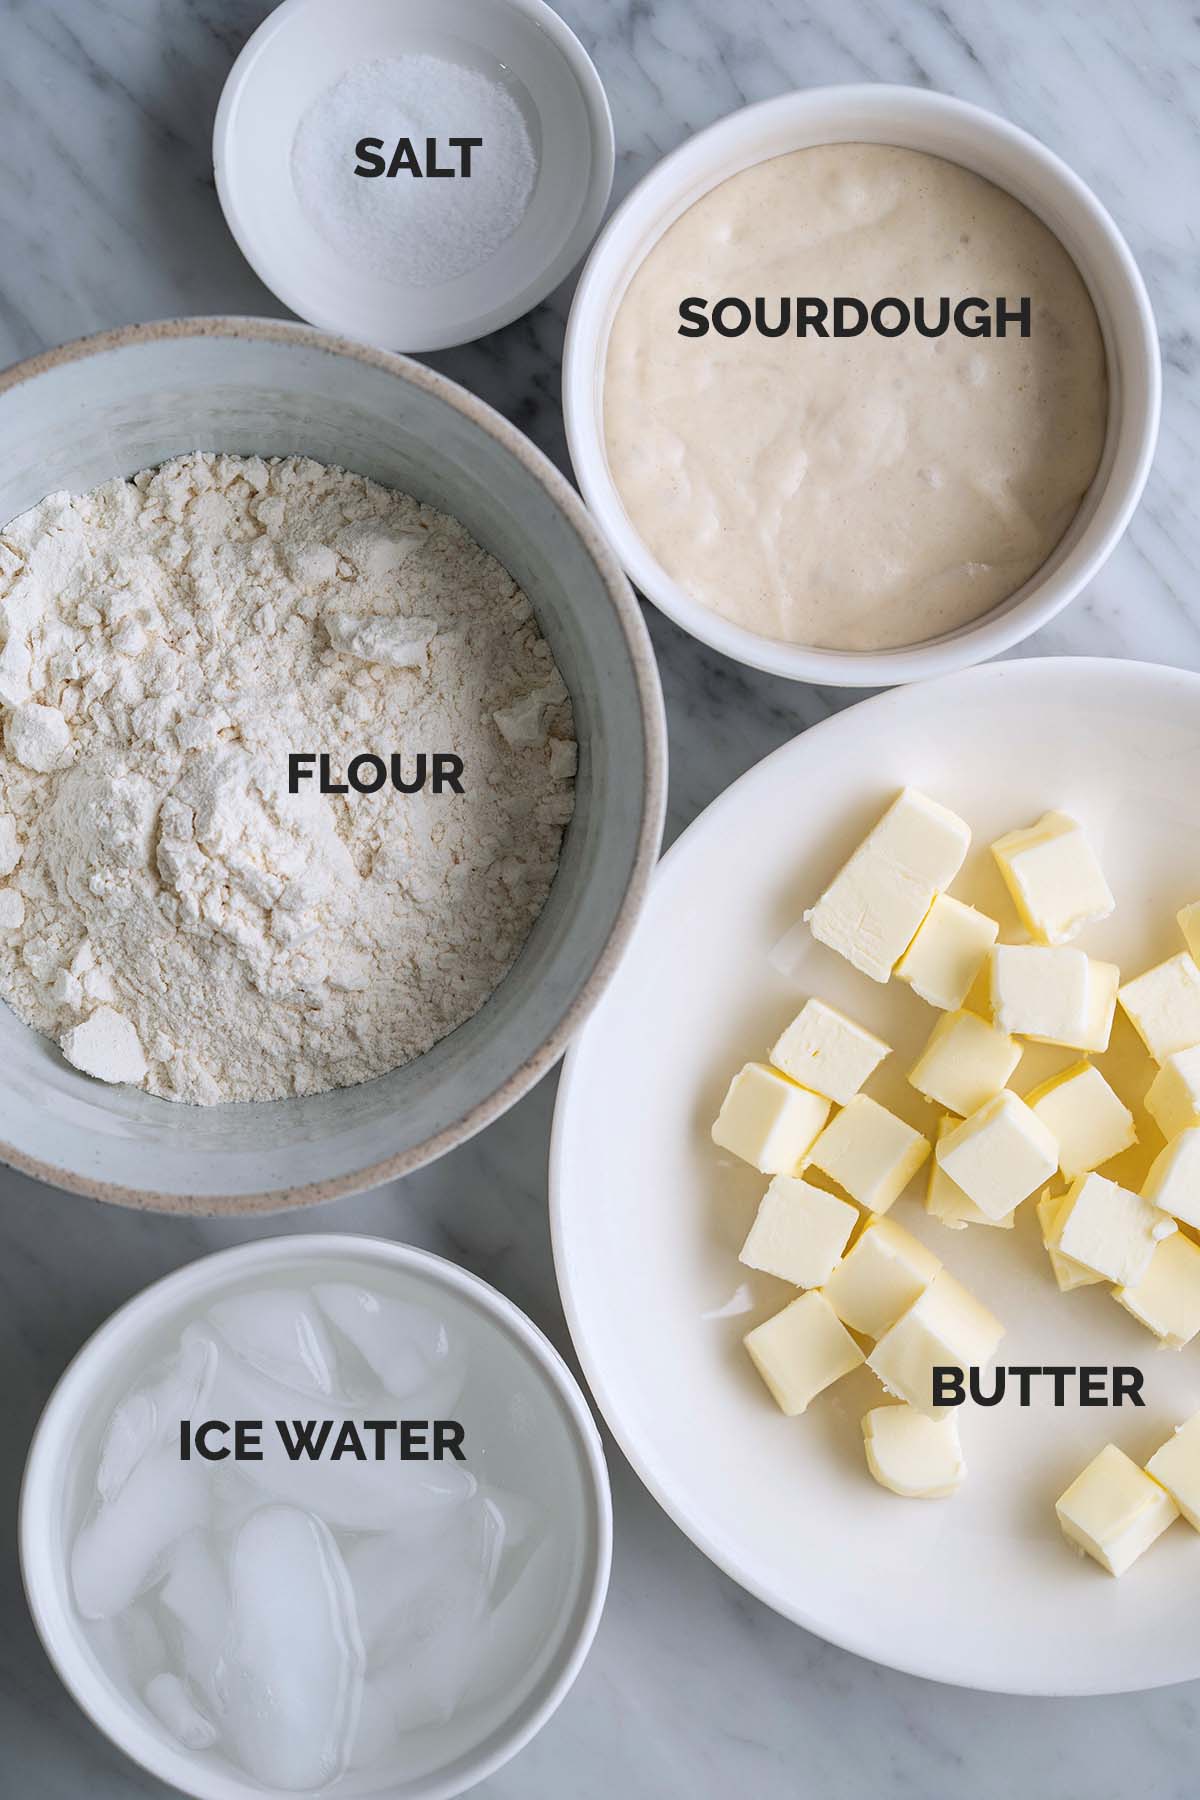
- Flour – Use regular unbleached all-purpose flour. It’s not necessary for this recipe to work, but go for organic if possible (my favorite is King Arthur). Also, for best results, make sure your flour is fresh. (TIP: If your bag of flour has been open a while, its hydration level and flavor will be slightly different than a freshly-opened bag because it can absorb moisture and odors from the air.)
- Salt – A natural flavor enhancer, salt seasons the dough and brings out the rich buttery flavor.
- Unsalted butter – One might say that butter is the star of the show in an all butter pastry crust! Any kind of butter will work, but when possible, I like to use European style butter with a higher butterfat content for the most amazing melt-in-your-mouth crust. A couple of my favorite brands are Vital Farms and Kerrygold. (TIP: Here we use unsalted butter and add salt for two reasons: 1) unsalted butter is typically fresher than its salted counterpart, and 2) it allows us to control the salt level.)
- Sourdough – You can use active sourdough starter or unfed discard here. I prefer discard for its tangier flavor and to help reduce kitchen waste, but either will work. (TIP: Don’t worry about the difference in thickness between starter and discard here. I developed this recipe with a failsafe to account for that; incorporating water a little bit at a time after adding sourdough to hydrate this dough accounts for the natural variation in the thickness of starter versus discard.)
- Water – We want icy cold water so the butter doesn’t melt. I fill a glass with ice, add water, and use that.
Crumble Topping Ingredients
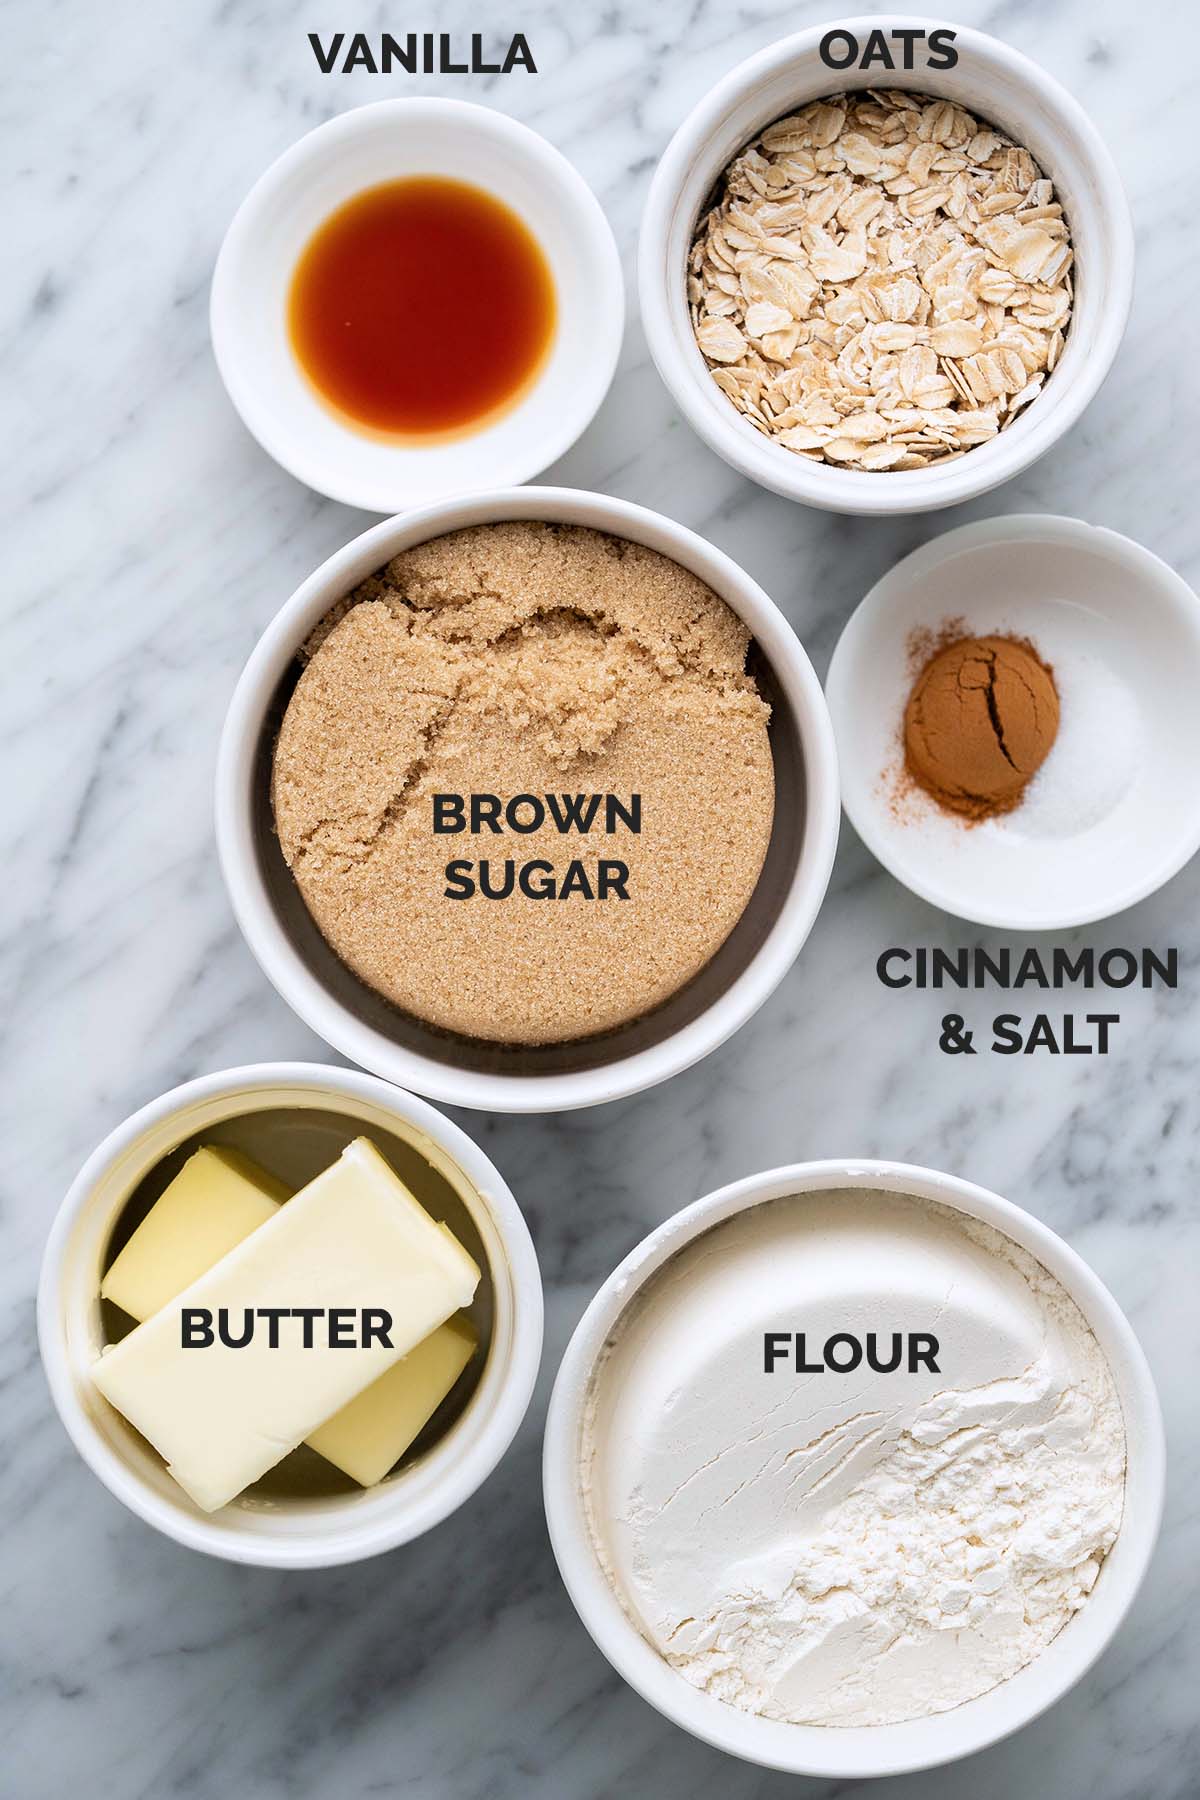
- Light brown sugar – Just like with the pie filling, instead of using regular granulated white sugar, brown sugar adds rich notes of molasses to the crumble topping.
- Flour – Use regular all-purpose flour.
- Old-fashioned rolled oats – Oats lend a nutty flavor and great texture.
- Butter – For rich flavor and to help the crumble topping turn a gorgeous golden shade of brown.
- Cinnamon – To echo the cinnamon and warm spices in the pear filling.
- Salt – Enhances the rich, buttery brown sugar flavor.
- Vanilla extract – For flavor and aroma.
Other Ingredients
- Egg – Lightly beaten with 1 tablespoon of water (for the egg wash).
Step-by-Step Instructions: How to Make the Ultimate Pear Pie Recipe Entirely From Scratch
It’s not hard to make a pie from scratch, but it is a process. However, the good news is that you can break up the work and do it over multiple days. Be sure to read through the entire recipe before starting and make sure to allocate enough time for each step. You got this!
1: Make the Homemade Pear Pie Filling
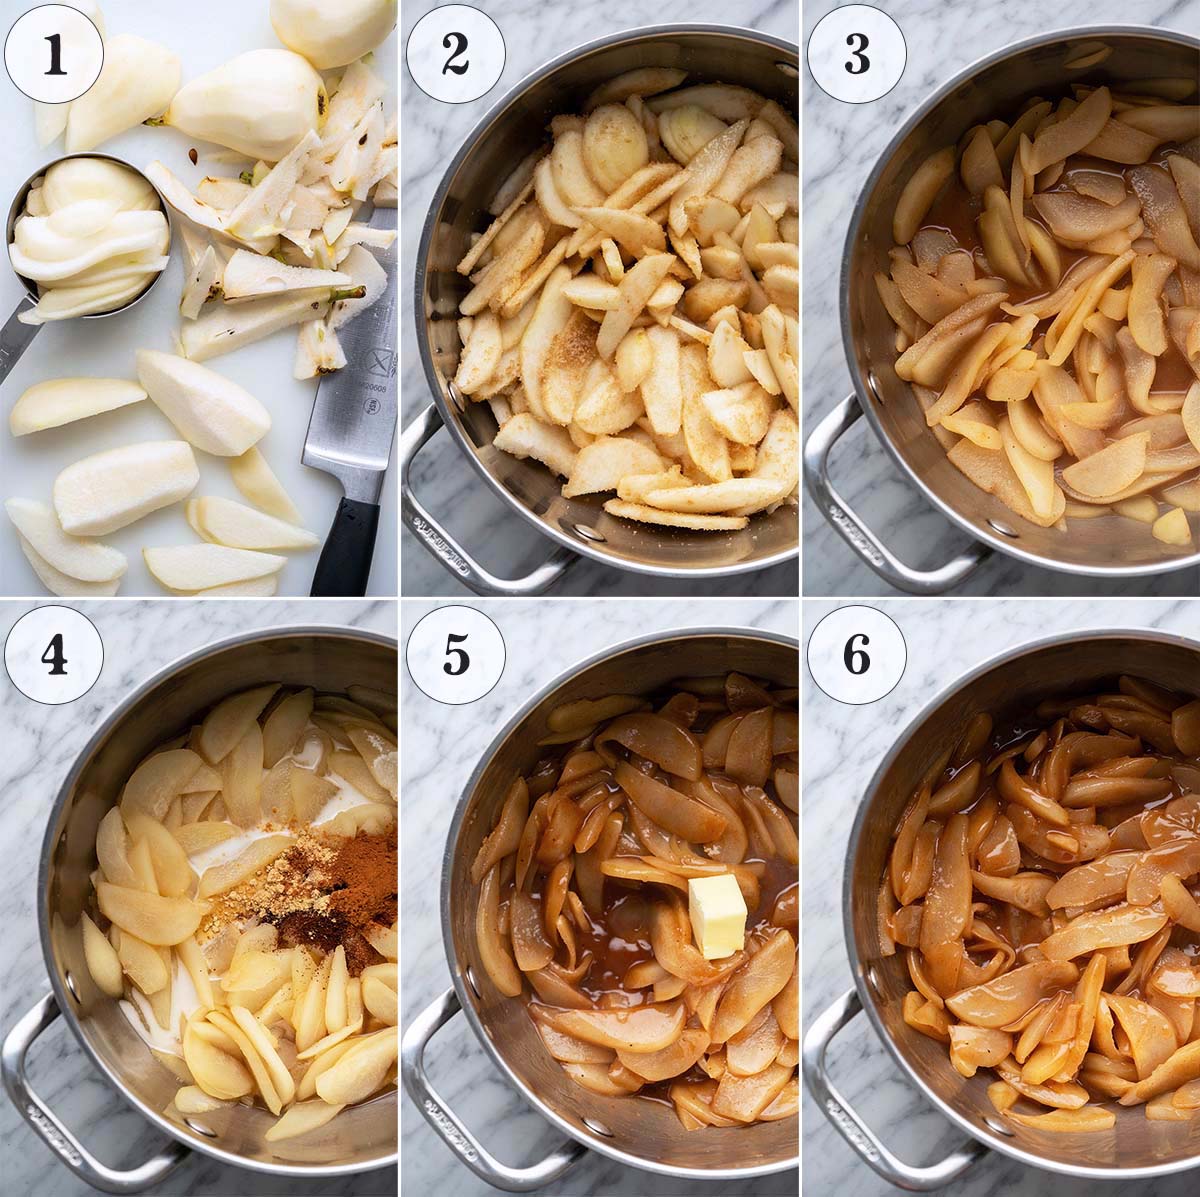
- Prep. Wash the pears, then peel them, core them, and slice them into 1/4 to 1/8-inch thick slices.
- Cook. Add the pear slices and brown sugar to a large pot over medium heat, and toss to coat. Cover the pot and cook until the pears start to soften and the volume reduces by approximately half, about 10 to 12 minutes.
- Add the spices. Stir in the cinnamon, ginger, nutmeg, cloves, salt, and cornstarch slurry. Cook until thickened, gently stirring constantly, about 1 minute.
- Finishing touches. Remove from the heat and stir in the lemon juice and butter.
- Cool. Cover and cool to room temperature, about 2 hours. (TIP: Make sure to cover the pot so the filling doesn’t thicken too much as the liquid evaporates during the cooling process.) After 2 hours you can make the pie, or store the filling in the fridge for up to 3 days.
2: Make the Sourdough Pie Dough and Let it Chill
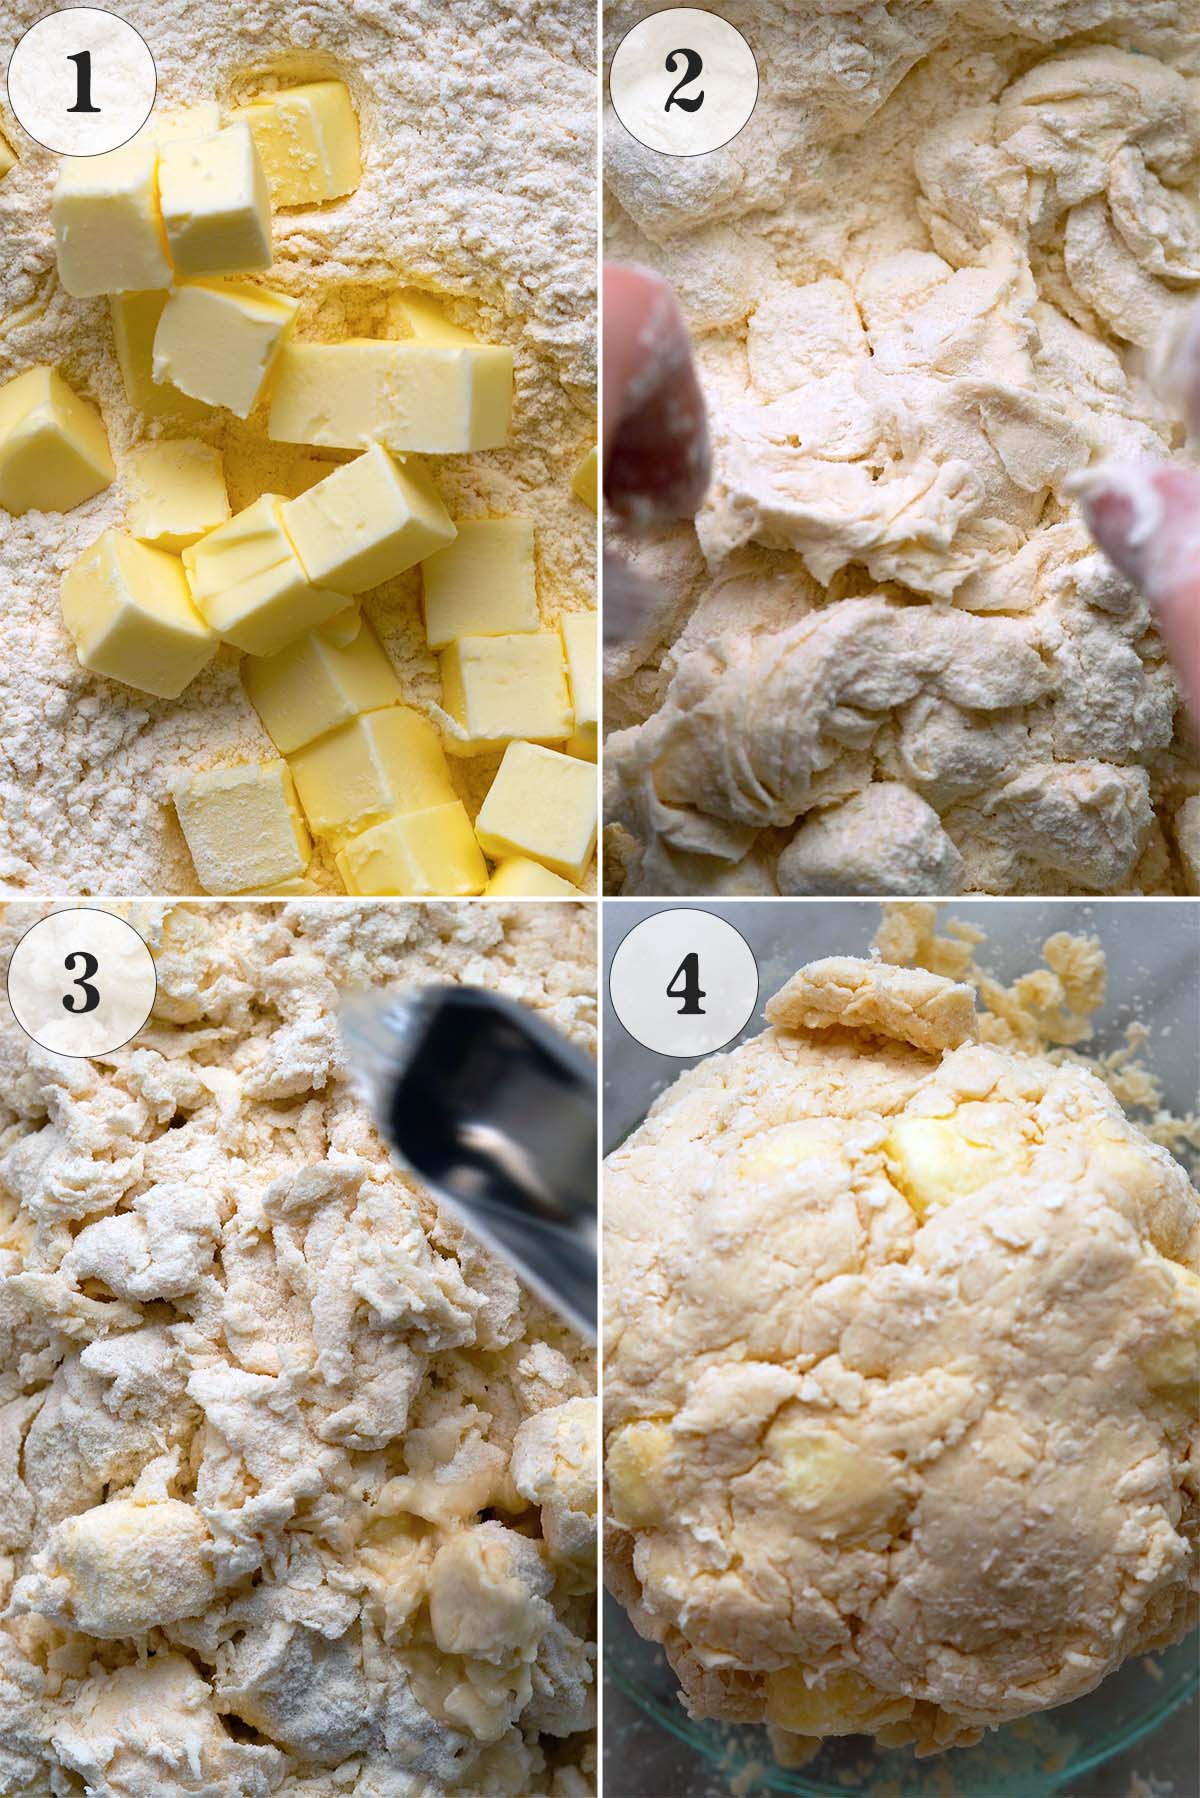
- Add the flour and salt to a large bowl and whisk to combine. Add the butter chunks and toss with your fingertips to coat them in flour.
- Add the discard and work it into the dough with your fingertips until it forms a shaggy dough, trying not to work in the butter if possible. (TIP: When you work the sourdough starter or discard into the dough, for larger clumps of sourdough, it helps to use gravity to incorporate it. Simply grab the sourdough and gently pull it up while shaking. The sourdough will fall down in thinner strands that incorporate more easily into the flour.)
- Once the discard is worked into the dough, add ice-cold water a little at a time just until it comes together; I usually need between 4 to 6 tablespoons, but the exact amount varies based on the weather, your discard, etc.
- This is how the dough looks when it’s ready. (TIP: At this point, the dough should still be a bit dry, but should come together as a ball when pressed.) Turn the dough out onto a piece of plastic wrap, wrap it up, and gently shape it into a disk. Freeze the dough for 20 minutes (or refrigerate for 4 hours).
3: Perform the Letter Folds and Let it Chill
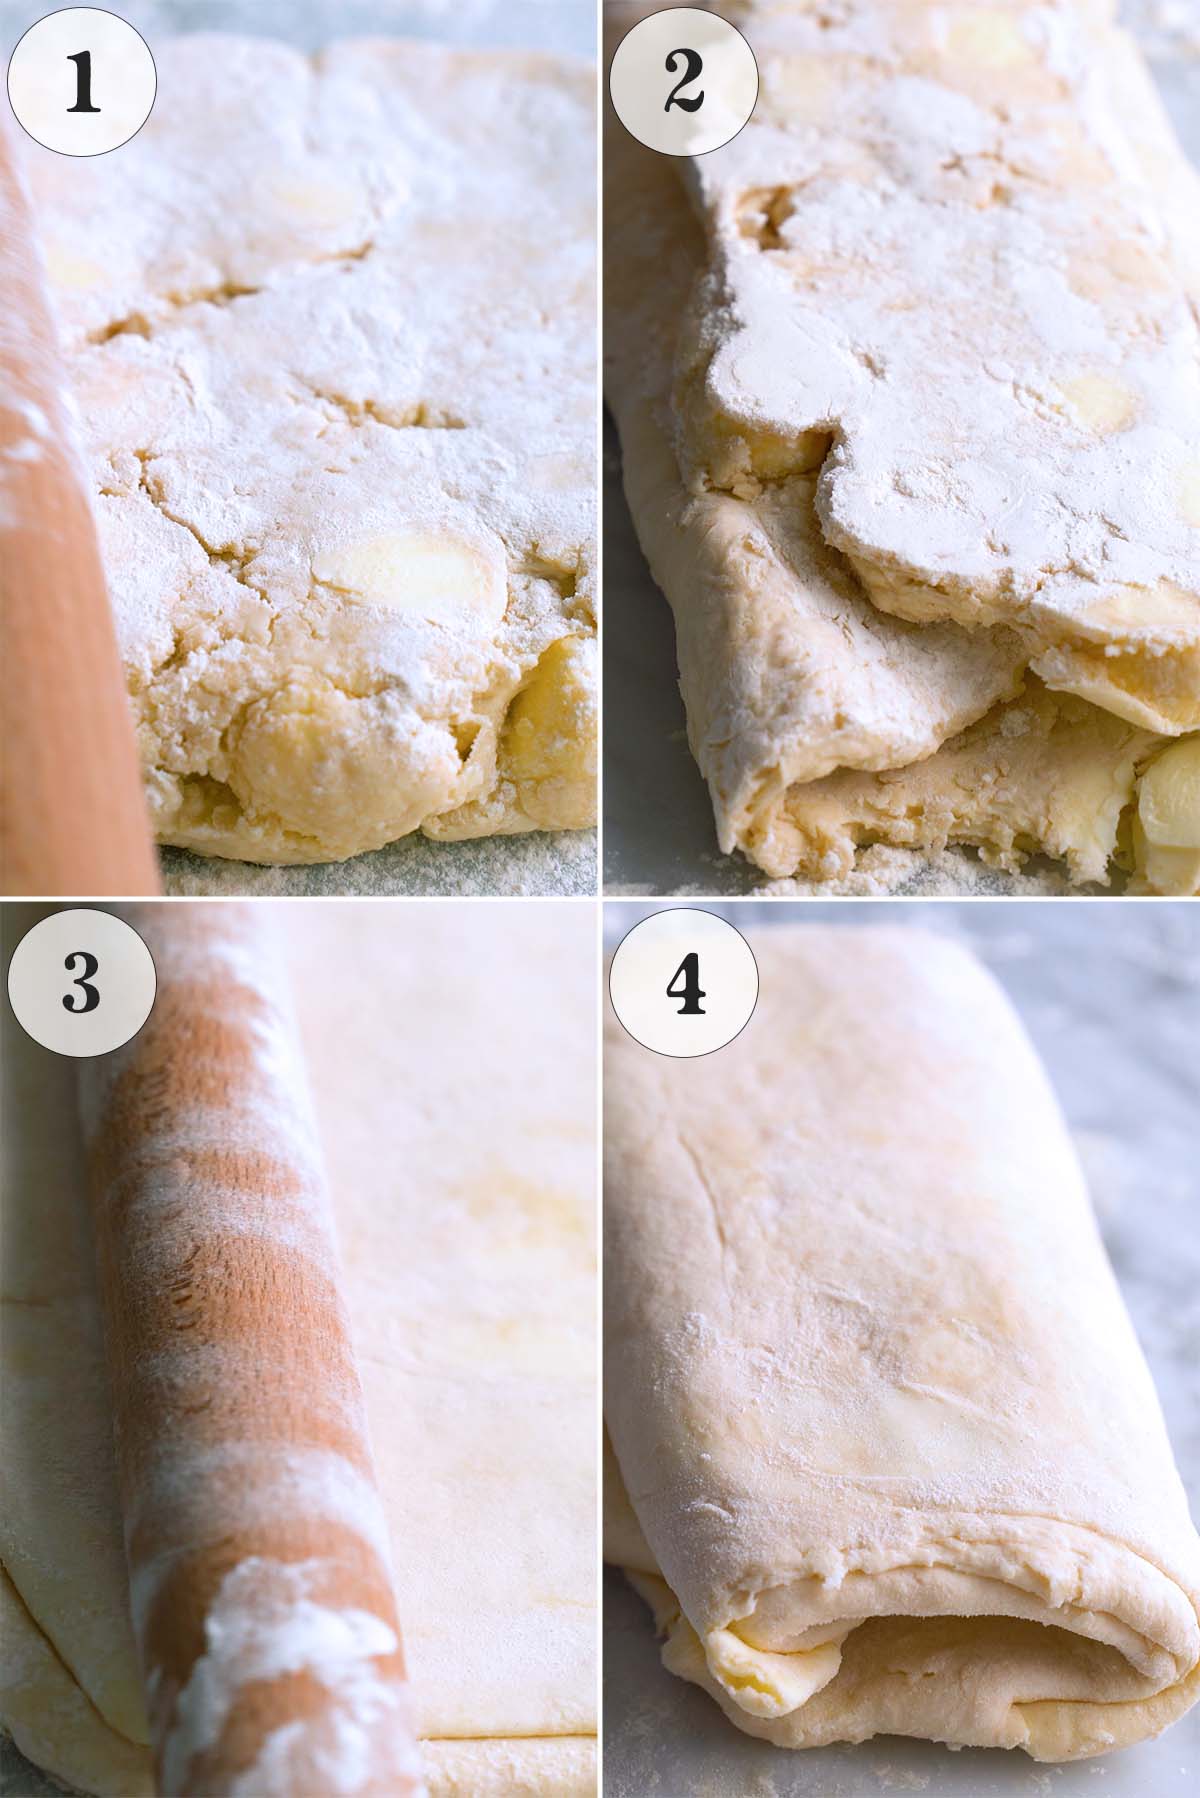
- After your dough is chilled, flour your work surface and roll out the dough to a rectangle about 8 by 12 inches.
- Perform your first letter fold; to do so, fold the bottom 1/3 of the dough up over the middle 1/3, and then fold the top 1/3 down over the middle (like you’d fold a business letter). Roll it out to an 8 by 12-inch rectangle again, and perform another letter fold. Repeat this process 4 more times (for a total of 6 letter folds), adding a dusting of flour on the dough or your work surface at any point if needed. (TIP: At any point during the letter fold process, if the butter starts to soften too much and the dough becomes difficult to roll out, simply wrap it in plastic wrap and pop it into the fridge to chill briefly before continuing.)
- This is how the dough looks when you’re rolling it out for the fifth time (right before the sixth and final letter fold).
- This is how the dough looks after the sixth letter fold. Wrap the dough in plastic wrap and freeze for 10 minutes (or refrigerate for 2 hours).
4: Final Roll Out
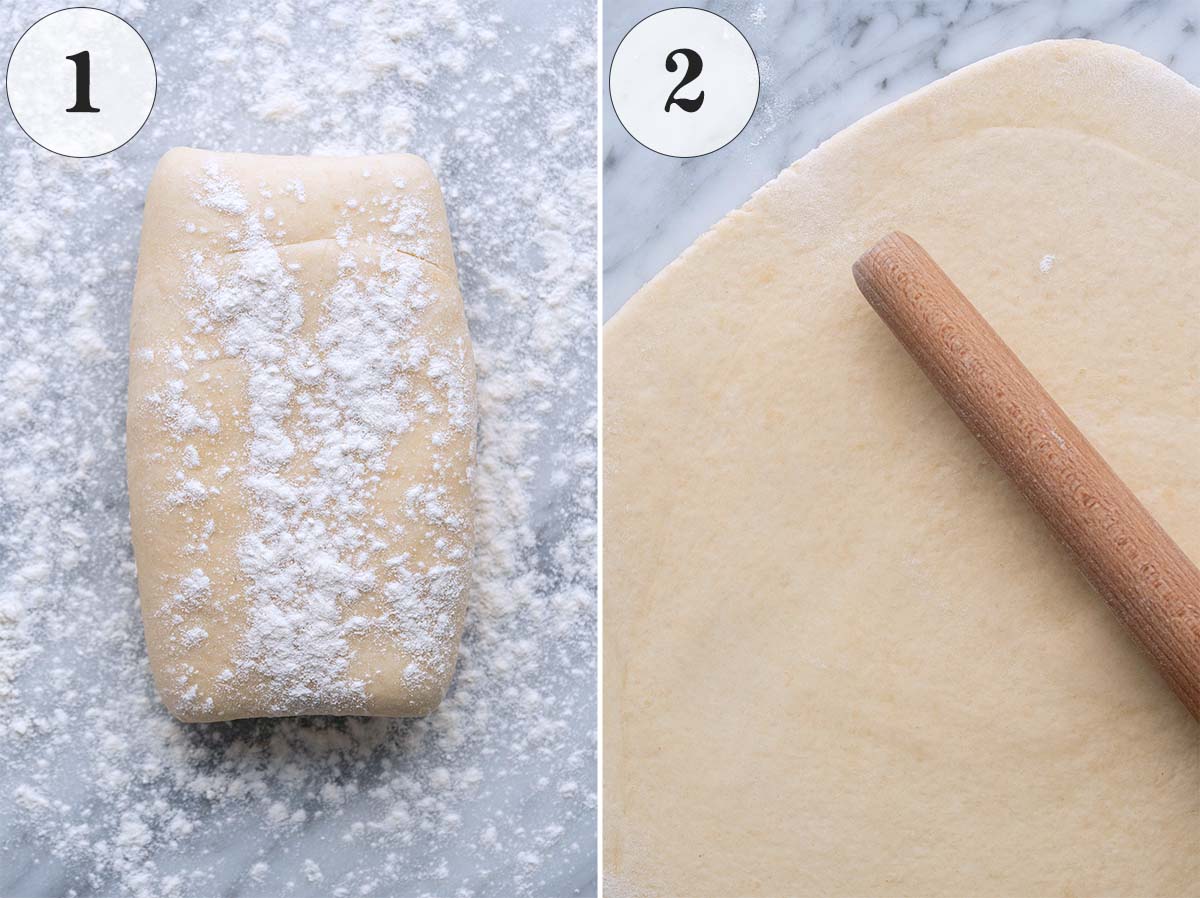
TIP: Now is a good time to preheat the oven (we need it at 425F for this recipe).
- Place the chilled dough onto a floured work surface and lightly flour the top of the dough.
- Working from the center out, roll the dough out to a circle about 12 inches in diameter.
5: Make the Crumble Topping
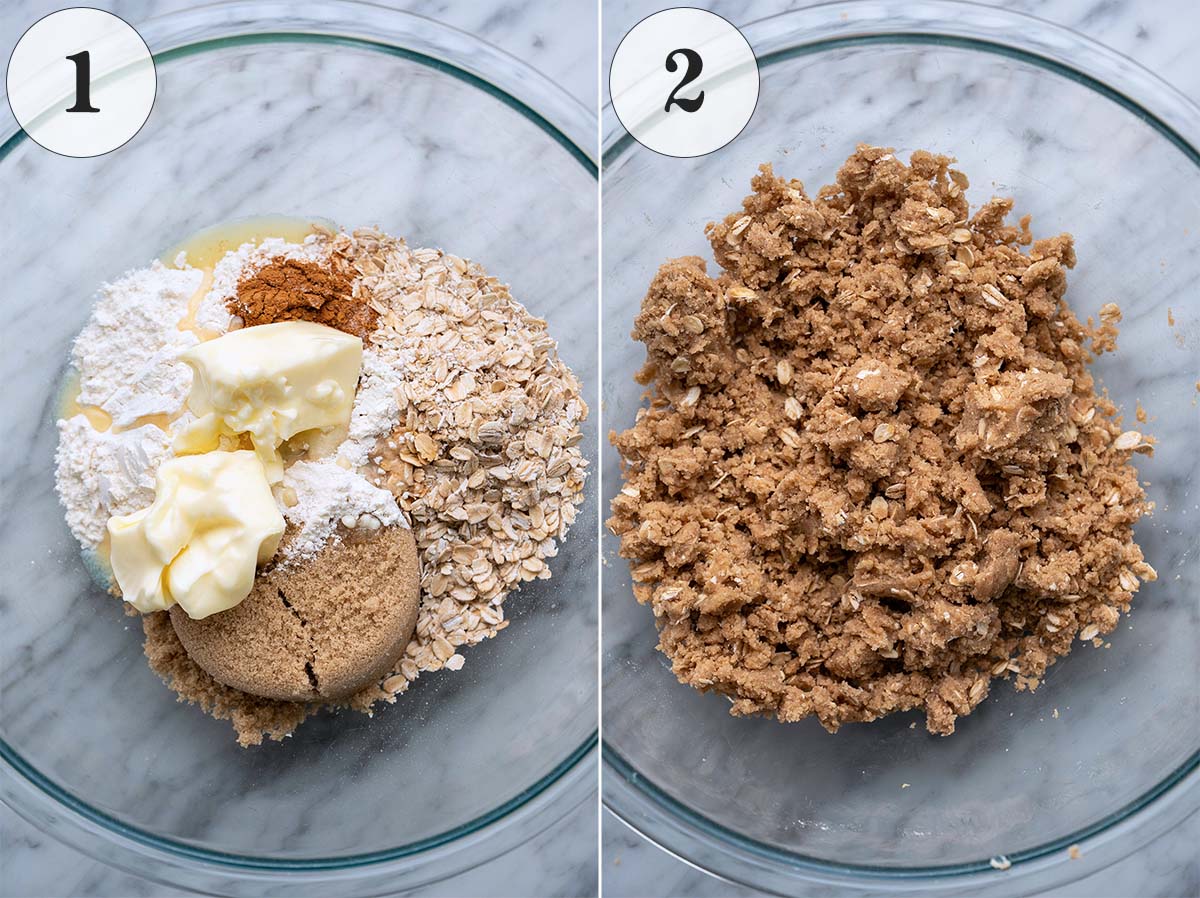
- Add all ingredients to a large bowl. (TIP: The butter should be at room temperature or slightly softened. If it’s a little bit melted like in this photo, you’ll need to pop the crumb topping into the fridge for about 10 minutes once it’s mixed before adding it on top of the pie.)
- Use your hands to mix everything together until it forms large crumbles. Set aside for now.
6: Assemble the Pie
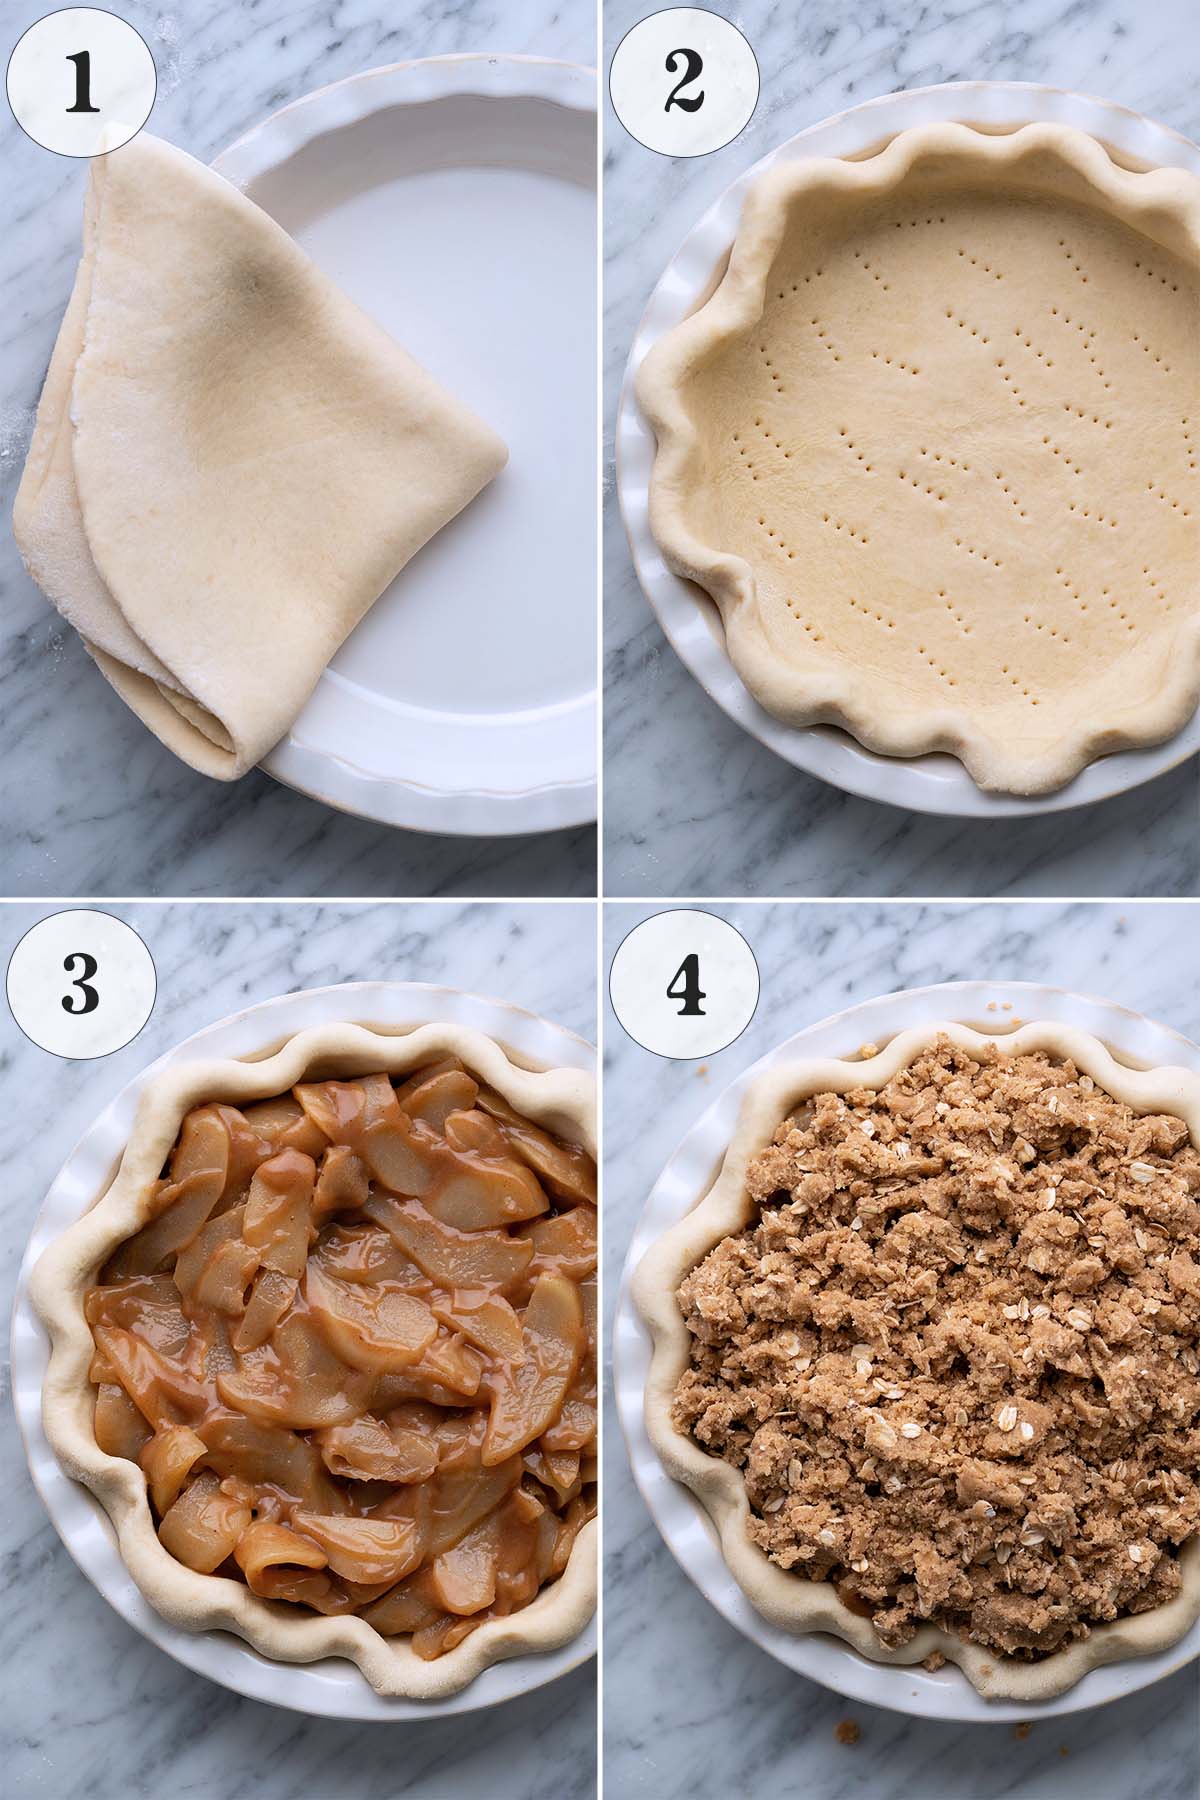
- Fold the dough over onto itself, then fold it over again, pick it up, and transfer it to a pie plate.
- Unfold the dough and push it into the bottom and up the sides of the pie plate. Use a fork to poke several holes in the bottom of the pie crust.
- Pour the filling into the pie crust and spread it out evenly.
- Spread the crumble topping evenly across the filling. Tuck the outside of the dough under and use your fingers or a fork to flute or crimp the edges to form the crust. Lightly brush the crust with egg wash.
7: Bake
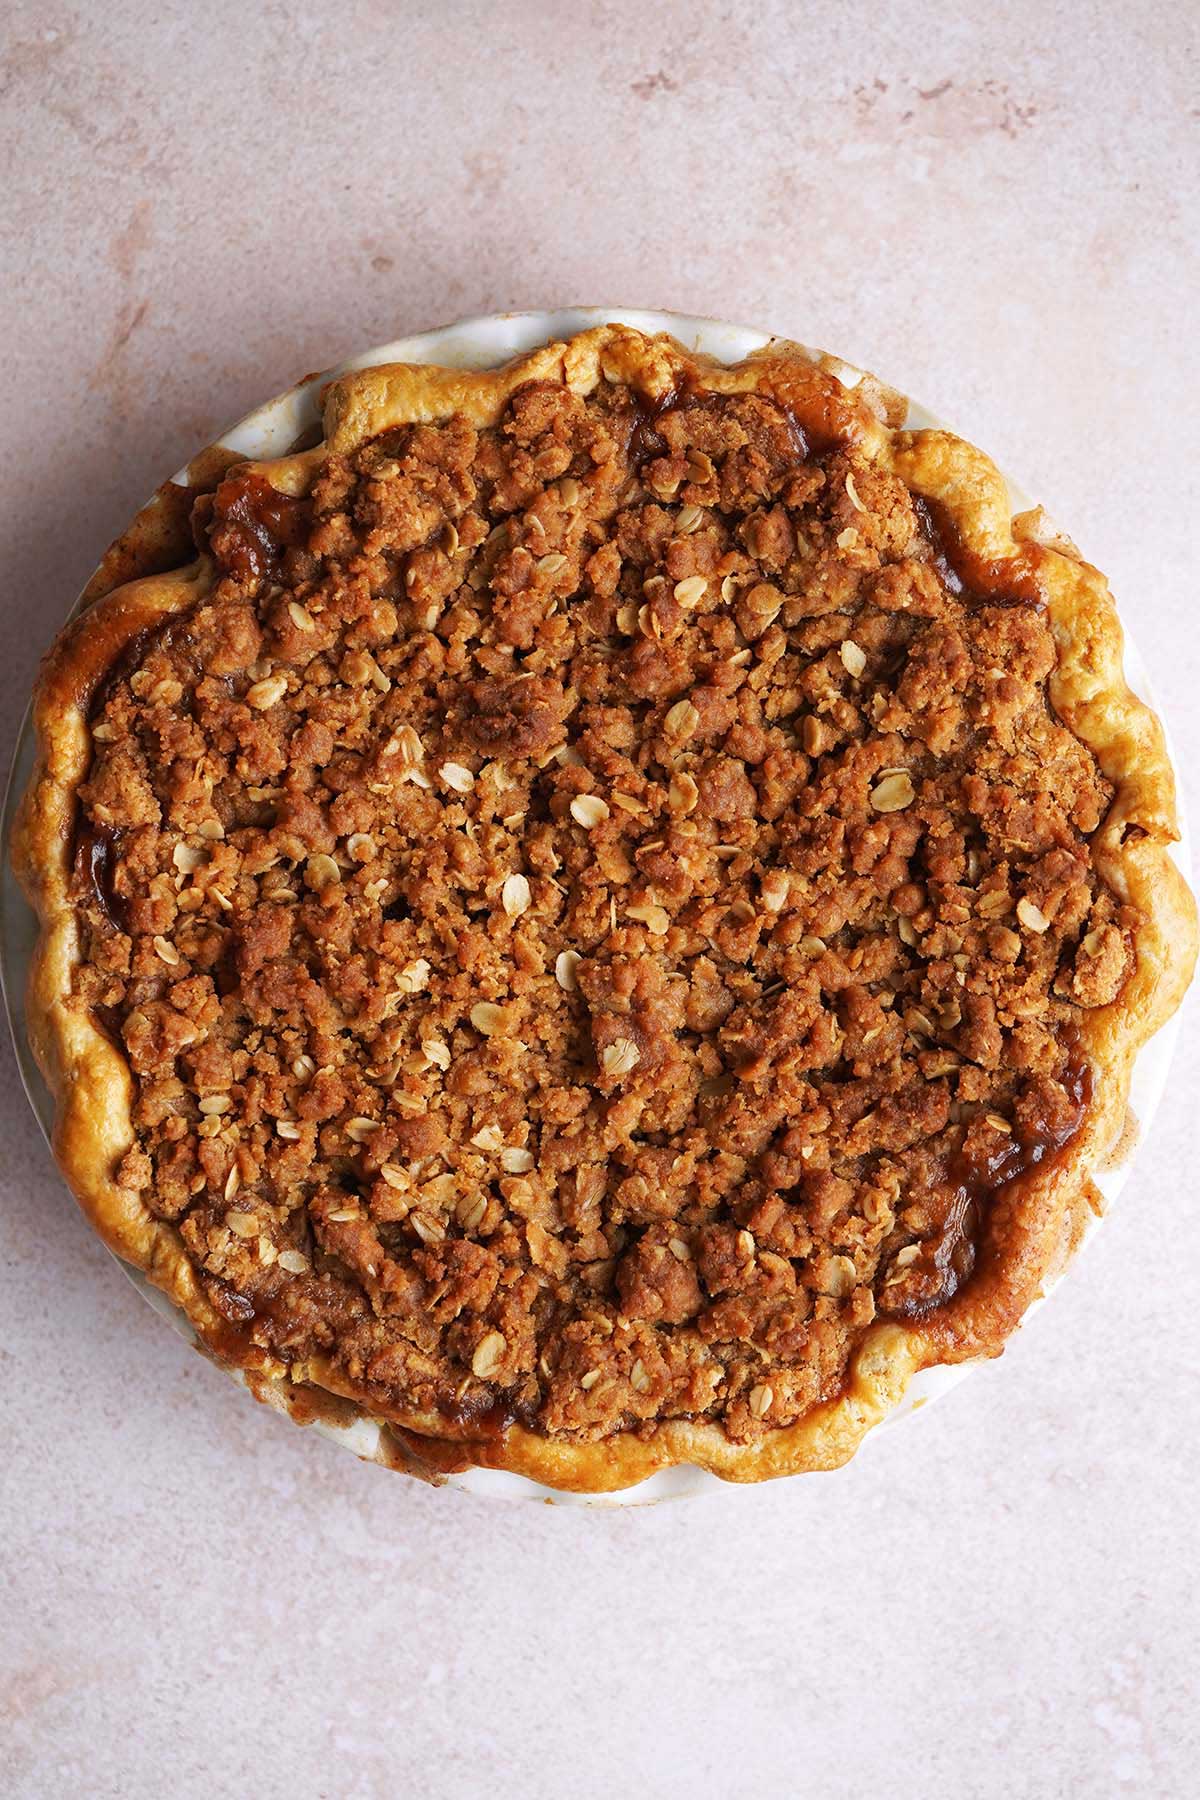
Put the pie into the preheated 425F oven, and immediately turn the heat down to 350F. Bake until the crust and crumble topping are golden and the filling is bubbling, about 1 hour to 1 hour 10 minutes. (TIP: Tent the top with foil if it’s golden before the filling is bubbling.)
Storage and Make Ahead
- Filling – Cool to room temperature, and then store in an airtight container in the fridge for up to 5 days or in the freezer for up to 3 months.
- Dough – Wrap the dough well and then pop it into a zip-top plastic bag and store it in the fridge for up to 2 days. I don’t recommend storing this dough for longer than that for a couple reasons. For starters, it will continue to ferment the entire time, and after the second day it can be a bit too tangy. Also, by the third day it will likely start to oxidize and turn an unappetizing grey color.
- Baked pie – Cool to room temperature and then store covered at room temperature for up to 2 days, in the fridge for up to 1 week, or in the freezer for up to 3 months.
Reheating
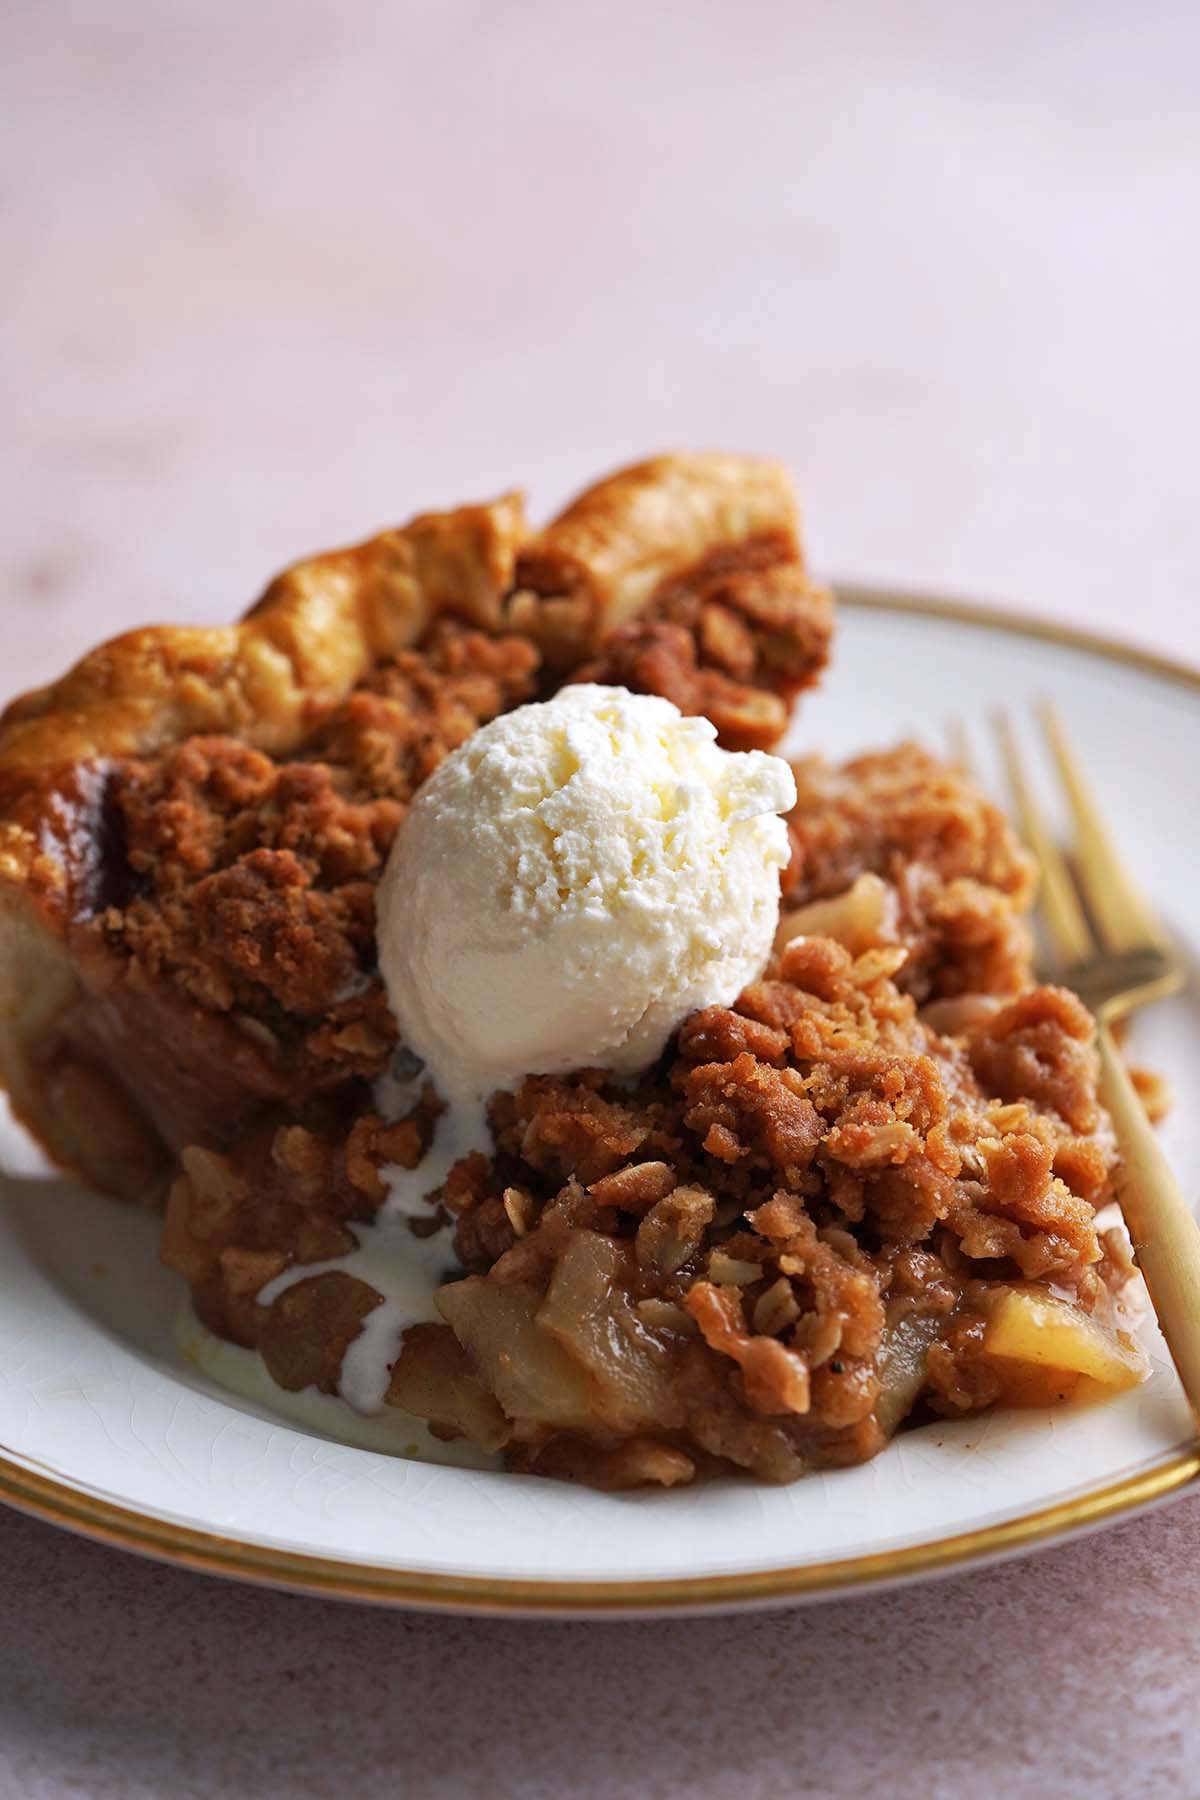
My favorite way to reheat a slice of this pie is in a 350F for about 10 to 15 minutes to warm it through and re-crisp the crust and crumble topping.
Tips For the Best Pear Pie Recipe
- Pear type – I’ve tested this recipe multiple times after developing it, and my favorite way to make it is with a variety of pears. They add subtly different flavor nuances and different textures, and come together for a truly great pie filling. I recommend about 1/3 ripe Bosc pears (which are dense, crisp, and not quite as sweet as other varieties), 1/3 ripe Bartlett pears (which are buttery-smooth and intensely pear-flavored with notes of honey, but can turn mushy if they’re extremely ripe or cooked too long), and 1/3 ripe Concorde pears (which are firm and sweet with notes of vanilla) or 1/3 Anjou if you can’t find Concorde.
- The pie plate material – If you’re new to pie-baking, use a glass pie plate if possible. This allows you to check the pie for doneness from the bottom as well as the top (the bottom crust should be golden too). No soggy bottoms here!
- Protect your oven (and make cleaning a whole lot easier) – If you don’t have a pie drip catcher, put a piece of aluminum foil under the pie plate to catch any drips as it bakes.
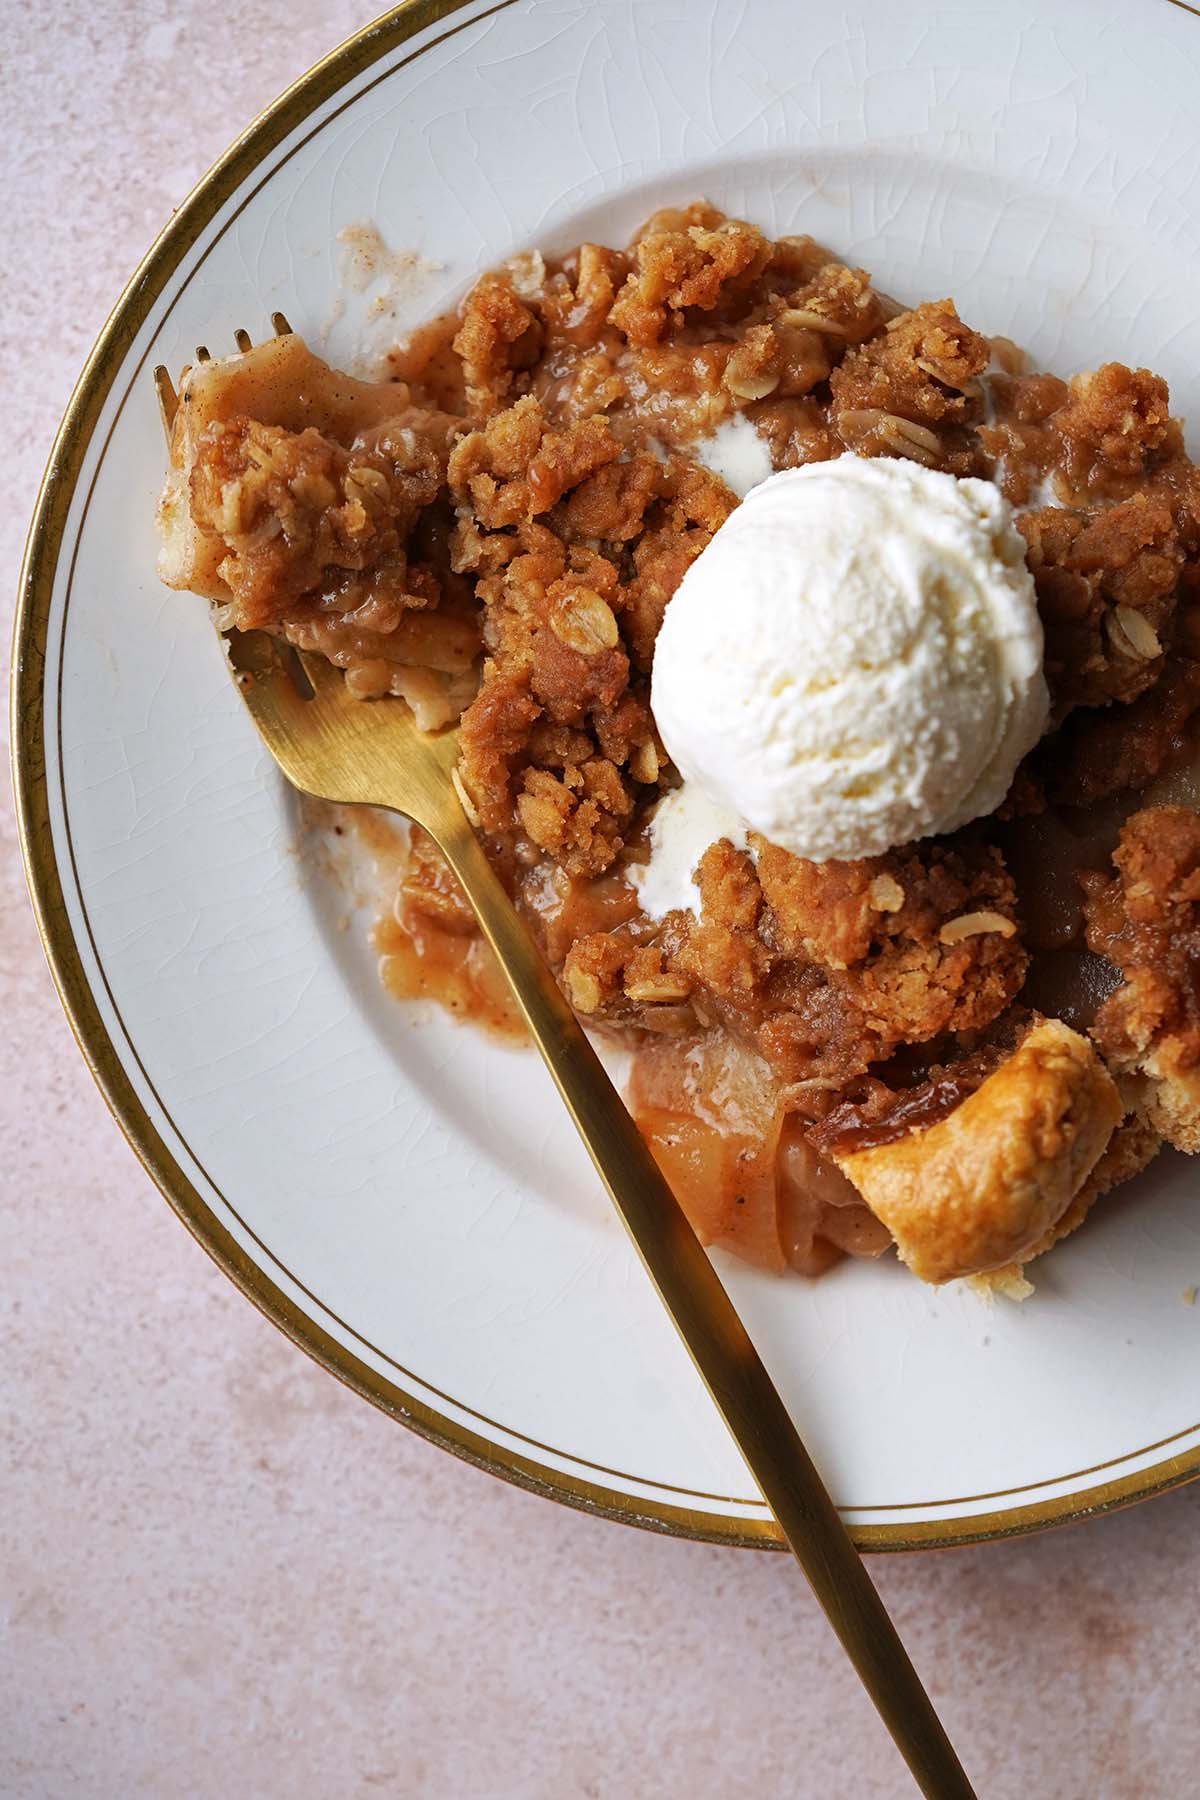
- Serving suggestions – My favorite way to serve pear pie is a la mode. I warm each slice and top it with a scoop of vanilla ice cream. Of course you don’t have to reheat it, this is also delicious served cold or at room temperature. And you can skip the ice cream or swap it out for whipped cream or a simple dusting of powdered sugar.
Frequently Asked Questions
You need 8 cups of peeled, cored, thinly sliced pears to make one standard (not deep dish) 9-inch pie. This is about 3 pounds of pears (weighed before peeling and coring).
When you’re making pears into pie filling, yes, peel the fruit first. Pear skin can be leathery or grainy, which is why it’s better to peel them when you’re baking pie.
Absolutely. To do so, double the pastry recipe. But I’ll be honest, the streusel topping adds lovely texture and sweetness that beautifully balances the sourdough pastry crust’s tanginess.
More Holiday-Worthy Pie Recipes
- Cranberry Pie With Fresh or Frozen Cranberries
- Szarlotka (Polish Apple Pie)
- Tart Cherry Pie
- Blueberry Pie With Frozen Blueberries
- Gingerbread Pie
Let’s Connect

Did you make this recipe? Please rate it and leave a comment below. You can also tag @anediblemosaic on social media.
To stay up-to-date, follow me on Facebook, Instagram, Pinterest, and Twitter!
Pear Pie Recipe With Sourdough Pie Crust and Crumble Topping
Email This Recipe
Get this recipe link emailed straight to your inbox!
Equipment
- Standard 9-inch pie pan (see Notes)
- Pie drip catcher (see Notes)
Ingredients
Pear Pie Filling:
- 8 cups sliced pears (3 pounds of fresh, ripe pears; peeled, cored, and sliced into 1/8 to 1/4-inch thick slices; see Notes for what kind of pears)
- 1/2 cup light brown sugar (lightly packed)
- 1 1/4 teaspoons ground cinnamon
- 3/4 teaspoon ground ginger
- 1/4 teaspoon ground nutmeg
- 1/4 teaspoon ground cloves
- 1/4 teaspoon salt
- 2 tablespoons cornstarch (mixed with 4 tablespoons cold water to form a slurry)
- 2 tablespoons fresh lemon juice
- 1 tablespoon unsalted butter (at room temperature)
Sourdough Pie Crust:
- 1 1/4 cups all-purpose flour (plus more for rolling out the dough)
- 1/2 teaspoon salt
- 1/2 cup unsalted butter (chilled and cut into chunks; see Notes)
- 1/2 cup sourdough starter or discard (1/2 cup is about 128 grams; see Notes)
- Ice water (as needed)
Crumble Topping:
- 1 cup light brown sugar (lightly packed)
- 1 cup all-purpose flour
- 1/2 cup old-fashioned rolled oats
- 1/2 cup unsalted butter (at room temperature; see Notes)
- 1 teaspoon ground cinnamon
- 1/4 teaspoon salt
- 1 teaspoon pure vanilla extract
Other:
- 1 large egg lightly beaten with 1 tablespoon water (for egg wash)
Instructions
Make the Pear Pie Filling:
- Prep. Wash the pears, then peel them, core them, and slice them into 1/4 to 1/8-inch thick slices.
- Cook. Add the pear slices and brown sugar to a large pot over medium heat, and toss to coat. Cover the pot and cook until the pears start to soften and the volume reduces by approximately half, about 10 to 12 minutes.
- Add the spices. Stir in the cinnamon, ginger, nutmeg, cloves, salt, and cornstarch slurry. Cook until thickened, gently stirring constantly, about 1 minute.
- Finishing touches. Remove from the heat and stir in the lemon juice and butter.
- Cool. Cover and cool to room temperature, about 2 hours. (TIP: Make sure to cover the pot so the filling doesn't thicken too much as the liquid evaporates during the cooling process.) After 2 hours you can make the pie, or store the filling in the fridge for up to 3 days.
Make the Sourdough Pie Crust:
- Make the dough. Add the flour and salt to a large bowl and whisk to combine. Add the butter chunks and toss with your fingertips to coat them in flour.Add the discard and work it into the dough with your fingertips until it forms a shaggy dough, trying not to work in the butter if possible. (TIP: When you work the sourdough starter or discard into the dough, for larger clumps of sourdough, it helps to use gravity to incorporate it. Simply grab the sourdough and gently pull it up while shaking. The sourdough will fall down in thinner strands that incorporate more easily into the flour.)Once the discard is worked into the dough, add ice-cold water a little at a time just until it comes together; I usually need between 4 to 6 tablespoons, but the exact amount varies based on the weather, your discard, etc. (TIP: At this point, the dough should still be a bit dry, but should come together as a ball when pressed.)
- Chill the dough (1st chill). Turn the dough out onto a piece of plastic wrap, wrap it up, and gently shape it into a disk. Freeze the dough for 20 minutes (or refrigerate for 4 hours).
- Perform the letter folds. After your dough is chilled, flour your work surface and roll out the dough to a rectangle about 8 by 12 inches. Perform your first letter fold; to do so, fold the bottom 1/3 of the dough up over the middle 1/3, and then fold the top 1/3 down over the middle (like you’d fold a business letter).Roll it out to an 8 by 12-inch rectangle again, and perform another letter fold. Repeat this process 4 more times (for a total of 6 letter folds), adding a dusting of flour on the dough or your work surface at any point if needed.(TIP: At any point during the letter fold process, if the butter starts to soften too much and the dough becomes difficult to roll out, simply wrap it in plastic wrap and pop it into the fridge to chill briefly before continuing.)
- Chill the dough (2nd chill). Wrap the dough in plastic wrap and freeze for 10 minutes (or refrigerate for 2 hours).
Make the Crumble Topping:
- Add all ingredients to a large bowl. Use your hands to mix everything together until it forms large crumbles. Set aside for now.
Assemble the Pie:
- Preheat. Preheat the oven to 425F.
- Final roll out. Place the chilled dough onto a floured work surface and lightly flour the top of the dough. Working from the center out, roll the dough out to a circle about 12 inches in diameter.
- Line the pie plate with the dough, add the filling, sprinkle on the topping, and prep the crust. Fold the dough over onto itself, then fold it over again, pick it up, and transfer it to a pie plate. Unfold the dough and push it into the bottom and up the sides of the pie plate. Use a fork to poke several holes in the bottom of the pie crust.Pour the filling into the pie crust and spread it out evenly. Spread the crumble topping evenly across the filling.Tuck the outside of the dough under and use your fingers or a fork to flute or crimp the edges to form the crust. Lightly brush the crust with egg wash.
Bake:
- Put the pie into the preheated 425F oven, and immediately turn the heat down to 350F. Bake until the crust and crumble topping are golden and the filling is bubbling, about 1 hour to 1 hour 10 minutes. (TIP: Tent the top with foil if it’s golden before the filling is bubbling.)
Cool:
- Cool before slicing. If desired, serve with a dusting of powdered sugar on top.
Notes
- Pie Pan: If you’re new to pie-baking, use a glass pie plate if possible. This allows you to check the pie for doneness from the bottom as well as the top (the bottom crust should be golden too). No soggy bottoms here!
- Pie Drip Catcher: If you don’t have a pie drip catcher, put a piece of aluminum foil under the pie plate to catch any drips as it bakes.
- Pears: I’ve tested this recipe multiple times after developing it, and my favorite way to make it is with a variety of pears. They add subtly different flavor nuances and different textures, and come together for a truly great pie filling. I recommend about 1/3 ripe Bosc pears (which are dense, crisp, and not quite as sweet as other varieties), 1/3 ripe Bartlett pears (which are buttery-smooth and intensely pear-flavored with notes of honey, but can turn mushy if they’re extremely ripe or cooked too long), and 1/3 ripe Concorde pears (which are firm and sweet with notes of vanilla) or 1/3 Anjou if you can’t find Concorde.
- Butter Chunks in the Crust: I cut each 1/2 stick of butter into 16 equal chunks.
- Butter in the Crumble Topping: The butter should be at room temperature or slightly softened. If it’s a little bit melted like it is in my step-by-step photos in the post above, you’ll need to pop the crumb topping into the fridge for about 10 minutes once it’s mixed before adding it on top of the pie.
- Sourdough Starter Versus Discard: Don’t worry about the difference in thickness between starter and discard here. I developed this recipe with a failsafe to account for that; incorporating water a little bit at a time after adding sourdough to hydrate this dough accounts for the natural variation in the thickness of starter versus discard.
- Chilling the Dough: You want your dough fully chilled; 30 minutes is the bare minimum (and that’s if you kept everything as cold as possible), but an hour or two is great if you have the time. If you leave it in the fridge longer and it’s hard to roll out, let it sit at room temperature for about 10 minutes.
- Reheating: My favorite way to reheat a slice of this pie is in a 350F for about 10 to 15 minutes to warm it through and re-crisp the crust and crumble topping.
- Storage:
- Filling – Cool to room temperature, and then store in an airtight container in the fridge for up to 5 days or in the freezer for up to 3 months.
- Dough – Wrap this dough well and then pop it into a zip-top plastic bag and store it in the fridge for up to 2 days. I don’t recommend storing this dough for longer than that for a couple reasons. For starters, it will continue to ferment the entire time, and after the second day it can be a bit too tangy. Also, by the third day it will likely start to oxidize and turn an unappetizing grey color.
- Baked pie – Cool to room temperature and then store covered at room temperature for up to 2 days, in the fridge for up to 1 week, or in the freezer for up to 3 months.
Nutrition
Nutritional information is automatically calculated and should be used as an approximate.
Share it with me on Instagram and leave a comment to let me know your thoughts!


I’m the writer, recipe developer, photographer, and food stylist behind this blog. I love finding the human connection through something we all do every day: eat! Food is a common ground that we can all relate to, and our tables tell a story. It’s my goal to inspire you to get in the kitchen, try something new, and find a favorite you didn’t know you had.
Free Bonus