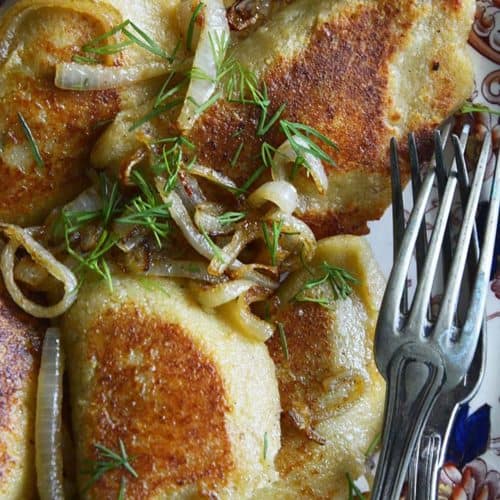
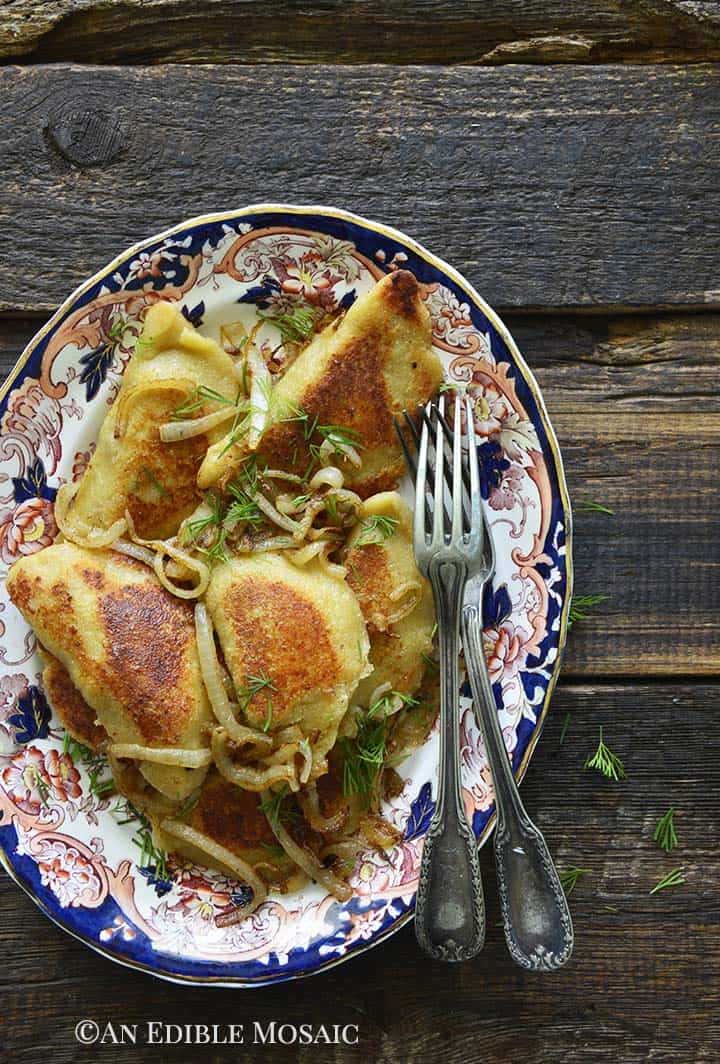
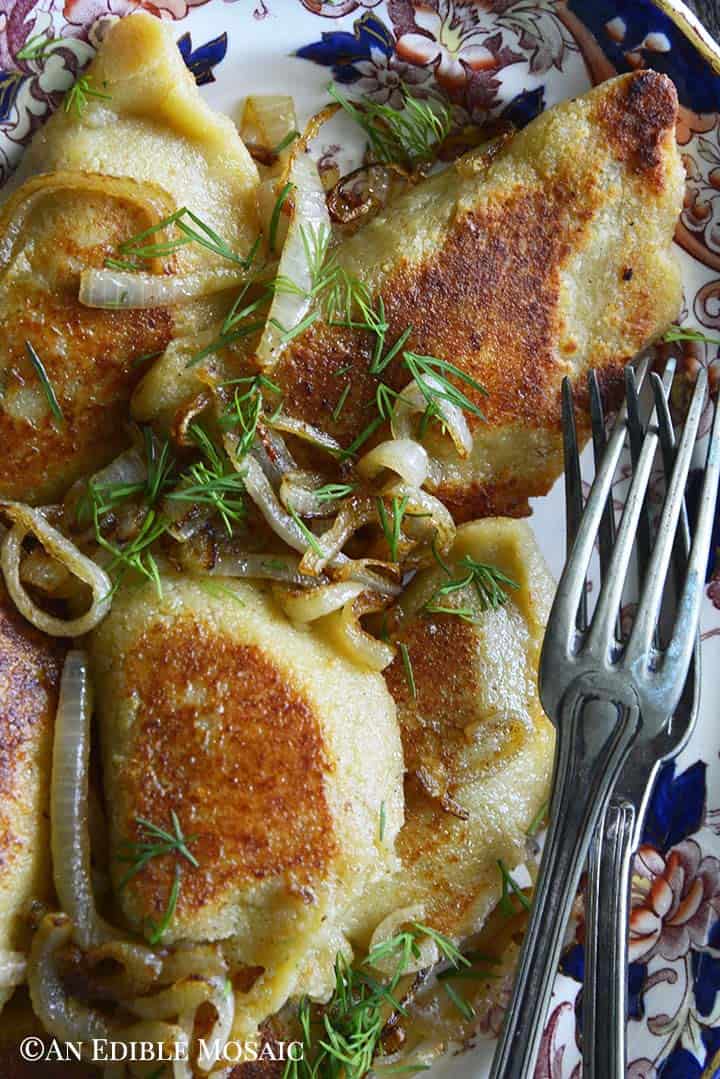
This Keto Pierogi Recipe makes perfect pierogies; crispy outside, chewy inside, stuffed with a savory mushroom filling. Top them with onions fried in butter, sour cream, and fresh dill!
Lately I’ve had a serious craving for pierogis. Up in Buffalo, you can get amazing thick, cheese-filled pierogies from the grocery store (Wegmans, I’m looking at you, lol).
I typically cook them in a cast-iron skillet with a knob of salted butter and a good splash of water. I cook them with the pan covered for about 5 minutes to cook the dough, and then I uncover the pan. As the water evaporates, the pierogies crisp in the butter. Served with onions fried in butter and a dollop of sour cream, they’re pierogi perfection.
But there are two issues with that: 1) I can’t find good store-bought pierogis here in Florida (Wegmans, when are you coming to Tampa?!), and 2) of course they’re not low carb.
So, I decided to make keto pierogies!
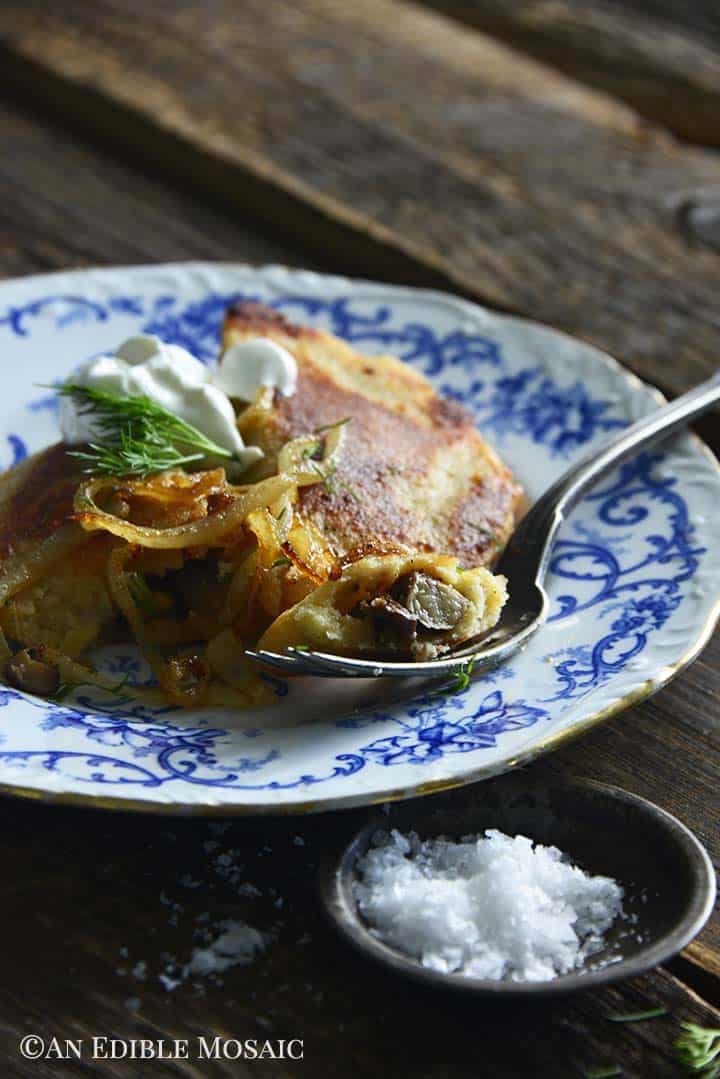
The end result are keto perogies that are crispy outside and chewy inside. I made a savory mushroom filling, but you can play around with fillings. I want to make cheese keto pierogies next.
And of course I topped them with onions fried in butter and a dollop of sour cream! Because is there any other way to eat a pierogi?
How to Make Keto Pierogies Video
Keto Pierogi Recipe
I didn’t reinvent the wheel here, friends. I had inspiration from two places.
Firstly, I got the idea to use fathead dough to make pierogies from I Breathe I’m Hungry. Secondly, I made a couple tweaks to my recipe for Pizza Dough from the Keto Bread cookbook that Lara Clevenger and I wrote.
I used a garlicky, cheesy mushroom filling here, but you can play around with filling ideas. I want to try farmer cheese next!
What to Serve with Pierogies
I have you covered if you want to find delicious perogi toppings or if you’re looking for side dishes to serve with pierogies to round out the meal!
Pierogi Toppings:
- Melted butter, or better yet, browned butter
- Caramelized onion
- Garlic sautéed in olive oil
- Sautéed mushrooms with thyme
- Crisped and crumbled bacon (I don’t eat pork, so I’d go for beef bacon!)
- Sour cream
- Fresh herbs, such as dill, parsley, or chives
Side Dishes to Serve with Pierogies:
- Sweet and Sour Green Apple and Cabbage Sauté
- Chicken Sausage Skillet with Cabbage, Apple, and Cranberries
- Green Beans with Garlic and Golden Raisins
- Apple Walnut Rainbow Chard Salad
Do You Have to Boil Pierogies Before Frying Them?
Generally, pierogis need to be boiled to cook the dough before they’re fried.
However, these keto pierogis do not need to be boiled first.
There are two reasons why these pierogies don’t need to be boiled:
- The dough is made mostly out of cheese, which melts in boiling water.
- If you follow the cooking method I give in the recipe, the end result is perfect pierogies that are crispy outside and chewy inside.
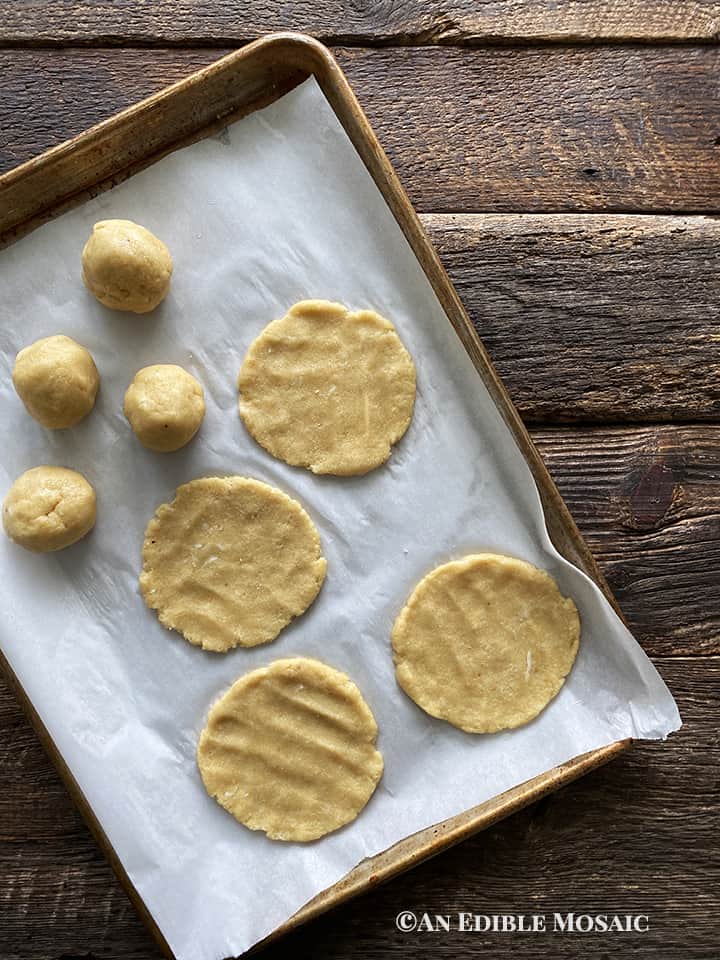
We'll use fathead dough to make keto pierogies! Divide the dough into 8 balls and roll or press each out into a 5-inch circle.
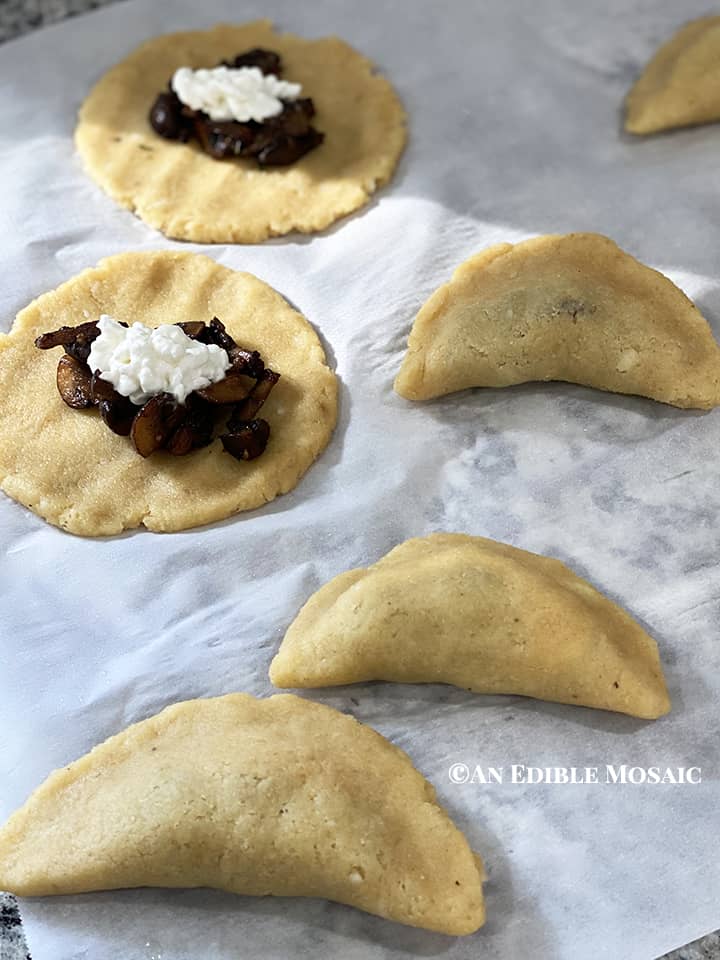
Once the dough is rolled out, place the filling on top and fold each circle over, lightly pressing the outer edge to seal.
More Keto Recipes That Use Fathead Dough That Aren’t Pizza:
- Carrot Cake Sticky Buns
- Salami and Cheese Pinwheels
- Soft Pretzel Bites
- Bagels
- Sugar Cookies with Vanilla Frosting
- Blueberry Cobbler Bars
Did you make this recipe? Please rate it and leave a comment below because I love hearing from you! You can also tag @anediblemosaic on social media. To stay up-to-date FOLLOW ME on Instagram, Twitter, and Facebook. Xoxo, Faith
Keto Pierogi Recipe with Mushroom Filling
Ingredients
Mushroom Filling:
- 2 tablespoons unsalted butter
- 8 ounces button mushrooms quartered
- ¼ teaspoon salt
- ⅛ teaspoon black pepper
- 2 cloves garlic minced or crushed
- 1 teaspoon minced fresh thyme
- 4 tablespoons cottage cheese the dry kind or with the liquid strained out
Dough:
- 1 teaspoon instant yeast
- 2 tablespoons warm water
- 1 ¼ cups almond flour
- 1 ½ teaspoons psyllium husk powder
- 1 teaspoon baking powder
- 1 ½ cups shredded low-moisture part-skim mozzarella cheese
- 1 ounce cream cheese
- 1 large egg beaten
- ½ tablespoon avocado oil for oiling your hands
Other:
- 2 tablespoons unsalted butter
- ¼ onion thinly sliced
- 4 tablespoons sour cream for serving
- A small handful of fresh dill for serving
Instructions
For the Mushroom Filling:
- Heat the butter in a large nonstick skillet over medium-high heat. Once hot, add the mushrooms, salt, and pepper and cook until the mushrooms are golden, about 5 to 7 minutes, stirring occasionally. Turn the heat down slightly if necessary.
- Turn the heat down to low. Add the garlic and thyme and cook 2 minutes more, stirring constantly. Set aside to cool while you make the dough.
For the Dough:
- Add the yeast and warm water to a small bowl and stir to combine. Set aside until foamy, about 5 to 10 minutes.
- Whisk together the almond flour, psyllium husk powder, and baking powder in a medium bowl and set aside.
- Add the part-skim mozzarella and cream cheese to a large microwave-safe bowl. Microwave for 60 seconds and then give it a stir, and continue microwaving in 20-second increments until the cheese is fully melted and combined when stirred.
- Stir the yeast mixture into the melted cheese until combined, and then stir in the beaten egg until combined. Stir in the almond flour mixture until it forms a dough.
- Oil your hands and knead the dough a couple times until it comes together as a ball. Divide the dough into 8 equal balls. Roll each dough ball out between 2 pieces of parchment paper to a circle about 5 inches in diameter.
- Divide the mushroom filling between the 8 dough circles, leaving a 1-inch border. Place ½ tablespoon cottage cheese on top of the mushroom filling on each dough circle.
- Fold each dough circle over so it looks like a half-moon, lightly pressing the outside together to seal it.
- Place the pierogis onto a plastic-wrap lined plate and cover with plastic wrap. Refrigerate at least 12 hours, but up to 3 days.
To Cook the Pierogis and Onion Topping:
- When you’re ready to cook the pierogis, preheat the oven to 300F.
- Heat 2 tablespoons unsalted butter in a large nonstick skillet over medium-high heat. Once melted, add the pierogis and cook until browned on both sides, about 2 to 3 minutes per side, flipping once.
- Once they’re browned, transfer the pierogis to a baking sheet and put in the oven for 5 to 10 minutes while you cook the onions.
- To the same skillet that you browned the pierogis in, add the onion and turn the heat to medium. Cook the onion until softened and starting to caramelize a bit, about 5 to 7 minutes, stirring occasionally.
To Serve:
- Serve the pierogis warm topped with the onion, along with the sour cream and dill for topping.
Faith's Tips
- Net Carbs: 5g per serving (1 pierogi with toppings)
- Inspiration for this recipe came from two places. 1) I got the idea to use fathead dough to make pierogies from I Breathe I’m Hungry. 2) I made a couple tweaks to my recipe for Pizza Dough from the Keto Bread cookbook that Lara Clevenger and I wrote.
- To reheat these pierogies, preheat the oven to 375F. Place the pierogies in an oven-safe baking dish or tray. Bake until warm, about 10 to 15 minutes.
Nutrition
Disclosure: This post contains Amazon affiliate links to products I believe in, which means that even though it doesn’t cost you anything extra, I will receive a small amount of money from the sale of these items. Thank you for helping to support An Edible Mosaic!









Emily says
Hi! Can you freeze the pierogi and dethaw/cook at a later date?
Faith says
Emily, Yes! I flash-freeze them for a couple hours and then pop them into a plastic freezer bag for up to 3 months.
Hoosiersmoker says
I'm so glad to see a keto pierogi recipe! I haven't tried this but have worked with fathead dough and thought it might work for this. I am fortunate enough to live in an area of the country with a large Polish population and have actually taken a pierogi class taught by a polish woman. I also have access to actual farmer's cheese so I'll substitute that for the cottage cheese. I'll try to come back and let you know how it worked!